Feast Recipe Template
Intro paragraph for you to give a quick overview of this recipe, and entice the reader to continue reading because your recipe is fan-freaking-fantastic. Bold your keyword once here.
Background content: is this popular at certain times of year? Special holidays?
This was inspired by my other recipe on this site, and pairs well with this amazing sidedish recipe. Contextual, in-content links are far more valuable than a group listed at the bottom of the post.
[feast_advanced_jump_to]Ingredients
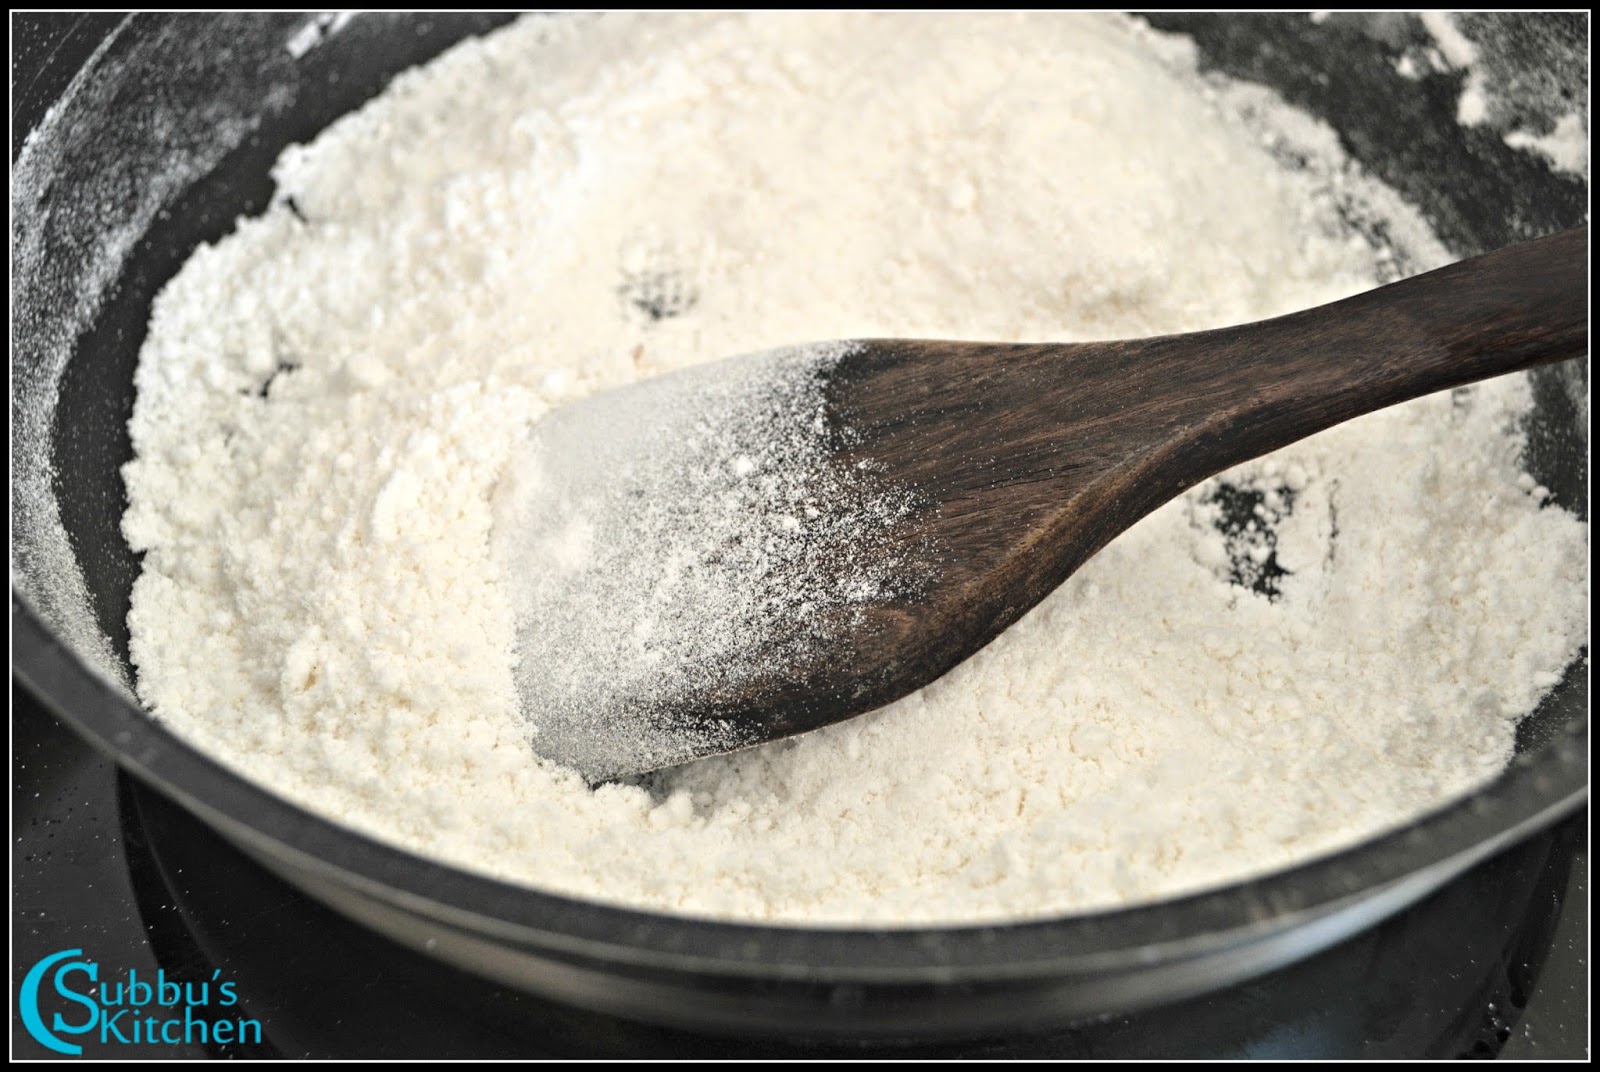
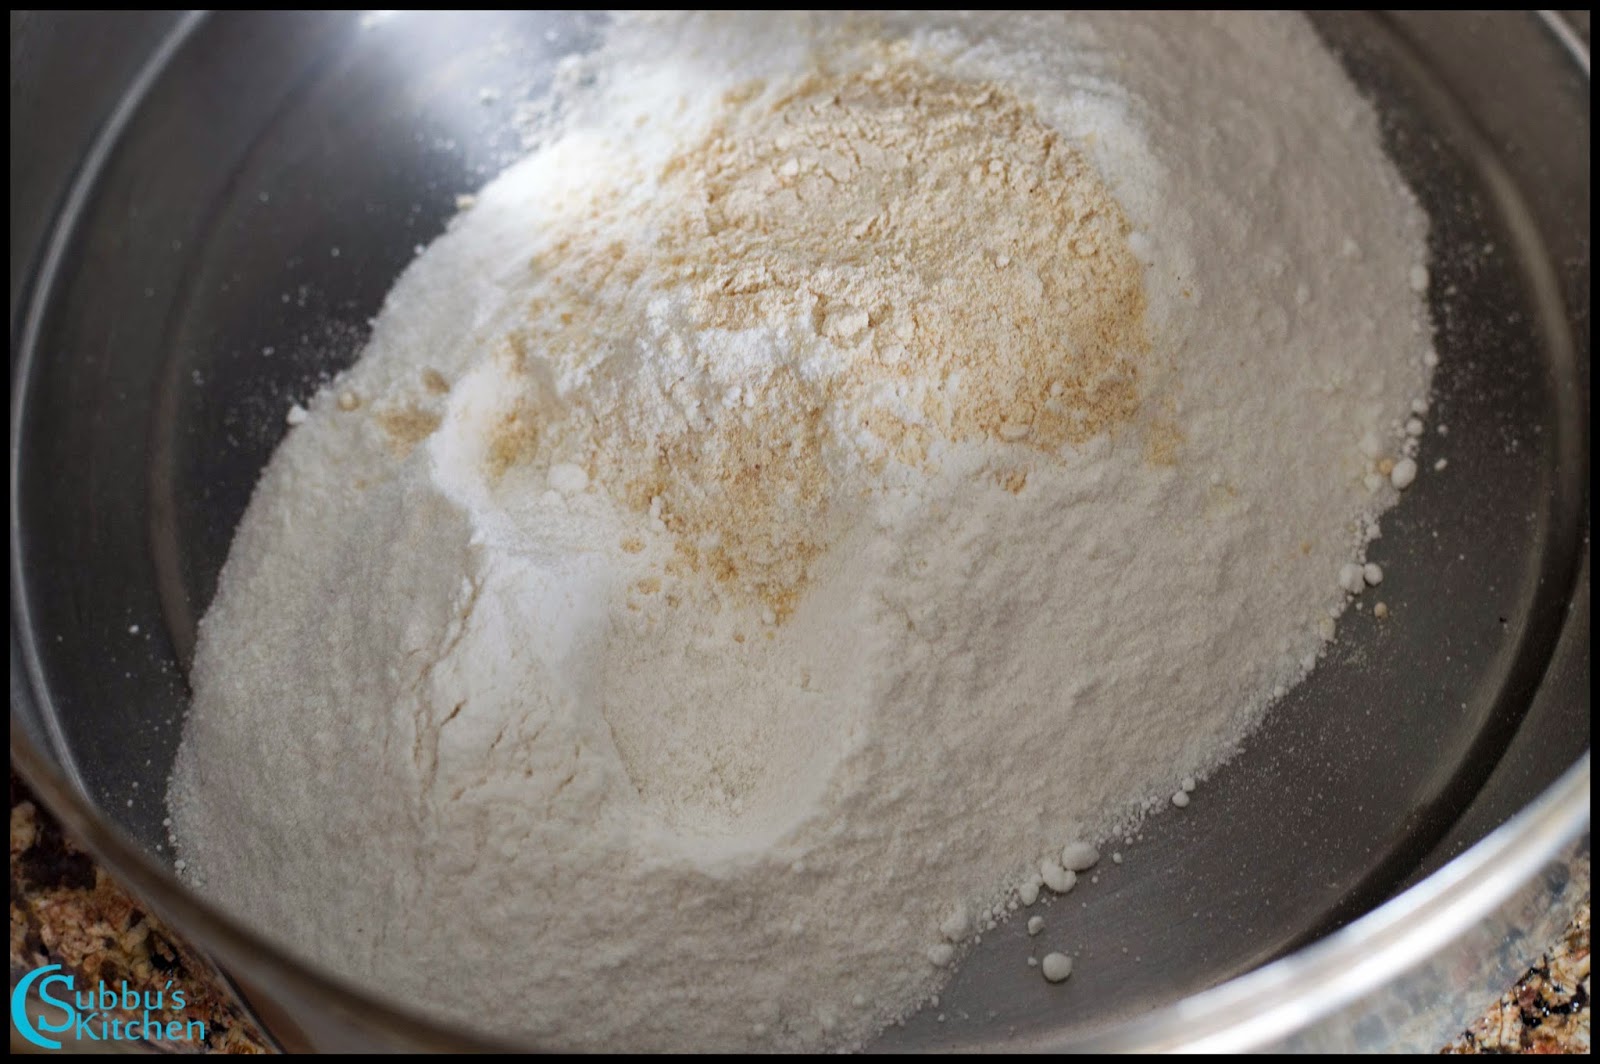
Use a clear shot of the ingredients for this recipe, prepped, and labeled if necessary. Add a paragraph of content describing why these ingredients were chosen. Insert the ingredients into the list below, omitting quantities.
- ingredient 1
- ingredient 2
- ingredient 3
See recipe card for quantities.
Instructions
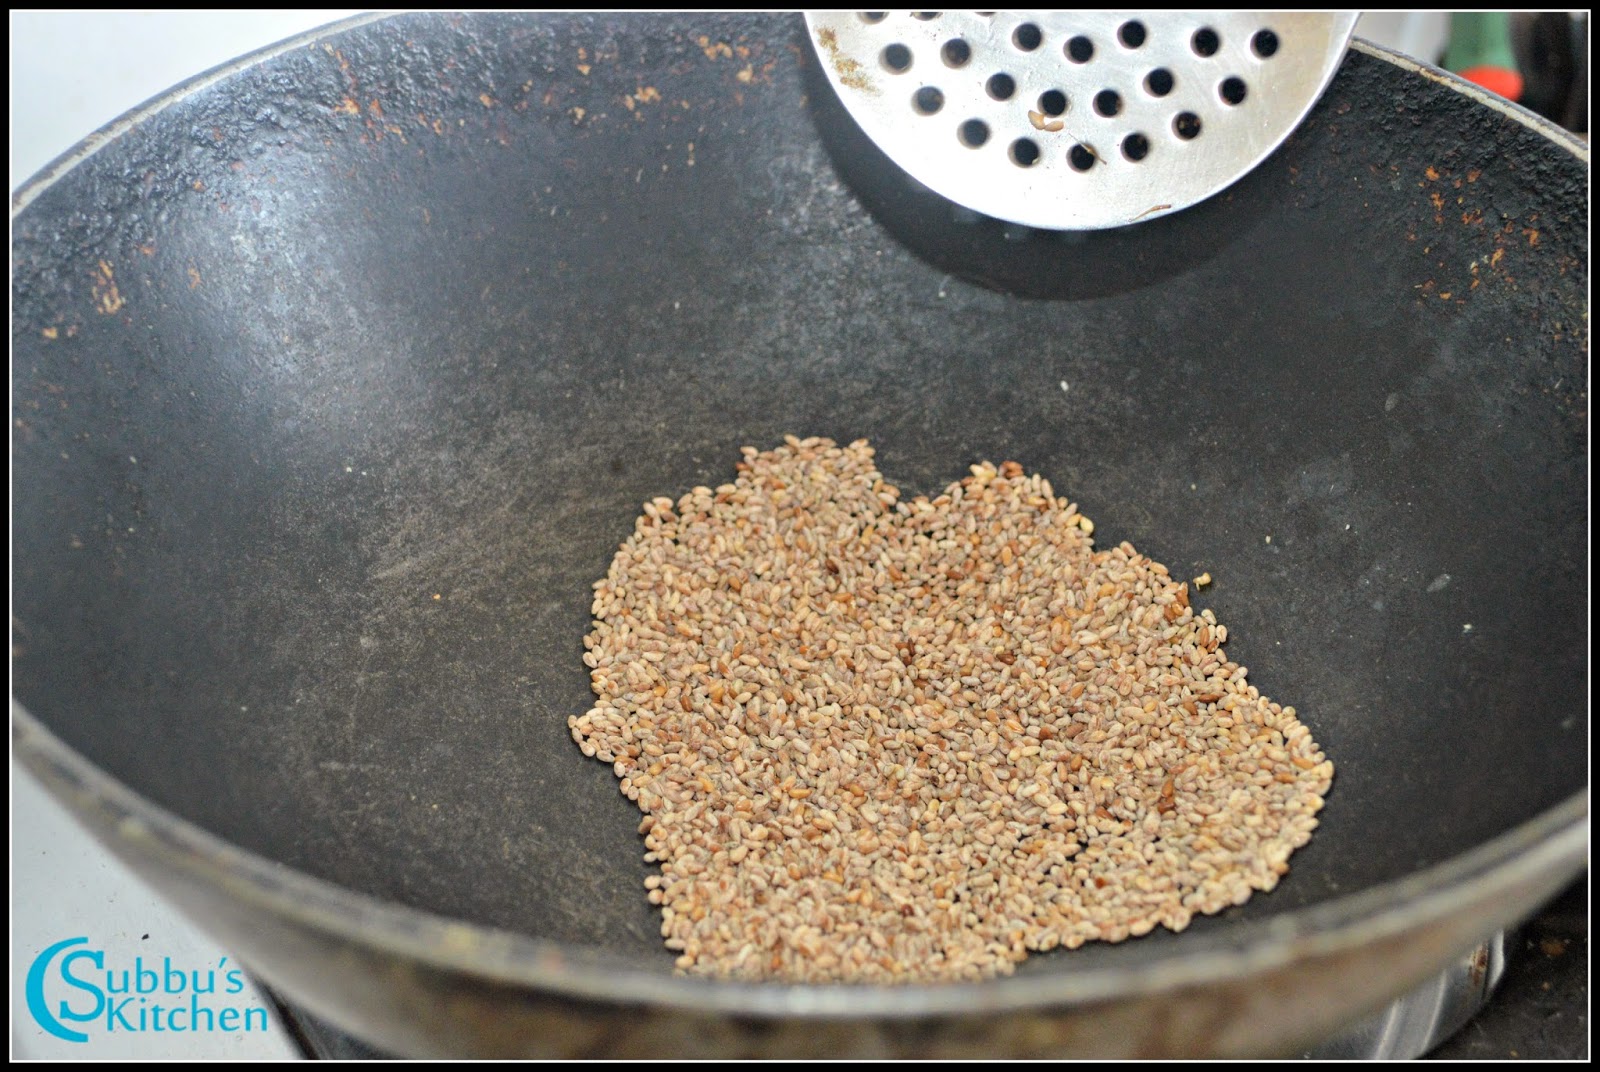
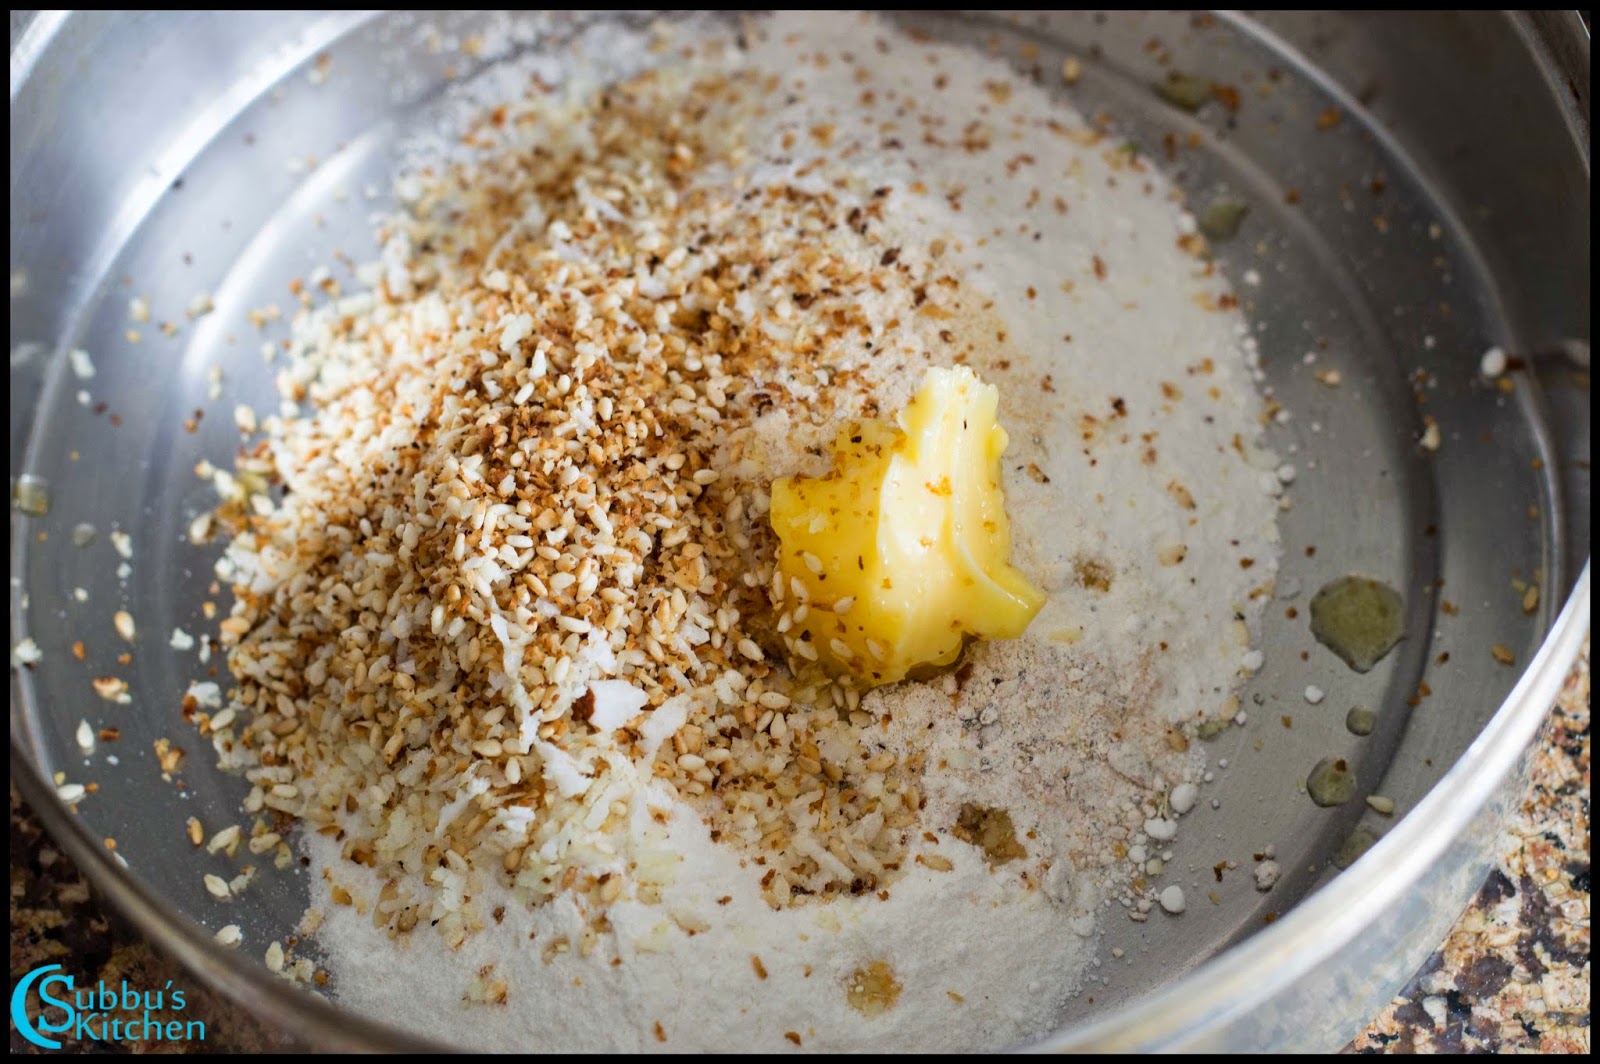
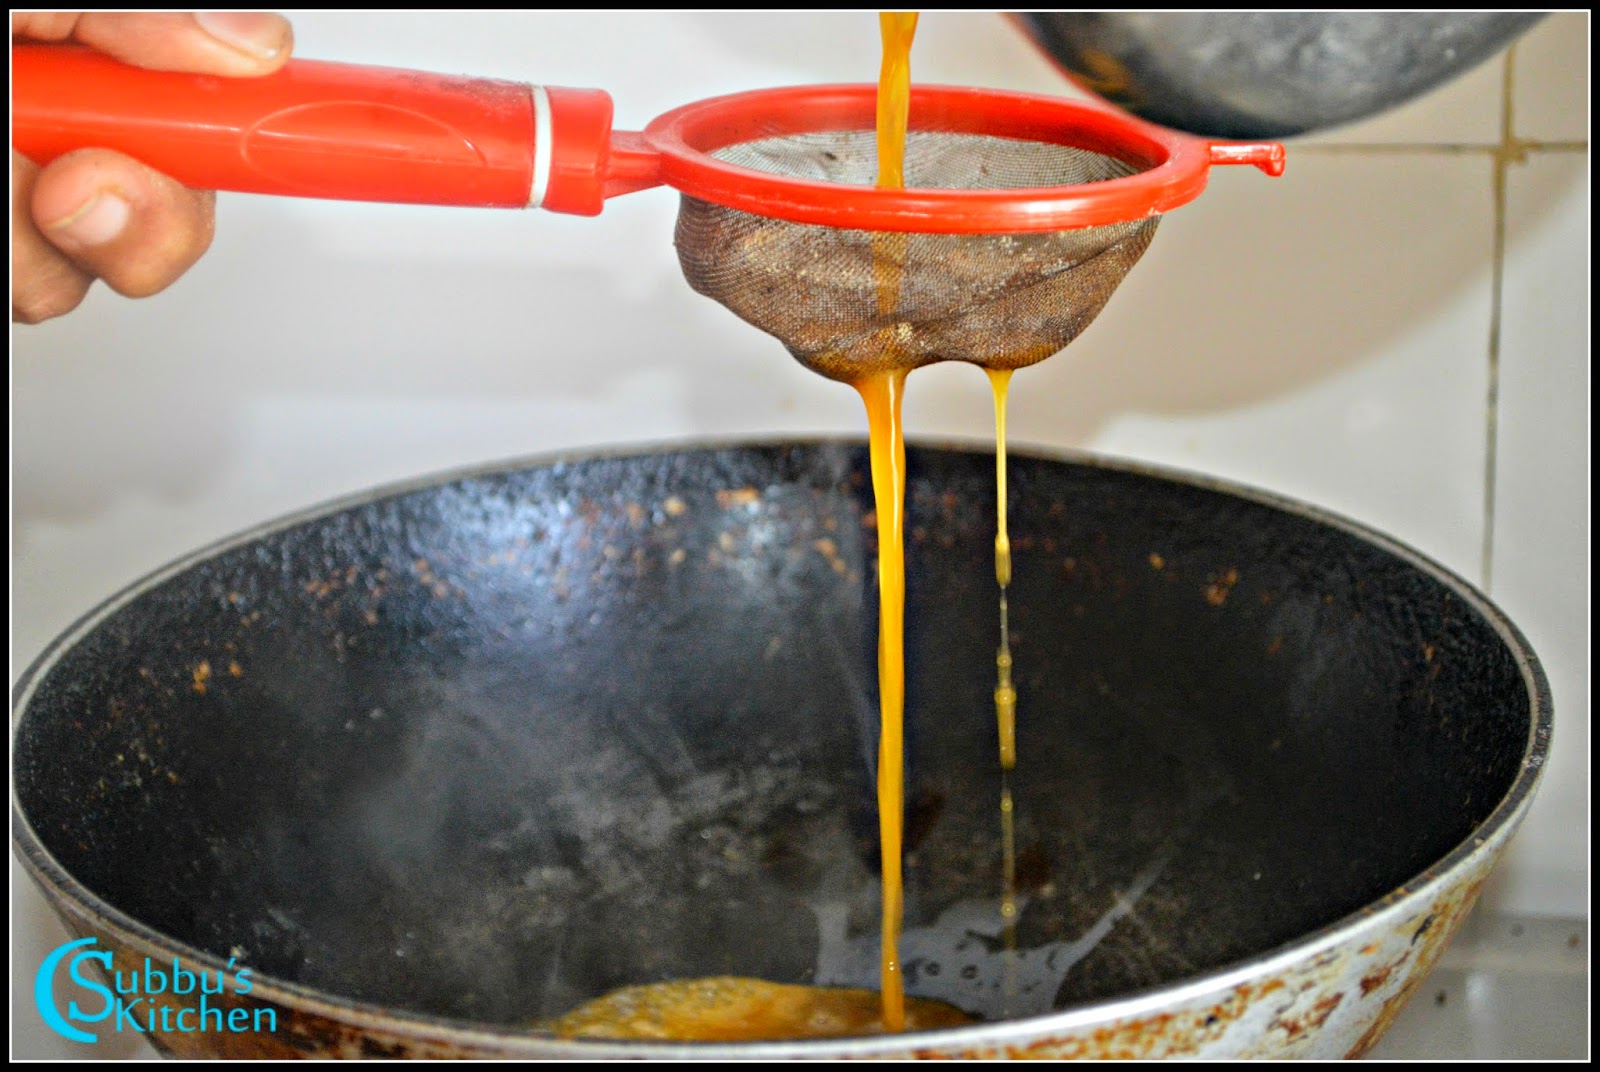
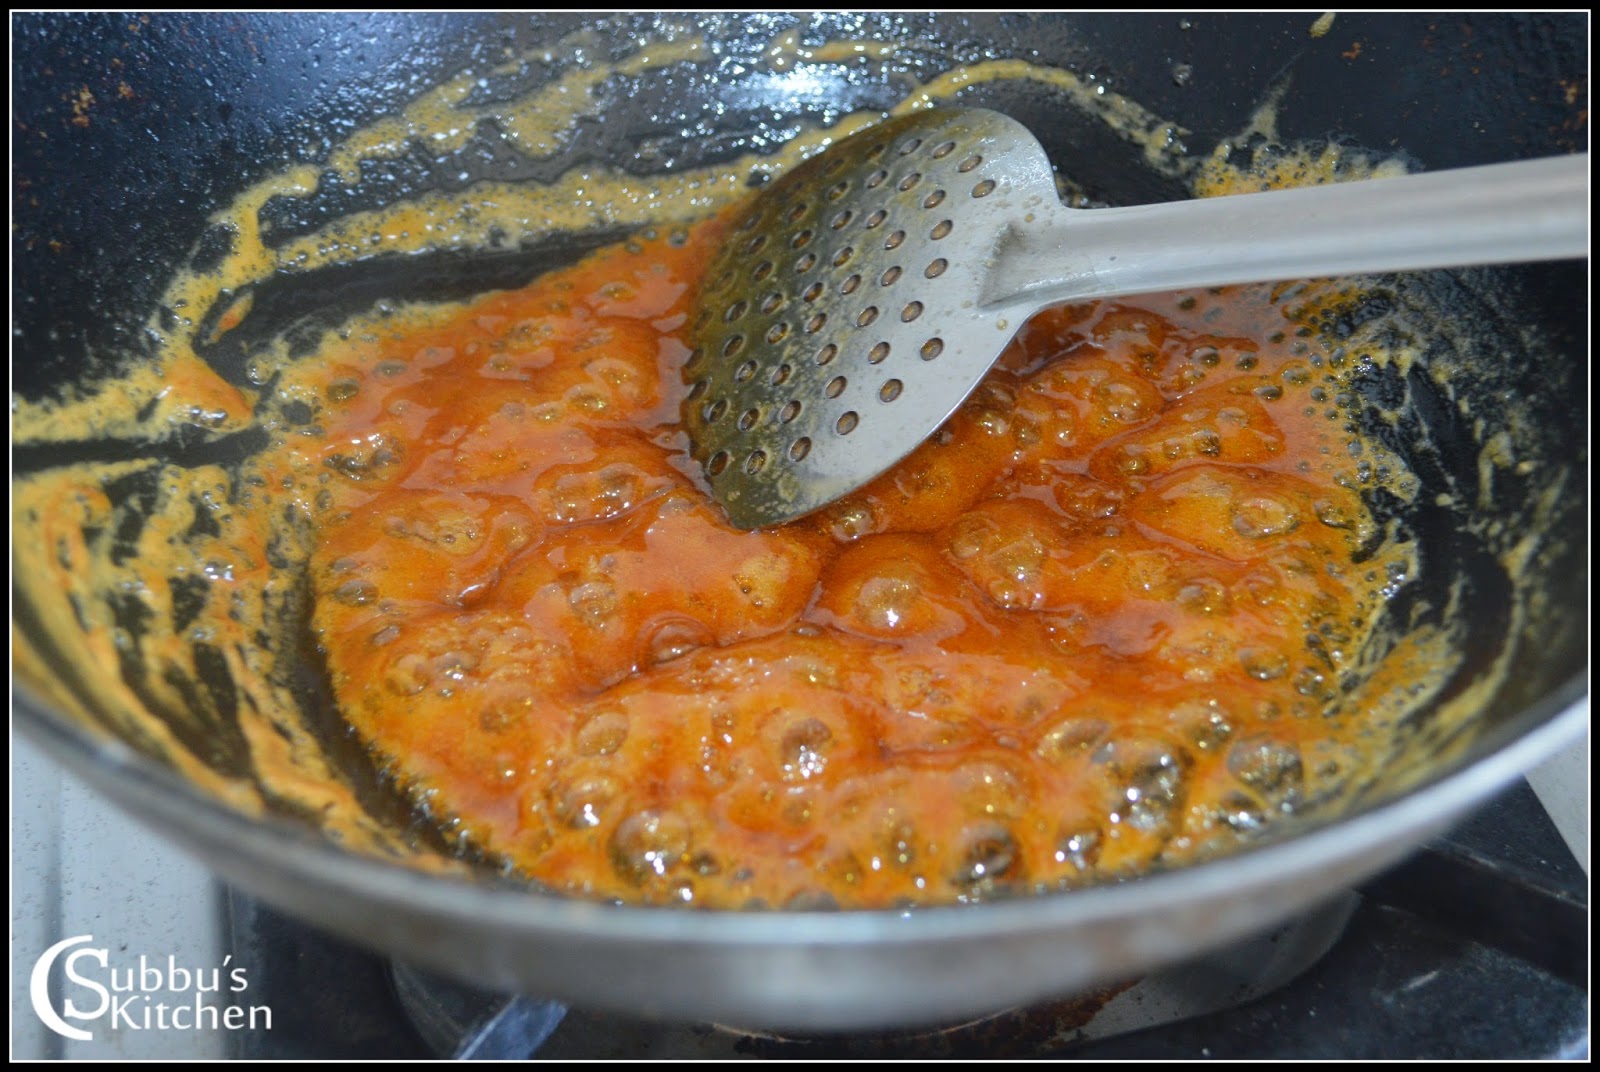
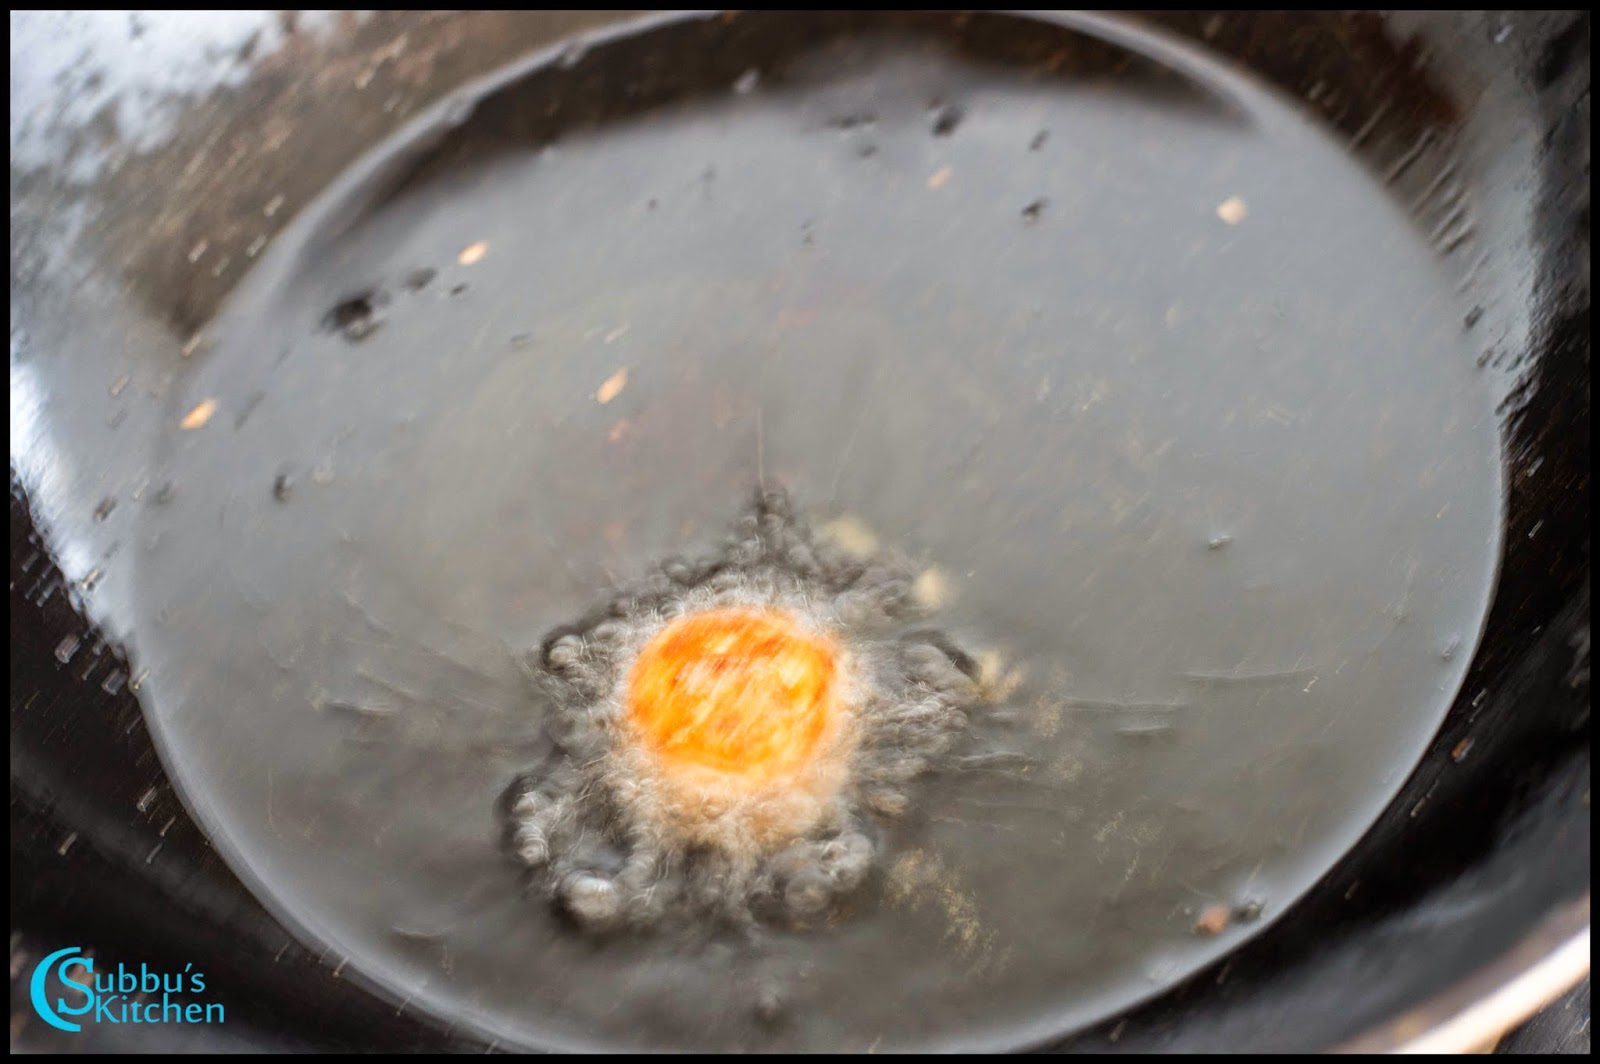
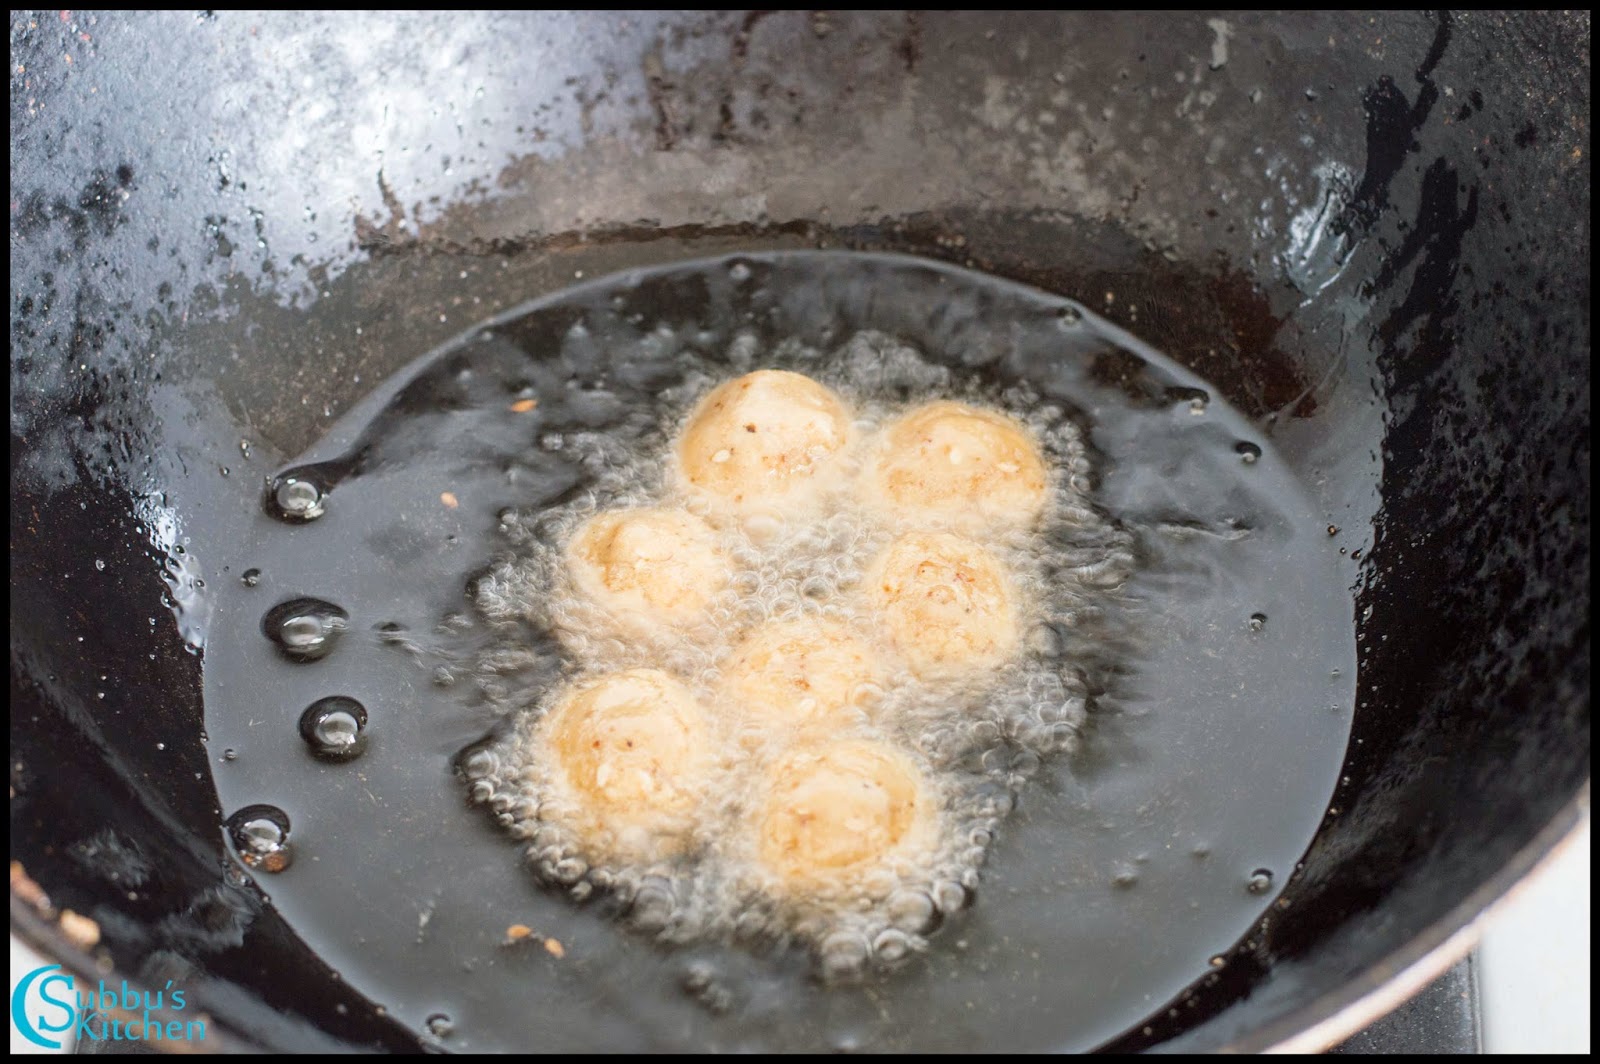
Use this section for process shots, alternating between the step and image showing the step. Users don't like seeing process shots cluttering up the recipe card, so include your process shots here.
- Step 1: Combine all spices into a large bowl and combine thoroughly with mixture
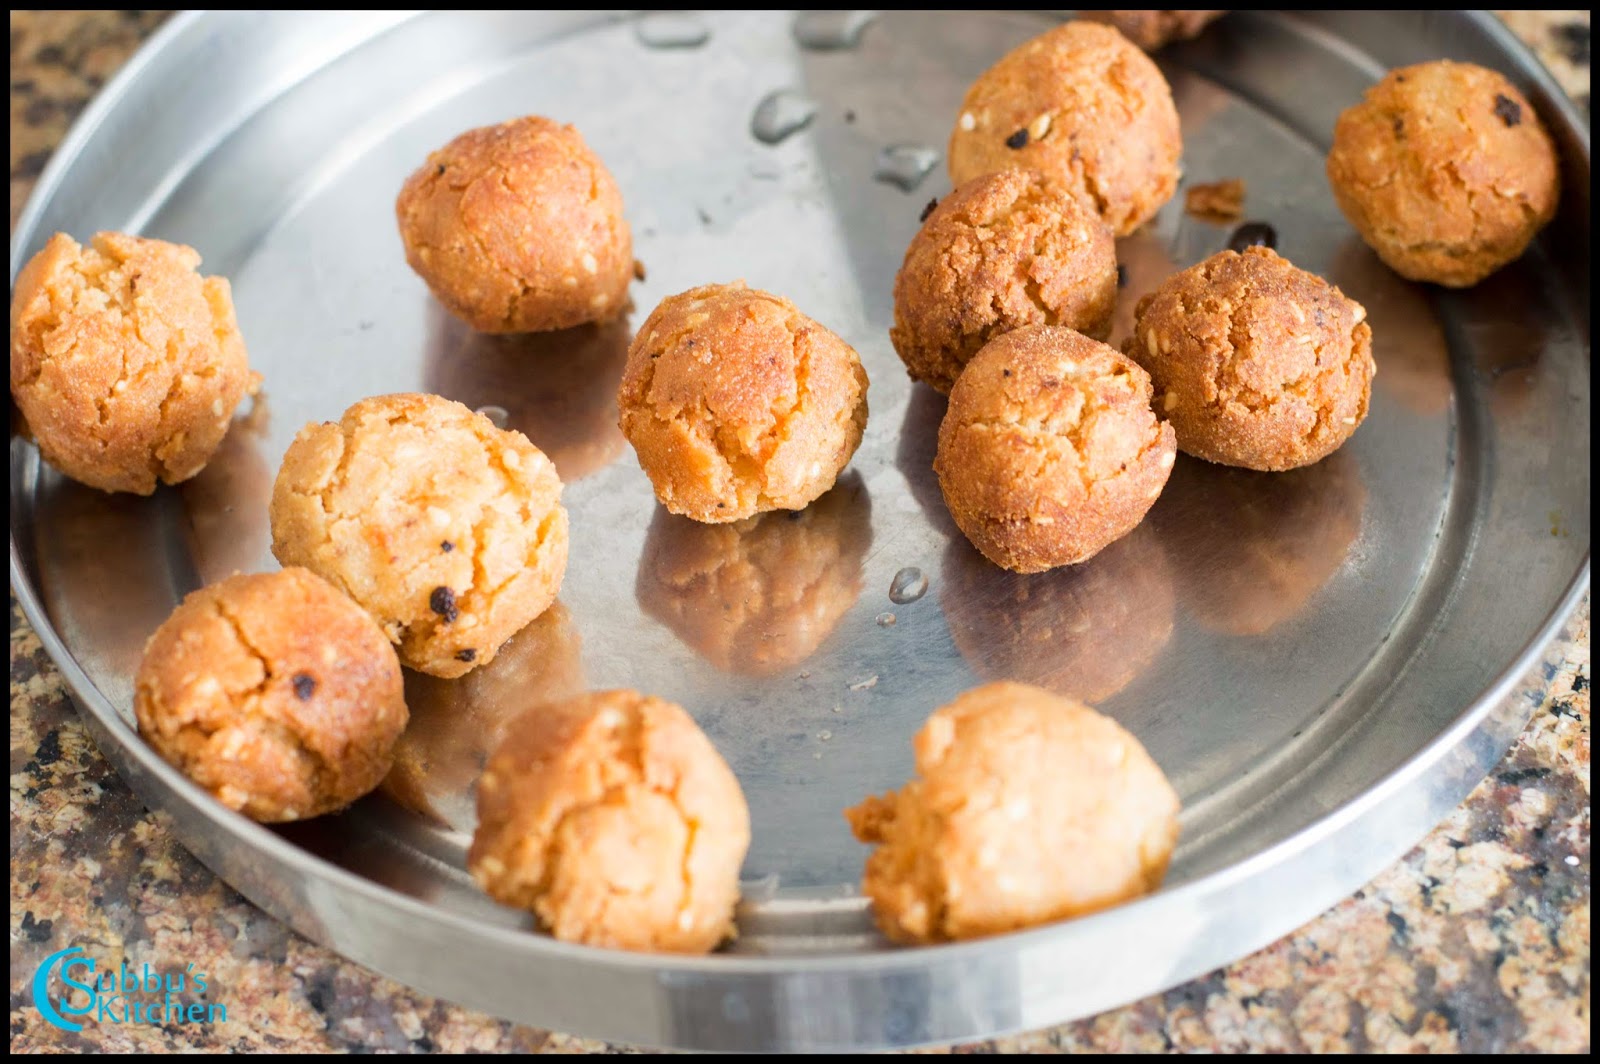
- Step 2: Form into ball shape with your hands
- Step 3: Press into patties
- Step 4: Cook in oven for x minutes at 400 degrees
Remember that image SEO is important: file names should reflect the recipe + step they represent. Only use alt text as a screen reader description. Do not use captions.
Hint: leave a useful hint here, like let the grill run for 4-5 minutes to burn off any remnants, then clean it. I like to use this bristle-free barbecue brush (affiliate link) for cleaning the grill.
Test
Test
Substitutions
If you know how to make the recipe fit a certain diet, let the reader know here. Don't fake it - only provide guidance on topics you have actual experience with.
- Lettuce - instead of ice berg lettuce, you can use romaine lettuce or spinach
- Bun - use gluten free buns instead of white bread buns to make this gluten free
- Vegetarian - the beef hamburger can be replaced with a plant-based burger to make this vegetarian
Even if your reader doesn't follow a specific diet (eg. gluten free), they may have friends or family that they're cooking for that could use this. This is also a great idea to link out to another blogger with a similar recipe that fits a different diet.
Variations
Giving the visitor ideas on how they can change this recipe to better suit their dinner guests, or their cultural cuisine, is a great way to increase the chances they make the recipe
- Spicy - add chili pepper flakes while cooking to imbue heat into the dish, or banana peppers
- Deluxe - add guacamole, crispy onions or
- Kid friendly - add crushed potato chips (ketchup chips!)
See this spicy version of this recipe on my website! (placeholder for in-content link)
Equipment
Equipment can have a big impact on how a recipe turns out. Stone bakeware takes longer to heat up than metal pans, and also retain heat for longer, which could make the recipe more watery, or burnt on the outsides.
Tell your visitors what equipment you use and how to adjust the recipe if they use something different, and link to your affiliate link to purchase the equipment.
Storage
Store the wet ingredients (lettuce, tomato, onion) separately from the dry ingredients (buns) in the fridge, and recombine when ready. Good for 2-3 days.
These ingredients do/don't stand up well to freezing for X days/weeks/months.
Top Tip
Share something here that you think is key to making this recipe well, such as: Don't overcook the burgers! Sear the outside and cook to a minimum internal temperature, but they should still be juicy for best results.
FAQ
Visit the search results to see which questions come up under the People also ask section for your primary keyword, and answer them here
Related
Looking for other recipes like this? Try these:
Pairing
These are my favorite dishes to serve with [this recipe]:
Remove this block, and replace it with the recipe card here
To do:
Before publishing, complete this checklist, deleting the list items as you complete them:
- All images have alt tags
- Content is on-topic (minimal or no personal stories)
- You've manually linked to related posts in the content (try to do this naturally, not as a separate list of links)
- The "related" recipe block is has a category or primary ingredient set
- The "pairing" section has recipes to be paired with this
- "Food safety" section has irrelevant information removed
- Yoast meta description filled out (best practice)
- The Yoast primary category has been set
- Featured image has been set (1200x1200, JPG)
- Hidden pin has been set
- Check your recipe schema has been fully filled out at https://search.google.com/test/rich-results (after publishing)
- Check https://developers.google.com/speed/pagespeed/insights/ to make sure this recipe has enough content above-the-fold to cause images to lazyload (after publishing)
- Clarify any intermediate or advanced cooking techniques - not everybody has your experience and knows how to mash garlic, mince onions, or dice potatoes
The post Feast Recipe Template appeared first on Subbus Kitchen.