Pori Urundai Recipe | Aval Pori Urundai Recipe | Nel Pori Urundai Recipe
There’s something magical about the aroma of freshly melted jaggery and crispy puffed rice coming together during Karthigai Deepam. This Pori Urundai Recipe is rooted deeply in tradition, especially with the use of Aval Pori or Nel Pori as neivedhyam offerings for Thirukarthigai/Karthigaideepam. The combination of jaggery syrup, cardamom, and coconut pieces creates a nostalgic sweetness that families look forward to every year. While many prepare them as neatly shaped balls, some households—especially in Tirunelveli and Nagercoil—simply mix the pori with the jaggery syrup and offer it as is. Whether you follow the custom of making pori urundai alone or also prepare Milagu Adai, Vellai Appam, and Vella Seedai, this recipe carries the warmth, authenticity, and festive spirit of the season. Happy Karthigai Deepam to you and your family!
Pori Urundai holds a cherished place in South Indian homes, especially during the auspicious festival of Karthigai Deepam (also known as Thirukarthigai).
[feast_advanced_jump_to]Ingredients
- Aval Pori / Nel Pori (puffed rice)
- Grated Jaggery
- Finely sliced / chopped Coconut pieces
- Cardamom powder
Each of these ingredients plays an essential role in creating the perfect Pori Urundai:
- Puffed rice (Aval Pori / Nel Pori): This provides the light, airy base. Its delicate crunch contrasts beautifully with the sticky jaggery syrup, giving the urundai its signature texture.
- Jaggery: This is the sweetener and binder — when boiled to just the right consistency, jaggery syrup coats the puffed rice and helps hold everything together. It also provides a warm, caramel-like depth of flavor that feels very traditional.
- Coconut pieces: Lightly dry-fried coconut adds a toasty richness and a subtle chewiness. Frying removes moisture so that the coconut stays crisp even after mixing, which elevates both texture and flavor.
- Cardamom powder: This spice gives a fragrant, floral aroma that cuts through the sweetness and lifts the overall flavor profile. It’s a small but powerful ingredient that makes the urundai feel festive and aromatic.
See recipe card for quantities.
Instructions
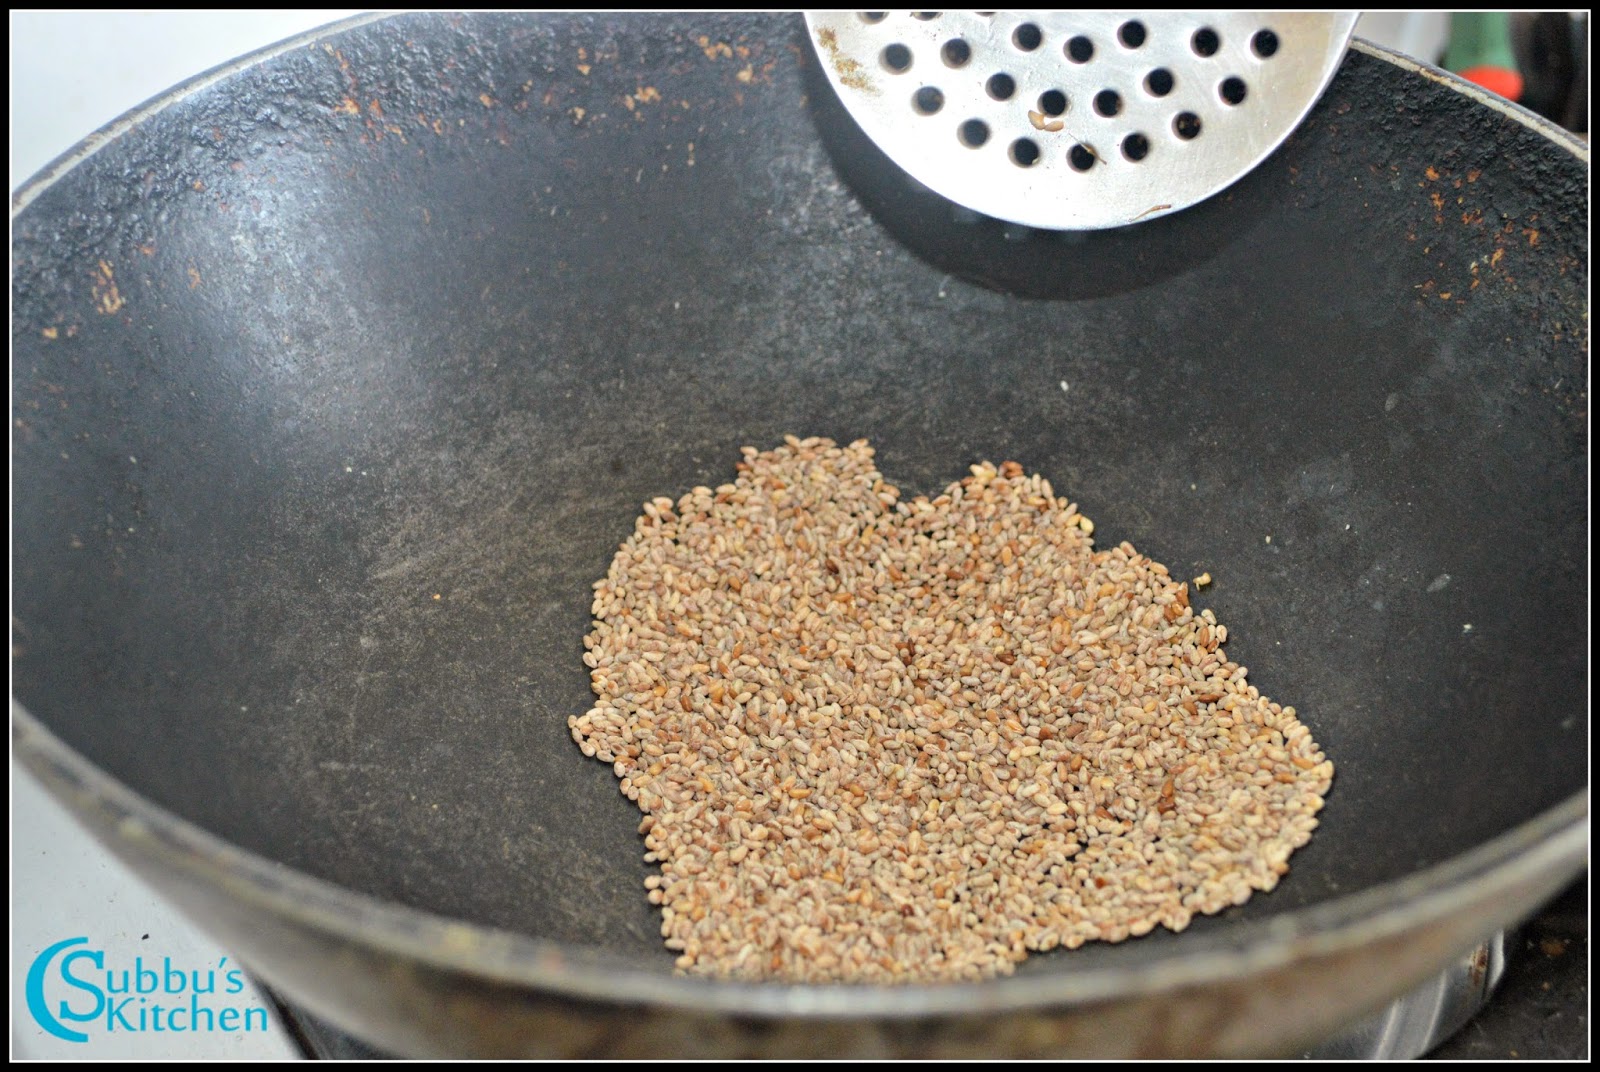
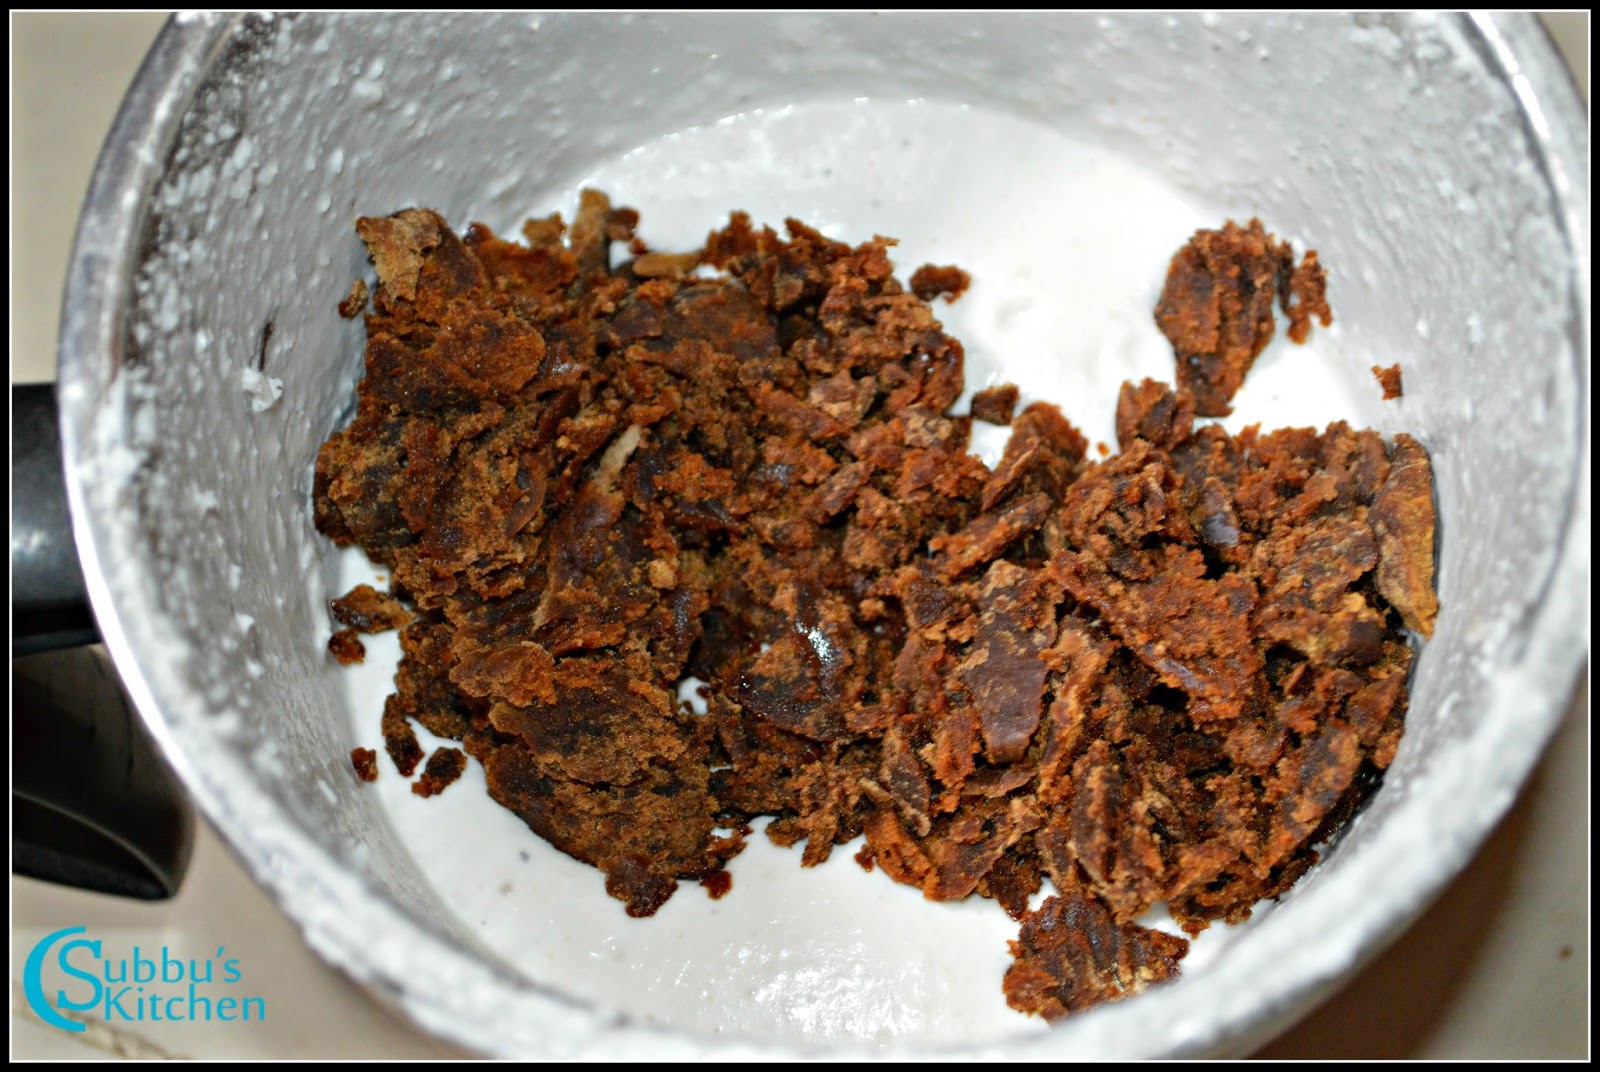
- Heat a pan and add the finely chopped coconut pieces. Dry roast them on a low flame until they turn deep brown and all the moisture evaporates.
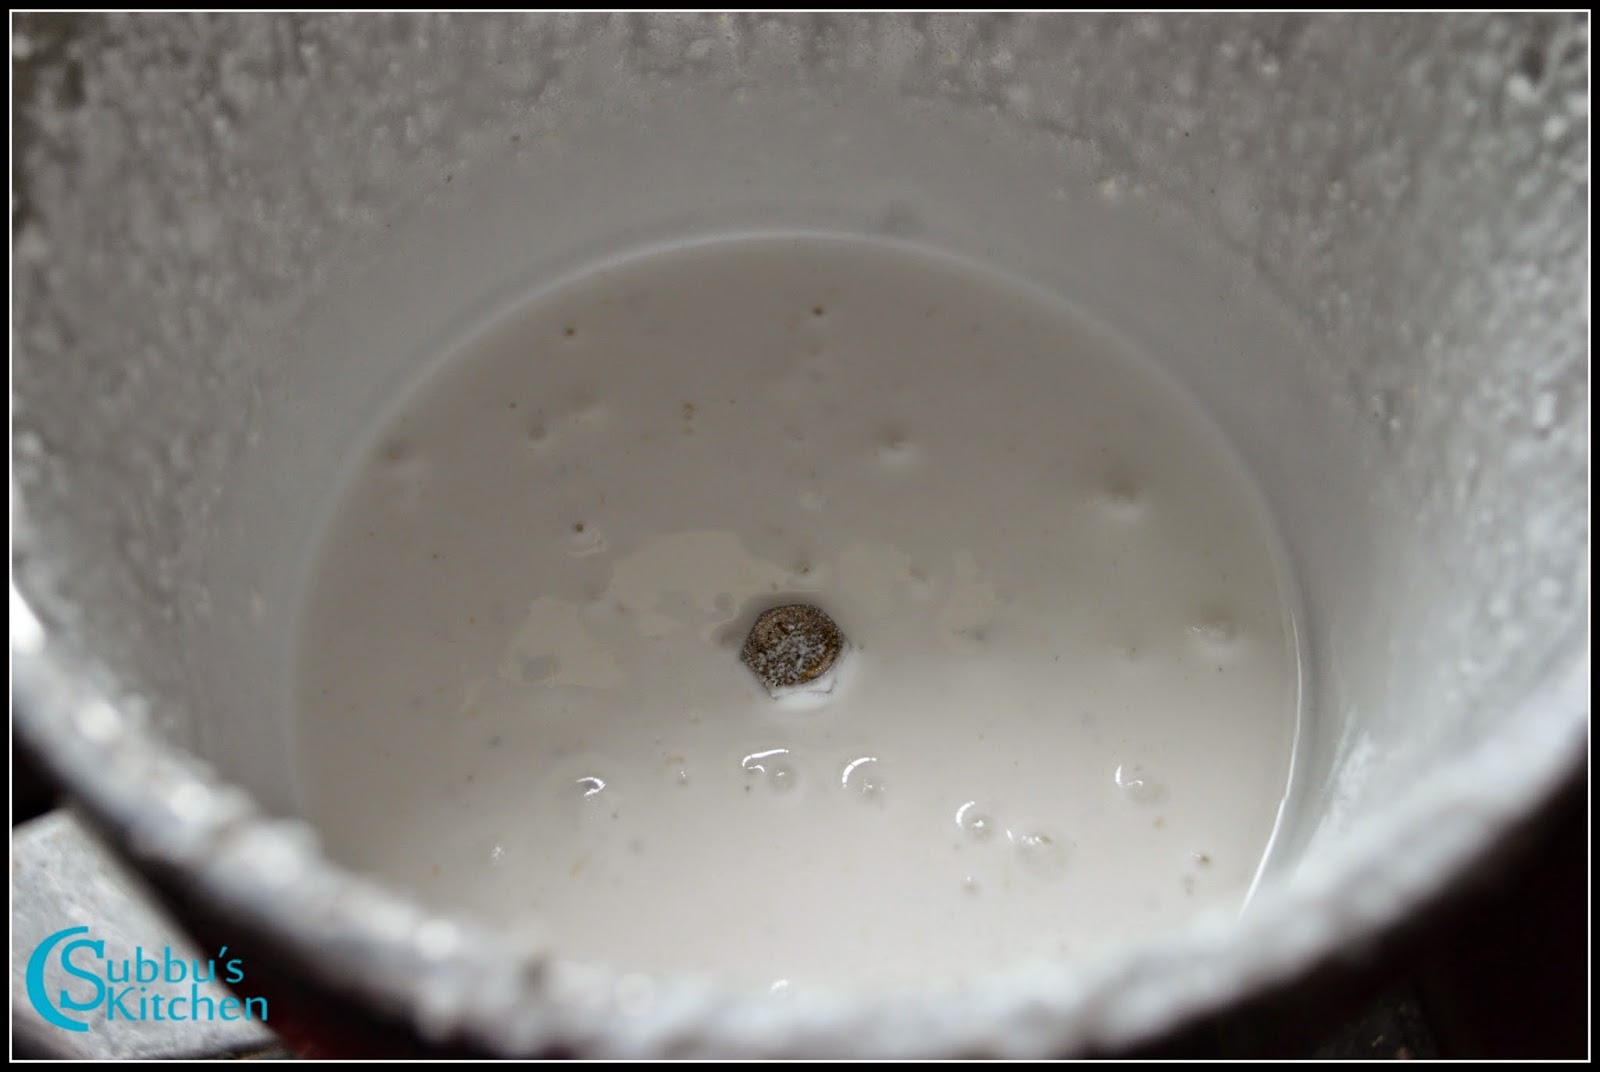
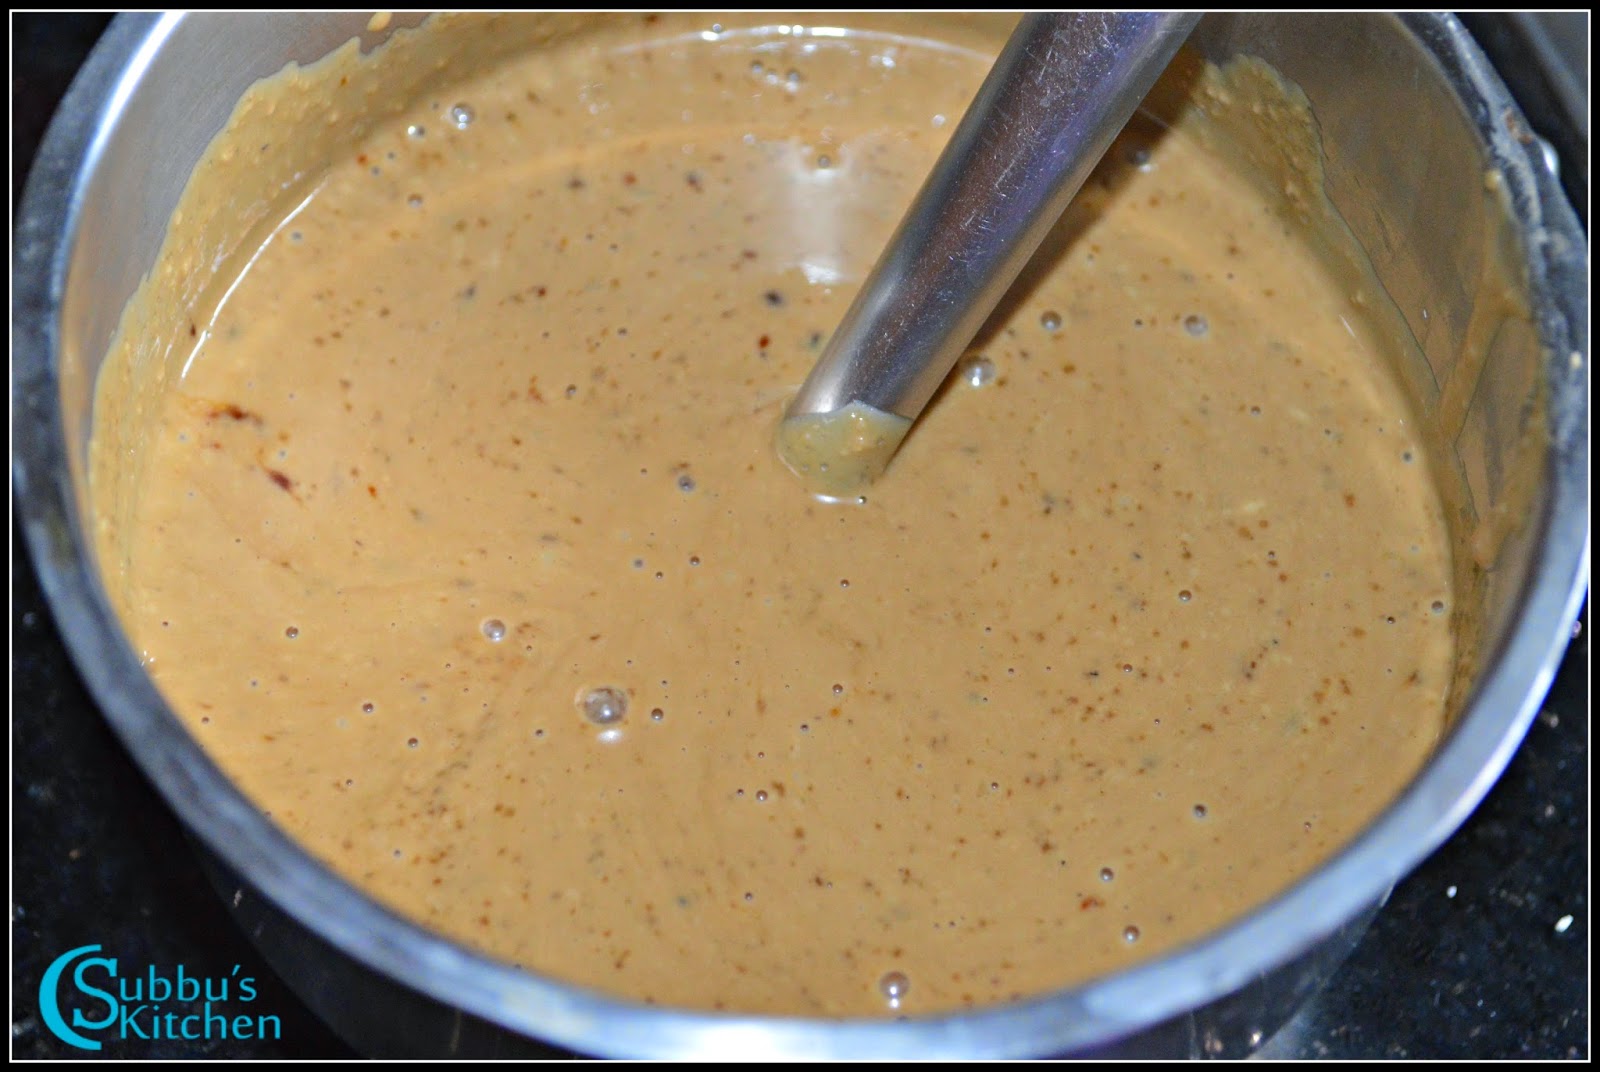
- Add the grated jaggery to a pan
- Add ½ cup of water and heat it on a low flame, allowing the jaggery to melt completely into the water.
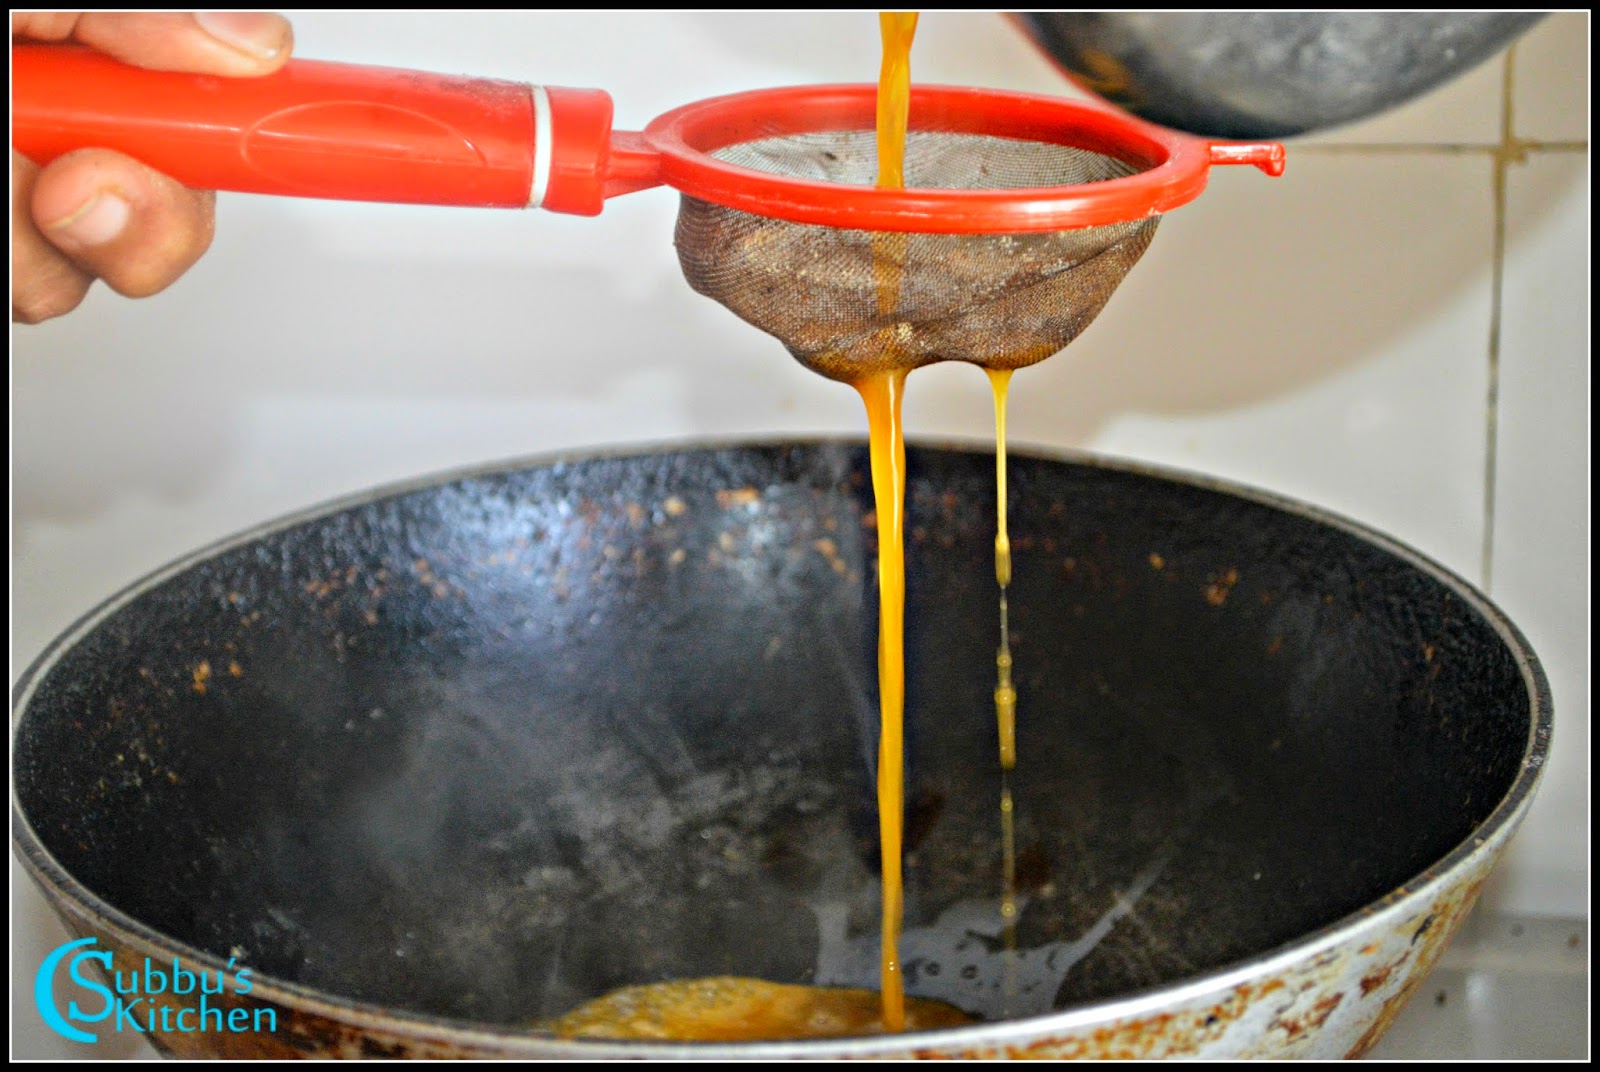
- Once the jaggery has fully dissolved, strain the syrup to remove any impurities such as dirt or sand.
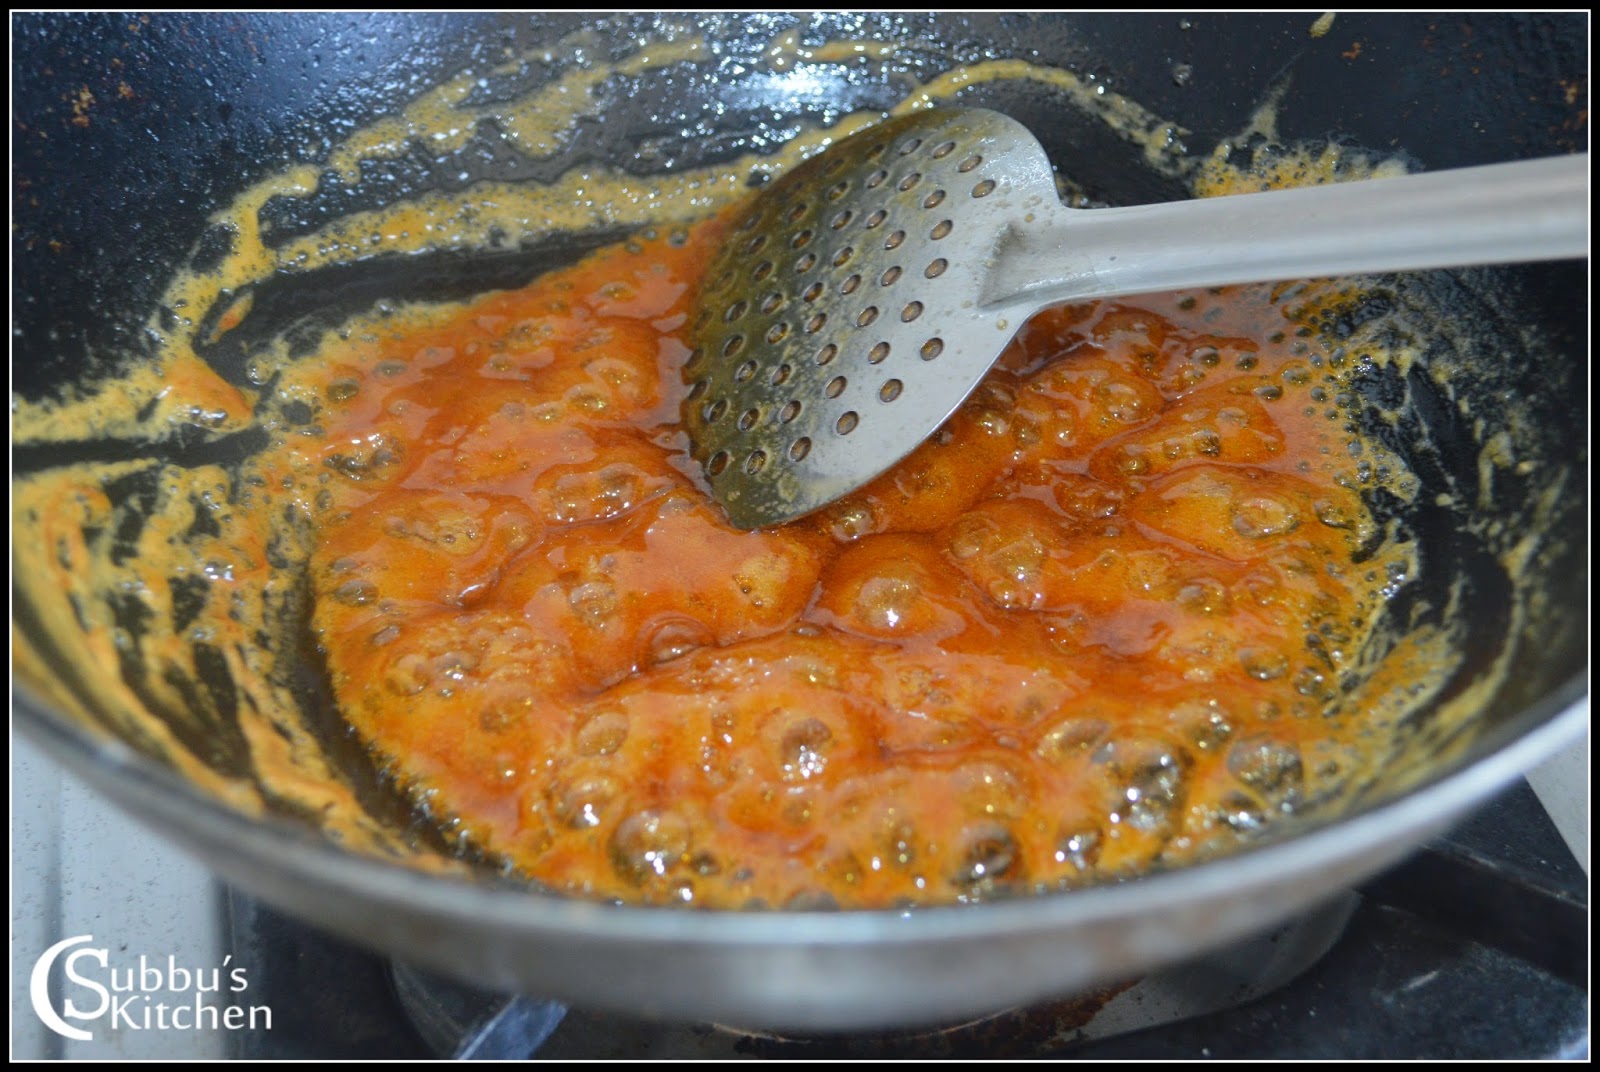
- Return the strained jaggery syrup to the pan and boil it again, stirring continuously until it reaches stone consistency.
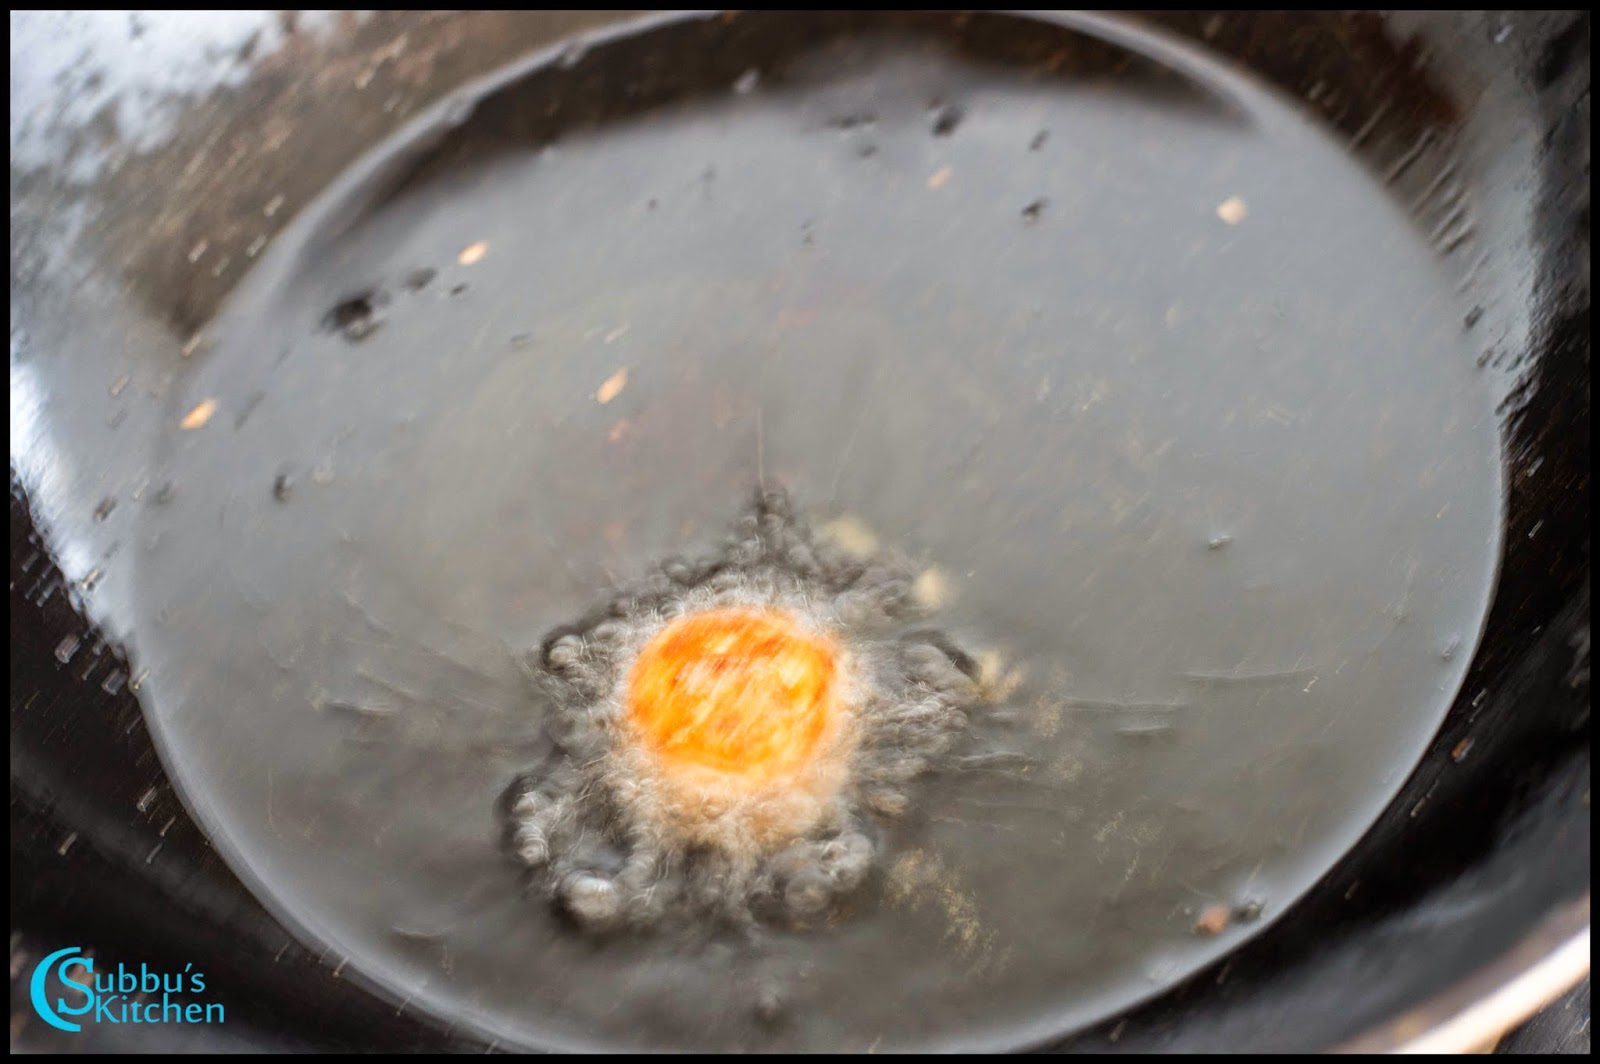
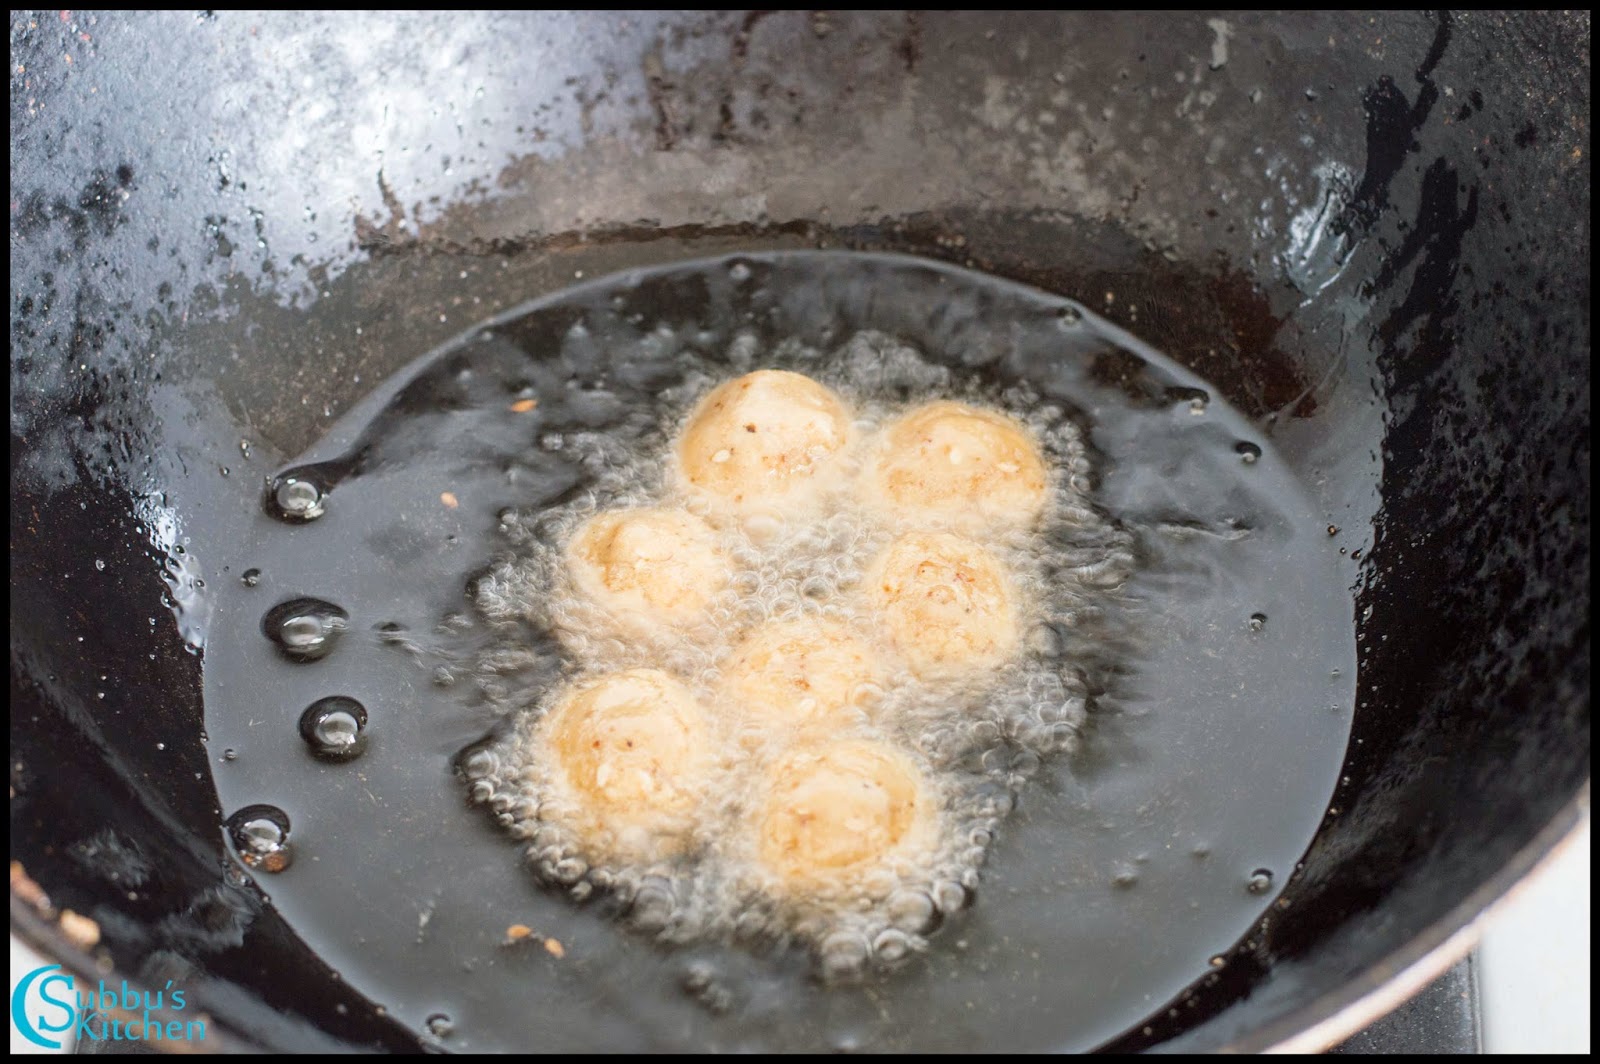
- To check, drop a small amount of the syrup into a bowl of water—it should not dissolve, and you should be able to form a soft ball. The syrup should be firm enough to hold its shape but not too hard. When you drop this ball onto a steel plate, you should hear a distinct tapping sound, indicating the syrup has reached the perfect consistency.
- When you take a portion of the jaggery syrup from the bowl, you should be able to roll it into a soft ball. It should also produce a light tapping sound when dropped onto a plate or surface. This indicates that the jaggery syrup has reached the perfect consistency.
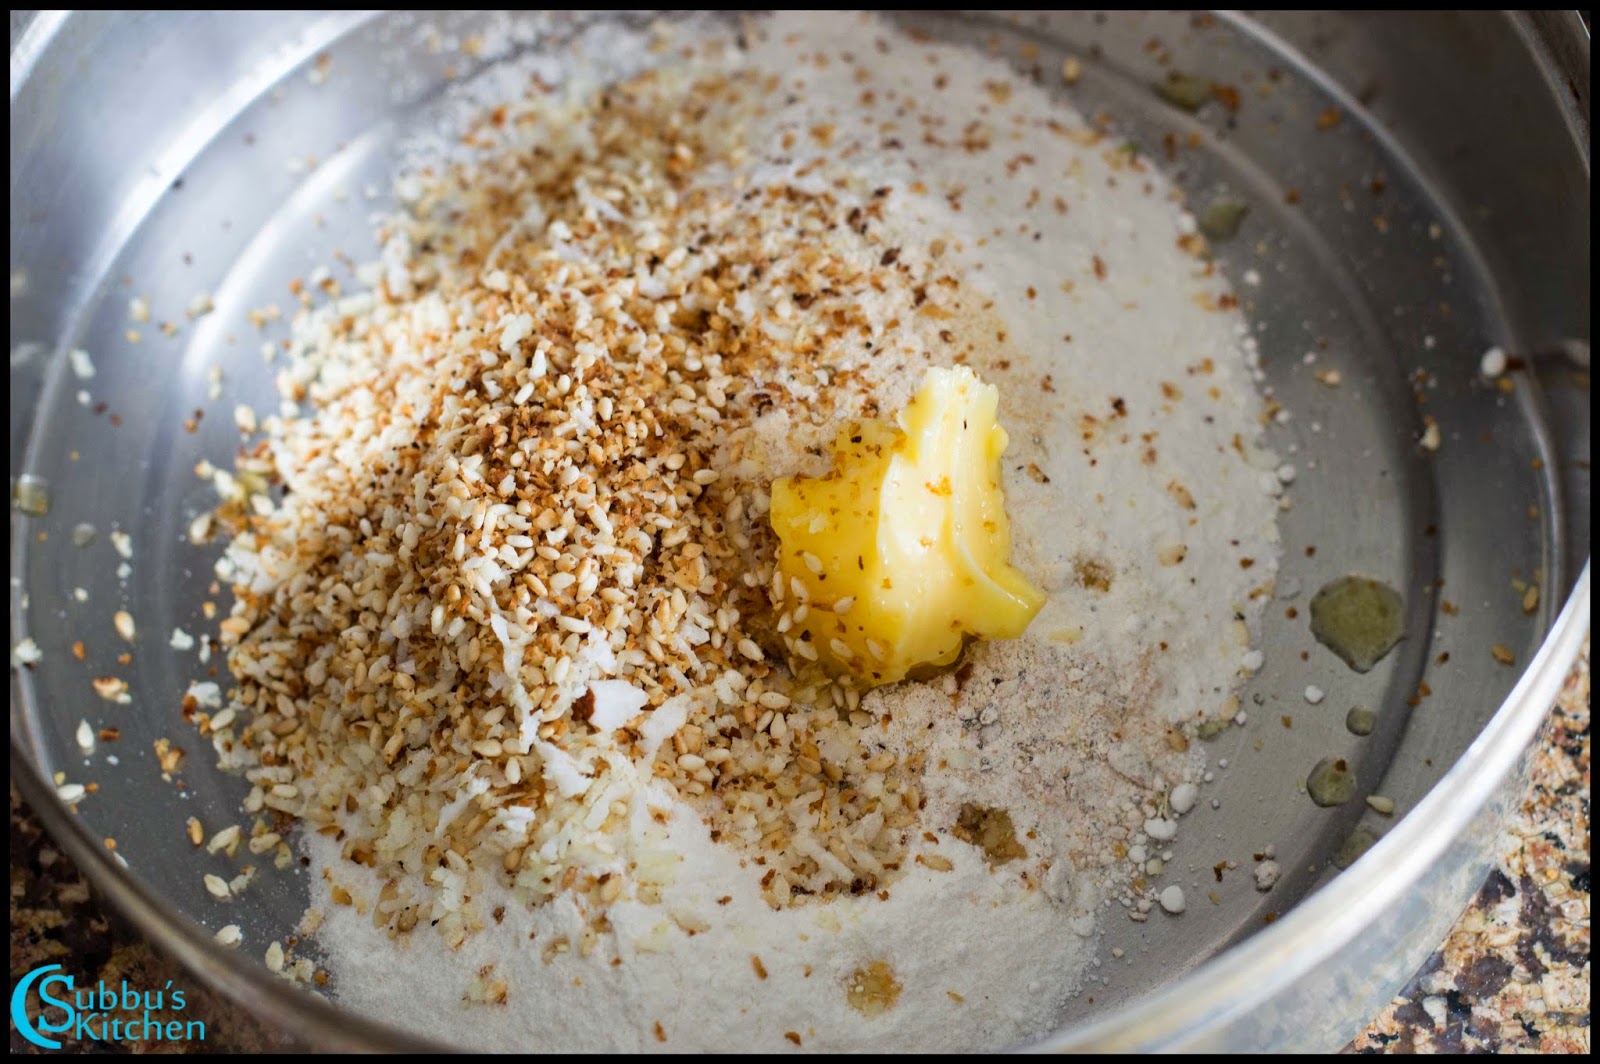
- Add the cardamom powder and the fried coconut pieces to the jaggery syrup, and stir well to combine. Remove the pan from the flame, then immediately add the Nel Pori or Aval Pori.
- Gently mix the Aval or Nel Pori with the jaggery syrup until well coated.
- Transfer the mixture onto a plate and spread it evenly.
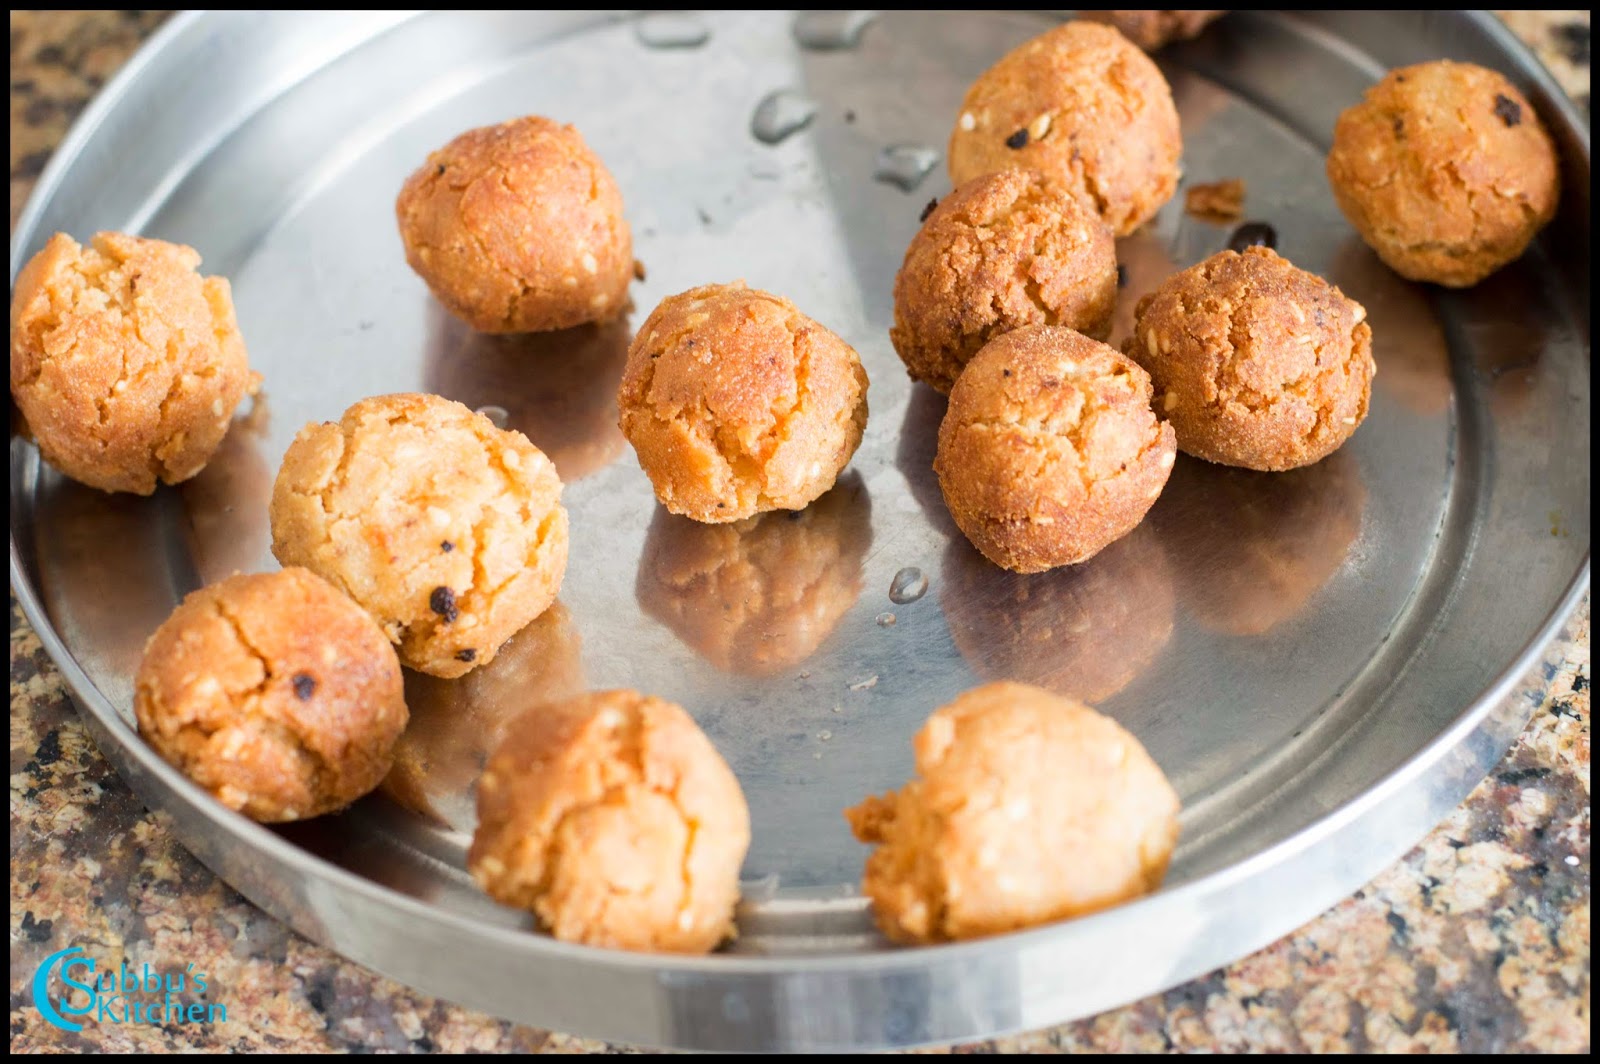
- Once the pori mixture has cooled enough to handle, start shaping it into balls with your hands. If the mixture feels too hot or sticky, lightly dust your palms with rice flour to make the process easier.
- Alternatively, you can shape the mixture into paruppu thengai as shown in the picture below. Repeat the same procedure for the other variety of Pori.The delicious Aval & Nel Pori orundai is now ready for neivedhyam.
Hint: Make sure the jaggery syrup reaches the right stone consistency before mixing with the puffed rice—this ensures the Pori Urundai holds its shape. If the mixture is too sticky to handle, lightly dust your palms with rice flour for easy shaping.
Variations
- Nutty – add roasted cashews, almonds, or pistachios along with the coconut pieces for a crunchy, festive twist.
- Sesame – mix in roasted sesame seeds with the puffed rice and jaggery syrup for a nutty flavor and added health benefits.
- Dry Fruit – include finely chopped raisins, dates, or dried figs to make the sweet richer and more indulgent.
- Coconut Milk – replace part of the water in the jaggery syrup with coconut milk for a creamier, aromatic variation.
- Healthy / Millet – swap puffed rice with puffed millets like foxtail millet or ragi for a fiber-rich and wholesome version.
Storage
Allow the Pori Urundai balls to cool completely before storing. Keep them in an airtight container at room temperature for up to 7–10 days. For longer shelf life, store in the refrigerator for up to 2 weeks, and bring to room temperature before serving to retain their crispness.
Top Tip
Ensure the jaggery syrup reaches the perfect stone consistency before mixing with the puffed rice—this is key for shaping the pori urundai without it falling apart. Test by dropping a small amount of syrup in water; it should form a soft ball that holds its shape.
FAQ
Aval Pori is puffed rice made from flattened rice flakes, while Nel Pori is traditional puffed rice. Both can be used interchangeably in this recipe with the same method.
The syrup is ready when it reaches stone consistency. Drop a small amount in water—it should form a soft ball that holds its shape but is not too hard. You should also hear a light tapping sound if dropped on a plate.
Yes, if the mixture has cooled enough and isn’t too sticky, you can shape it with your hands. If it sticks, lightly dust your palms with rice flour for easier handling.
Traditional jaggery gives the authentic taste and texture, but you can try palm sugar or brown sugar as a substitute. Note that the flavor will vary slightly, and the syrup consistency may require adjustment.
Related
Recipe Card
Pori Urundai Recipe | Aval Pori Urundai Recipe | Nel Pori Urundai Recipe
Equipment
- Heavy Bottomed Pan
Ingredients
- 4 Cups Aval Pori / Nel Pori (Puffed Rice) 1 Cup - 250ml
- 1 Cup Grated Jaggery
- 2 tablespoon Finely Sliced Coconut
- 1 teaspoon Cardamom Powder
Instructions
- Heat a pan and add the finely chopped coconut pieces. Dry roast them on a low flame until they turn deep brown and all moisture has evaporated—this step is essential to ensure the crispness of the Pori Urundai. You’ll notice the coconut pieces start to crackle and burst slightly when perfectly roasted. Once done, set the fried coconut aside.2 tablespoon Finely Sliced Coconut
- Add the grated jaggery to a pan and pour in ½ cup of water. Heat on low flame until the jaggery melts completely.1 Cup Grated Jaggery
- Once dissolved, strain the jaggery syrup to remove any impurities like dirt or sand.
- Return the strained jaggery syrup to the pan and boil it again, stirring continuously until it reaches stone consistency. To check, drop a small amount of syrup into water—it should not dissolve and should form a soft ball. The ball should be firm enough to hold its shape but not too hard. When dropped onto a steel plate, it should make a light tapping sound. This indicates the jaggery syrup has reached the perfect consistency for making Pori Urundai.
- Add cardamom powder and the fried coconut pieces to the syrup and mix well. Remove from heat.1 teaspoon Cardamom Powder
- Add the Aval or Nel Pori to the syrup and mix thoroughly until the puffed rice is well coated.4 Cups Aval Pori / Nel Pori (Puffed Rice)
- Transfer the mixture to a plate and spread evenly. Allow it to cool slightly.
- Once the pori mixture has cooled enough to handle, shape it into balls using your hands. If the mixture feels too hot or sticky, lightly dust your palms with rice flour to make shaping easier. Alternatively, you can shape the mixture into paruppu thengai cones.
- Repeat the same procedure for the other variety of Pori.
- The delicious Aval & Nel Pori orundai is now ready for neivedhyam.
Video
Notes
Nutrition
The post Pori Urundai Recipe | Aval Pori Urundai Recipe | Nel Pori Urundai Recipe appeared first on Subbus Kitchen.