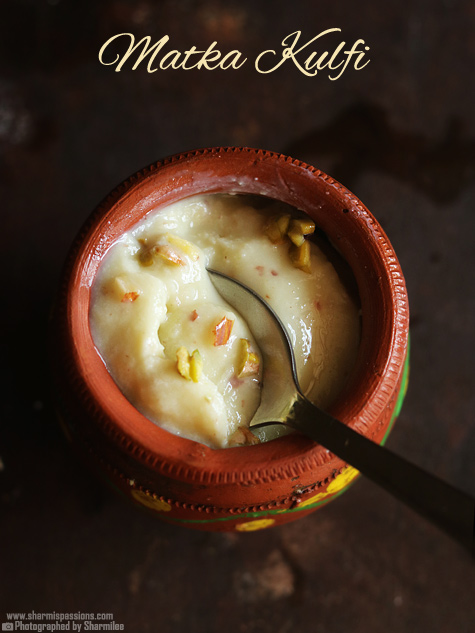
Matka Kulfi Recipe
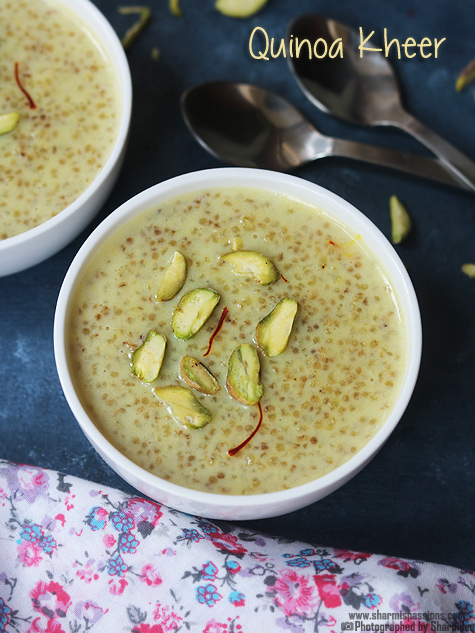
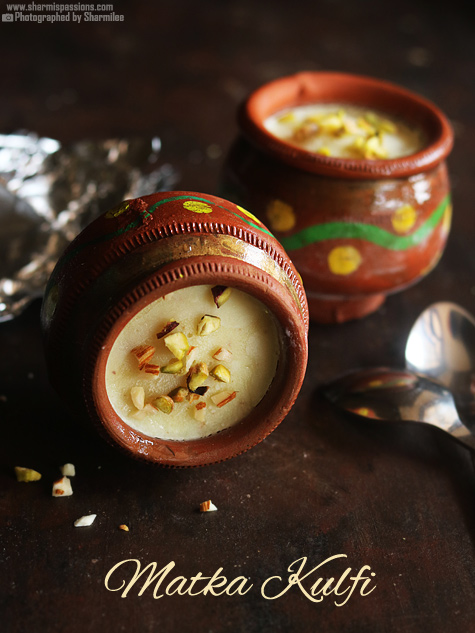
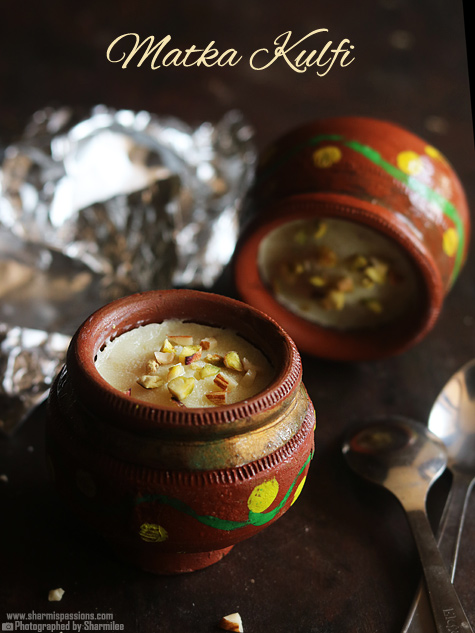
Matka Kulfi is a creamy dessert made by simmering milk till thick and then freezing it in small clay pots. Kulfi icecream set in earthen clay pots called as matka kulfi or pot kulfi is mostly made during summer time or you want something chilled to serve. The taste is rich, creamy and mildly sweet.
This kulfi recipe is special as it is set in the earthen matka pots which gives slight earthy flavor. The milk is cooked slowly so it becomes thick and creamy by itself. Nuts and cardamom flavor comes nicely in every bite. It tastes good after a spicy lunch or dinner, also simple to make with very basic ingredients at home.
[feast_advanced_jump_to]About Matka Kulfi
Matka kulfi is a frozen sweet made using reduced milk and nuts. This method gives natural taste and rich texture to the kulfi, instead of using cream or condensed milk, the thickness comes only from slow cooking the milk. It does not need any fancy cream or machines at all.
The texture of matka kulfi is rich and creamy, not icy or watery. Nuts like almonds and pista adds small bites in between. The cardamom and saffron in this adds mild aroma which blends with milk. The sweetness stays balanced and does not overpower.
This kulfi is usually set in clay pots which is called matka. The earthen pot helps in slow freezing and also adds traditional touch to the dessert. You can also use steel cups or moulds, but matka gives that old style feeling which many people likes. It is one dessert that always gives comfort.
I make this during summer holidays or weekends when. It feels nice to make kulfi from scratch instead of buying from shop. Kids enjoy opening the matka and scooping the kulfi slowly.
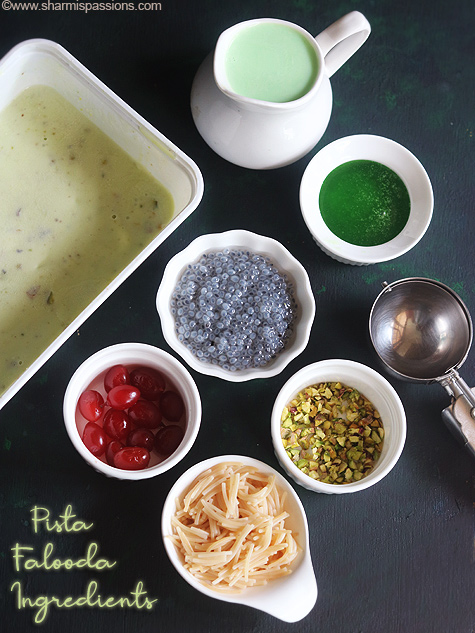
Matka Kulfi Ingredients
- Milk - I added full cream milk for rich taste, low fat milk will not give same creamy result, so try to avoid it.
- Sugar - I added for sweetness, it balances the nut flavors well. You can reduce little if you like mild sweetness.
- Almonds - I have used almonds for nutty taste and slight bite. You can soak and peel them or grind directly also.
- Pistachios - I added pista for flavor and light green bits in kulfi. Cashews can be used if pista is not there.
- Cardamom - I used this for mild aroma and traditional taste. Cardamom powder also can be used instead.
- Saffron - I added few strands for flavor and light color. If saffron is less, color will be very pale only.
Why This Recipe Works
- It is a traditional recipe made with simple ingredients only.
- The slow cooking gives natural thickness without adding cream.
- This recipe gives creamy texture without becoming icy.
- The nut powder adds flavor and makes kulfi more rich.
- You can freeze it in matka or cups easily based on what you have.
Similar Recipes
How to make Matka Kulfi Step by Step
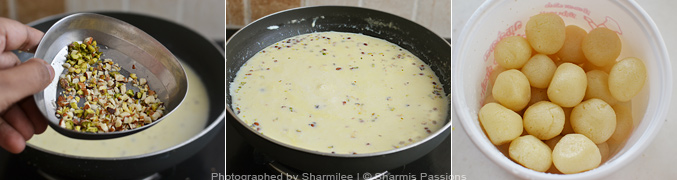
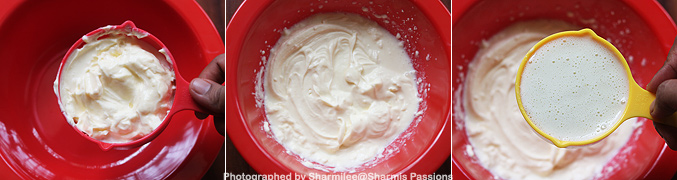
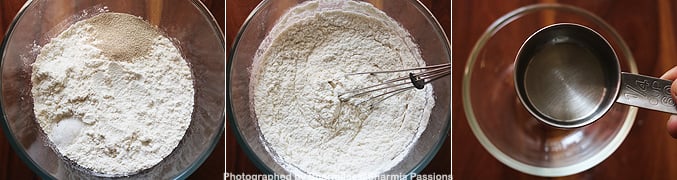
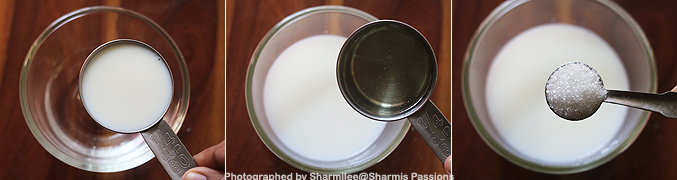
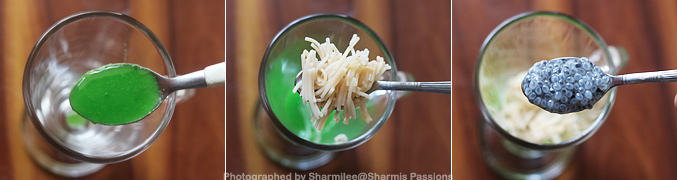
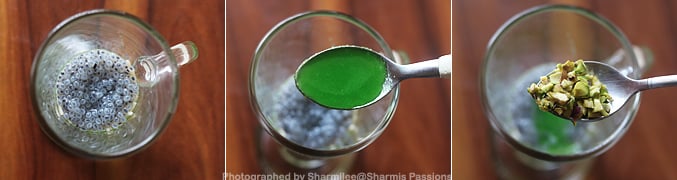
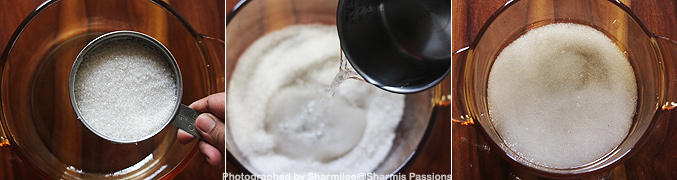
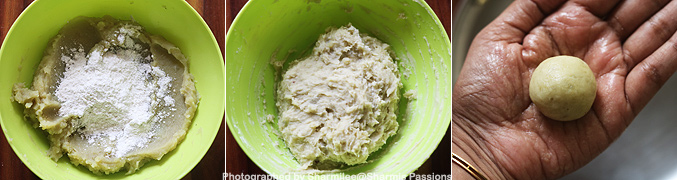
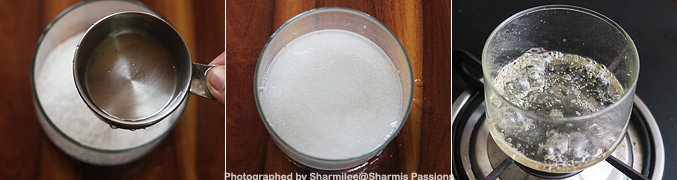
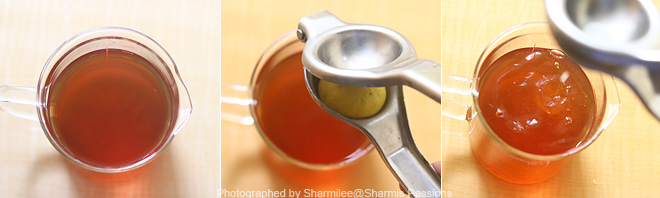
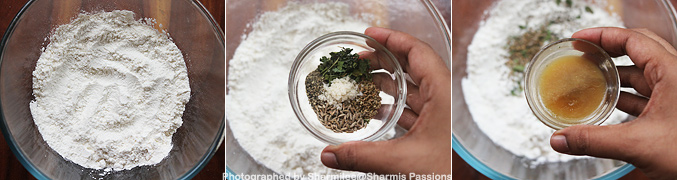
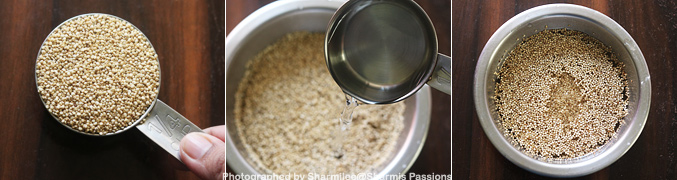
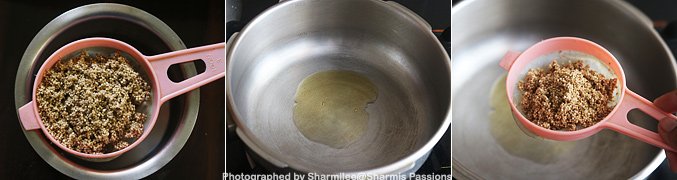
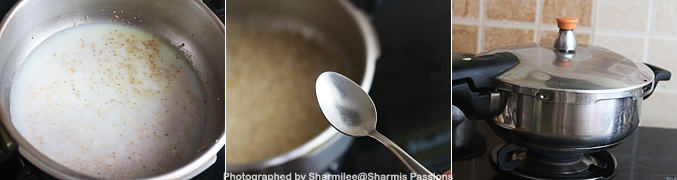
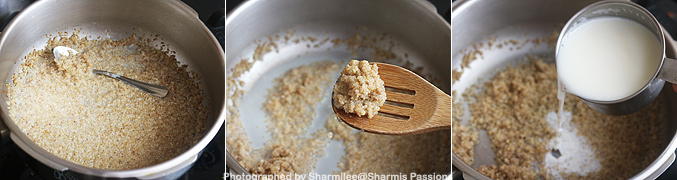
1.Grind together sugar, almonds, pistachios, saffron and cardamom together to a slightly coarse mixture, Set aside. Boil milk in a pan.
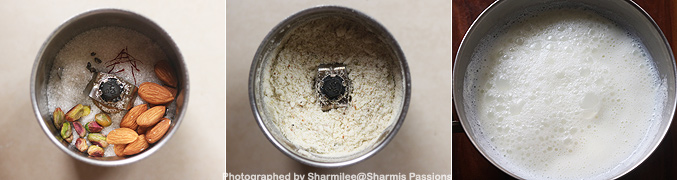
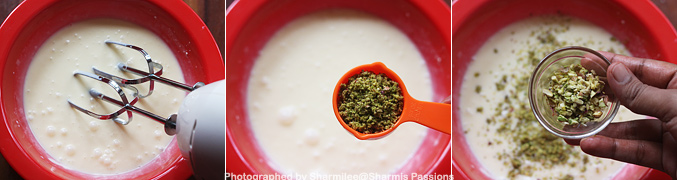
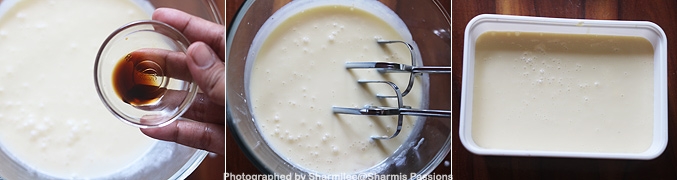
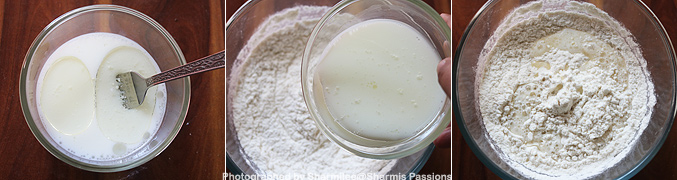
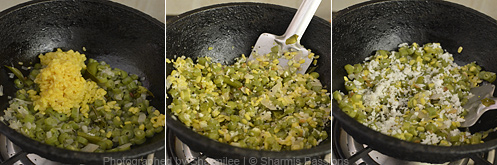
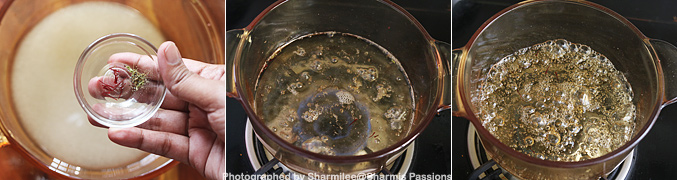
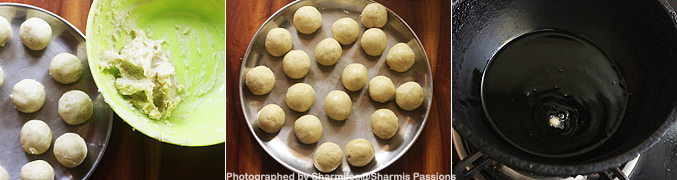
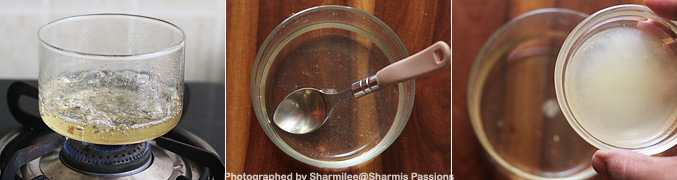
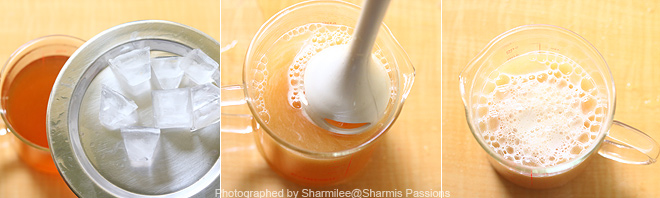
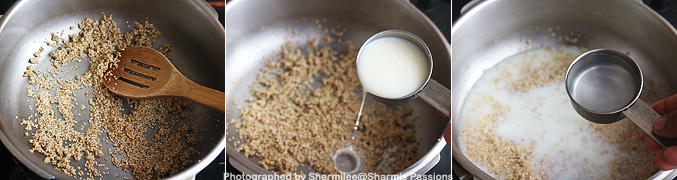
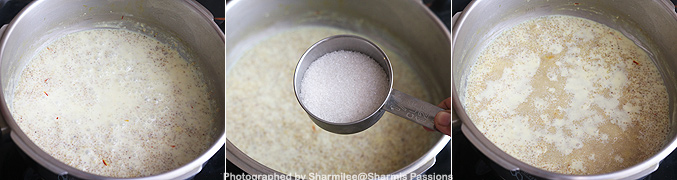
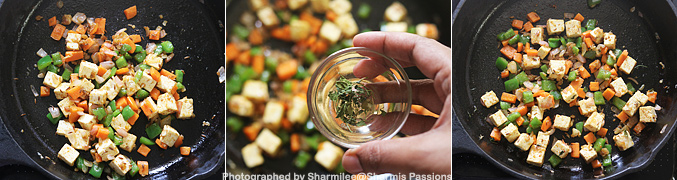
2.Simmer for 20 minutes till milk reduces. Stir in between to avoid burning at the bottom. Now add nuts sugar mixture.
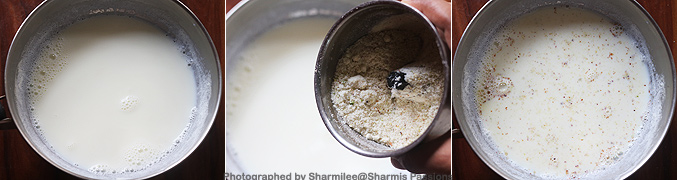
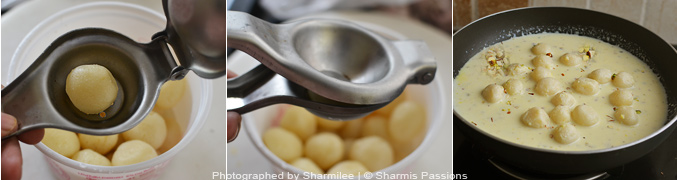
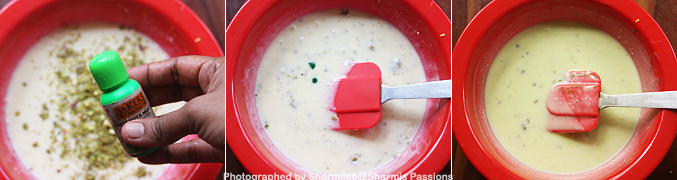
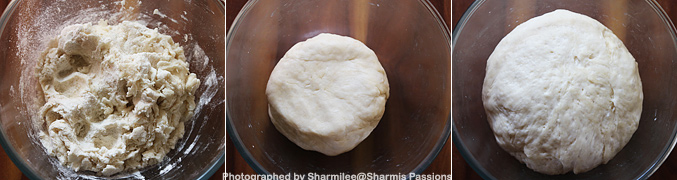
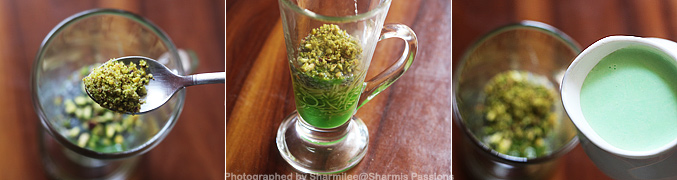
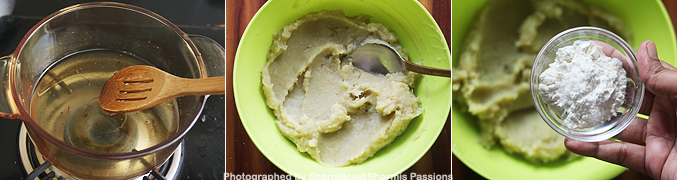
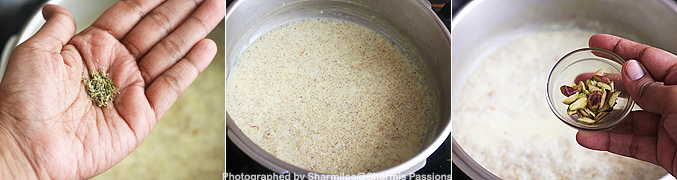
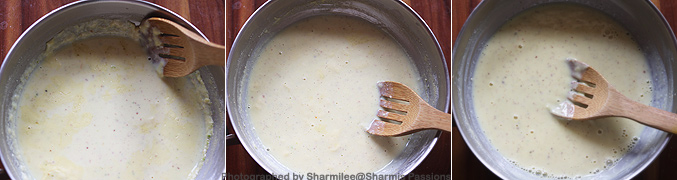
3.Scrap the sides and keep cooking till the mixture is thick and creamy like shown below. Keep cooking. till it coats the ladle. It takes atleast 15 minutes. Cool down completely.
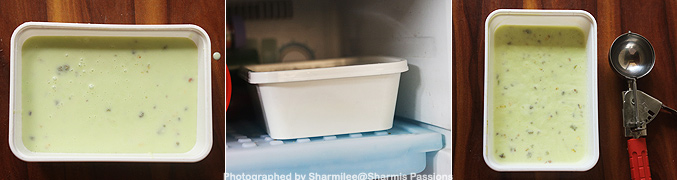
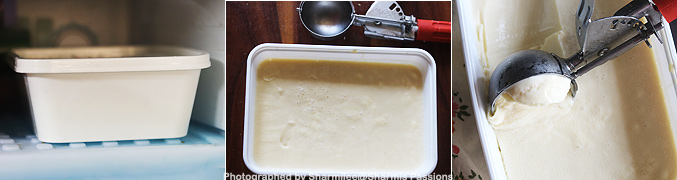
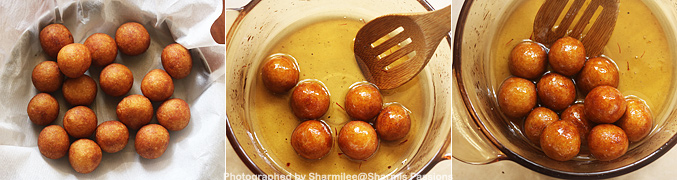
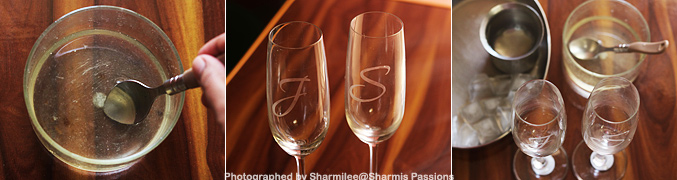
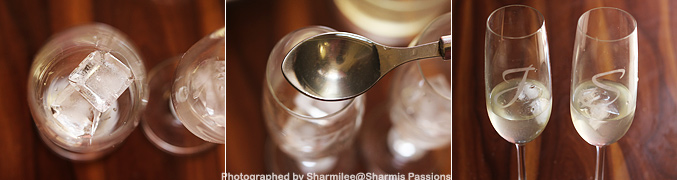
4.Rinse the clay pots then pour the mixture into the pots. Freeze it overnight or at least for 6-8 hours. I poured half of the mixture into kulfi moulds for mittus sake and only half of it in pots.
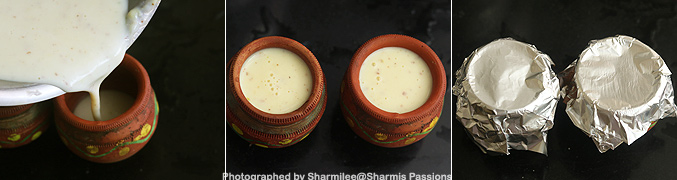
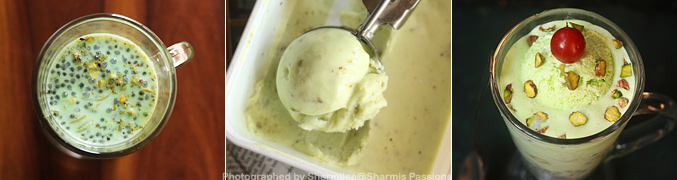
Serve chilled!
Expert Tips
- Milk reducing - Make sure to simmer the milk slowly and stir often. Try not to skip this step or milk may burn at bottom.
- Nut grinding - I grind the nuts slightly coarse, very fine paste will not give bite in kulfi.
- Thickness - I cook the milk till the mixture coats the ladle well. If it is thin, kulfi will not set properly.
- Freezing time - I freeze it overnight for best result. Minimum 6 to 8 hours is needed.
- Matka preparation - I just rinse the clay pots well before using. This removes dust and keeps kulfi clean.
Serving and Storage
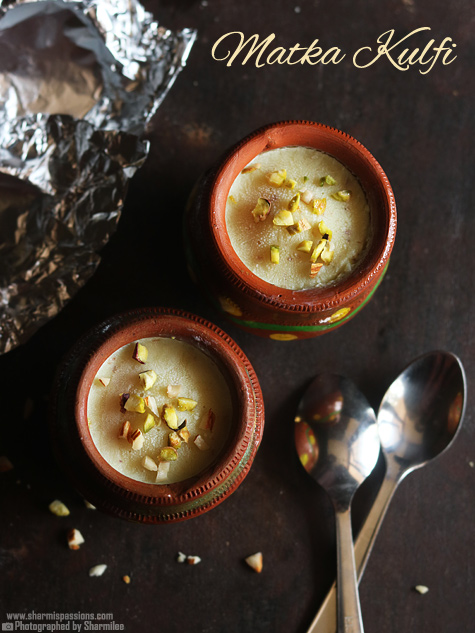
Serve it chilled topped with chopped nuts on top if you like little extra crunch. This goes well after lunch or dinner as dessert. Store leftover kulfi covered in freezer and use within 2 to 3 days only.
FAQS
1.Can I use condensed milk?
Yes you can, but taste will be rich and add it by tasting or it will become sweeter.
2.Is matka compulsory for this kulfi?
No, you can use steel cups or moulds also, matka just adds extra flavor.
3.Why my kulfi is not creamy?
Milk may not have reduced enough. Try cooking little more next time.
4.Can I add corn flour for thickening?
Yes you can add little corn flour mixed in milk, but it is optional.
5.How long can I store this kulfi?
It stays good for 2 to 3 days in freezer when stored properly.
If you have any more questions about this Matka Kulfi Recipe do mail me at sharmispassions@gmail.com. In addition, follow me on Instagram, Facebook, Pinterest ,Youtube and Twitter .
Tried this Matka Kulfi Recipe? Do let me know how you liked it. Also tag us on Instagram @sharmispassions and hash tag it on #sharmispassions.
📖 Recipe Card
Matka Kulfi Recipe
Ingredients
- 2 cups full cream milk
- ¼ cup heaped sugar
- 10 nos almonds
- 10 nos pista
- ½ no cardamom
- a pinch of saffron
Instructions
- Grind together sugar, almonds, pistachios, saffron and cardamom together to a slightly coarse mixture, set aside.
- Boil milk in a pan. Simmer for 15 mins till milk reduces. Stir in between to avoid burning at the bottom.
- Now add nuts sugar mixture. Scrap the sides and keep cooking till the mixture is thick and creamy. Keep cooking. till it coats the ladle.
- Cool down completely.
- Rinse the clay pots then pour it in the pots. Freeze it overnight or at least for 6-8 hours.
- Enjoy tasty Matka kulfi!
Nutrition
The post Matka Kulfi Recipe appeared first on Sharmis Passions.