❌

Reading view

There are new articles available, click to refresh the page.

An RP2040 Powered ADS-B Receiver

If you’ve ever heard the sound of an aircraft passing overhead and looked at an online plane tracker to try and figure out what it was, then you’ve interacted with ADS-B. It’s a protocol designed to enable easier aircraft monitoring, and it just so happens you can decode it yourself with the right hardware and software β€” which is how [John McNelly] came to develop ADSBee, an open source ADS-B receiver based around an RP2040.

ADS-B uses on–off keying (OOK) at 1 Mbps, and operates at 1090 MHz. This might seem like a rather difficult protocol to decode on a microcontroller, but the RP2040’s PIO is up to the task. All it takes is a bit of optimization, and a some basic RF components to amplify and digitize the signals.

However, not all aircraft utilize the 1090 MHz ADS-B implementation, and instead use a related protocol called UAT. Operating at 978 MHz, a second receiver is needed for decoding UAT traffic data, which is where the CC1312 comes into play. ADSBee may even be the first open source implementation of a UAT decoder!

What’s quite impressive is the various form factors the module is available in. Ranging from small solder-down modules to weatherproof outdoor base stations, nearly every potential need for an ADS-B receiver is covered. With POE or ESP32 S3 options available, there is no shortage of networking options either!

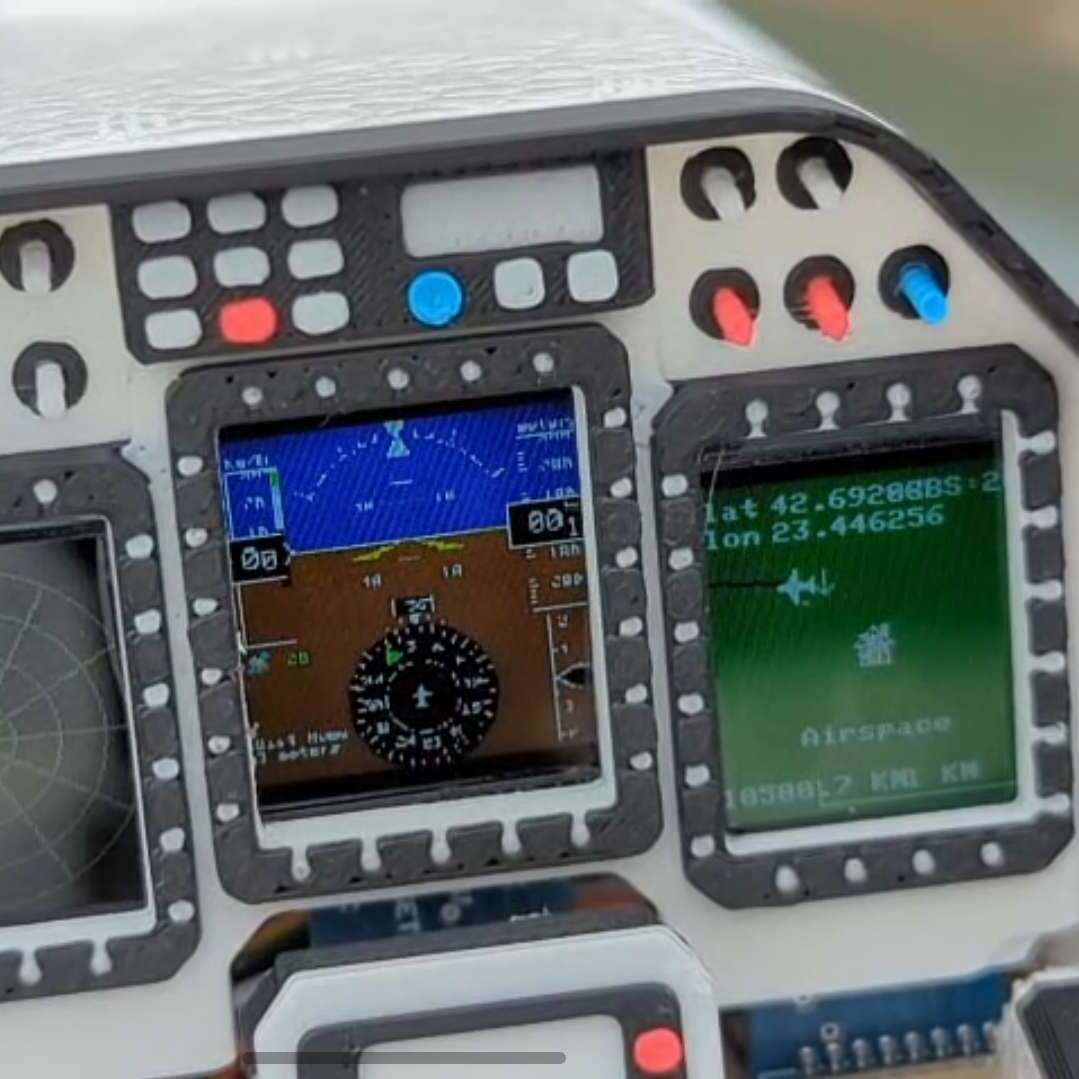
ADSBees have been placed in numerous locations, ranging from base stations to drones. One user even built out a tiny flight display cluster complete with traffic indicators into an FPV drone.

This isn’t the first time we have seen ADS-B receivers used by drone enthusiasts, but this is certainly the most feature rich and complete receiver we have come across.

Tired of Burnt Fingers? Try PID Tuning the Hot Glue Gun

The modified hot glue gun, reassembled

Hot glue guns are pretty simple beasts: there’s an on/off switch, a heating element, and a source of current, be it battery or wired. You turn it on, and the heater starts warming up; eventually you can start extruding the thermoplastic sticks we call β€œhot glue”. Since there’s no temperature control, the longer you run the gun, the warmer it gets until it is inevitably hotter than you actually want– either burning you or oozing thermoplastic out the tip. [Mellow_Labs] was sick of that after a marathon hot-glue session, and decided to improve on his hot glue gun with PID tuning in the video embedded below.

PID tuning is probably a familiar concept to most of you, particularly those who have 3D printers, where it’s used in exactly the same way [Mellow_Labs] puts it to work in the hot glue gun.Β  By varying the input (in this case the power to the heater) proportional both to the Parameter (in this case, temperature) as well as the Integral and Derivative of that value, you can have a much steadier control than more naive algorithms, like the simple β€œon/off” thermostat that leads to large temperature swings.

In this case [Mellow_Labs] is implementing the PID control using a thermistor that looks like it came from a 3D printer, and a MOSFET driven by an RP2040. Microcontroller gets its power via the hot glue gun’s battery fed through a buck converter. Since he has them, a small OLED screen displays temperature, which is set with a pair of push-buttons. Thus, one can set a temperature hot enough to melt the glue, but low enough to avoid oozing or third degree burns.

He does not share the code he’s running on the RP2040, but if you are inspired to replicate this project and don’t want to roll your own, there are plenty of example PID scripts out there, like the one in this lovely robot. No, PID isn’t reserved for thermostats– but if you are controlling heat, it’s not reserved for electric, either. Some intrepid soul put built a PID controller for a charcoal BBQ once.

An RPN Calculator and a Bonus VFD Clock From Casio Revival

The clock and the rebuilt calculator from which its VFD was donated.

Have you heard the saying β€œthe problem is the solution”? It seems to originate in the permaculture movement, but it can apply equally well to electronics. Take the problem [shiura] had: a Casio Mini CM-602 that had let out the magic smoke. The solution was a twofer: rebuild the Casio into a modern number cruncher with Reverse Polish Notation (RPN), and save the Vacuum Fluorescent Display (VFD) for a gorgeous WiFi clock.

[shiura]’s write-up includes a helpful guide for reverse engineering the pins on this sort of VFD, if you don’t happen to have the same model calculator (or VFD tube) they’re working with. If you’ve done this sort of thing, you know what to expect: power it up and kill power to the pins, one by one, to map out which segments or characters go out, thereby identifying the anodes and grid electrodes. The cathodes had already been ID’d from looking at the PCB. After that it’s just a matter of wiring the VFD to an ESP32 via a transistor array to get the voltages right, and voila! Clock. The code and case design files for this clock β€” including an editable .blend β€” are available via GitHub.

The calculator half of the project is an incredibly elegant hack that relies on the fact that the Casio’s CPU has the same pin pitch as modern micros: 2.54 mm, or 0.1β€³, so an RP2040 zero can sit in the footprint of the original CPU, scanning the keypads with its GPIO. Then an I2C display is separately wired up to replace the clockified VFD. Perhaps some driver circuitry for the VFD died, or [shiura] salvaged the display before deciding to save the calculator, because otherwise we see no reason why this brain transplant couldn’t be done while keeping the original display. Admittedly having two lines on the display instead of one make the β€œnew” calculator a tad more usable. The code for that is also available on GitHub, and while the readme is in Japanese, machine translations have gotten pretty good and the code is quite readable on its own.

Longtime readers will likely be familiar with [shiura]’s work, with a number of finely crafted clocks having been featured from the Japanese maker, along with vintage pocket computer repairs. Bringing both together makes this twin hack particularly on-brand.

❌