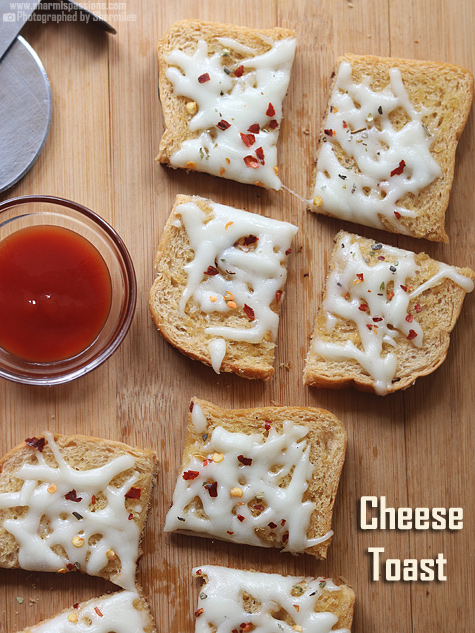
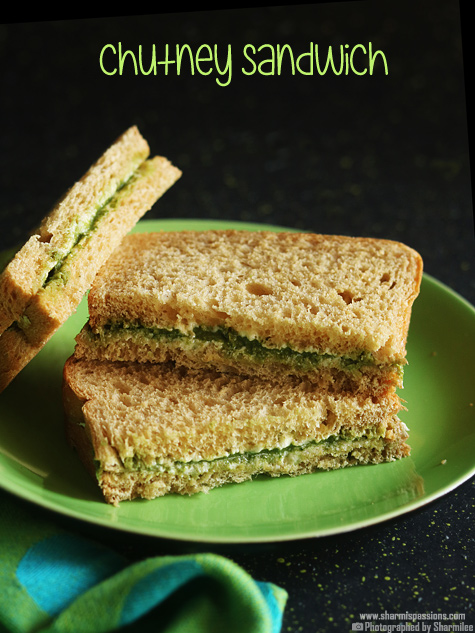
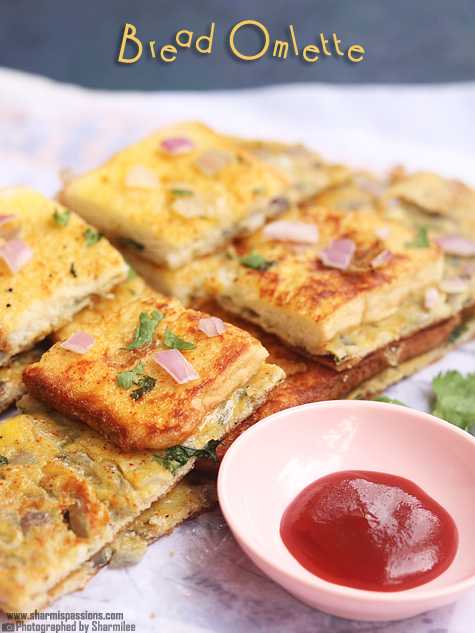
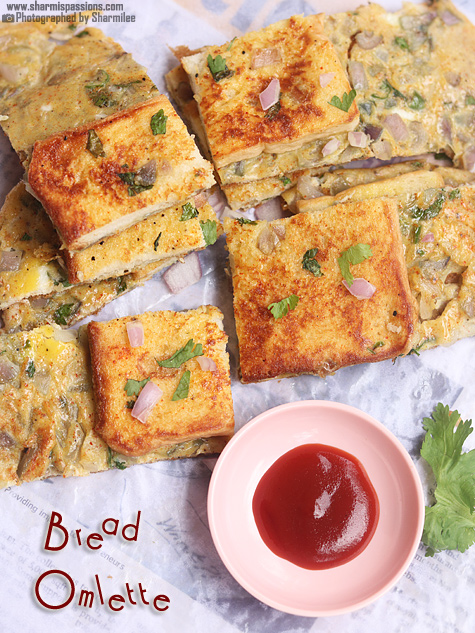
Cheese Toast Recipe
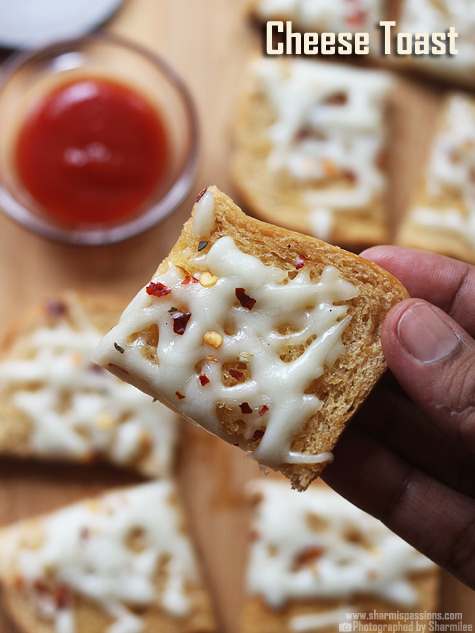
Cheese Toast is a very easy breakfast made using bread, butter and cheese. It is mild in taste, soft inside and crisp on the outside. This is usually made on busy mornings or sometimes on lazy weekends for breakfast at home. It takes very less time and no special preparation is needed.
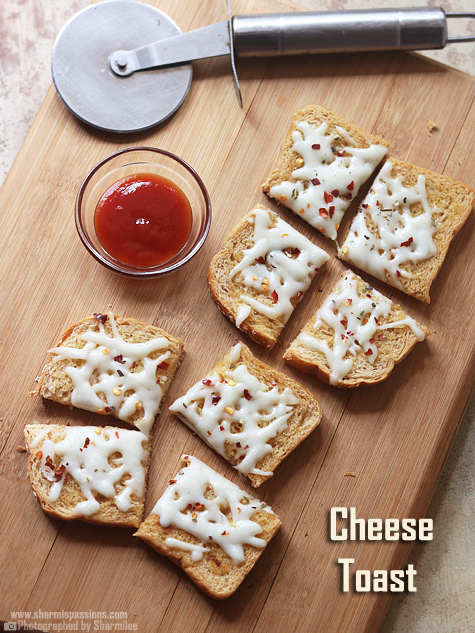
This cheese toast feels light but still good for a quick satisfying meal. Melted cheese on warm buttered bread gives that comfort taste. It taste good even without any side dish. You can serve it with ketchup or any dip if needed too. It is that one basic breakfast option that mostly never fails.
[feast_advanced_jump_to]About Cheese Toast
Cheese Toast is a simple recipe where bread slices are buttered, toasted and then topped with grated cheese. It can be made on dosa tawa or in a toaster. Both works fine. Making it on tawa gives better control and also a nice crisp base. It is also easy to flip and check while cooking.
The texture comes soft and crisp together. Bread turns golden and crisp at bottom while the cheese melts soft on top. Oregano and chilli flakes adds light flavor and aroma. It does not make it too spicy or strong. Even kids usually like this mild taste. It is quick, comforting and everyone at home likes it.
This recipe is just quite flexible to make at home. You can easily customize the bread, cheese or seasoning based on what you have. Even with small changes the taste comes out good. It works well even if you are short on ingredients. No need to follow anything exact. It suits anytime of the day.
I usually make cheese toast on weekends for a relaxed breakfast. Sometimes I make it even for evening snack when I don't want to cook much. This Cheese Toast is mittus favorite so make it for once in a while usually she loves bread in any form like mother like daughter.
This Cheese Toast Recipe is very easy to make and am sure it will be a hit with kids.You can serve this as a snack or appetiser.
Cheese Toast Ingredients
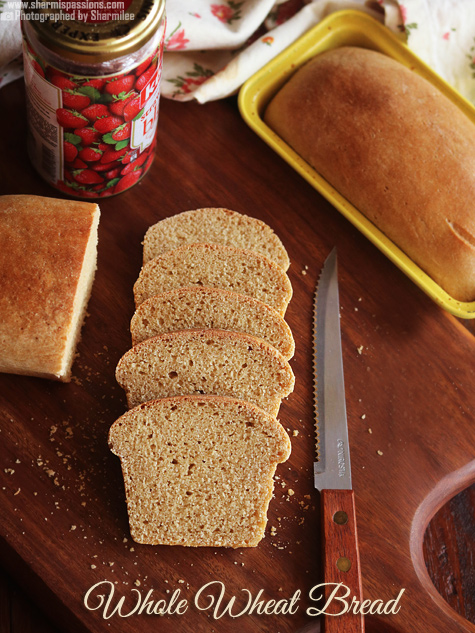
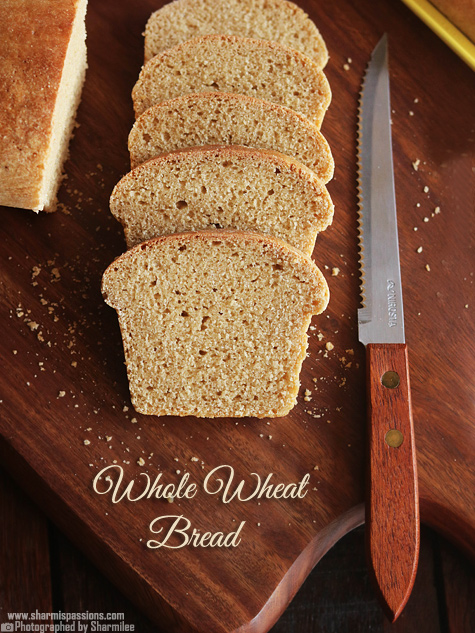
- Wheat bread - I have used wheat bread as that is what I had in hand. It gives slightly firm texture and holds butter well. White bread also works well.
- Butter - I spread soft butter for easy spreading. It helps to toast the bread evenly and gives rich taste.
- Cheese - I grate and used for that cheesy pull, you can add processed or mozarella cheese.
- Oregano - I added for mild flavor and light aroma. It gives simple seasoning without overpowering the toast.
- Chilli flakes - I added little chilli flakes for slight spice. This is optional and can be reduced for kids.
Why This Recipe Works
- It needs very less ingredients and effort.
- It gets ready in just few minutes.
- The bread becomes crisp and has a cheesy pull.
- The flavor stays mild and balanced.
- It suits for breakfast, snack or even light dinner.
Similar Recipes
How to make Cheese Toast Step by Step
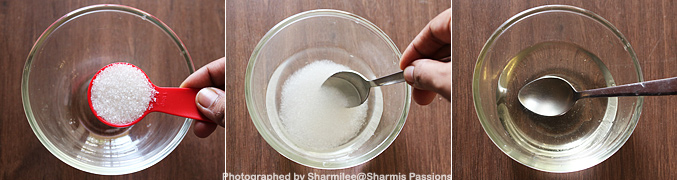
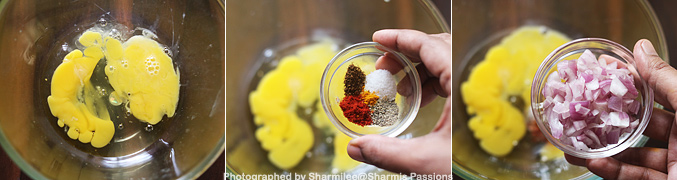
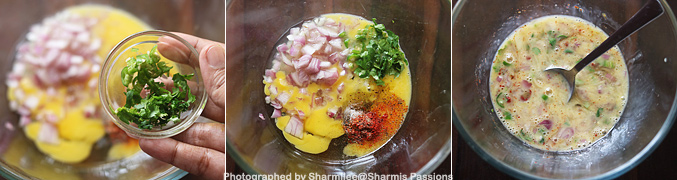
1.Take butter at room temperature. Add oregano, salt and chilli flakes to it.
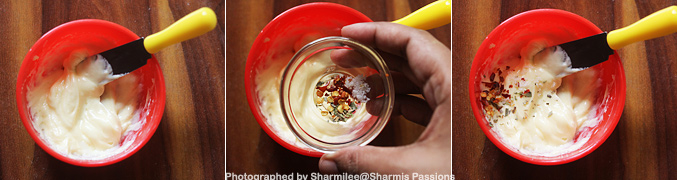
2.Mix it. Now get ready with the butter spread, cheese and bread slices
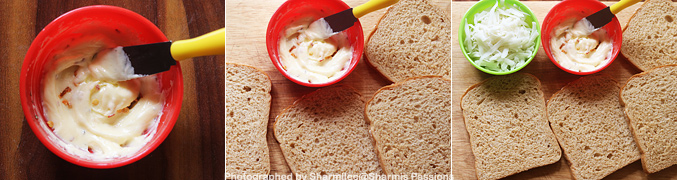
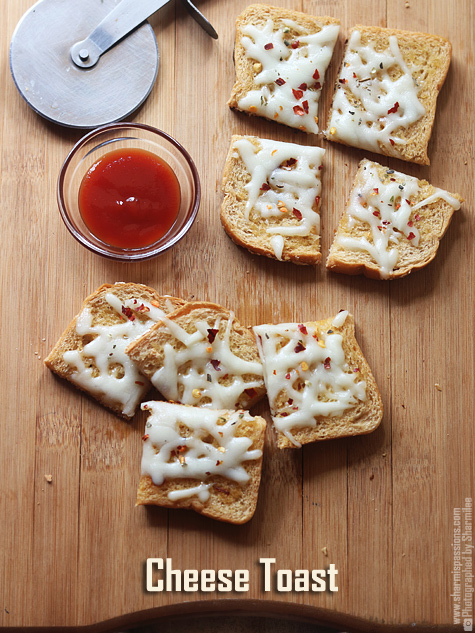
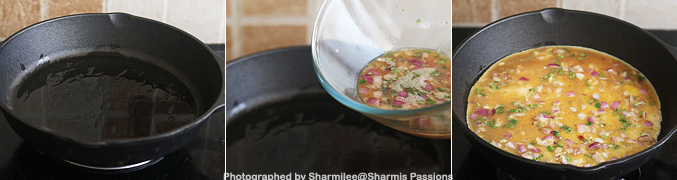
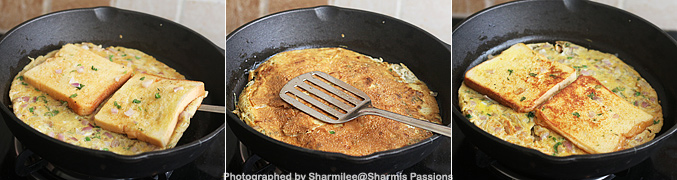
3.Spread the butter on both the sides on each bread. Heat dosa tawa, place the bread slices carefully. I toasted 2 slices at a time.
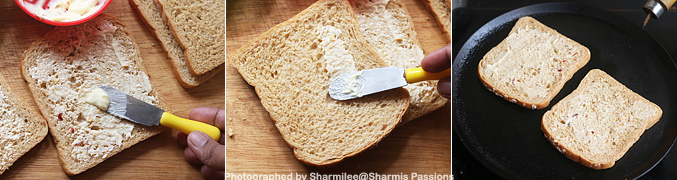
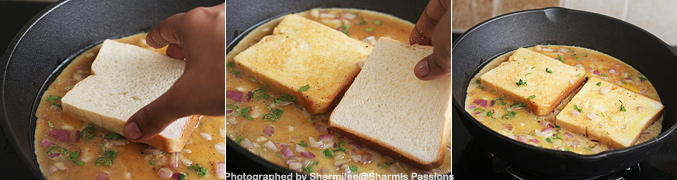
4.Toast till slightly golden, then sprinkle cheese op top to cover up,simmer the flame then cook covered for few seconds.
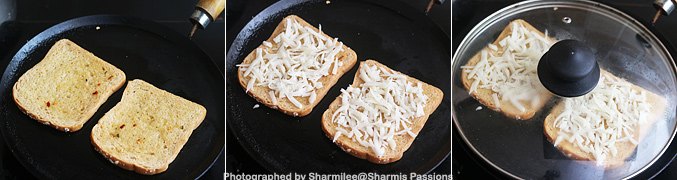
5.Cook till cheese melts by then the bottom must have become crisp. Remove from tawa, sprinkle a pinch of chilli flakes, oregano then cut and serve.

Serve hot.
Expert Tips
- Butter mix - I always mix butter with oregano, chilli flakes and little salt before spreading. This helps the flavor spread evenly and bread gets taste in every bite. Sometimes I mix directly without measuring also
- Toasting - I toast the bread only till it is slightly golden. If you toast it too much, it may burn later when cheese melts on top. So better not to over toast it.
- Cheese melting - I keep it on low flame and cover the pan so cheese melts slowly and evenly.
- Cheese choice - I have used mozzarella since it melts well and gives good stretch also. But any melting cheese works fine, based on what you have.
- Extra flavor - Sometimes I add little crushed garlic to the butter for extra taste. It gives nice smell and makes the toast more tasty.
Serving and Storage
Serve cheese toast hot straight from tawa. It taste best when cheese is still melted and soft. You can cut into halves or triangles before serving. This is best eaten fresh and should not be stored, as it turns soggy once cooled down. If needed, reheat on tawa for few seconds, not more.
FAQS
1.Can I use white bread?
Yes, white bread works well and gives softer bite.
2.Can I make in toaster?
Yes, you can toast bread first, add cheese and toast again till cheese melts.
3.Can I skip chilli flakes?
Yes, you can skip it if you want very mild taste.
4.Which cheese is better?
Mozzarella melts best but processed cheese also works.
5.Can I add garlic?
Yes, crushed garlic in butter gives nice extra flavor.
If you have any more questions about this Cheese Toast Recipe do mail me at sharmispassions@gmail.com. In addition, follow me on Instagram, Facebook, Pinterest ,Youtube and Twitter .
Tried this Cheese Toast Recipe ? Do let me know how you liked it. Also tag us on Instagram @sharmispassions and hash tag it on #sharmispassions.
📖 Recipe Card

Cheese Toast Recipe
Ingredients
- 4 slices wheat bread
- 2 tablespoon butter
- 4 tablespoon cheese grated
- ¼ teaspoon oregano plus extra to sprinkle
- ½ teaspoon chilli flakes plus extra to sprinkle
- salt to taste
Instructions
- Take butter at room temperature. Add oregano, salt and chilli flakes to it.
- Mix it. Now get ready with the butter spread, cheese and bread slices.
- Spread the butter on both the sides on each bread.
- Heat dosa tawa, place the bread slices carefully. I toasted 2 slices at a time.
- Toast till slightly golden, then sprinkle cheese on top to cover up, simmer the flame then cook covered for few seconds.
- Cook till cheese melts by then the bottom must have become crisp. Remove from tawa, cut and serve. Enjoy Cheese Toast!
Notes
- Butter mix - I always mix butter with oregano, chilli flakes and little salt before spreading. This helps the flavor spread evenly and bread gets taste in every bite. Sometimes I mix directly without measuring also
- Toasting - I toast the bread only till it is slightly golden. If you toast it too much, it may burn later when cheese melts on top. So better not to over toast it.
- Cheese melting - I keep it on low flame and cover the pan so cheese melts slowly and evenly.
- Cheese choice - I have used mozzarella since it melts well and gives good stretch also. But any melting cheese works fine, based on what you have.
- Extra flavor - Sometimes I add little crushed garlic to the butter for extra taste. It gives nice smell and makes the toast more tasty.
Nutrition
The post Cheese Toast Recipe appeared first on Sharmis Passions.


 Protein-packed from chickpeas and avocado
 Vegan & gluten-free This recipe is entirely plant-based. (For making it GF friendly use GF bread)
 Instagram-worthy colors
 Quick and easy: ready in 10 mins if hummus is prepped