Web App Hacking:Tearing Back the Cloudflare Veil to Reveal IP’s
Welcome back, aspiring cyberwarriors!
Cloudflare has built an $80 billion business protecting websites. This protection includes DDoS attacks and protecting IP addresses from disclosure. Now, we have a tool that can disclose those sites IP addresses despite Cloudflare’s protection.
As you know, many organizations deploy Cloudflare to protect their main web presence, but they often forget about subdomains. Development servers, staging environments, admin panels, and other subdomains frequently sit outside of Cloudflare’s protection, exposing the real origin IP addresses. CloudRip is a tool that is specifically designed to find these overlooked entry points by scanning subdomains and filtering out Cloudflare IPs to show you only the real server addresses.
In this article, we’ll install CloudRip, test it, and then summarize its benefits and potential drawbacks. Let’s get rolling!
Step #1: Download and Install CloudRip
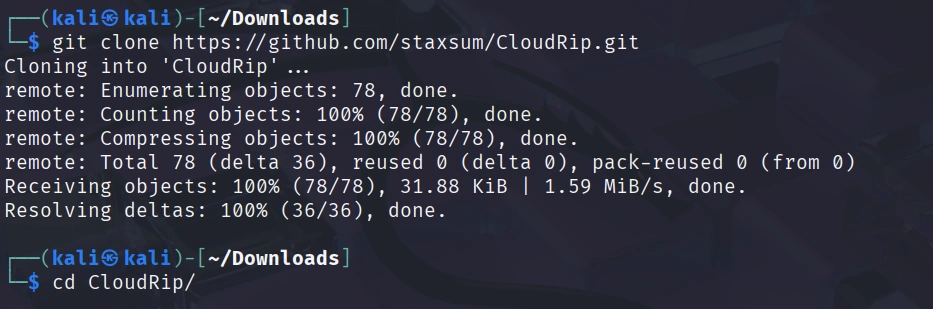
First, let’s clone the repository from GitHub:
kali> git clone https://github.com/staxsum/CloudRip.git
kali> cd CloudRip
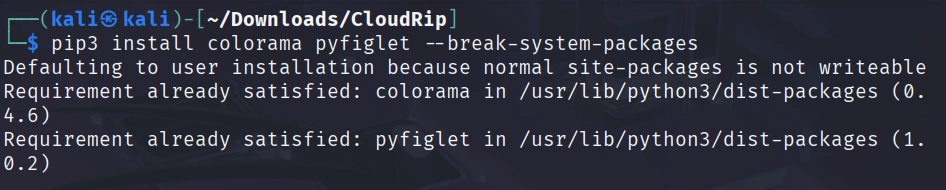
Now we need to install the dependencies. CloudRip requires only two Python libraries: colorama for colored terminal output and pyfiglet for the banner display.
kali> pip3 install colorama pyfiglet –break-system-packages
You’re ready to start finding real IP addresses behind Cloudflare protection. The tool comes with a default wordlist (dom.txt) so you can begin scanning immediately.

Step #2: Basic Usage of CloudRip
Let’s start with the simplest command to see CloudRip in action. For this example, I’ll use some Russian websites with CloudFlare provided by BuildWith.

Before scanning, let’s confirm the website is registered in Russia with the whois command:
kali> whois esetnod32.ru

NS servers are from CloudFlare, and the registrar is Russian. Use dig to check if CloudFlare proxying hides the real IP in the A record.
kali> dig esetnod32.ru

IPs belong to CloudFlare. We’re ready to test out the CloudRip on it.
kali> python3 cloudrip.py esetnod32.ru
The tool tests common subdomains (www, mail, dev, etc.) from its wordlist, resolves their IPs, and checks if they belong to Cloudflare.

In this case, we can see that the main website is hiding its IP via CloudFlare, but the subdomains’ IPs don’t belong to CloudFlare.
Step #3: Advanced Usage with Custom Options
CloudRip provides several command-line options that give you greater control over your reconnaissance.
Here’s the full syntax with all available options:
kali> python3 cloudrip.py example.com -w custom_wordlist.txt -t 20 -o results.txt
Let me break down what each option does:
-w (wordlist): This allows you to specify your own subdomain wordlist. While the default dom.txt is quite good, experienced hackers often maintain their own customized wordlists tailored to specific industries or target types.
-t (threads): This controls how many threads CloudRip uses for scanning. The default is 10, which works well for most situations. However, if you’re working with a large wordlist and need faster results, you can increase this to 20 or even higher. Just be mindful that too many threads might trigger rate limiting or appear suspicious.
-o (output file): This saves all discovered non-Cloudflare IP addresses to a text file.
Step #4: Practical Examples
Let me walk you through a scenario to show you how CloudRip fits into a real engagement.
Scenario 1: Custom Wordlist for Specific Target
After running subfinder, some unique subdomains were discovered:
kali> subfinder -d rp-wow.ru -o rp-wow.ru.txt

Let’s filter them for subdomains only.
kali> grep -v “^rp-wow.ru$” rp-wow.ru.txt | sed ‘s/.rp-wow.ru$//’ > subdomains_only.txt

Now, you run CloudRip with your custom wordlist:
kali> python3 cloudrip.py rp-wow.ru -w subdomains_only.txt -t 20 -o findings.txt

Benefits of CloudRip
CloudRip excels at its specific task. Rather than trying to be a Swiss Army knife, it focuses on one aspect of reconnaissance and does it well.
The multi-threaded architecture provides a good balance between speed and resource consumption. You can adjust the thread count based on your needs, but the defaults work well for most situations without requiring constant tweaking.
Potential Drawbacks
Like any tool, CloudRip has limitations that you should understand before relying on it heavily.
First, the tool’s effectiveness depends entirely on your wordlist. If the target organization uses unusual naming conventions for its subdomains, even the best wordlist might miss them.
Second, security-conscious organizations that properly configure Cloudflare for ALL their subdomains will leave little for CloudRip to discover.
Finally, CloudRip only checks DNS resolution. It doesn’t employ more sophisticated techniques like analyzing historical DNS records or examining SSL certificates for additional domains. It should be one tool in your reconnaissance toolkit, not your only tool.
Summary
CloudRip is a simple and effective tool that helps you find real origin servers hidden behind Cloudflare protection. It works by scanning many possible subdomains and checking which ones use Cloudflare’s IP addresses. Any IPs that do not belong to Cloudflare are shown as possible real server locations.
The tool is easy to use, requires very little setup, and automatically filters results to save you time. Both beginners and experienced cyberwarriors can benefit from it.
Test it out—it may become another tool in your hacker’s toolbox.


