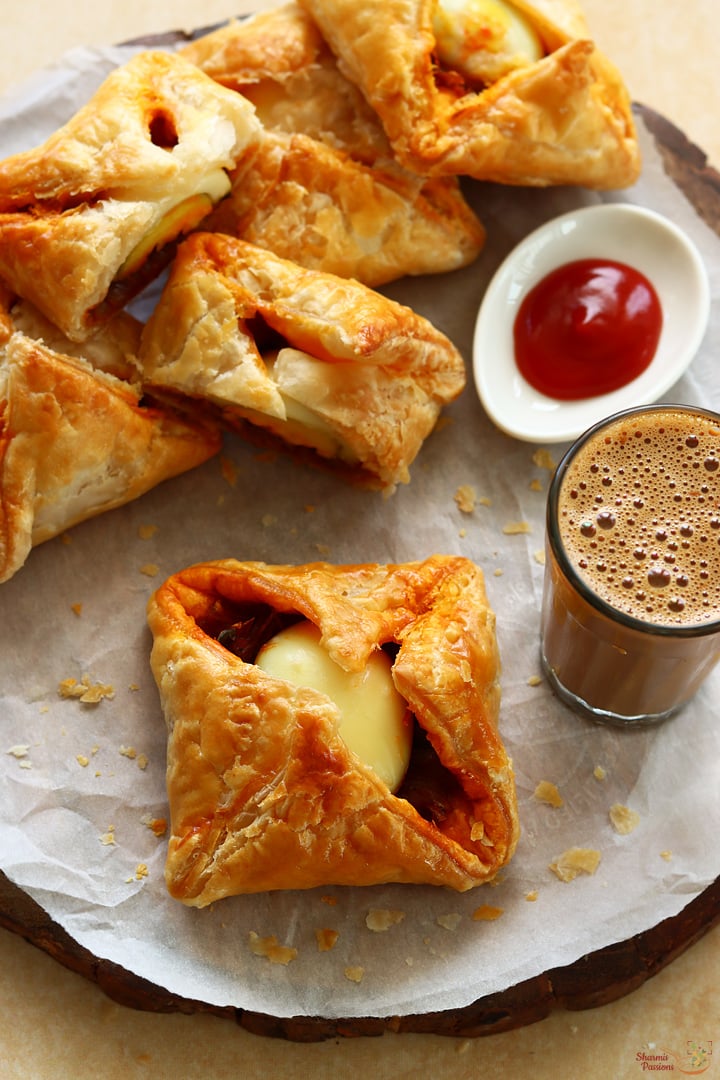
Paneer Puff Recipe
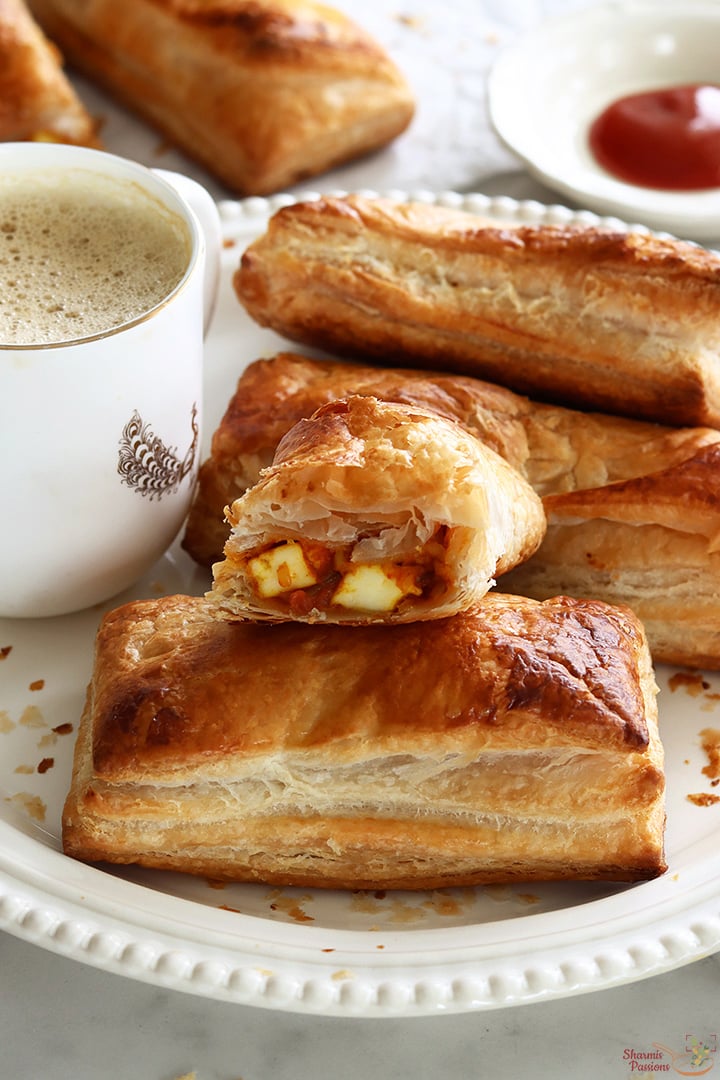
Paneer Puff are a popular bakery style Indian snack made with flaky puff pastry and spiced paneer filling. Crispy on the outside with soft, flavourful paneer filling inside which is best enjoyed hot with tomato ketchup. It smells so good and addictive that you can't stop with one. They are commonly served as a tea-time snack and is loved by all.
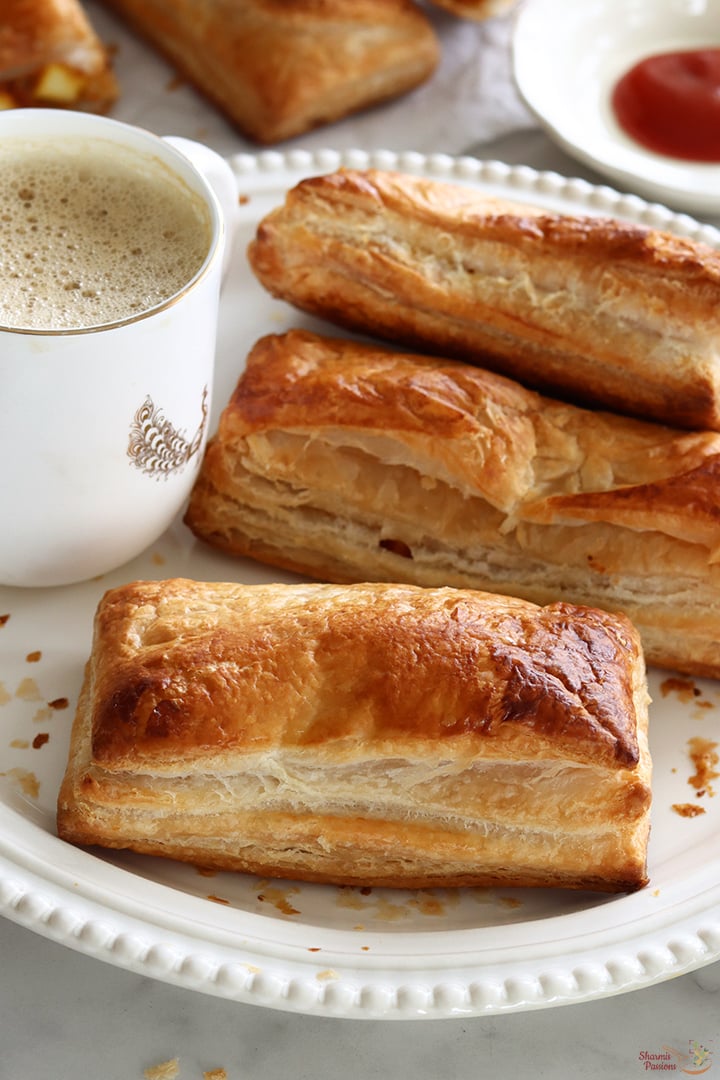
This paneer puff tastes mildly spicy, flaky, buttery and very filling. You can make this easily at home using readymade puff pastry sheets. Homemade paneer puff tastes fresh and you can control spice level also. Fresh puffs always taste better and flakier. It feels more satisfying when made at home. It is one of those snacks most of us pick from bakery while coming back home.
[feast_advanced_jump_to]About Paneer Puff
Paneer Puff are classic and popular snack sold in most Indian bakeries. It is a crispy snack where spiced paneer mixture is stuffed inside puff pastry and baked till golden. It is inspired from bakery style veg puffs which is very common in India. Paneer is used instead of mixed vegetables which gives rich taste and soft texture. It is enjoyed by all age groups.
This recipe filling is made using onions, tomatoes, basic spice powders and paneer cubes. The masala should be thick so it does not ooze out while baking. The spices are very simple and give a nice balance of flavor without overpowering paneer taste. You can easily adjust spices as per taste.
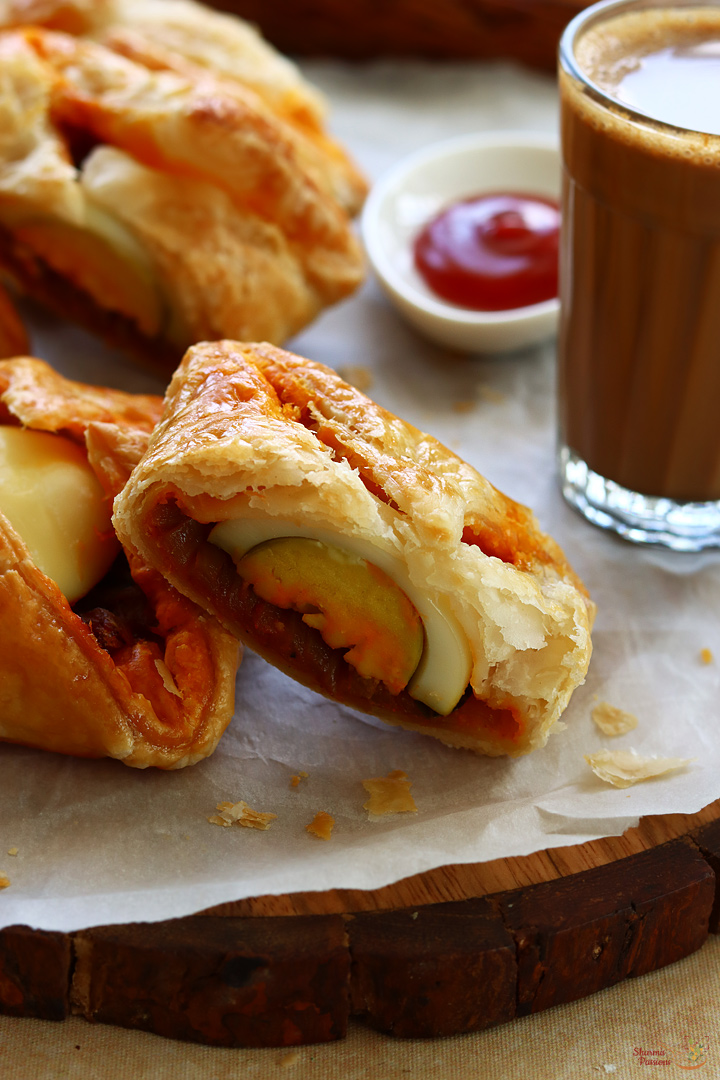
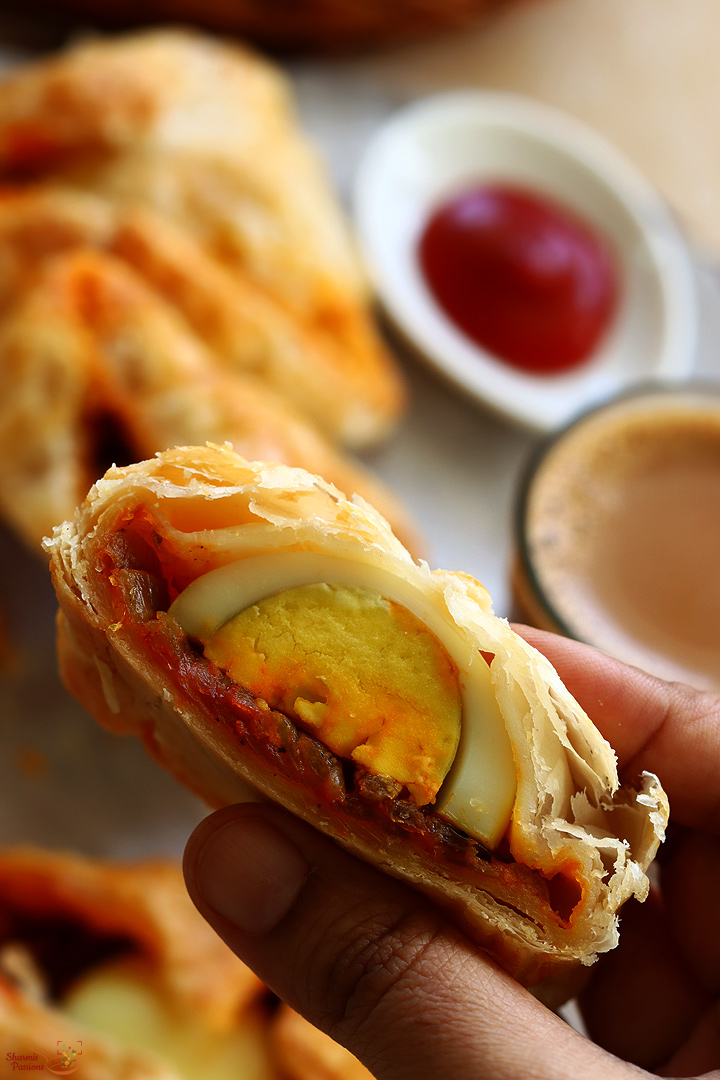
Texture wise, paneer puff has a crisp and flaky outer layer with soft juicy paneer filling inside. The puff layers separate well and become light when baked perfectly, it tastes good when served hot. Freshly baked puffs are always best. Once you try at home, you may not buy bakery puffs often. It becomes a regular snack after few tries.
I usually make this for evening snacks or when guests come home. It is also a good option for kids snack box or party starter. Both kids love puffs and paneer puffs is their most favorite of all. The stuffing is very simple to make and comes together in few minutes.
Paneer Puff Video
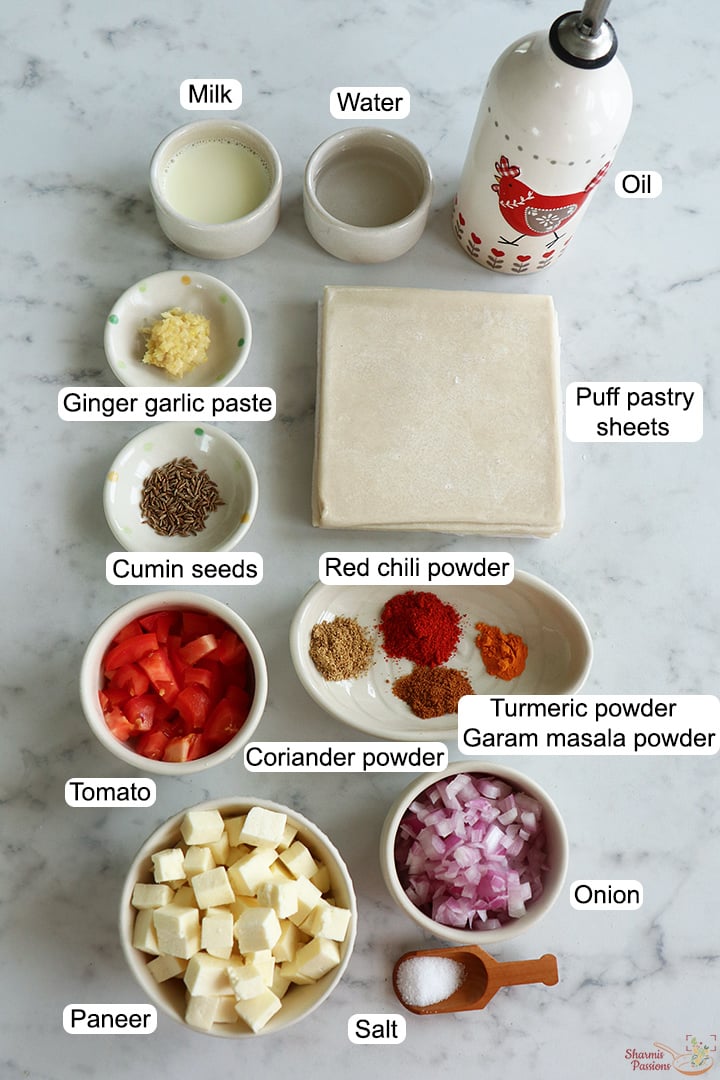
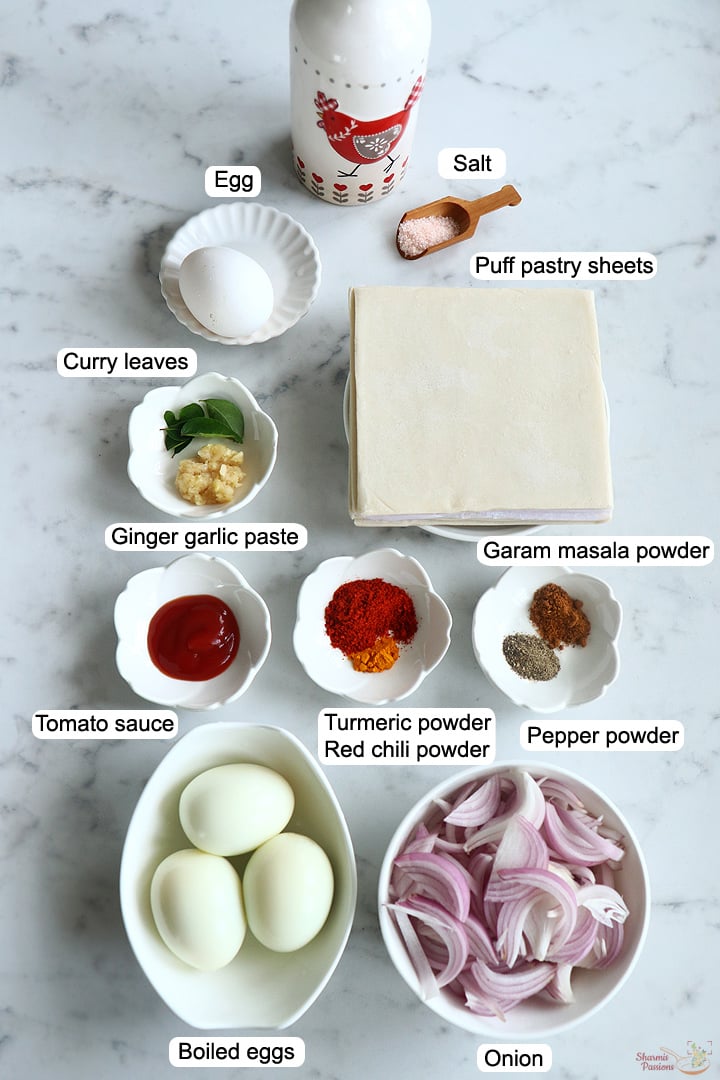
Paneer Puff Ingredients
- Oil - Used for tempering the items and cooking the spiced paneer filling.
- Cumin seeds - I have added cumin seeds for tempering. It gives nice aroma and slight crunch.
- Onion - I have used cubed onions, sauteed well and used along with tomatoes and paneer with spice powder.
- Ginger garlic paste - It is added for flavor and aroma. You can add freshly crushed ginger garlic to a slightly coarse mixture and use it too.
- Tomato - Chopped tomato is used to bind the masala, it adds slight tang and moisture. You can use tomato puree also.
- Spice powders - I have used turmeric powder for color, flavor, red chili powder for spice, garam masala and coriander powder for aroma and flavor.
- Paneer - It is added as the base for the dilling. You can crumble or cube it. Use fresh paneer for best taste.
- Puff pastry sheets - I used readymade puff pastry sheets.
- Milk - Milk is used for brushing the puff pastry before baking. It helps in even browning. You can use butter also.
Why This Recipe Works
- This recipe uses simple ingredients which are easily available at home.
- The paneer filling is mildly spiced and can be enjoyed by all.
- This recipe gives puffs that is flaky and crispy texture.
- You can make the filling ahead and assemble later easily.
- This recipe is perfect for snacks, parties or for evening tea time.
Similar Recipes
How to make Paneer Puff Step by Step
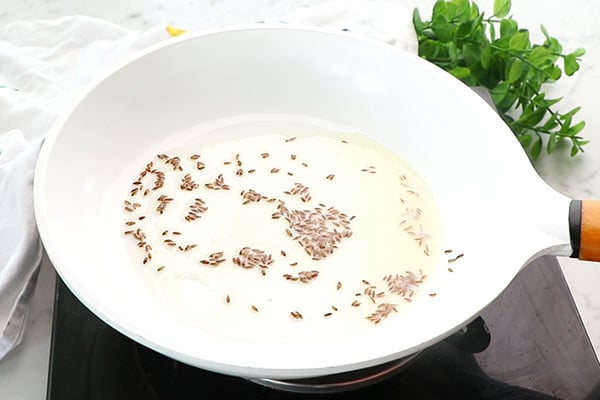
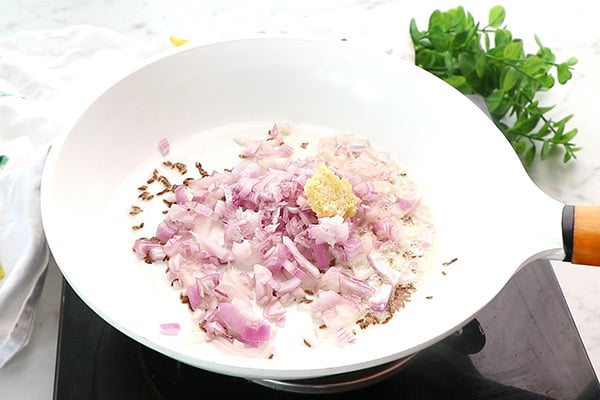
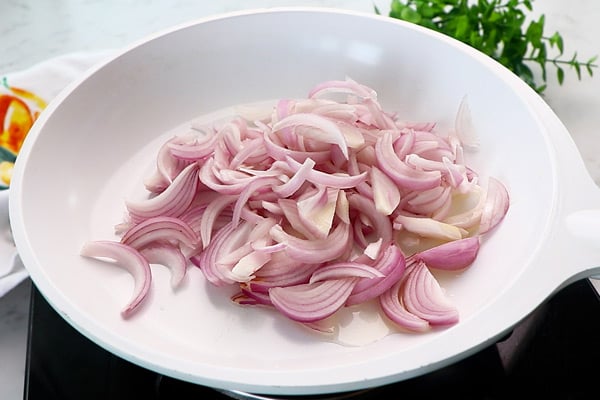
1.Heat 1 and ½ tablespoon oil - add ½ teaspoon cumin seeds, let it splutter. Give a quick saute.
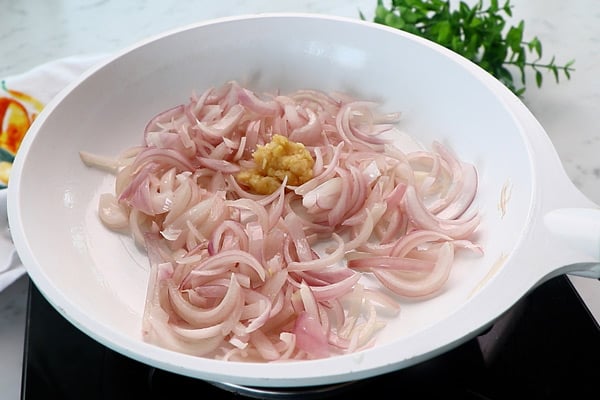
2.Add 1 medium sized onion finely chopped, ginger garlic paste and required salt to taste.
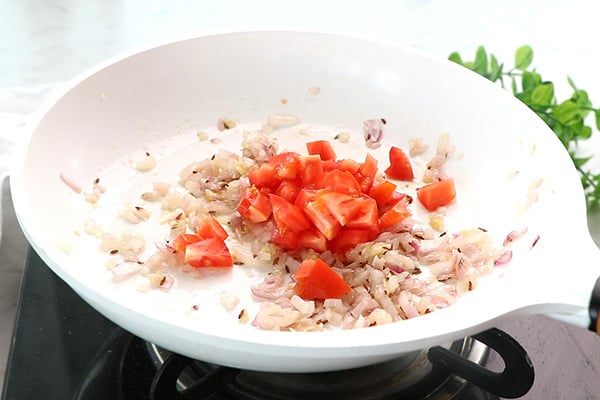
3.Add 1 small sized tomato finely chopped. Saute for 2 minutes.
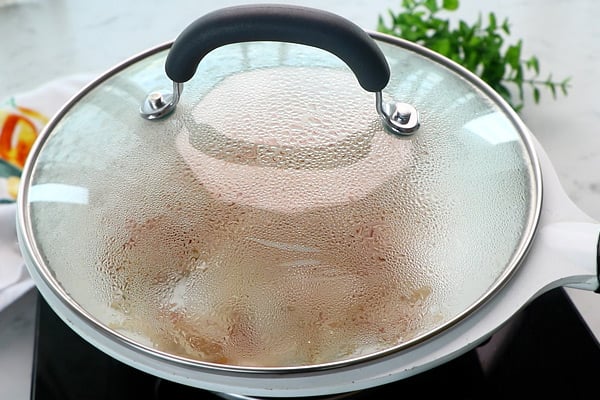
4.Cook covered for few minutes until tomatoes turn mushy.
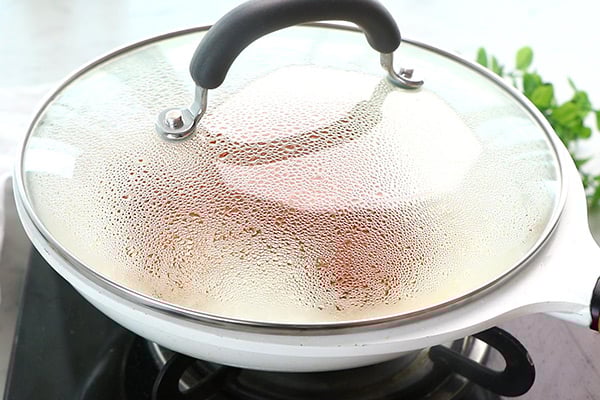
5.Open give a quick saute.

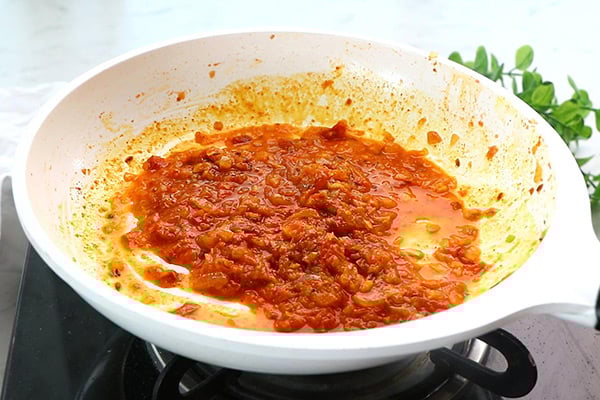
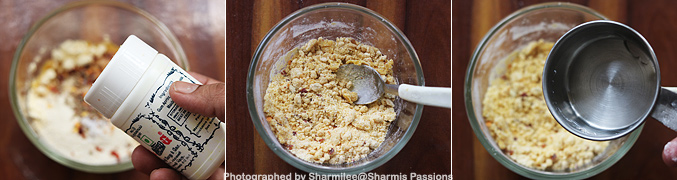
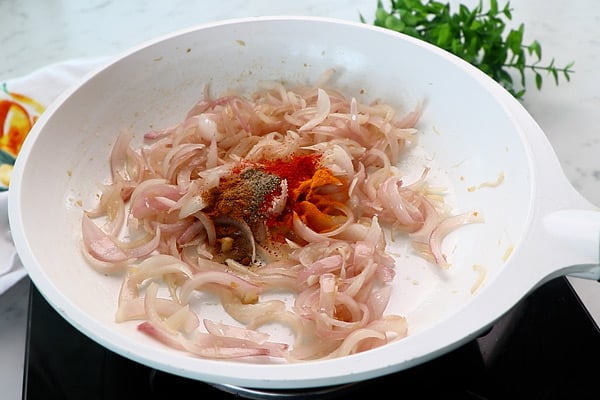
6.Add ¼ teaspoon turmeric powder, 1 teaspoon red chili powder, ½ teaspoon garam masala powder and ½ teaspoon coriander powder.

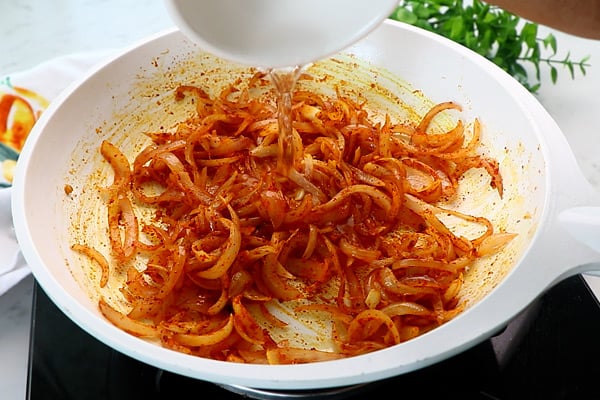
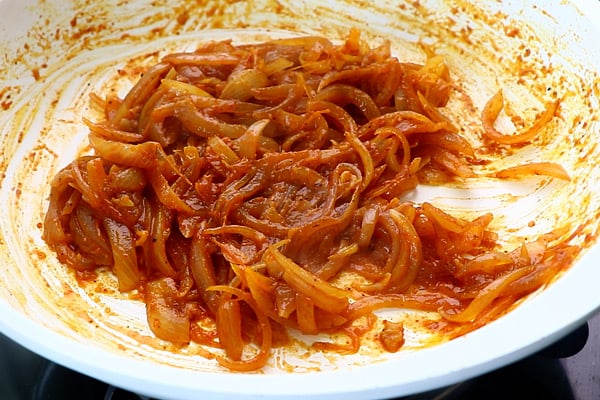
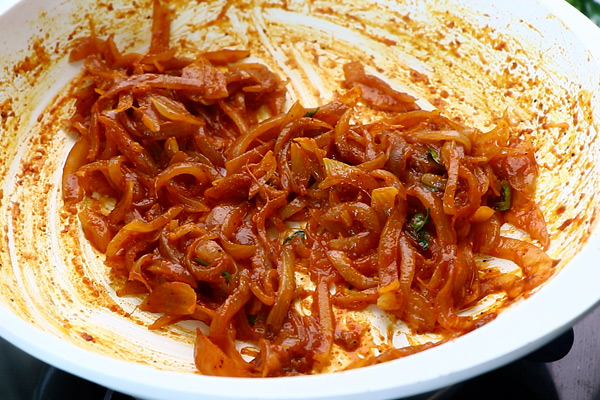
7.Give a quick saute and add ½ cup water and let it boil.
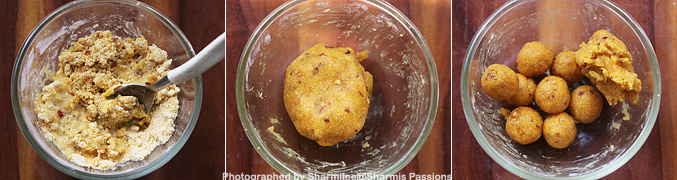
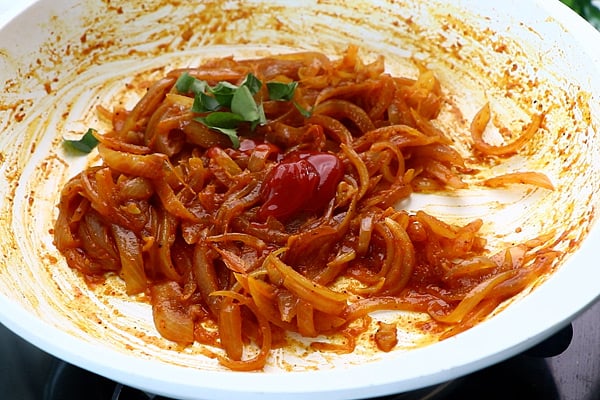
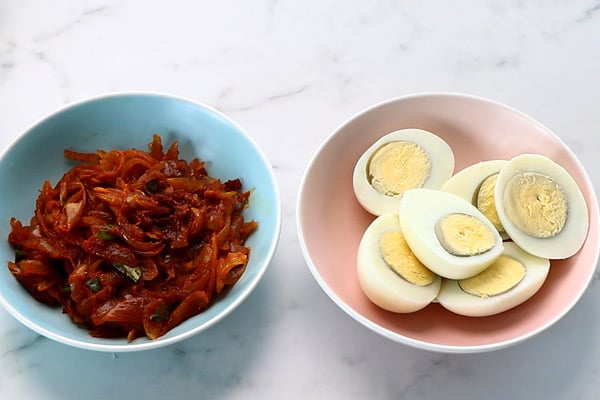
8.Once it becomes thick, add 150 grams paneer cut into small cubes.
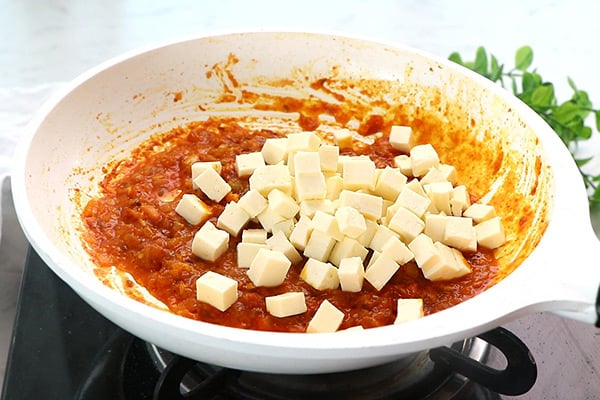
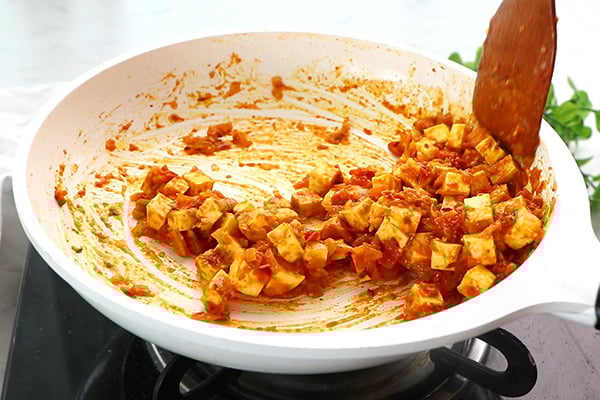
9.Give a quick mix and switch off. Let it cool down.
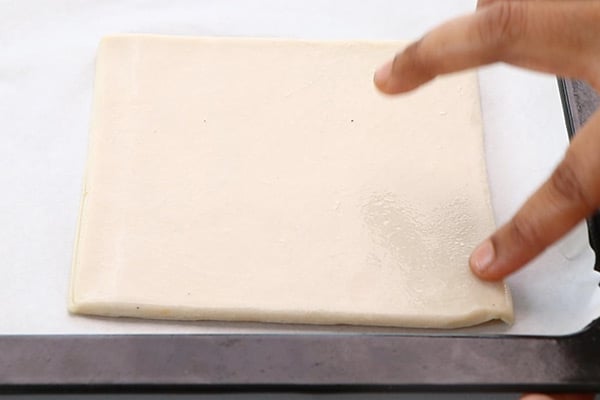
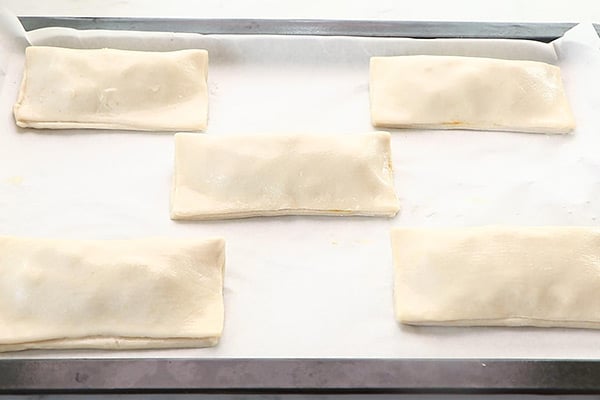
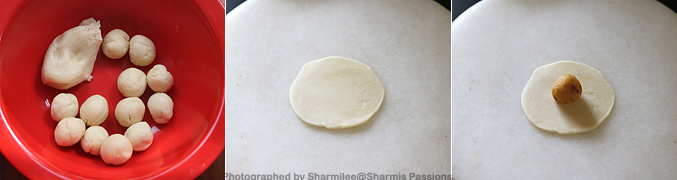
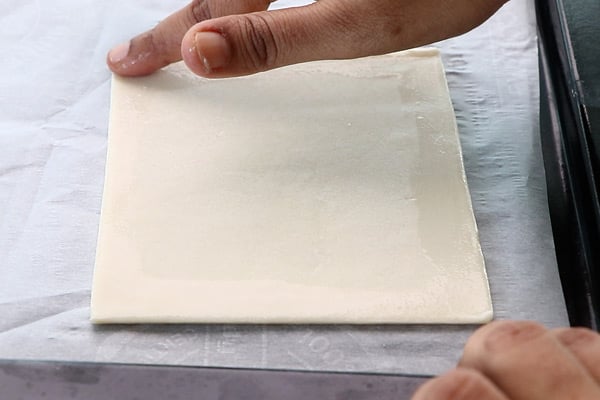
10.Thaw the puff pastry sheets and arrange them on parchment paper on a baking tray. Preheat oven at 220 DEG C for 10 minutes. Apply water slightly on the edges.
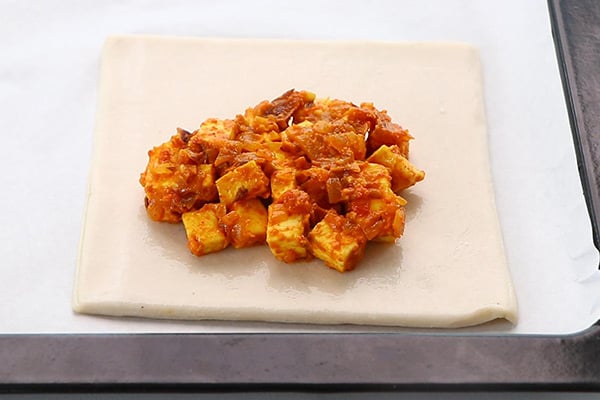
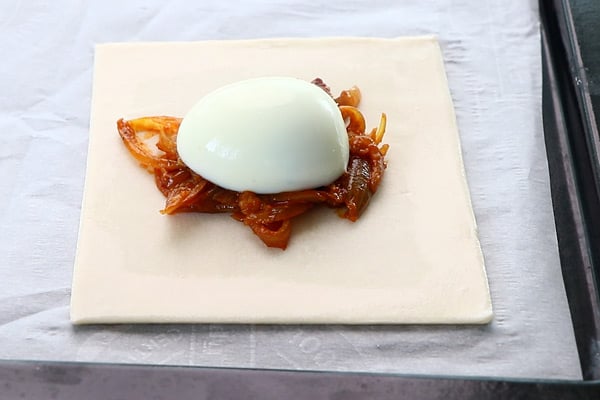
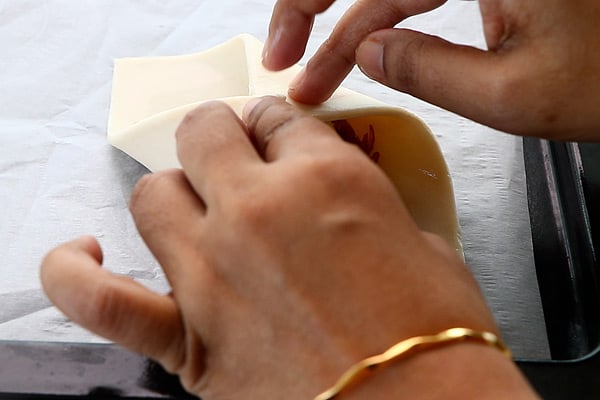
11.Add around 2 tablespoon paneer stuffing.
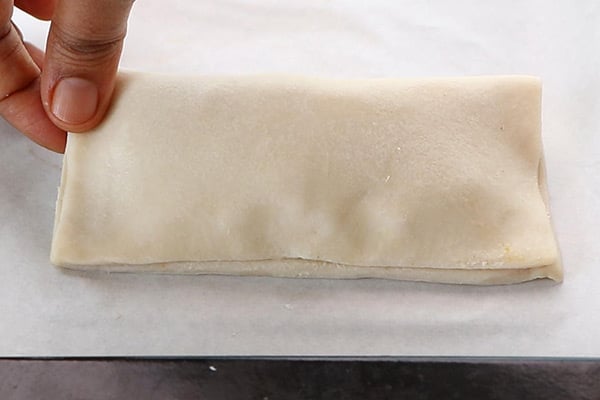
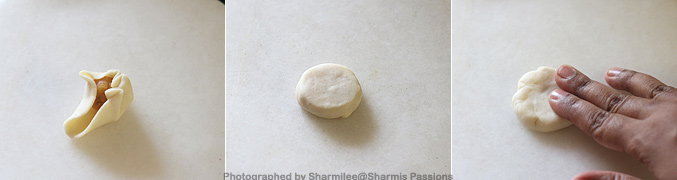
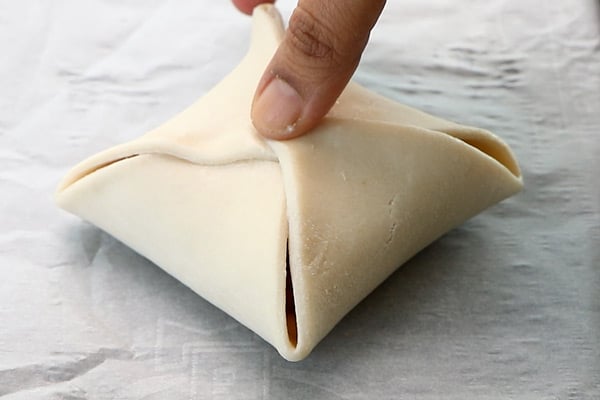
12.Close and seal gently. Press slightly around the edges to seal.
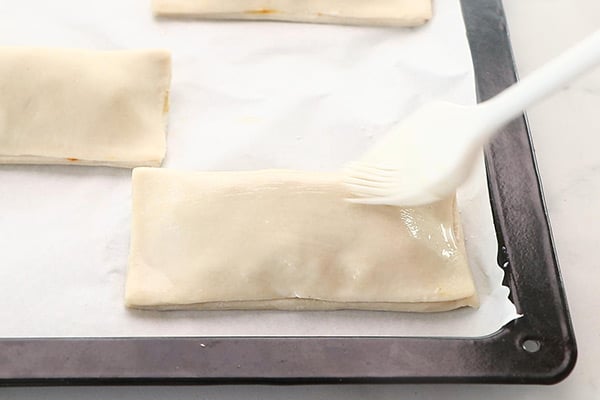
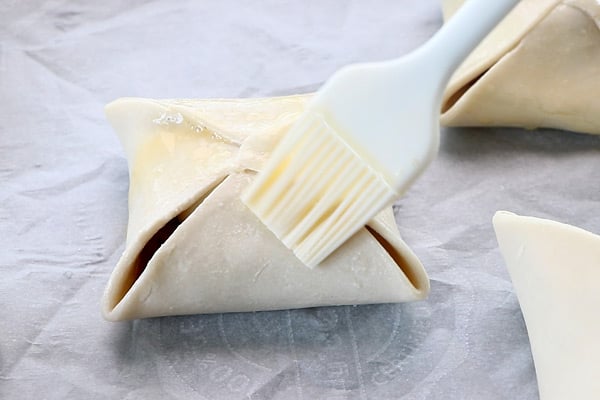
13.Brush the top with milk, you can use egg wash too.
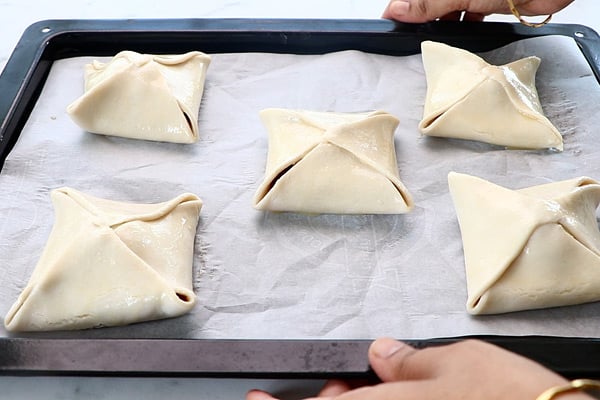
14.Repeat to finish.
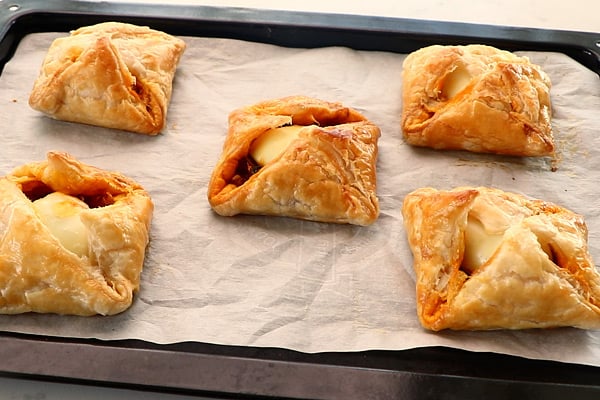
15.Bake in preheated oven at 220 DEG C for 20 minutes or until the puffs turns golden and crisp.
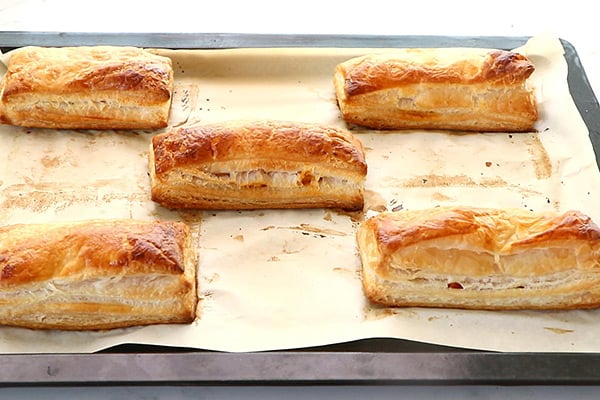
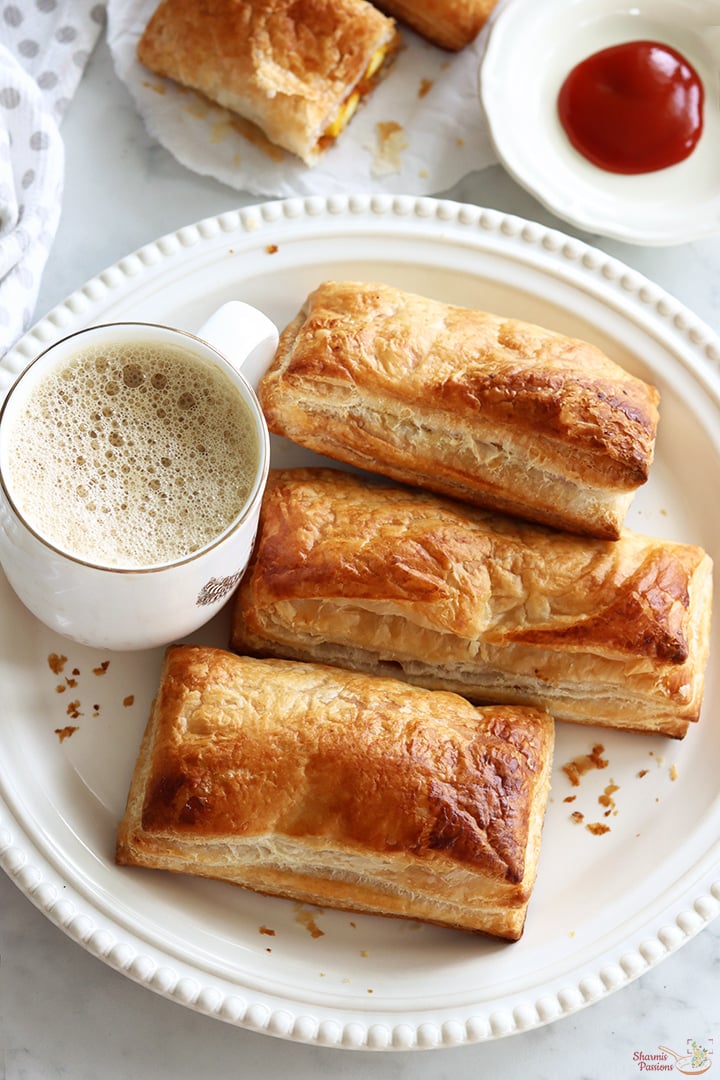
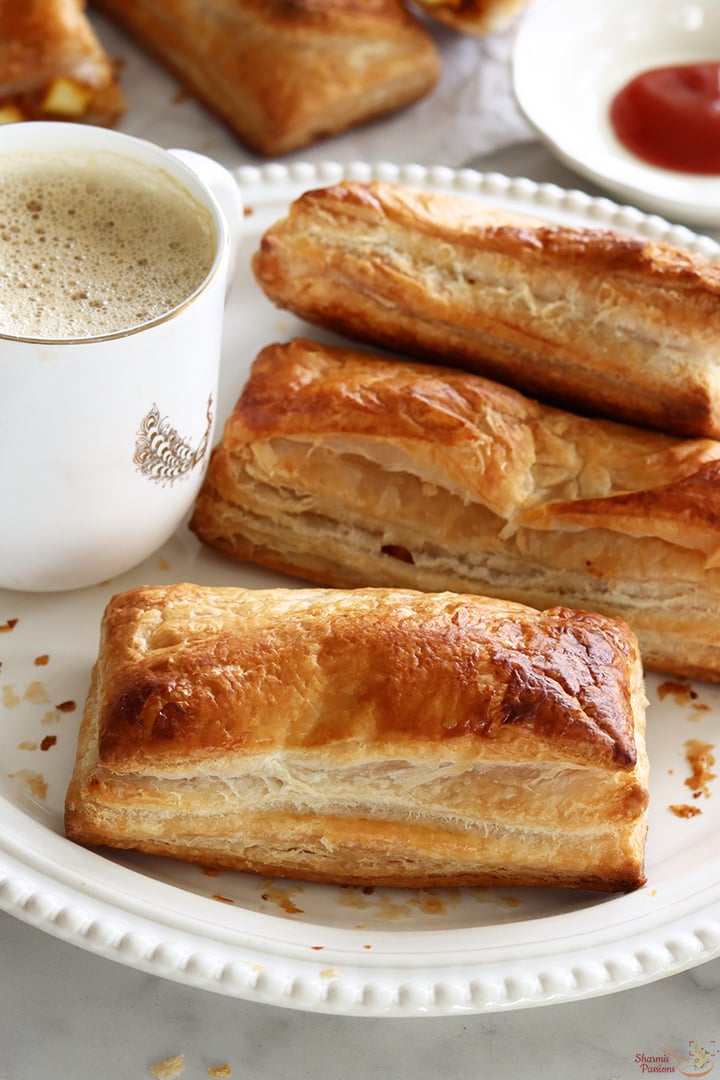
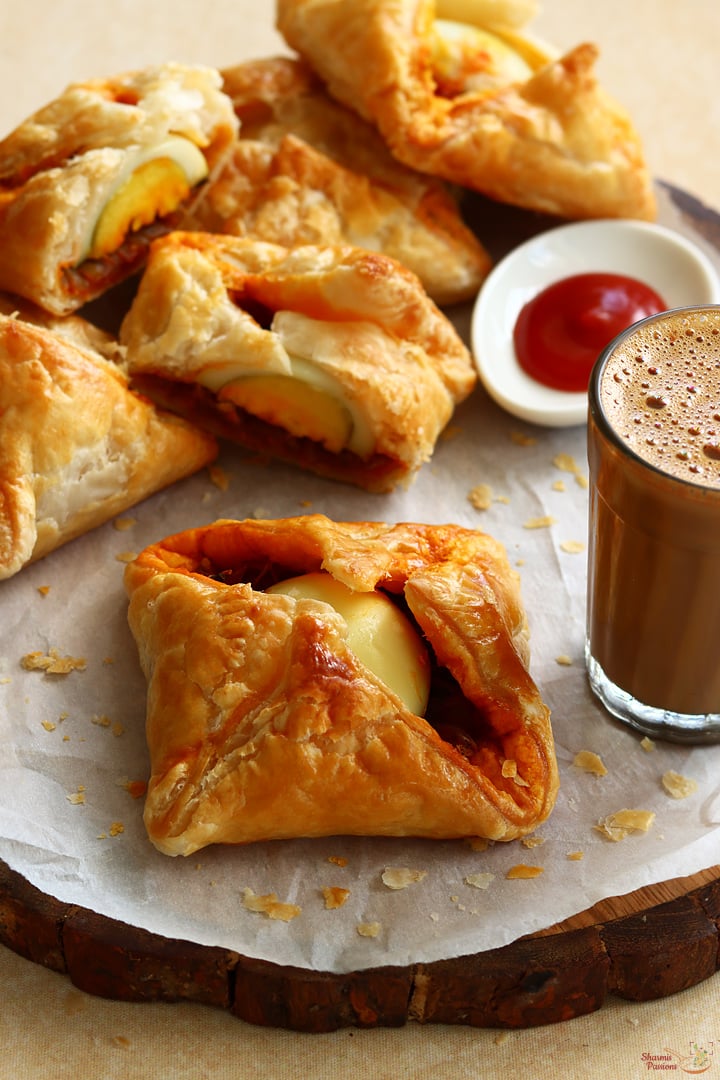
Serve it hot with coffee or tea!
Expert Tips
- Paneer - Use fresh paneer for good taste. If paneer is little hard, I soak it in warm water for few minutes before using it.
- Masala consistency - I cook the masala till moisture reduces properly. Thick masala is best for puffs and it stays inside without leaking out.
- Cooling - I cool down the filling before stuffing into pastry sheets. Hot filling may make the pastry soggy.
- Sealing - I just seal the edges. If edges are not sealed properly, filling can leak while baking but press gently not too tight.
- Baking time - I keep checking the puffs after 18 minutes of baking. Oven timing can vary little, so adjust depending on color and puffing.
Serving and Storage
Serve this puff with tomato ketchup, it goes really well with evening tea or coffee, especially when they are freshly baked. You can store leftover baked puffs in fridge for a day only. Reheat them in oven or air fryer so they turn crisp again.
FAQS
1.Can I use homemade paneer?
Yes you can use homemade fresh paneer for this. Just make sure it is firm enough, very soft paneer may break while mixing.
2.Can I make filling ahead?
Yes the paneer filling can be made one day earlier. Store them in fridge in an airtight container. You can use leftover filling for rolls, wraps and sandwiches too.
3.Can I shallow fry?
Baking gives that proper flaky texture like bakery puffs. Frying may turn it oily and heavy, so I don't prefer.
4.Can I add in capsicum or peas?
Yes you can add chopped capsicum or boiled peas to the filling. It adds more taste and slight crunch also.
5.Can I freeze the paneer puffs?
Yes you can freeze the assembled puffs. Then thaw for few minutes then bake them directly when needed.
If you have any more questions about this Paneer Puff Recipe do mail me at sharmispassions@gmail.com. In addition, follow me on Instagram, Facebook, Pinterest, Youtube and Twitter .
Tried this Paneer Puff Recipe? Do let me know how you liked it. Also tag us on Instagram @sharmispassions and hash tag it on #sharmispassions.
📖 Recipe Card

Paneer Puff Recipe
Ingredients
- 5 ready-made puff pastry sheet
- 150 grams paneer cut into small cubes
- 1 medium sized onion (finely chopped)
- 1 small sized tomato (finely chopped)
- 1 teaspoon ginger garlic paste
- ¼ teaspoon turmeric powder
- 1 teaspoon red chilli powder
- ½ teaspoon garam masala powder
- ½ teaspoon turmeric powder
- salt to taste
- water as needed
To temper
- 1 ½ tablespoon oil
- 1 /2 teaspoon cumin seeds
Instructions
- Heat 1 and ½ tablespoon oil - add ½ teaspoon cumin seeds, let it splutter. Give a quick saute.
- Add 1 medium sized onion finely chopped, ginger garlic paste and required salt to taste.
- Add 1 small sized tomato finely chopped. Saute for 2 minutes.
- Cook covered for few minutes until tomatoes turn mushy.
- Open give a quick saute.
- Add ¼ teaspoon turmeric powder, 1 teaspoon red chili powder, ½ teaspoon garam masala powder and ½ teaspoon coriander powder.
- Give a quick saute and add ½ cup water and let it boil.
- Once it becomes thick, add 150 grams paneer cut into small cubes.
- Give a quick mix and switch off. Let it cool down.
- Thaw the puff pastry sheets and arrange them on parchment paper on a baking tray. Preheat oven at 220 DEG C for 10 minutes. Apply water slightly on the edges.
- Add around 2 tablespoon paneer stuffing.
- Close and seal gently. Press slightly around the edges to seal.
- Brush the top with milk, you can use egg wash too.
- Repeat to finish.
- Bake in preheated oven at 220 DEG C for 20 minutes or until the puffs turns golden and crisp.
- Serve it hot with coffee or tea!
Video
Notes
- Paneer - Use fresh paneer for good taste. If paneer is little hard, I soak it in warm water for few minutes before using it.
- Masala consistency - I cook the masala till moisture reduces properly. Thick masala is best for puffs and it stays inside without leaking out.
- Cooling - I cool down the filling before stuffing into pastry sheets. Hot filling may make the pastry soggy.
- Sealing - I just seal the edges. If edges are not sealed properly, filling can leak while baking but press gently not too tight.
- Baking time - I keep checking the puffs after 18 minutes of baking. Oven timing can vary little, so adjust depending on color and puffing.
Nutrition
The post Paneer Puff Recipe appeared first on Sharmis Passions.


 Plain Cotton Oven Mitten for Microwave – Set of 4 PCS 2 Oven Gloves & 2 Pot Holders- Heat Resistant (Green)