Thankfully that Indian borage plant, that was generously shared by my husband’s cousin is happily growing. We have made so much chutney and rasam with these leaves.I have some more leaves to make new recipes. Since it is winter, the leaf growth will be slow. So I am salvaging some of the excess leaves to make a thokku and keep for a few days so the plant can be left alone to be its best. So here is omavalli thokku.
What is a thokku?
Thokku is a borderline between pickle and chutney. It is spicy, roasted in oil and has a lot ground vegetables with spices and seasoning. It is a long standing version when compared to a chutney. The common varieties are tomato thokku, gongura leaves thokku or mango thokku. It is different from a thogayal as there are hardly any lentils used in this recipe. Thokku is used in the place of a pickle in the South Indian meal. They taste great with thair saadam or as a dip for idlies and dosas.
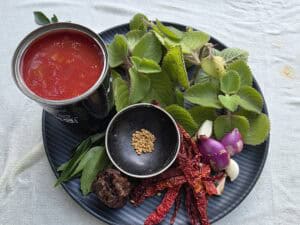
Ingredients to make the omavalli thokku
Omavalli leaves: fresh fleshy leaves of Indian borage plant is a key ingredient in this recipe. They have a slight peppery flavour laced with an oregano smell. The leaves wont give much volume to the thokku but is key to the taste and flavour. We don’t have much swaps here without altering the flavour. However, you can make mint or coriander thokku the same way.
Shallots and garlic : since it is a thokku recipe is like to store and use both for rice based meals and for idly dosa breakfasts, I add shallots and garlic for flavour. These also provide a good fragrance along with the omavalli leaves.
Tomato:here is volume and sourness that is needed for the thokku. Fresh tomatoes are the best. However, they are not the best at the moment in season so plain canned one will make the cut. You can choose just plain ones or the ones that are peeled and chopped. It is important to make sure they don’t have any salt or seasoning added to them.
Tamarind: to pack in a thokku punch you need a small lime sized ball of dried tamarind. You can swap this with about a teaspoon of prepared tamarind pulp.
Spices and seasonings: salty and spicy with a hint of sour is the aim of the best thokku. So let’s start with salt. You can use seasalt, table salt or the rocksalt crystals. My parents believe in rock salt. I have used generic salt from the supermarket.
For the colour and heat dry red chillies are used. I have chosen the bydgai variety to lower the heat index and just add flavour and colour. You can choose the variety you have at home for Indian cooking. Red chilli powder is fine to be used too. Paprika will not be useful, cayanne is ok.
Fenugreek seeds add a distinct aroma to the thokku. It is a usual ingredient in south Indian pickles.
Oil:sesame oil into a generous amount is needed to make this. The oil not only allows to cook and roast the thokku, but also acts as a preservative forming a layer on top. This cuts off aerobes and prevents the thokku from going moldy. Oil is added first at tempering and a second portion almost at finishing stages.
For tempering: mustard seeds, curry leaves and dry red chillies are needed for tempering the oil. I prefer to grind the curry leaves along with the omavalli leaves as i don’t get a lot here.

Lets make Indian borage pickle.
Though the ingredient list was a bit long, the making steps are simple. Slow cooking is the best hence the time taken is a bit for the best results.
Prep the ingredients: wash, drain and check the Indian borage leaves. Peel as set aside shallots and garlic to go with the blend. I have used canned tomatoes, however you can use fresh ones to make the blend.
Grind the mix:into the blender add the shallots,garlic, curry leaves, omavalli leaves, tamarind, chillies and fenugreek seeds. Add the tomatoes and blend to a smooth paste.
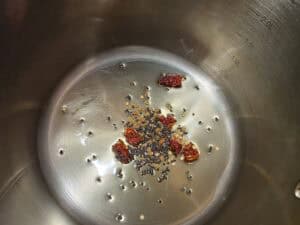
Tempering: add the half the quantity of sesame oil into the deep pot and set on medium heat. Add mustard seeds,dry red chillies and fenugreek seeds to it and let the mustard splutter.
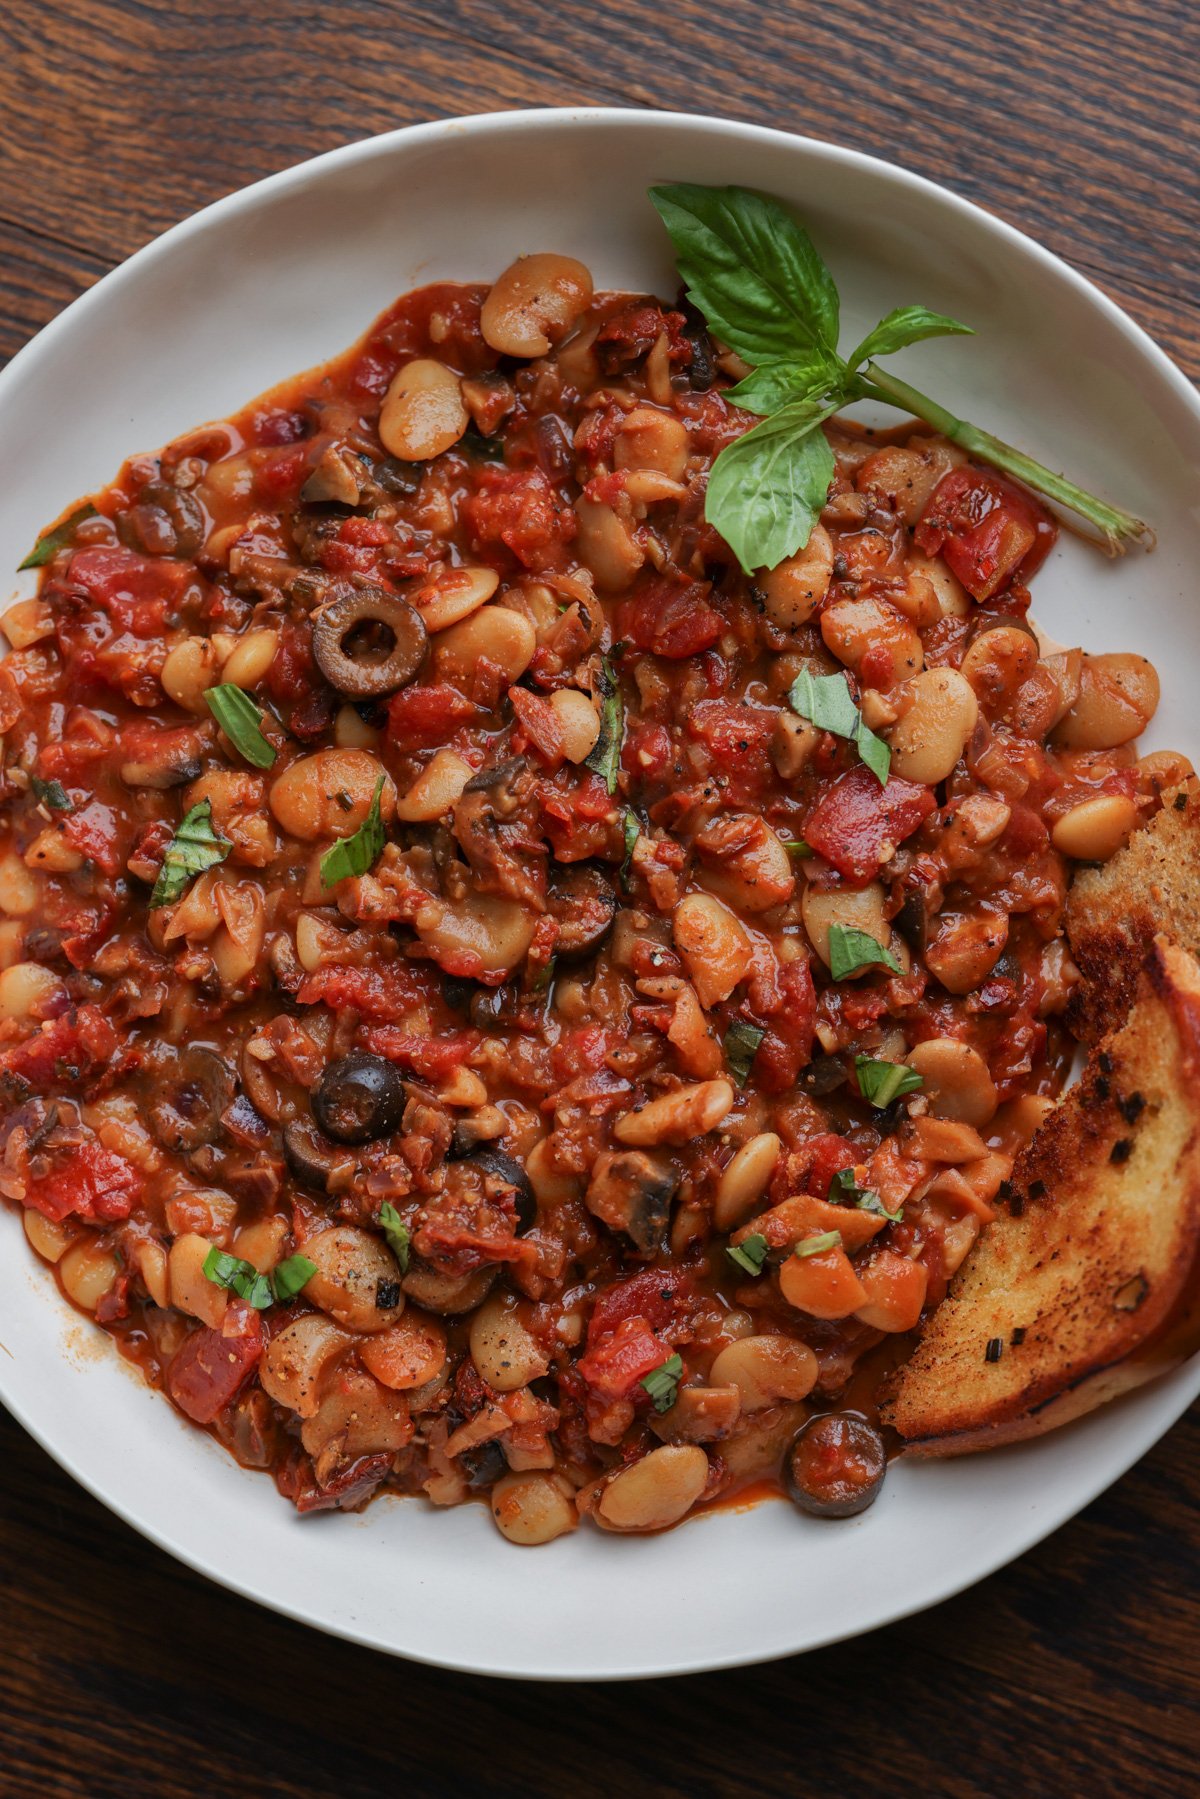
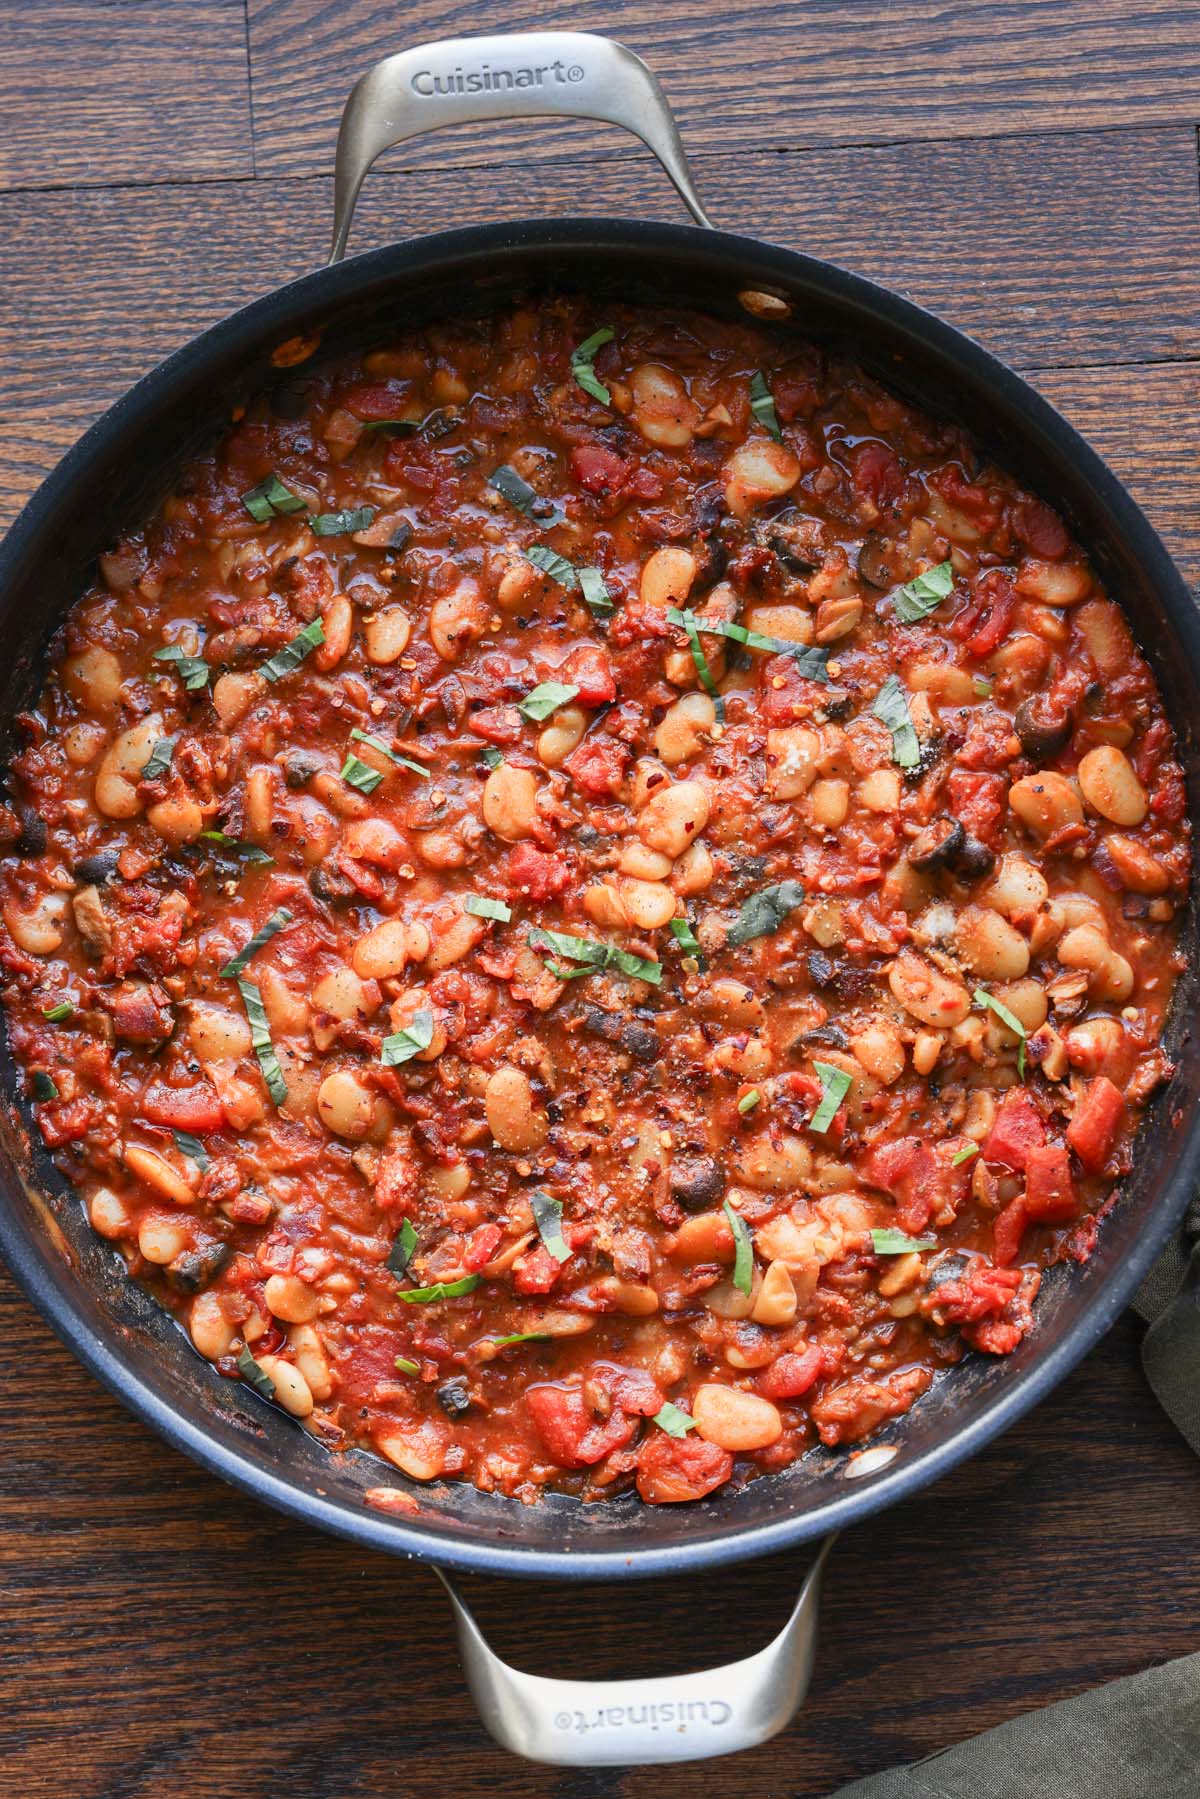
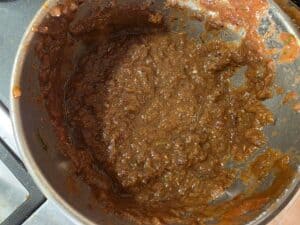
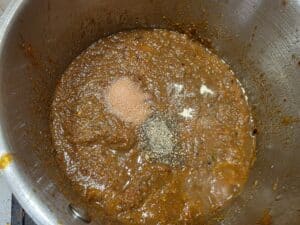
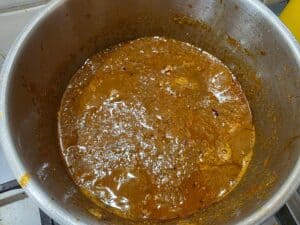
Slow cooking: once the mustard seeds crackle, add the blend paste. Mix well so the the oil mixes in well. Add salt, asafoetida, pepper powder and slow cool this on a low heat. Mix intermittently and as it thickens add the rest of the oil. Cook it the oil starts showing up on the surface. Keep mixing and cooking till it is like a paste. At this stage the thokku is ready.
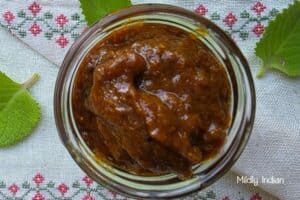
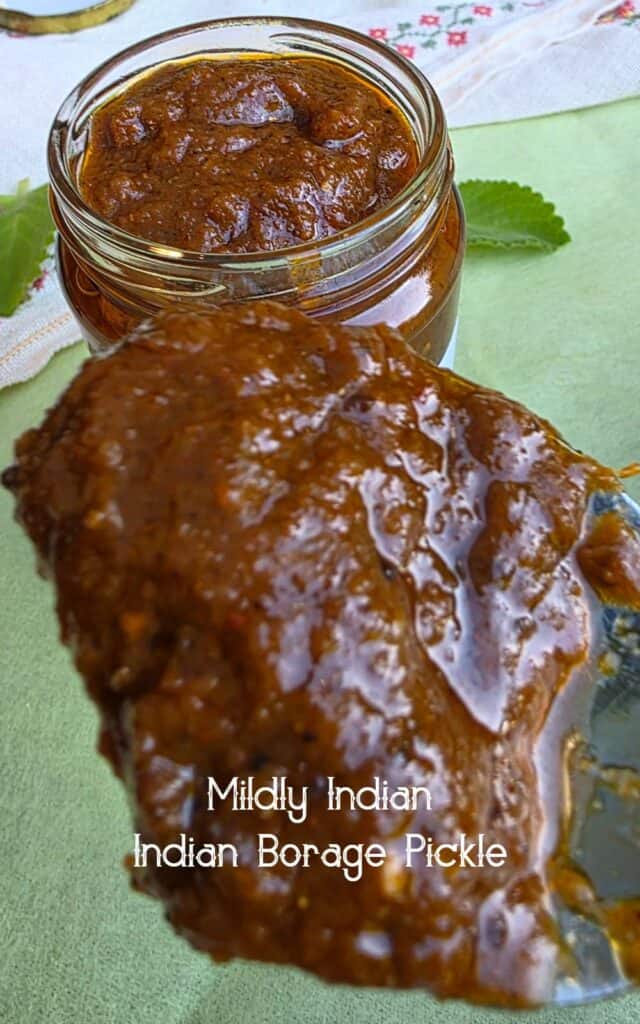
Storing: Remove from heat and cool it down. Transfer to dry bottles and once completely cooled, press down a bit so the oil layer is on the top covering the paste. Seal and store in a dark corner of the pantry.
What pairs well with omavalli thokku?
The reason I store thokku is because you can spice up a lot of lunch box ideas within minutes. So here are my best combos.
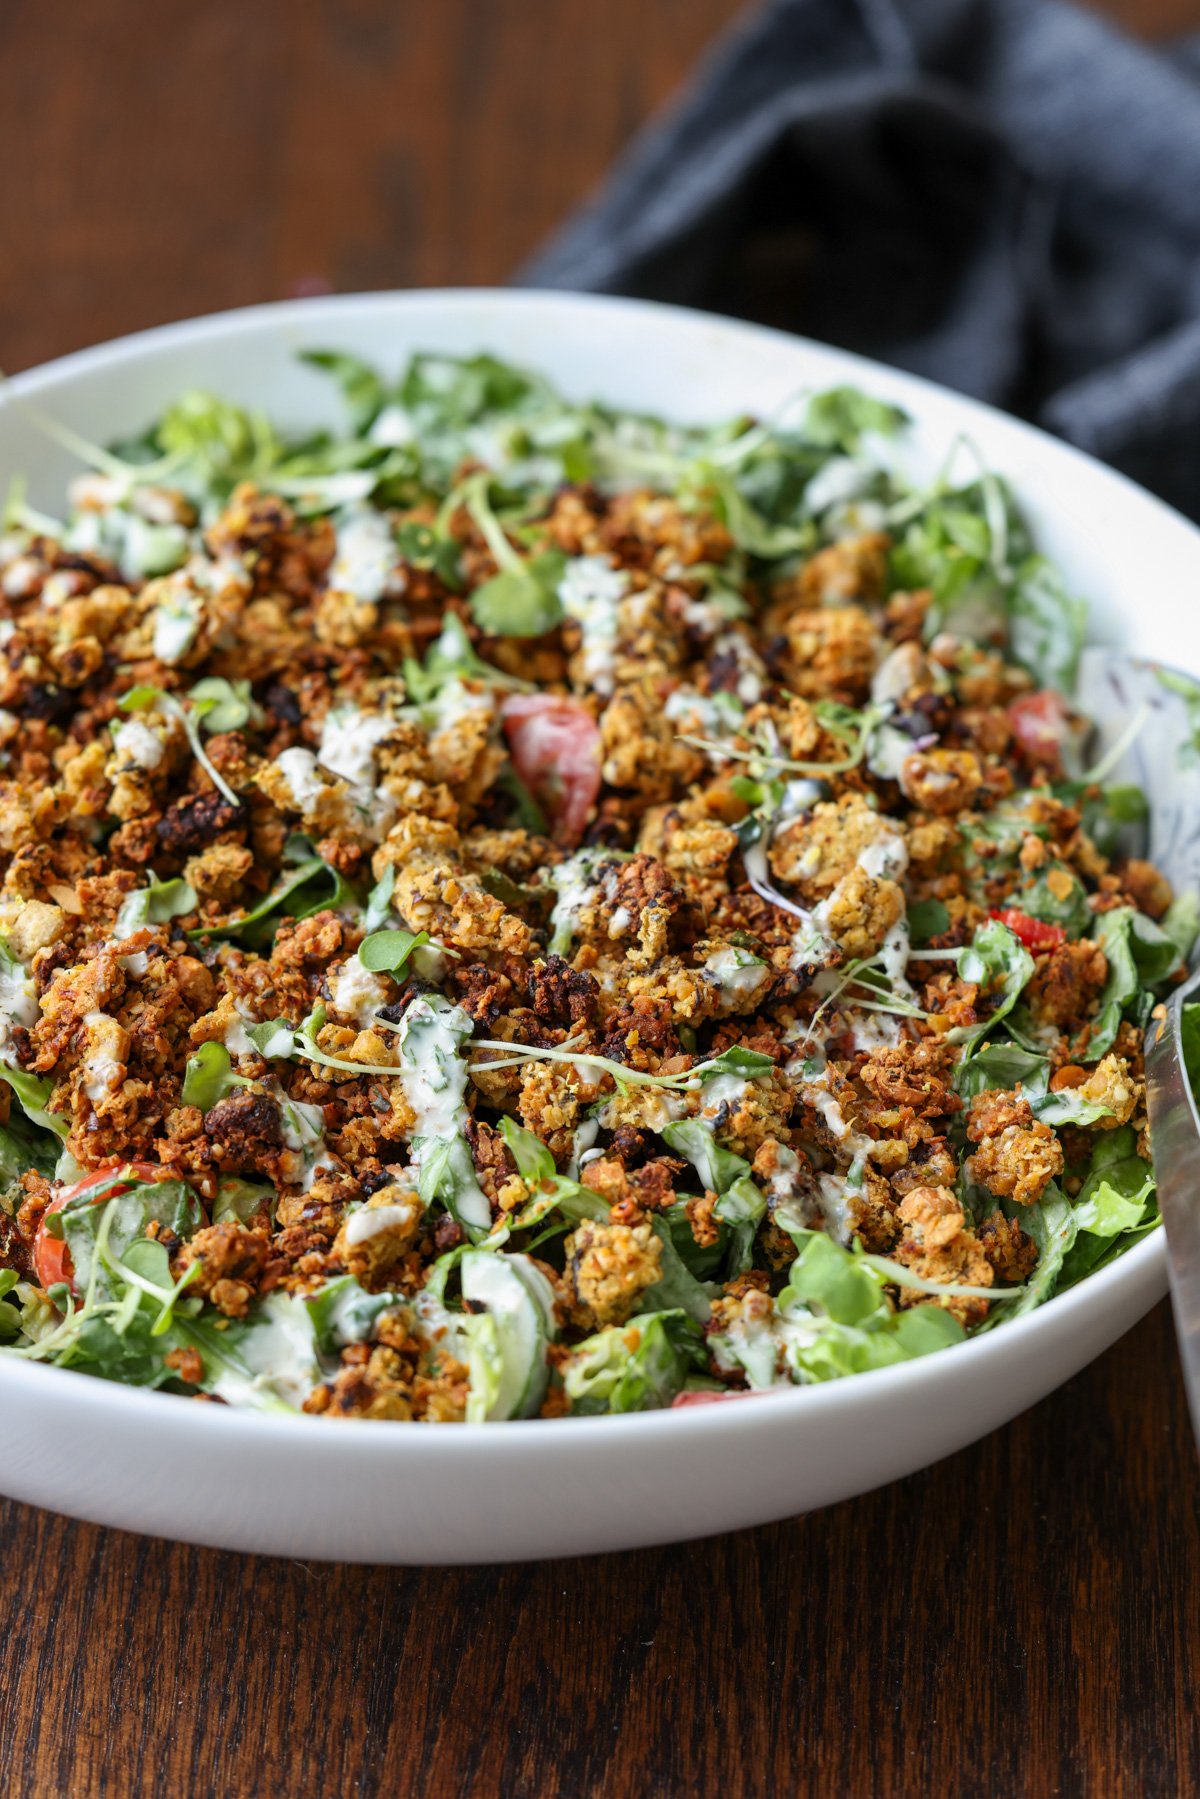
- I like the lunchbox with thokku rice and cauliflower mezhukkuperatti. As a fusion I make thokku pasta with loads of vegetables. I use a spoon of thokku in stirfries and kadamba poriyal.
- As a classic sit down meal, steamed rice with kootu, some vattal or vadam and this thokku is a soulful end to a massive week.
- Dont limit the thokku to just home meals. Try a wrap with baked veggies and the thokku spread on the wrap. Ooo, yum!!
How to store Indian borage pickle?
The thokku stays well for upto three months. Ensure you transfer them warm into clean, dry glass bottles.
If you have made a huge batch remove a small portion into a smaller bottle to use often.this helps to reduce contamination of the bigger stock.
Use a dry spoon to remove a serving of pickle and don’t leave the pickle open for long.
Print
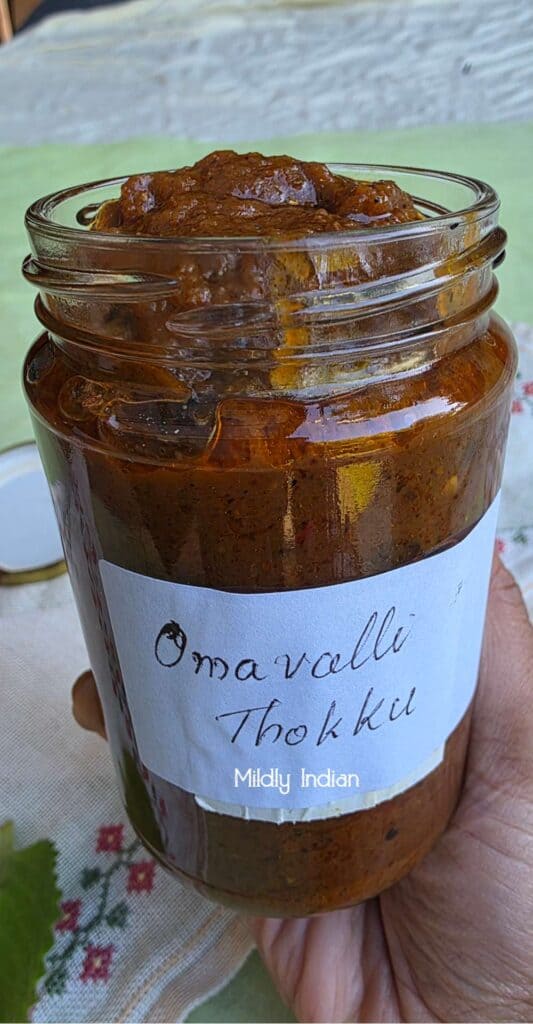
Omavalli thokku
Course Pickles
Cuisine Fusion, South indian
Keyword chutneys and podi, Indian vegetarian dinner, Pickle recipes
Prep Time 15 minutes minutes
Cook Time 40 minutes minutes
Ingredients
- 200 grams indian borage leaves
- 400 grams tomatoes canned
- 6-8 small shallots
- 3-4 pods garlic ( optional)
- 10 curry leaves
- 1/2 tsp fenugreek seeds
- 6-8 dry red chillies
- 1 lime sized tamarind
- salt to taste
- crushed black pepper
for tempering
- 3 tbsp sesame oil
- 1 tsp mustard seeds
- 2 long dry red chillies
Instructions
Peel the shallots and garlic, wash and set aside.
Wash and pat dry the Indian borage leaves.
Into the blender add the shallots, borage leaves, can of tomatoes, fenugreek, curry leaves, chillies and tamarind.
Blend them to form a smooth paste.
Into the deep pot, add the sesame oil and heat on medium warmth.
As the oil heats up add the mustard seeds and pieces of red chillies and let them sizzle and fry up.
Once the mustard splutters, add the blended mix and mix well.
Add salt and crushed black pepper and mix well.
Turn down the heat to low and let the mix cook.
Stir occasionally and let the mix bubble up and cook down slowly.
As the mix cooks down, add the rest of the oil.
Mix again and as the oil surfaces, the pickle is ready.
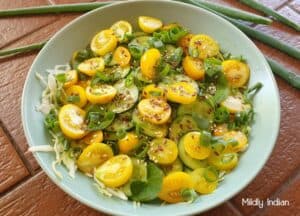
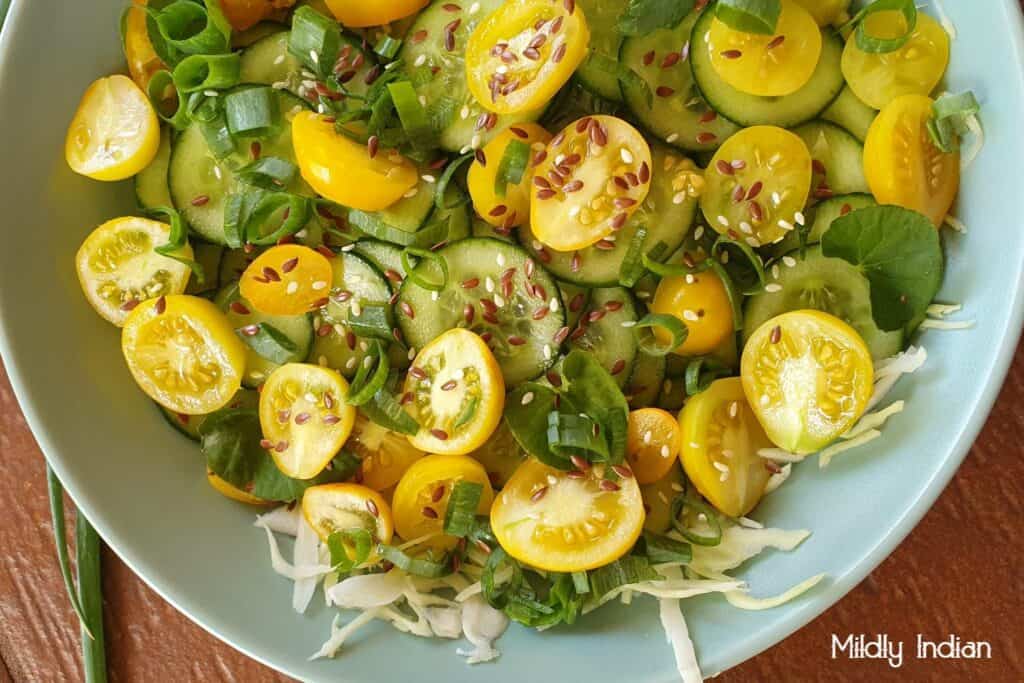
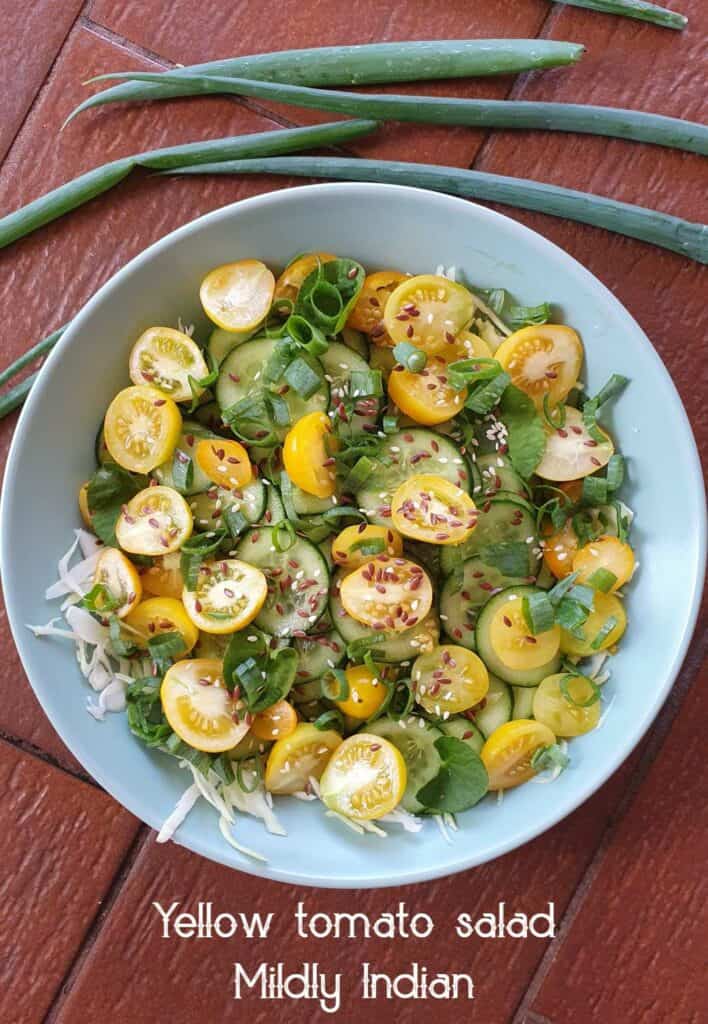
Other pickle ideas
Here are a few ideas that you can make and keep for a long while. Click on each of these highlights to take you to the respective recipe.
Stay connected
If you have not grown an Indian borage plant,I highly recommend one. They don’t rely on your green thumb,hardy and live well. In addition to making them as food the leaves can be seeped as tea.
When you have a lot of leaves, try this recipe and let us know what you think.
Pin this for later.
 Stay subscribed and see you in the next post.