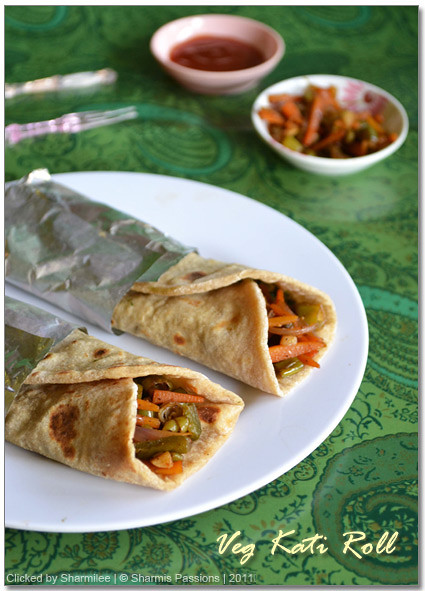
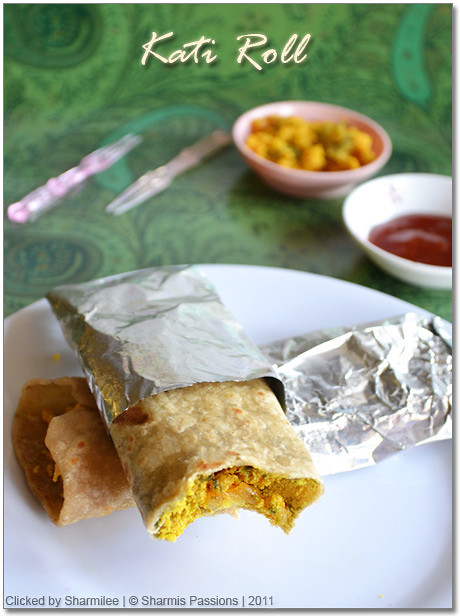
Kati Roll Recipe
Kati Roll is a popular Indian street food made by wrapping a filling inside an Indian flat bread like roti, paratha etc. The filling could be mixed vegetable, egg or chicken or paneer or even mushroom etc. Kati Roll is a street food delicacy originated form Kolkata, West Bengal. Learn to make Kati Roll at home with step by step pictures.
Rolls or Wraps or Frankies I like them very much. They are perfect for on the go snacks or breakfast for kids. I always make kati roll with chapati itself, use leftover vegetable curry or make paneer, mushroom filling and kids love it.
[feast_advanced_jump_to]About Kati Roll
Kati Roll is an Indian street food originated from Kolka , West Bengal. The term ' Kati' translates to stick in Bengali which refers to the method of making this dish with roasted kebabs in a stick or skewer.
The outer wrap can be made thick like paratha or made thin like chapati too. It depends on how you like it. Classic Kati roll use thick paratha with generous amount of filling that even if you have one you will be full.
Kati Roll Ingredients
- Flour - You can use maida or wheat flour. Traditionally maida is used to make kati roll for a healthy alternate I have used more of wheat flour and less of maida.
- Mixed vegetables - Onion, capsicum and carrots are added. You can add corn, paneer mushroom etc.
- Ginger garlic paste - Adding ginger garlic paste adds flavor to the filling.
- Tomato sauce - Adding tomato sauce or ketchup gives it a tangy flavor.
- Spice powder - Turmeric, red chili powder and garam masala powders are added.
- Lemon juice - Adding lemon juice adds a tangy taste.
Kati Roll Filling
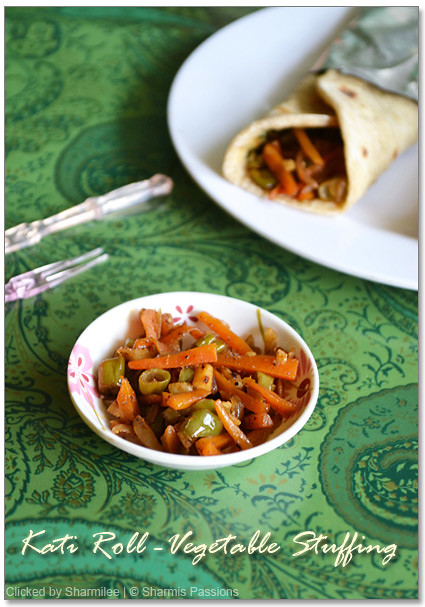
The filling variations are endless, you can use leftover vegetable curry or paneer bhurji or just sauté vegetables and add it. You can even add oven roasted vegetables along with green chutney which makes a perfect filling. You can even add sprouts or lentils or legumes as filling for a healthy variation.
Similar Recipes
How to make Kati Roll Step by Step
To make paratha / roti
- Mix salt, wheat flour and maida. Add milk, water slowly to form a soft dough.
- Keep covered and let it rest till the stuffing is done
To make filling
- Heat oil, temper cumin seeds, add onions and sauté until transparent. Add ginger garlic paste and sauté for a minute then add the vegetables, sauté for few minutes or until cooked. Make sure the veggies are cooked yet crunchy.
- Add turmeric, red chili powder and garam masala powder mix well. Finally add tomato sauce, lemon juice along with coriander leaves and switch off.
To make it as a wrap
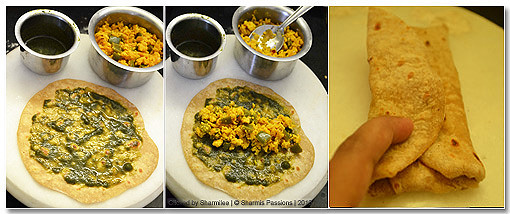
- Pinch a lemon sized ball from the dough and flatten it like we do for chapathis. Dust flour if needed.
- Then heat a dosa pan,once it is hot place the prepared parathas and cook on both sides.Likewise prepare all the parathas and keep aside.
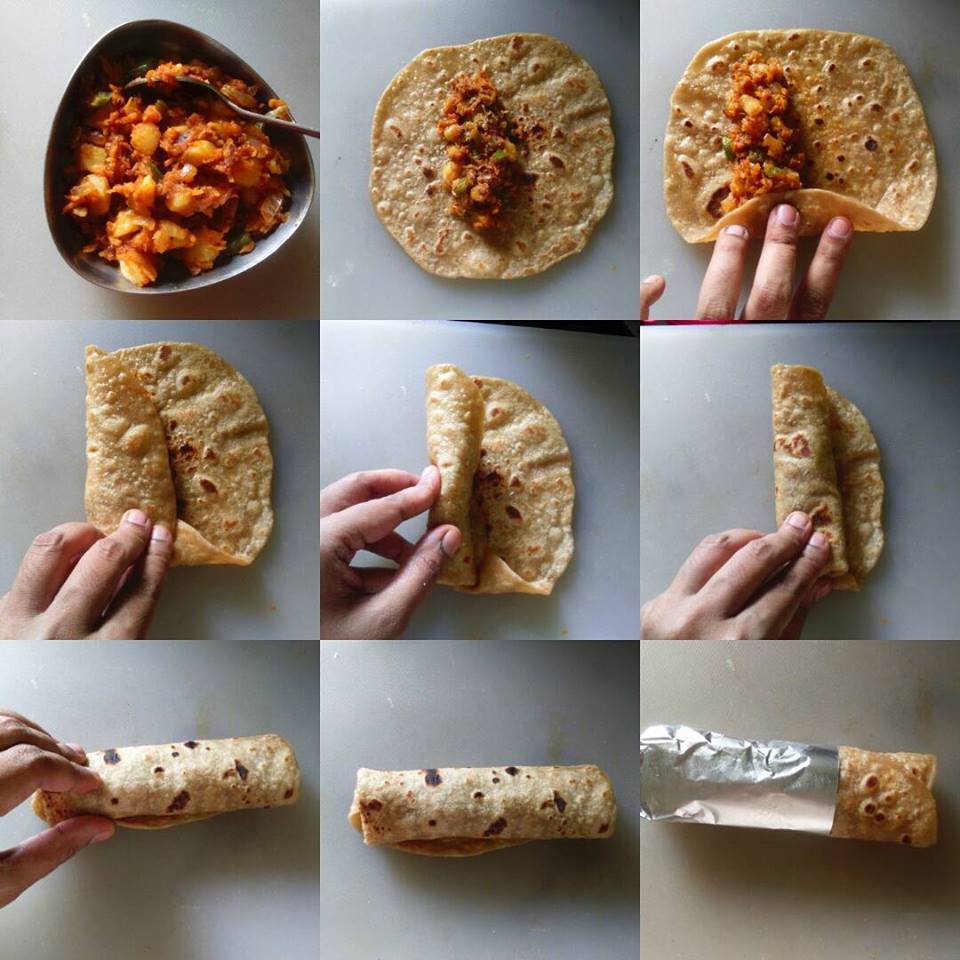
- At the time of serving, add little oil and toast the prepared parathas . Then spread ½ tablespoon of green chutney, add a heaped tablespoon of stuffing(either paneer bhurji/veg stuffing).
- Then gently seal it from the bottom then close it tightly from the both the sides(left & right) to form a roll as shown in the pic(Rolling this way avoids stuffing from dropping out)
- Then wrap the lower part of the parathas with butter paper/silver foil and enjoy ur kati rolls.
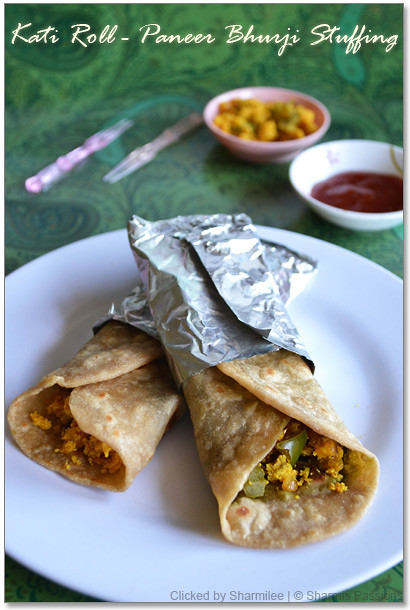
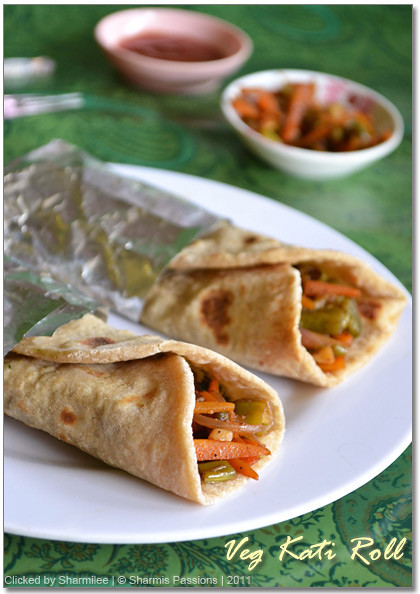
I love paneer bhurji in wraps and rolls. So reserved little for this sake itself and made these rolls. You can keep the stuffing in middle and close from oth the sides and prick a tooth pick in the middle and serve but wrapping in the above said method avoids filling from coming out and its easy to hold too. The recipe is the same for paneer bhurji too just filling differs and you can find paneer bhurji recipe here.
These are mildly spicy making it perfect for kids. You can also serve with home made white butter.
Enjoy Kati roll hot!
Expert Tips
- Stuffing - The stuffing idea is endless, you can even make chicken vegetable stuffing. You can make paneer tikka kati roll.
- Store ahead - You can make the stuffing and parathas ready the previous night and just assemble the wrap, there you go with your yummy, filling on the go wraps for breakfast. It is a perfect evening snack for kids.
- Serving - Serve with tomato sauce or can be had as such itself also. The thickness of each parathas can be slightly thicker also.
Serving & Storage
Serve kati roll with green chutney or mayonnaise. Kati rolls taste great on its own too. You can knead the chapati dough make the filling ready and keep. Make parathas and stuff and serve it hot when you want.
If you have any more questions about this Kati Roll Recipe do mail me at sharmispassions@gmail.com. In addition, follow me on Instagram, Facebook, Pinterest ,Youtube and Twitter .
Tried this Kati Roll Recipe? Do let me know how you liked it. Also tag us on Instagram @sharmispassions and hash tag it on #sharmispassions.
📖 Recipe Card

Kati Roll Recipe
Ingredients
For parathas:
- 1 cup whole wheat flour
- ½ cup maida
- salt to taste
- 1 teaspoon oil
- milk water as needed to knead the dough
For the stuffing:
- 1 tablespoon oil
- ½ teaspoon cumin seeds
- ½ cup sliced onion
- 1 cup mixed vegetables (I used carrot, capsicum and beans & Chop it lengthwise)
- 1 teaspoon ginger garlic paste
- 1 tablespoon tomato sauce
- ¼ teaspoon turmeric powder
- ½ teaspoon red chili powder
- ½ teaspoon garam masala powder
- 1 teaspoon lemon juice
- 2 tablespoon green chutney
- salt to taste
Instructions
To make paratha / roti
- Mix salt, wheat flour and maida. Add milk, water slowly to form a soft dough.
- Keep covered and let it rest till the stuffing is done
To make filling
- Heat oil, temper cumin seeds, add onions and saute until transparent. Add ginger garlic paste and sauté for a minute then add the vegetables, saute for few minutes or until cooked. Make sure the veggies are cooked yet crunchy.
- Add turmeric, red chili powder and garam masala powder mix well. Finally add lemon juice along with coriander leaves and switch off.
To make it as a wrap
- Pinch a lemon sized ball from the dough and flatten it like we do for chapathis. Dust flour if needed.
- Then heat a dosa pan,once it is hot place the prepared parathas and cook on both sides.Likewise prepare all the parathas and keep aside.
- At the time of serving, add little oil and toast the prepared parathas . Then spread ½ tablespoon of green chutney, add a heaped tablespoon of stuffing(either paneer bhurji/veg stuffing).
- Then gently seal it from the bottom then close it tightly from the both the sides(left & right) to form a roll as shown in the pic(Rolling this way avoids stuffing from dropping out)
- Then wrap the lower part of the parathas with butter paper/silver foil and enjoy ur kati rolls.
Notes
- Stuffing - The stuffing idea is endless, you can even make chicken vegetable stuffing. You can make paneer tikka kati roll.
- Store ahead - You can make the stuffing and parathas ready the previous night and just assemble the wrap, there you go with your yummy, filling on the go wraps for breakfast. It is a perfect evening snack for kids.
- Serving - Serve with tomato sauce or can be had as such itself also. The thickness of each parathas can be slightly thicker also.
Nutrition
The post Kati Roll Recipe appeared first on Sharmis Passions.