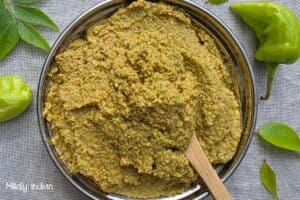
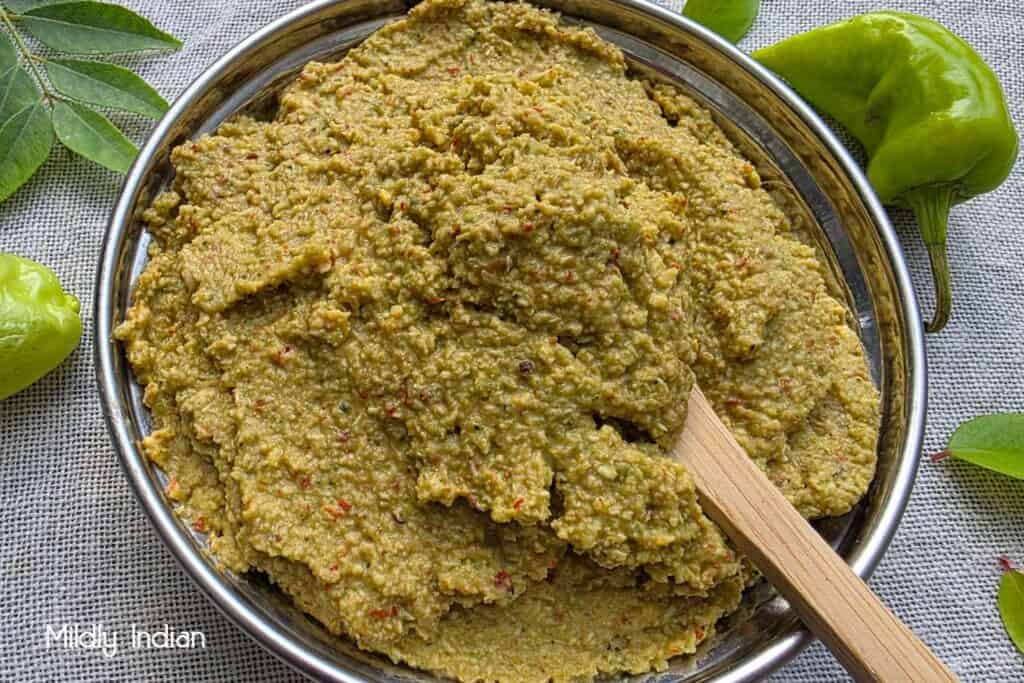
Garlic & Naga Red Chilli Pickle
A spicy, robust pickle made with garlic and potent red chilli from Nagaland, this pickle will add the good kind of heat to your palate
As an introvert, I tend to avoid stepping into spaces that are traditionally marked as belonging to the ‘family’ – for example the kitchen, the dining area, the family room, etc. But all of that respect for space went flying out of the window in the face of the Khonoma’s bone-numbing cold that had my teeth clattering out unheard of tunes. A and I shuffled into the kitchen looking for something warm to ensure we stayed alive until dinner… and the taste of this garlic chilli pickle made me sit up, quite literally!
Offered rather tentatively by the homestay owner – she was probably afraid to let us face the wrath of the local red chilli that Nagaland is famous for – the sharp, spicy and robust taste opened up the sinuses and had my blood rushing to all those cold-number places.
I am a garlic girl through and through so of course I loved it a lot but oh my my…
Understanding the recipe was a bit of a struggle as the homestay owner grappled with words and terms to explain the process, until we resorted to hand actions. Made with pantry essentials and ingredients that are available in most Indian (and non-Indian) kitchens, the Garlic & Naga Red Chilli Pickle makes for a deliciously fiery achaar to your dal chawal, the drizzle to your sad sabji, the exquisite touch to your sourdough cheese grilled sandwich and more.
I’ve used the local garlic I bought in Khonoma village along with the red chilli powder I picked up from a farmers’ market outside Kigwema village. The mustard seeds, mustard oil and tomato are from the provision store and vegetable vendor a few steps from my home.
And obviously, you won’t have the Naga garlic and chilli so feel free to use whatever you have… I’m sure it’ll taste brilliant!
Things to remember
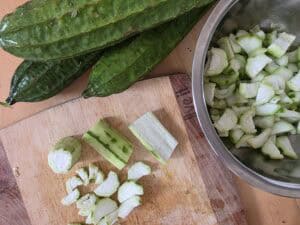
- Roughly chop the garlic cloves but don’t mince; we want the garlic pieces to roll on your tongue when you eat the pickle
- Be patient with the ‘let it sit’ portion of the recipe; the more you let the pickle sit, the more it’ll develop flavours and potency
- Be sure to store in a clean, dry glass jar.
Do let me know if you try this recipe! Leave a comment and don’t forget to tag me on Instagram at from.the.corner.table and hashtag it #fromthecornertable. I’d love to see it 
If you like to keep your refrigerator stocked with condiments that uplift the mundane, check out the recipes for the Apple Chutney, the Mixed Fruit Chaatni as also the Tomato & Dates Chutney.

For regular updates on recipes, recommendations on things to read and watch and ramblings that make sense, subscribe to the newsletter – you’ll find the form in the sidebar if viewing on a screen and at the bottom if viewing on the phone. Since spamming or flooding your inbox is a huge no for me, these newsletters go out only when I’ve put up a new post or sometimes, once in a month only.
Garlic & Naga Red Chilli Pickle

A spicy, robust pickle made with garlic and potent red chilli from Nagaland
- 1/2 cup Nagaland Garlic
- 6 tablespoon Vinegar
- 1 inch Ginger
- 1 Tomato (small)
- 1/2 teaspoon Mustard seeds
- 2 tablespoon Mustard oil
- 1/2 teaspoon Nagaland Red Chilli Powder
- Salt a pinch
Day 1
- Peel, wash and roughly chop the garlic cloves.
- Soak the chopped garlic in vinegar, ensuring all of the garlic is submerged in the vinegar, cover and let it rest overnight.
Day 2
- Blanch and peel the tomato. Chop it in a mush.
- Grate the ginger into the vinegar-soaked garlic.
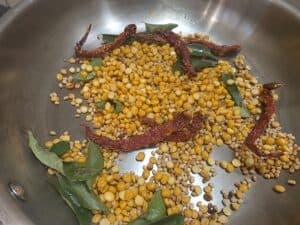
- In a pan, heat mustard oil.
- Add the mustard seeds and let them splutter.
- Pour in the garlic ginger vinegar solution to the oil and cover immediately to stop the splutter and trap the fragrance (as my mother says).
- Once the situation inside the pan is a little calm, uncover, add the tomato mush and give it a good stir.
- Add the Nagaland Red Chilli Powder and a pinch of salt.
- Give it a good stir and simmer for 10 minutes.
- Let it cool completely before storing it in a glass jar.