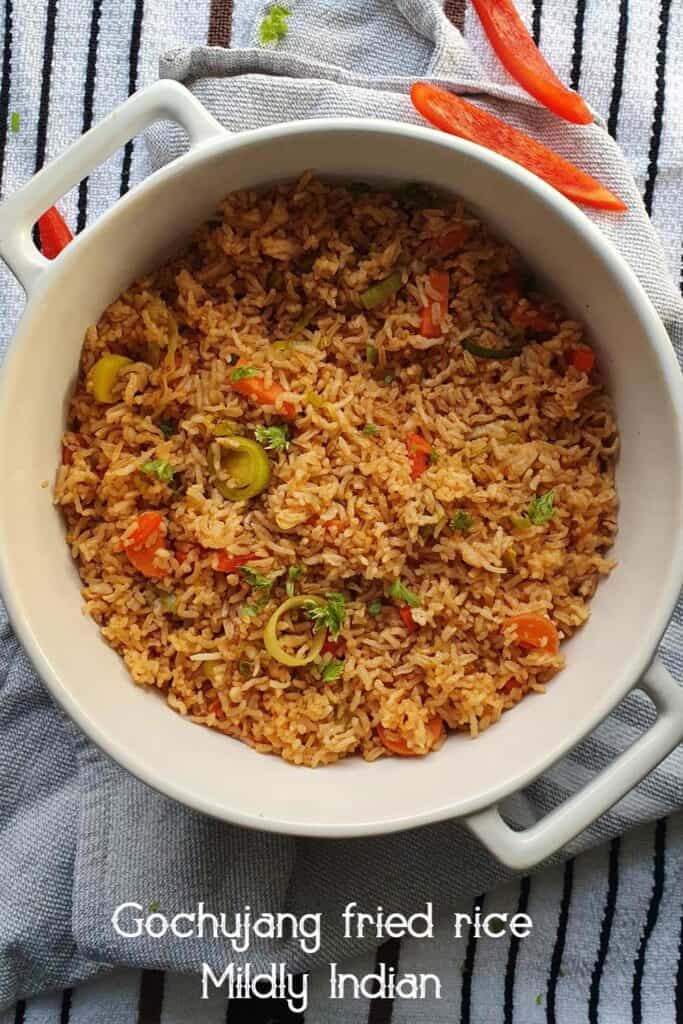
Gochujang fried rice
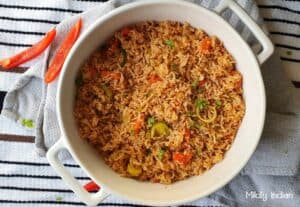
Dipping your feet into Korean food? Here’s gochujang fried rice that you must not miss. quick and easy, this brown rice fry is gluten-free, vegan and above all delicious.
The current bonding with my teens is learning the ropes of Korean pop. As I am getting educated on the song list, moves, selfie trends etc my brain runs fueled by flavours. Here is the first and easiest, gochujang fried rice. Hopefully, this imperfect gochujang fried rice version will be accepted by my teens.
What is gochujang?
I am sure you all are familiar with fried rice. Gochujang takes fried rice to a whole new level, the one that you don’t want to put your fork down. Gochujang is a unique fermented chilli paste made from taeyancho Chili peppers. It is not a ground chilli paste like gochugaru, rather has fermented soy paste, glutinous rice etc, that contributes to the umami flavour it develops. Gochujang does not have the fiery flavour of the chillies. Yes, there is the spiciness, yet a bit of sweet mellowness comes from the fermentation. Gochujang is used in combination with gochugaru for heat in many recipes. In this fried rice, we have only used the gochujang to create the flavour.
What rice is best for gochujang fried rice?
Medium to long-grain rice is what is best for making gochujang fried rice. The key idea is that the rice is nonsticky, not a glutinous variety. Today I have used brown basmati to make this recipe. The brown basmati has a bite when cooked and fluffs ups perfectly making it easy to stirfry.
Prepping the rice for the perfect texture
Ideally, soak the rice after washing it for 10 minutes. Depending on the method you choose to cook the rice you will need 1l to 2 times of the water to get fluffy rice. Either cook and drain the excess liquid or use the absorption method. Once the rice is cooked, use a fork to fluff it so the rice grains separate better. To be fair, the best-fried rice makes use of leftover rice as it has dried out a little bit keeping the grains separate, yet soft.
Let’s get cooking
Once you have the rice ready, the gochujang fried rice comes together quickly.
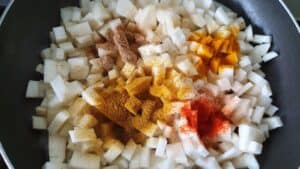
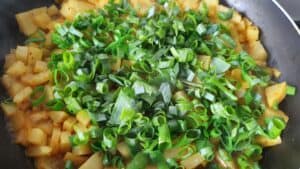
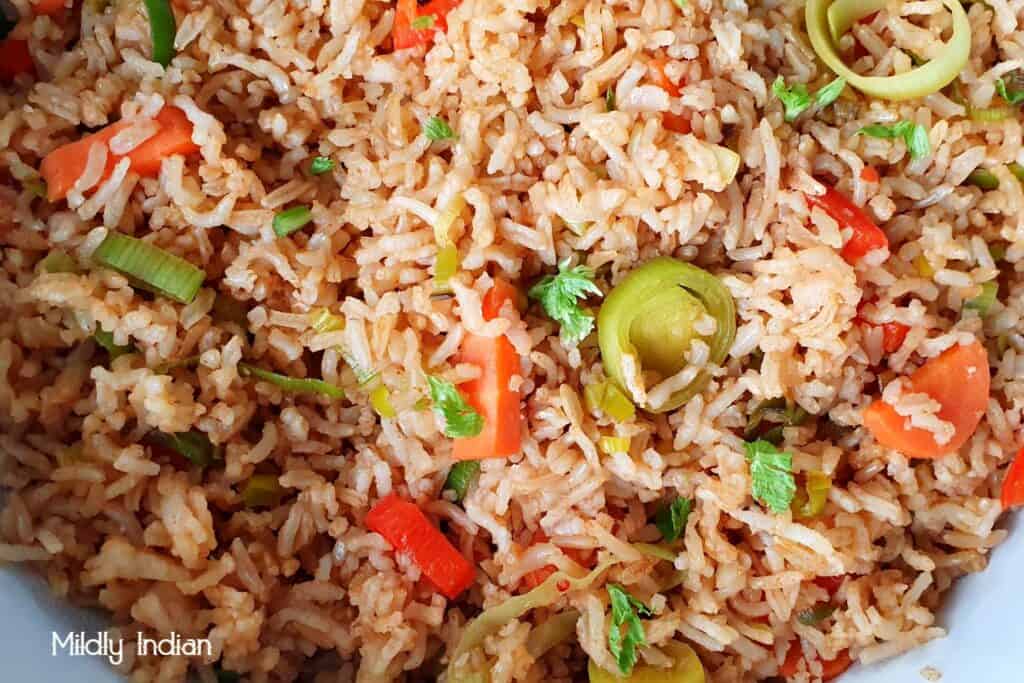
Chop up some veggies you have like onions, capsicum, peas, cabbage, carrots etc. I have used sliced leeks, chopped carrots and capsicum to make it. This keeps changing based on what I have at hand.
Next comes the sauce. So, into the bowl goes gochujang paste, soy sauce and 2 tablespoons of hot water. Whisk this to get a smooth sauce.
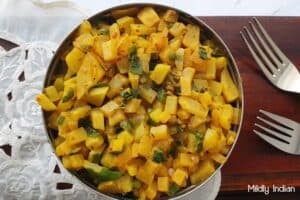
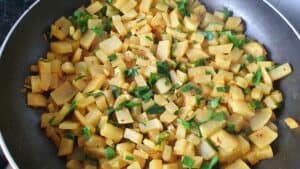
I guess you are in ready-set-go mode. Fire up that wok and grease it well with oil. Fry the veggies and add the fluffed rice. Pour the sauce and quickly start mixing. Use two turners to achieve this. So, it is dug and tossed, not stirred. In this way, the sauce and the veggies get evenly mixed without the rice turning mushy. Once all is mixed, the fried rice is ready to be served.
Gochujang fried rice
Equipment
- wok
- ladle
Ingredients
- 2 tbsp oil
- 1 tbsp garlic minced
- 1 tsp fresh ginger root chopped
- 1/2 cup leeks sliced
- 1/2 cup carrots chopped
- 1/2 cup capsicum chopped
- 1/2 cup tofu crumpled
- 3 cups brown rice cooked and fluffed
- 2 tbsp gochujang
- 1 tbsp dark soy sauce
- 1 tsp Toasted sesame seeds
Instructions
- Stir together the soy sauce and gochujang paste with a bit of water to form sauce. Set this aside till needed.

- Chop the carrots, capsicum and leeks. Set it aside.
- Fluff the cooked brown rice and keep it ready.

- Into the wok add the oil and let it heat up.
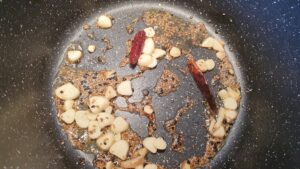
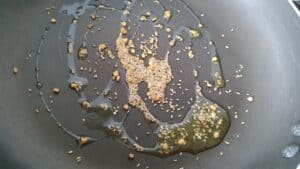
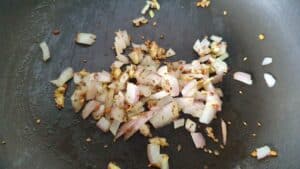
- Once heated, add the garlic and ginger and stirfry to flavour the oil.
- Add the tofu and stir fry for minute.
- Now stir fry the veggies.

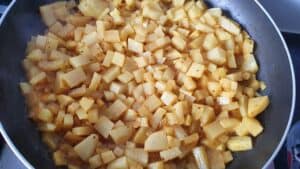
- Once the veggies are crisp but sauteed, add the rice.

- Add the sauce and toss and fry on high heat.

- Once the rice is well coated and heated up, sprinkle the sesame seeds and mix well.

- Taste test and adjust seasoning or salt if needed.
- Remove from heat and the rice is ready to be served.

Serving suggestions for gochujang fried rice
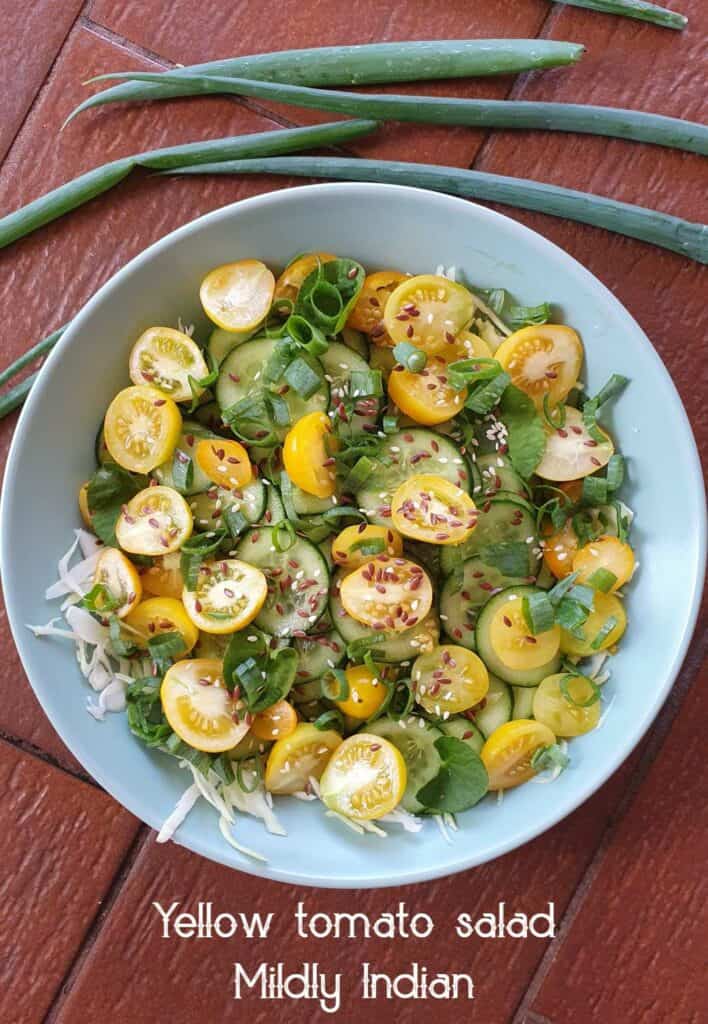
The best dishes to serve with this gochujang fried rice are roasted tofu, some spicy cucumber salad. Pair with chilled baesook and the meal is complete.
Stay connected
Gochujang fried rice is not an authentic Korean recipe. It is more so a fusion idea that we tried as a stepping stone into the cuisine. It is a very flavourful recipe that we have decided to bond upon. We will welcome your suggestions to try out vegetarian Korean dishes. Leave them in your comments and rate the recipe when you make this fried rice.