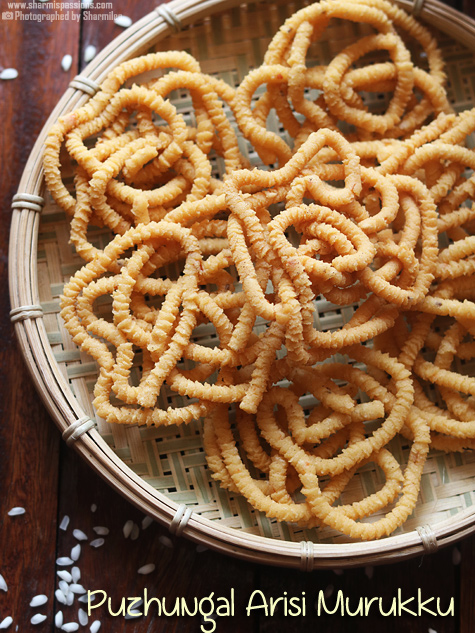
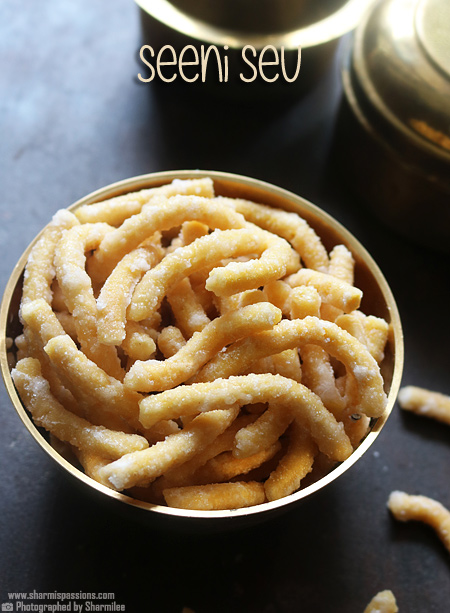
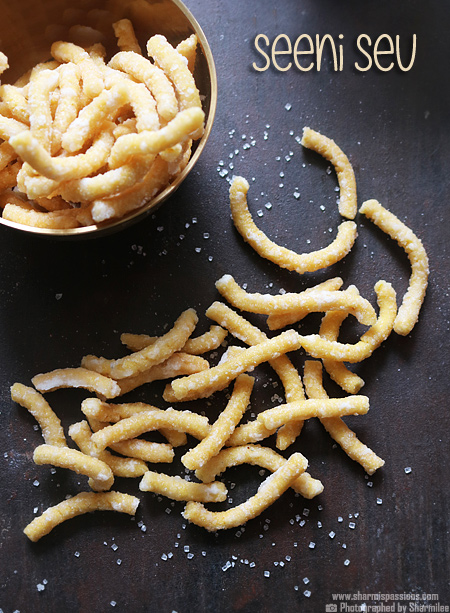
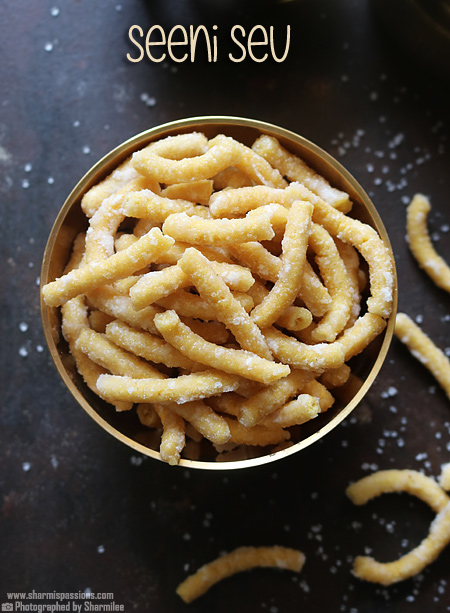
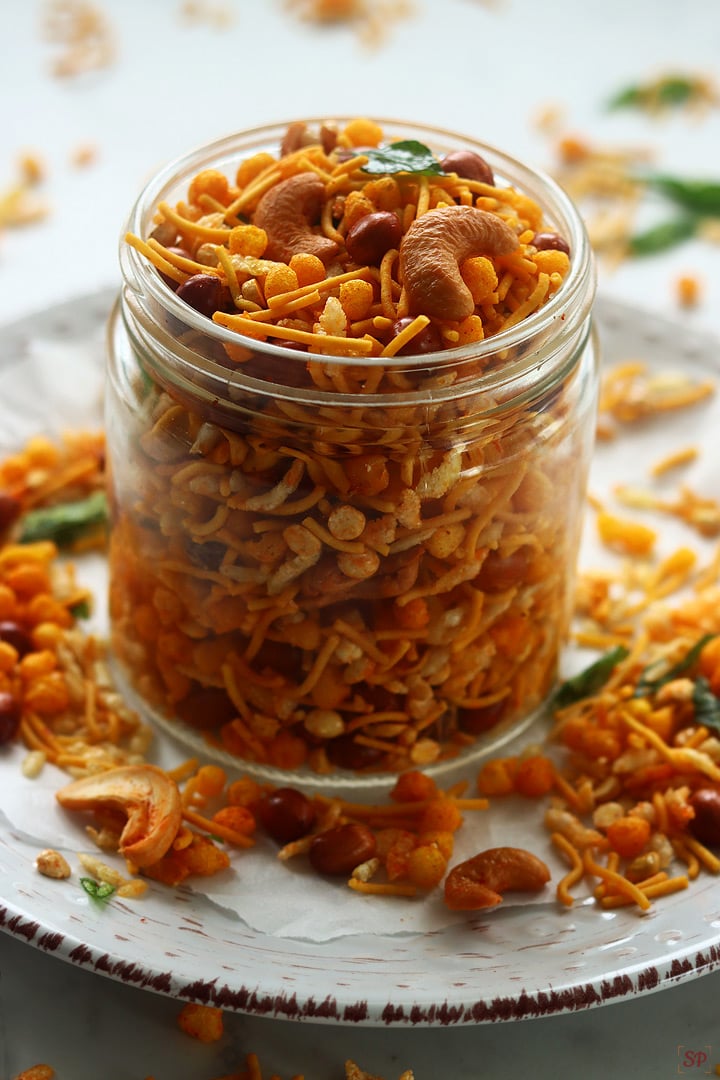
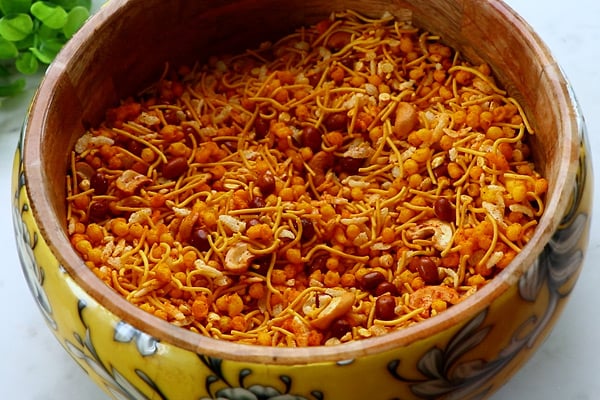
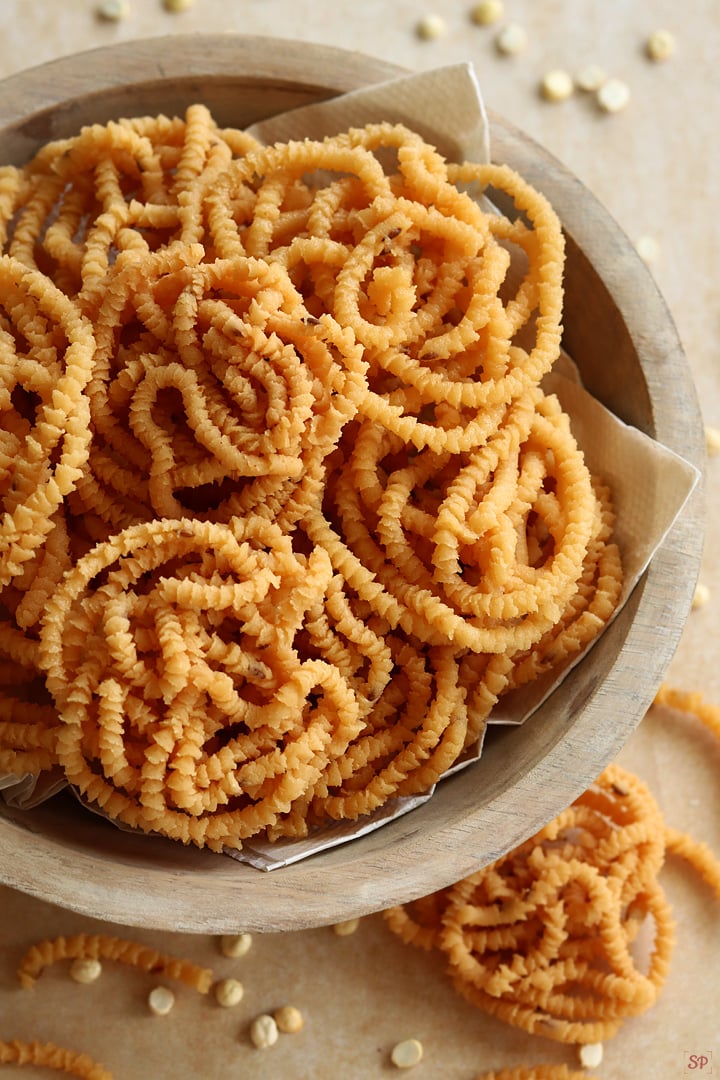
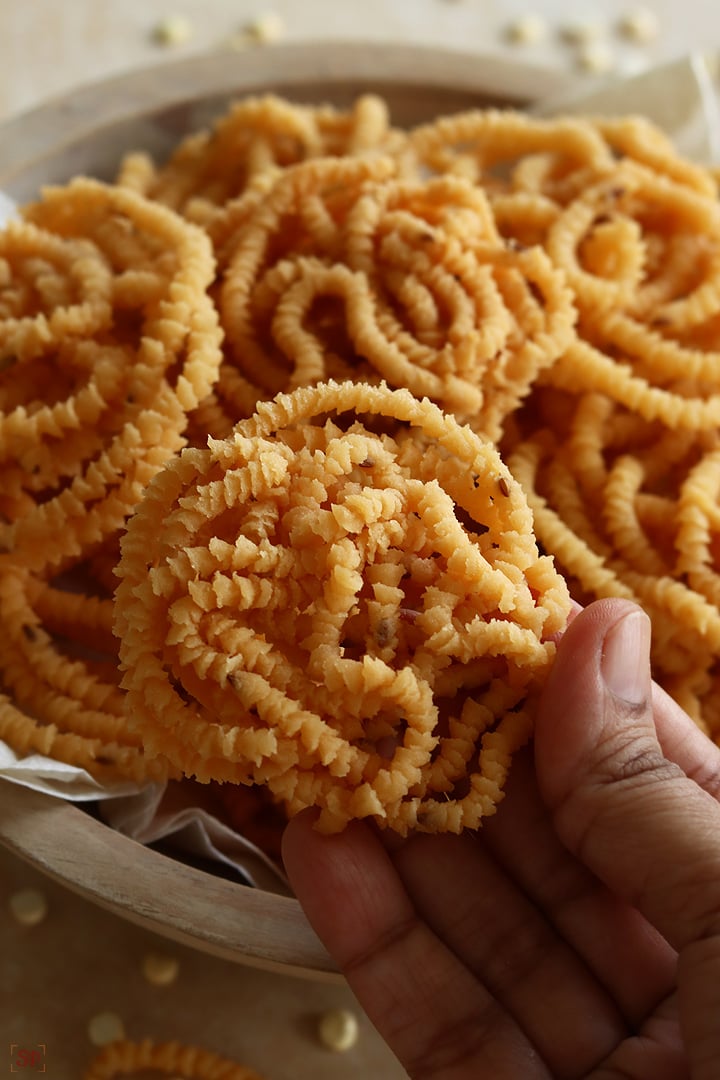
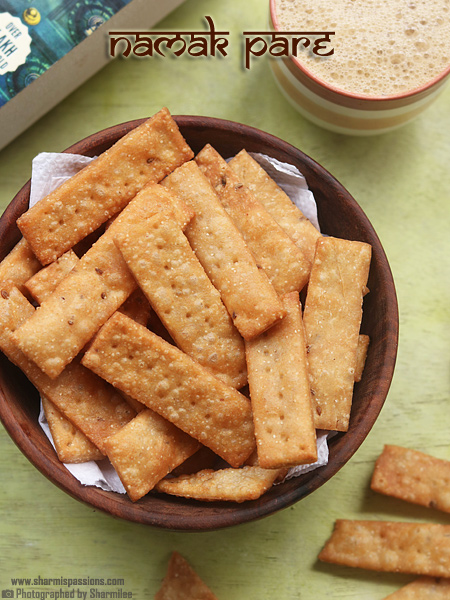
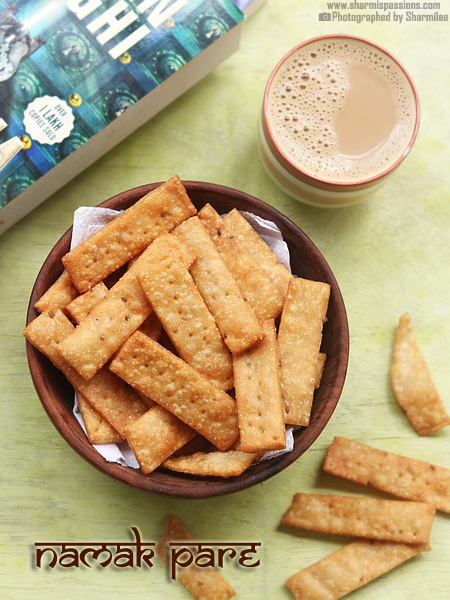
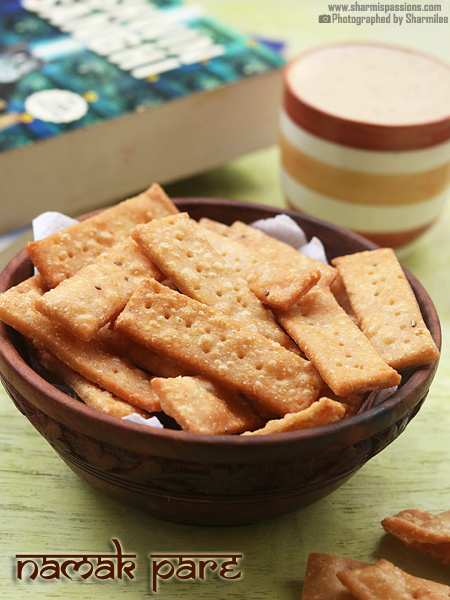
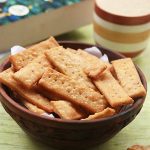
Namak Para | Namakpare
Namak Para is a quite simple and crispy snack made with wheat flour, maida, ghee and some spices. These small fried pieces are very crunchy and perfect to munch anytime. Namak Para is an Indian version of cookie perfect for tea time. It is a favorite tea time snack in many homes and liked by all age groups.
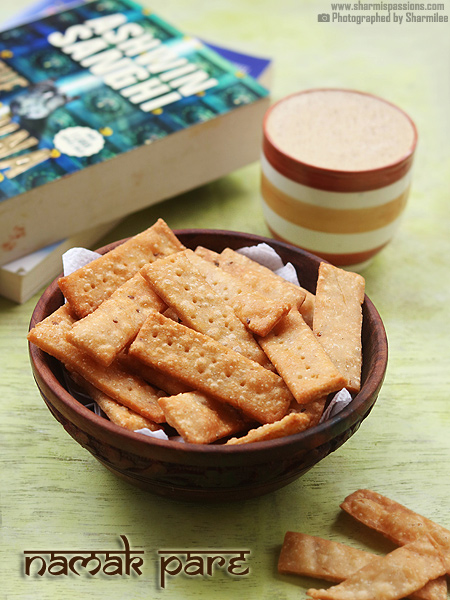
Namak Pare is made by making a flour dough then the dough is rolled, cut and fried till golden to get that perfect crunch. Namak Para has mild flavor of ajwain and ghee which makes it so aromatic. It tastes best with evening tea or can be packed for small trips and picnics. Once you make a batch, it stays crisp for many days if stored properly.
[feast_advanced_jump_to]About Namak Para
Namak Para is quite common during festivals like Diwali or Holi. It is also called as Nimki or Namakpare in different parts of India. The snack is made by deep frying small dough pieces prepared using flour, ghee and few spices. The texture is crispy outside and little soft inside which makes it very nice to eat.
The recipe is quite simple and does not need any special ingredient. The mix of maida, wheat flour and sooji give right crunch and light texture. Ghee gives flaky texture and rich flavor which is main secret for perfect Namak Para. Ajwain gives a small punch of flavor and also helps in digestion.
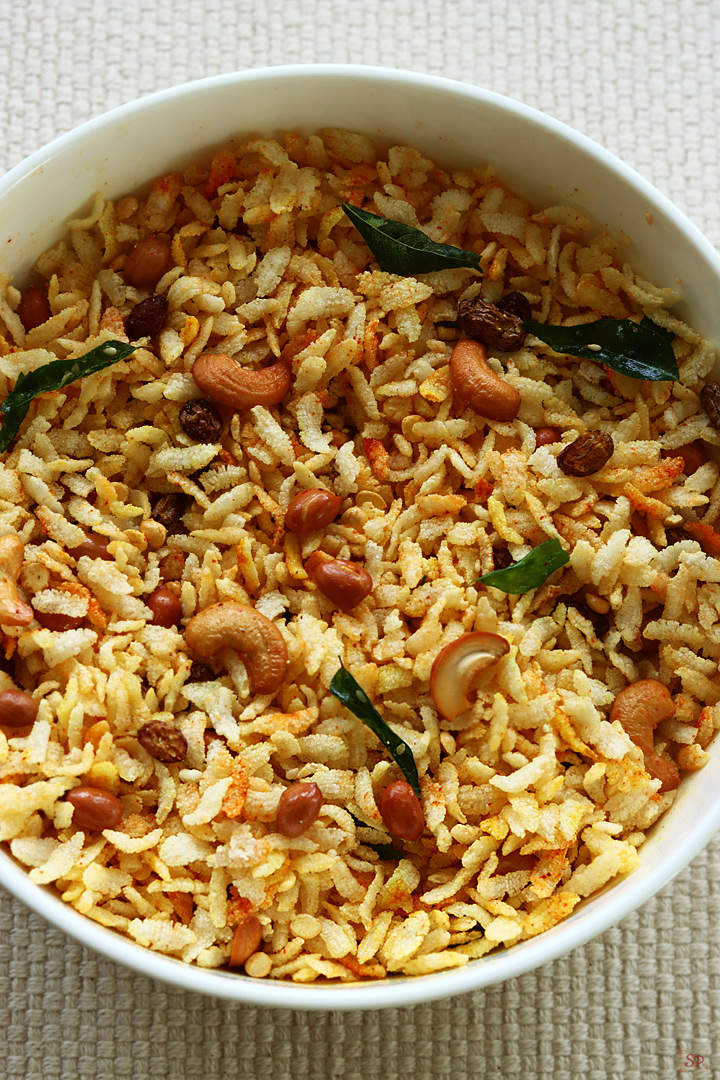
You can see both sweet and salty versions of this snack. The salty one is called Namak Para and the sweet one is known as Shakkar Para. You can even flavor it with kasuri methi, black pepper or cumin seeds for some change. It can be made only with maida or wheat flour or even mix of both as per your choice.
I usually make Namak Para during weekends or festival time. I enjoy making a big batch, store in jar and serve with hot tea in the evening. The sound of that crisp bite is so satisfying. Once you start eating, it is hard to stop with few pieces only.
Namak Para Ingredients
- Maida - I have used maida to get that light and crisp texture. You can make fully with wheat flour also but maida gives more crunch.
- Wheat Flour - Added along with maida for light healthy touch. It makes the snack bit firm and gives good color after frying.
- Fine Sooji - I have used fine sooji for crispness. It helps Namak Para to stay crunchy for a long time.
- Ajwain Seeds - This adds mild flavor and helps in digestion too. You can replace with jeera or skip if you do not like the taste.
- Ghee - I add this for richness and nice aroma. It gives that flaky texture in each bite. Oil can be used too but ghee gives better flavor.
- Water - I used to knead the dough into soft and smooth texture. Add little by little to get correct consistency.
- Oil - I used for deep frying. Use fresh oil and fry them in low medium flame for even color and crispness.
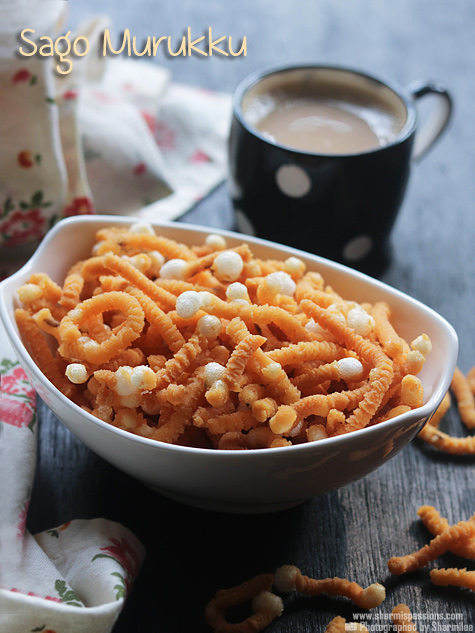
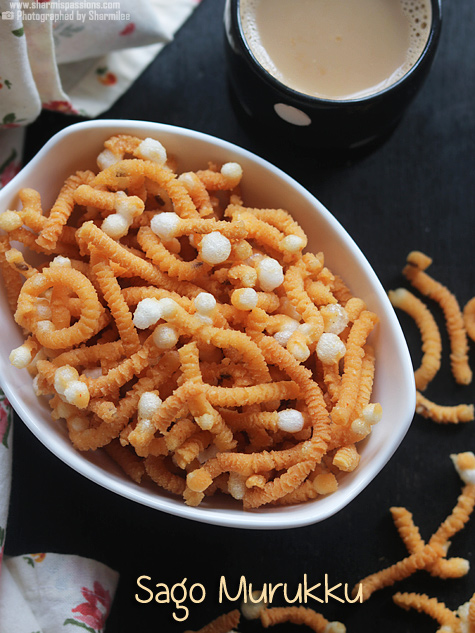
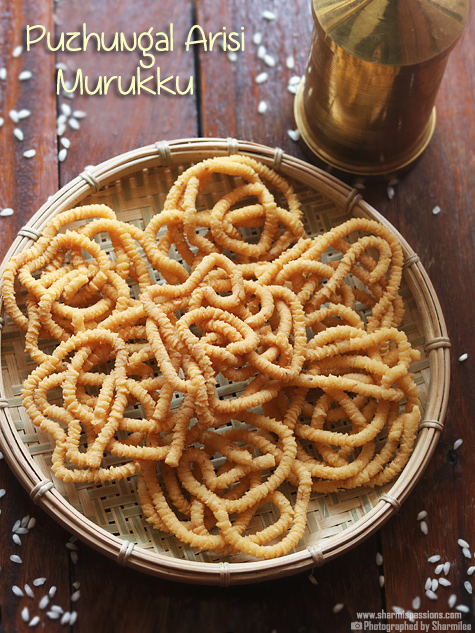
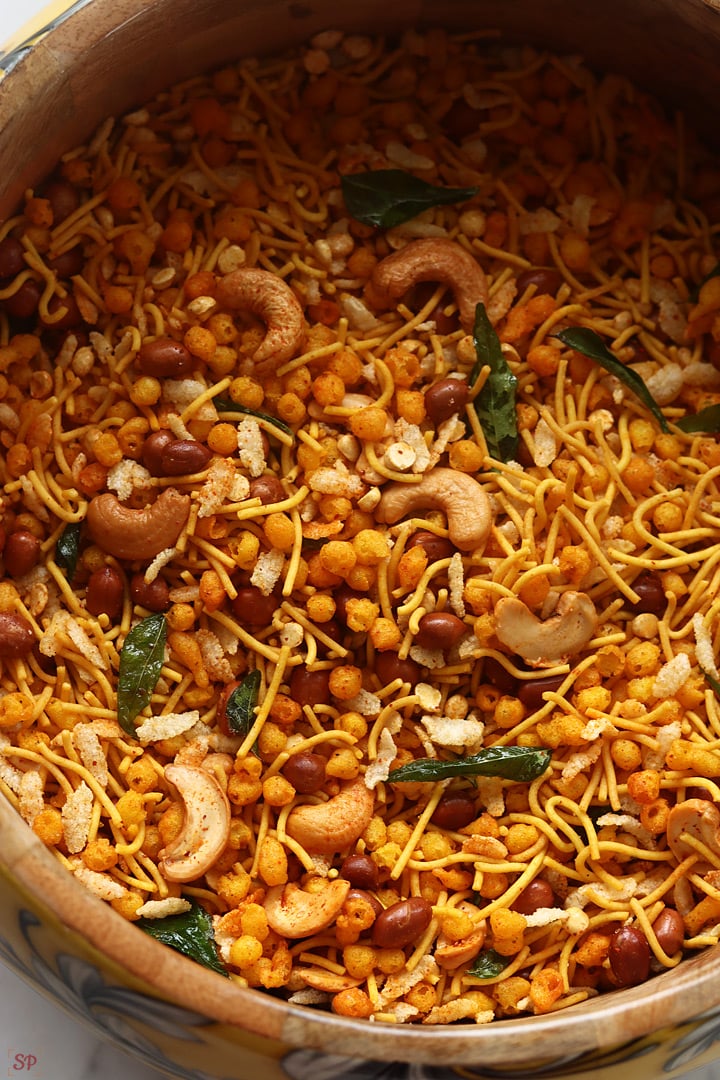
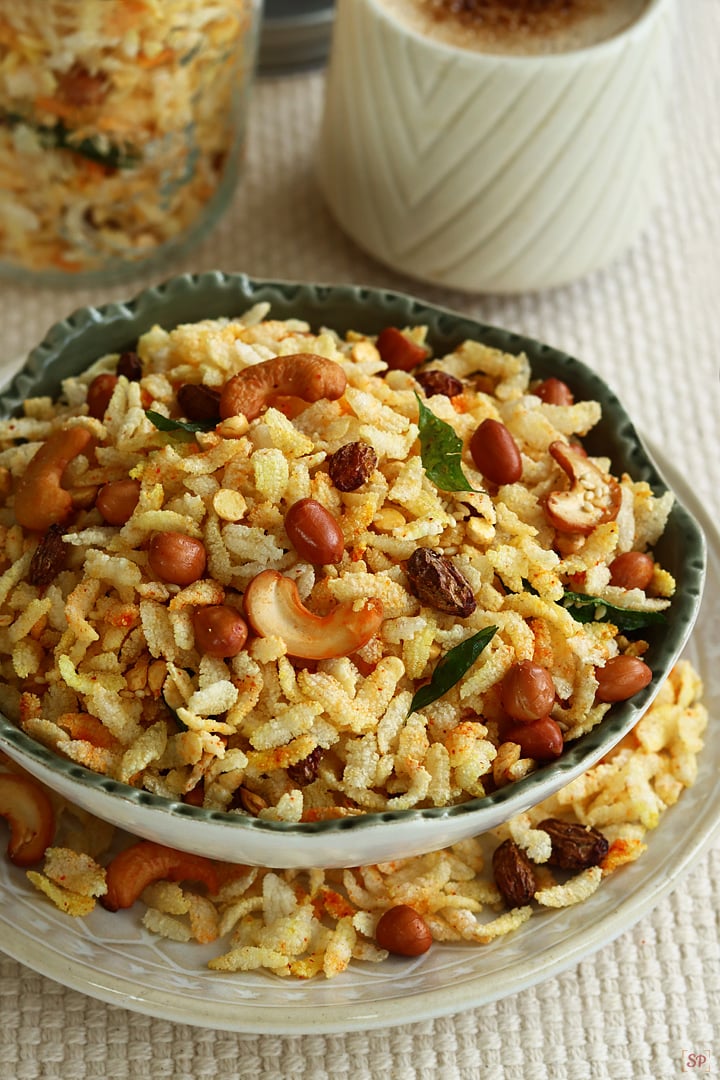
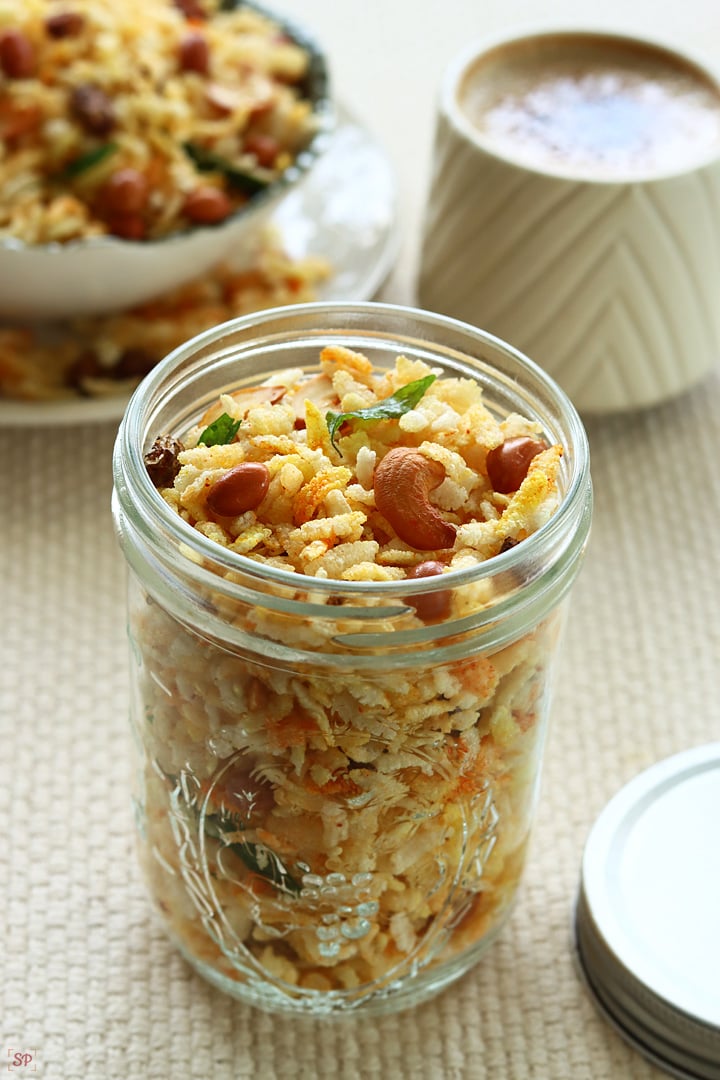
Similar Recipes
How to make Namak Pare Step by Step
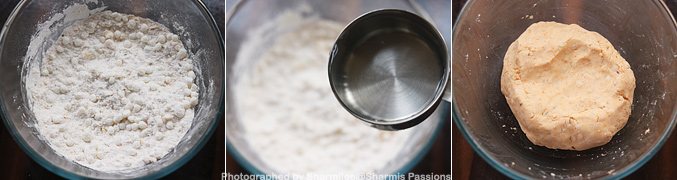
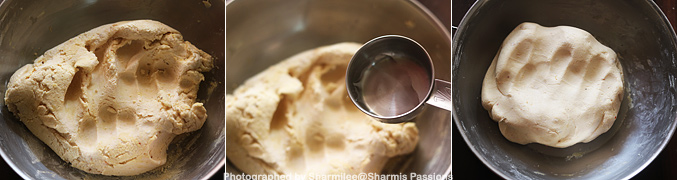
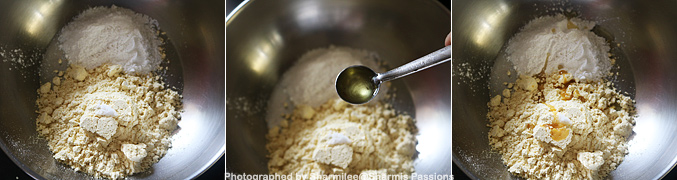
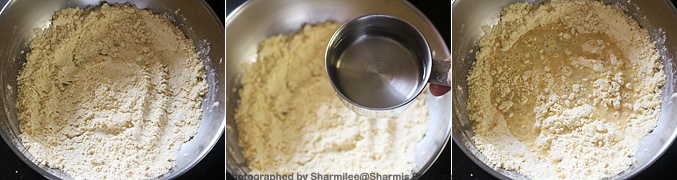
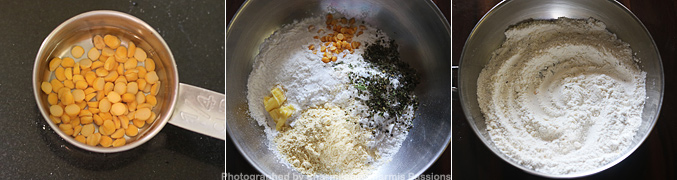
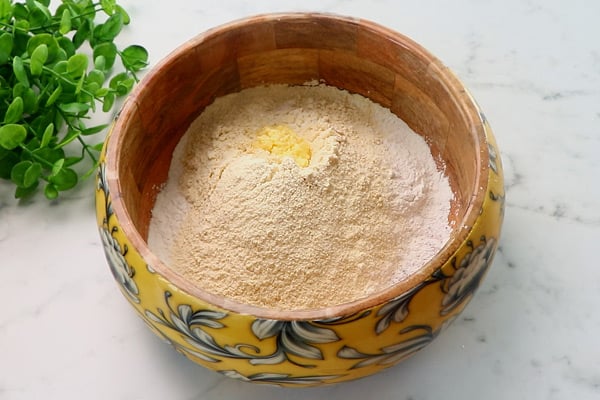
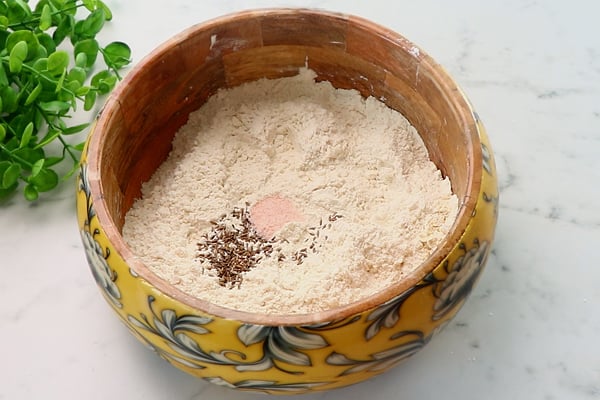
1.Take maida, wheat flour, sooji, ajwain, ghee and required salt. First mix it well, then add water little by little.
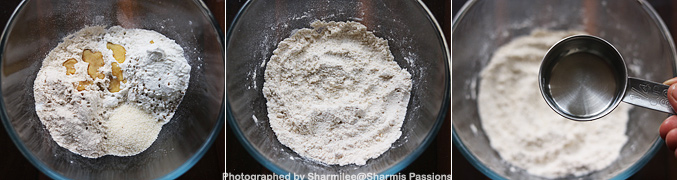
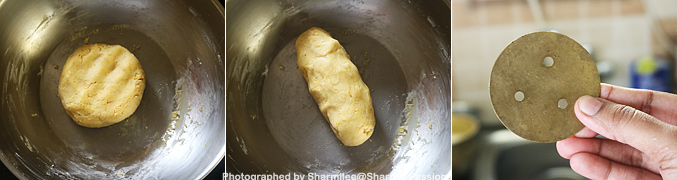
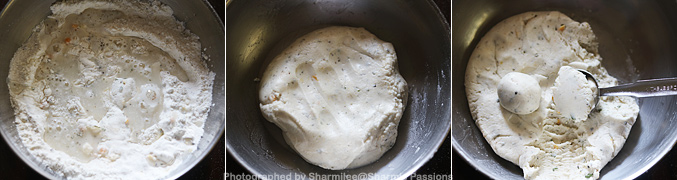
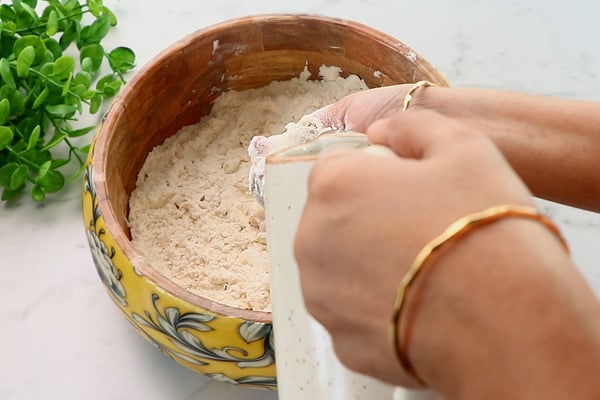
2.Keep kneading and adding water little by little to form a soft pliable dough like this. Keep covered for 15 minutes.
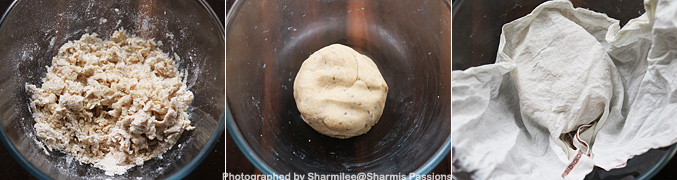
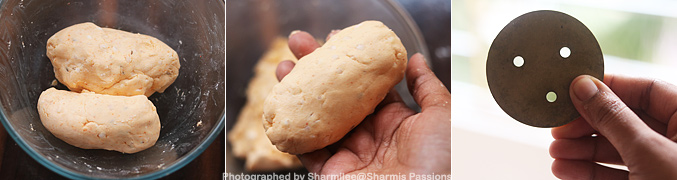
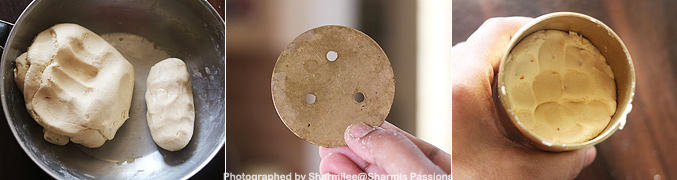
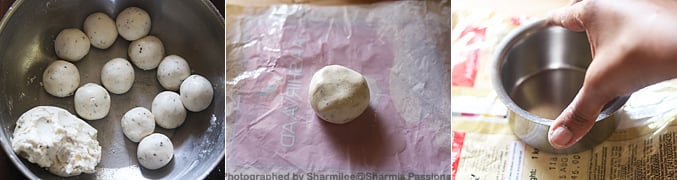
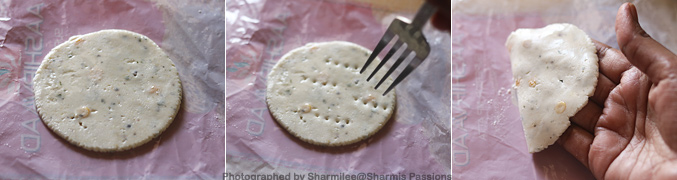
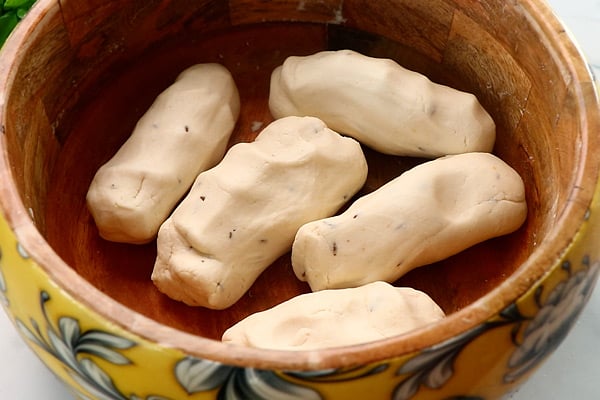
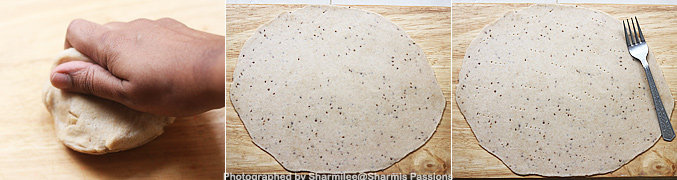
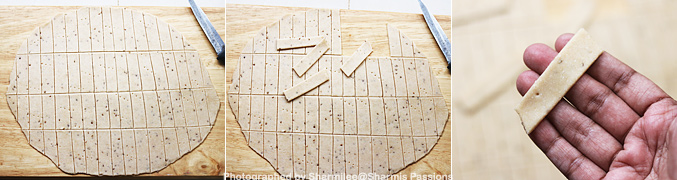
3.Then take it out and knead it once. Roll it using a chapathi roller to slightly thick, it should thick like salted crackers. Now prick with fork to avoid puffing.
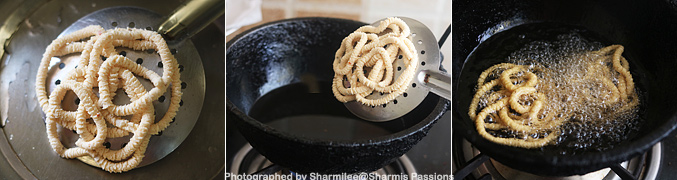
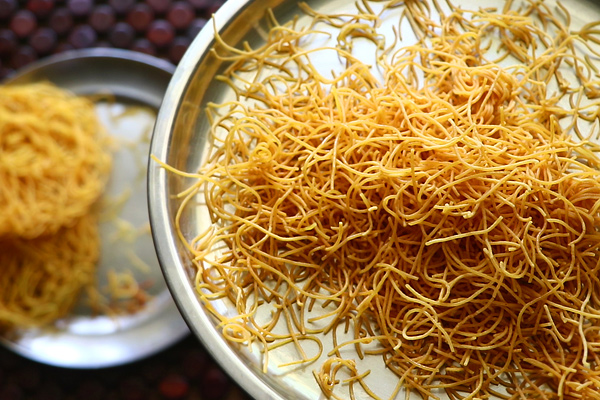
4.Using a knife cut like this.Each piece can be 1and ½ inches long. Carefully separate them.
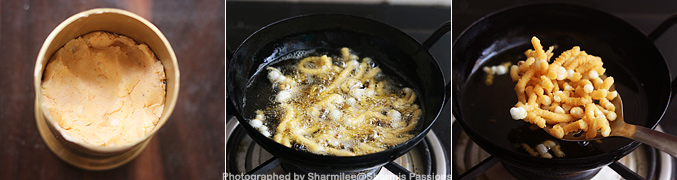
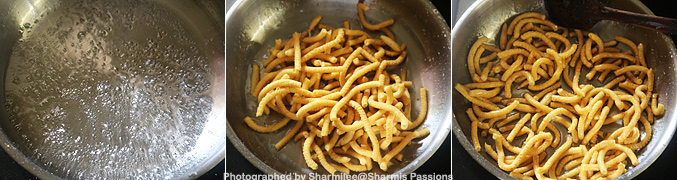
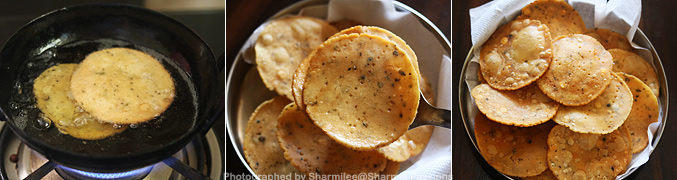
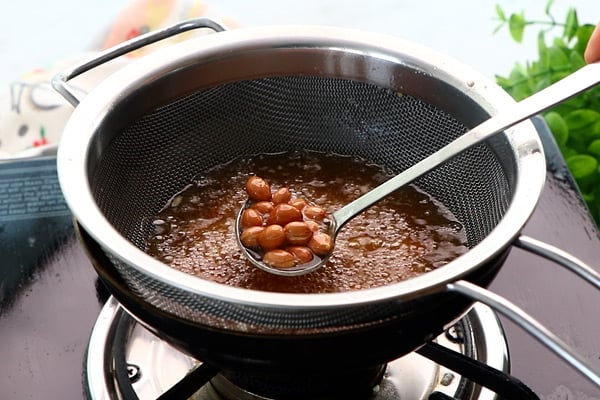
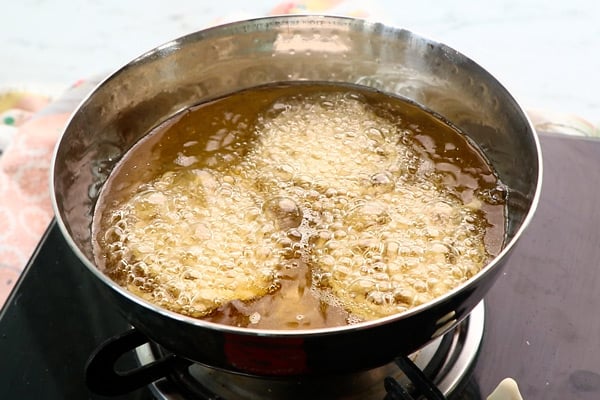
5.Now heat oil - add few pieces, do not overcrowd. It will slowly come up and change color. Do not keep the flame in high, low medium should be fine.
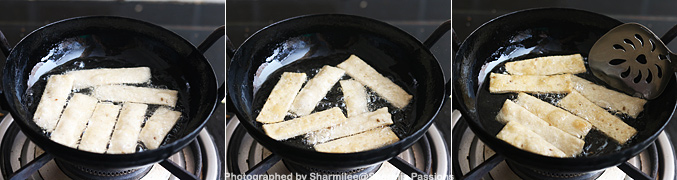
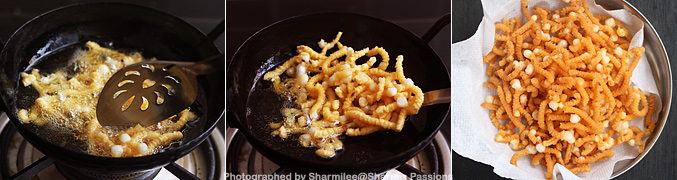
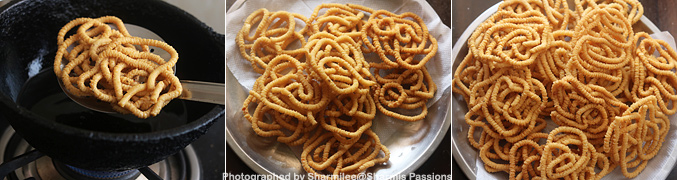
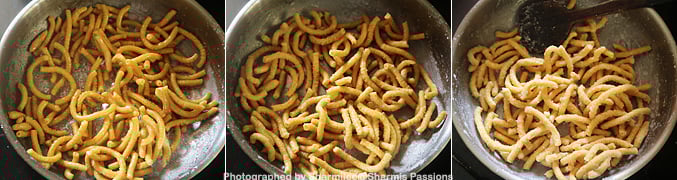
6.Deep fry till golden on both sides. Take it out and drain in tissue paper. Like wise fry the remaining.
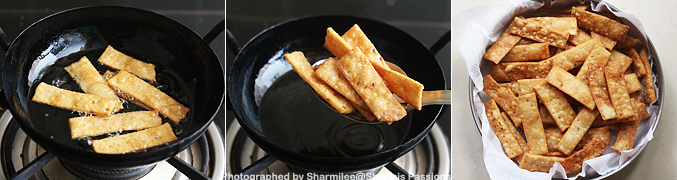
Cool down and store in airtight container.
Expert Tips
- Dough Texture - I usually knead the dough soft and smooth but not sticky. If dough is too tight, Namak Para will turn hard, so add water little by little while mixing.
- Rolling - Roll the dough bit thick like how we roll crackers. If it is too thin, it will become extra crisp and break soon after frying.
- Pricking - I always prick the rolled dough with fork before cutting. It helps to stop from puffing up while frying.
- Frying - Keep the flame on low medium so Namak Para cook nice and even. If flame is high, outside turn brown fast but inside stay soft and uncooked.
- Cooling - Let it cool down fully before putting in jar. This will help to keep it crisp and tasty for long time.
Serving and Storage
Serve Namak Para with hot cup of tea or coffee. It is nice snack to serve when guests come home also. Keep cooled Namak Para in airtight box and it stay good for around 10 to 15 days.
FAQS
1.Can I make this with wheat flour?
Yes you can make it fully with wheat flour, but texture will be little tight though still very nice in taste.
2.Can I bake this recipe?
Yes you can bake this in oven at 180°C till it turn golden and crisp. Baking makes it lighter and less oily, good for healthy option.
3.Why my Namak Para became soft after frying?
If oil is not hot enough or dough rolled too thick, it will turn soft. Fry in right heat and roll evenly.
4.Can I add other spices for flavor?
Yes you can add crushed pepper, jeera or kasuri methi for different taste. All versions come out nice.
5.How long can I store Namak Para?
If stored in airtight box, it stays good for around two weeks. Make sure it cools completely before storing.
If you have any more questions about this Namak Para Recipe do mail me at sharmispassions@gmail.com. In addition, follow me on Instagram, Facebook, Pinterest ,Youtube and Twitter .
Tried this Namak Para Recipe? Do let me know how you liked it. Also tag us on Instagram @sharmispassions and hash tag it on #sharmispassions.
📖 Recipe Card
Namak Para Recipe | Namakpare Recipe
Ingredients
- ¼ cup maida
- ¼ cup wheat flour
- 1 tablespoon fine sooji
- ¼ teaspoon ajwain seeds
- 1 tablespoon ghee
- oil to deep fry
- salt to taste
- less than ¼ cup water
Instructions
- Take maida, wheat flour, sooji, ajwain, ghee and required salt. First mix it well, then add water little by little.
- Keep kneading and adding water little by little to form a soft pliable dough like this. Keep covered for 15mins.
- Then take it out and knead it once. Roll it using a chapathi roller to slightly thick, it should thick like salted crackers. Now prick with fork to avoid puffing.
- Using a knife cut into into rectangular shapes . Each piece can be 1and ½ inches long. Carefully separate them.
- Now heat oil - add few pieces, do not overcrowd. It will slowly come up and change color. Do not keep the flame in high, low medium should be fine.
- Deep fry till golden on both sides.
- Take it out and drain in tissue paper. Likewise fry the remaining.
- Cool down and store Namak Para in airtight container.
- Enjoy Namakpare!
Notes
- Dough Texture - I usually knead the dough soft and smooth but not sticky. If dough is too tight, Namak Para will turn hard, so add water little by little while mixing.
- Rolling - Roll the dough bit thick like how we roll crackers. If it is too thin, it will become extra crisp and break soon after frying.
- Pricking - I always prick the rolled dough with fork before cutting. It helps to stop from puffing up while frying.
- Frying - Keep the flame on low medium so Namak Para cook nice and even. If flame is high, outside turn brown fast but inside stay soft and uncooked.
- Cooling - Let it cool down fully before putting in jar. This will help to keep it crisp and tasty for long time.
Nutrition
The post Namak Para | Namakpare appeared first on Sharmis Passions.