Vanilla Milkshake Recipe
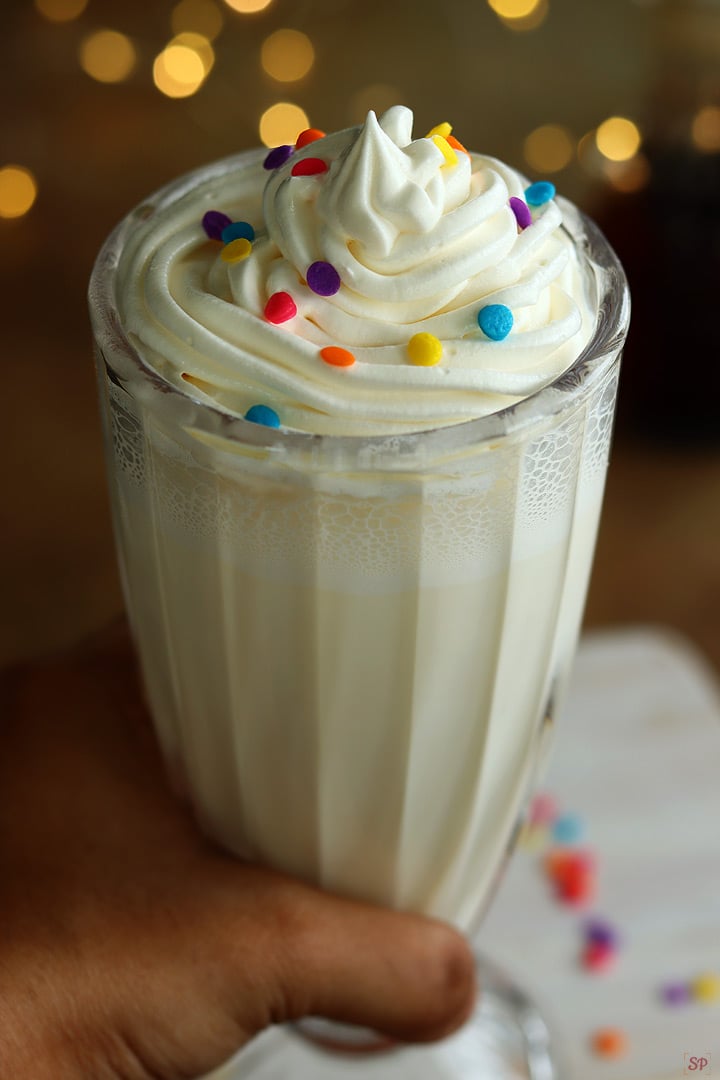
Vanilla Milkshake is a classic creamy beverage made with just few ingredients in hand including vanilla ice cream, milk, vanilla and sugar. Vanilla Milkshake is one of the popular shakes loved by all. It is rich, has a velvety smooth texture and the most demanding milkshakes in restaurants.
Vanilla Milkshake is great after a meal or even along with a midday snack. Nothing beats a chilled, smooth creamy milkshake after a long day and this vanilla milkshake is just perfect. Do try and enjoy the cafe style vanilla milkshake at home with easily available ingredients at home.
[feast_advanced_jump_to]About Vanilla Milkshake
Vanilla Milkshake is so easy and quick to make. Just blend the ingredients together to get a creamy shake but the proportions are really important to get the perfect tasting milkshake just like in cafe or restaurant. The subtle sweetness, creamy texture and mild vanilla flavor makes this shake refreshing and tastes delicious.
Vanilla Milkshake is just made with 4 basic ingredients which includes cold milk, vanilla ice cream, sugar and vanilla essence. Indian style Vanilla Milkshake is just perfect for get together or kids parties. Ice cream is added to make the shake rich and more creamy, alternatively you can add frozen milk too.
This Vanilla milkshake has a pleasantly rich sweet taste as it combines ice cream and milk. Vanilla is the basic flavor, it is one of the popular among other flavors too. So it is obvious that Vanilla Milkshake though simple gains much attention and popularity among other shakes.
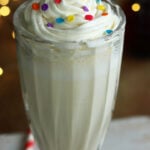
This can be just had with a scoop of ice cream or whipped cream. As we are adding ice cream while blending the shake, I prefer whipped cream topping along with sprinkles looks and feels tempting.
Vanilla Milkshake - 2 ways
- Vanilla Milkshake with icecream - This is a classic combination of just blending chilled milk along with sugar , vanilla icecream and vanilla essence.
- Vanilla Milkshake without icecream - This is slightly a low fat version replacing icecream. Freeze 2 cups of milk overnight until fully frozen then add it along with milk, vanilla essence a little more of sugar and blend until thick and creamy.
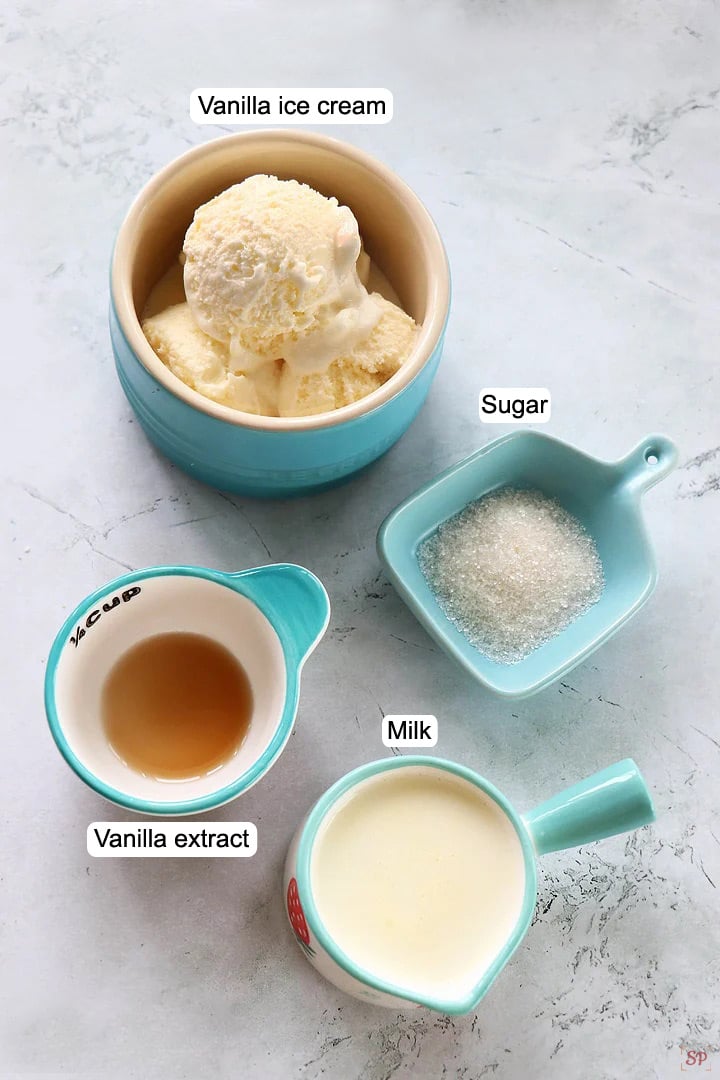
Vanilla Milkshake Ingredients
- Milk - Use full fat milk especially for milkshakes to get creamy smooth shake just as in restaurants. Boil cool down then chill the milk.
- Ice cream - I have used vanilla icecream here. If you do not want to use icecream then freeze 2 cups milk and add it while blending replacing icecream.
- Vanilla extract - Though we use vanilla ice cream I use a dash of vanilla extract or essence to get the punch. I have used homemade vanilla extract. But if you don't have vanilla essence then just skip it and use just vanilla ice cream.
- Sugar - Though sugar is optional I love to add it to lift the sweetness.
Similar Recipes
How to make Vanilla Milkshake Step by Step
1.To a blender add ½ cup chilled milk (boiled, cooled and chilled).

2.Add 2 teaspoon sugar to it.

3.Add ¼ teaspoon vanilla extract.

4.Add 4 scoops vanilla ice cream.

5.Blend everything together until smooth and creamy.

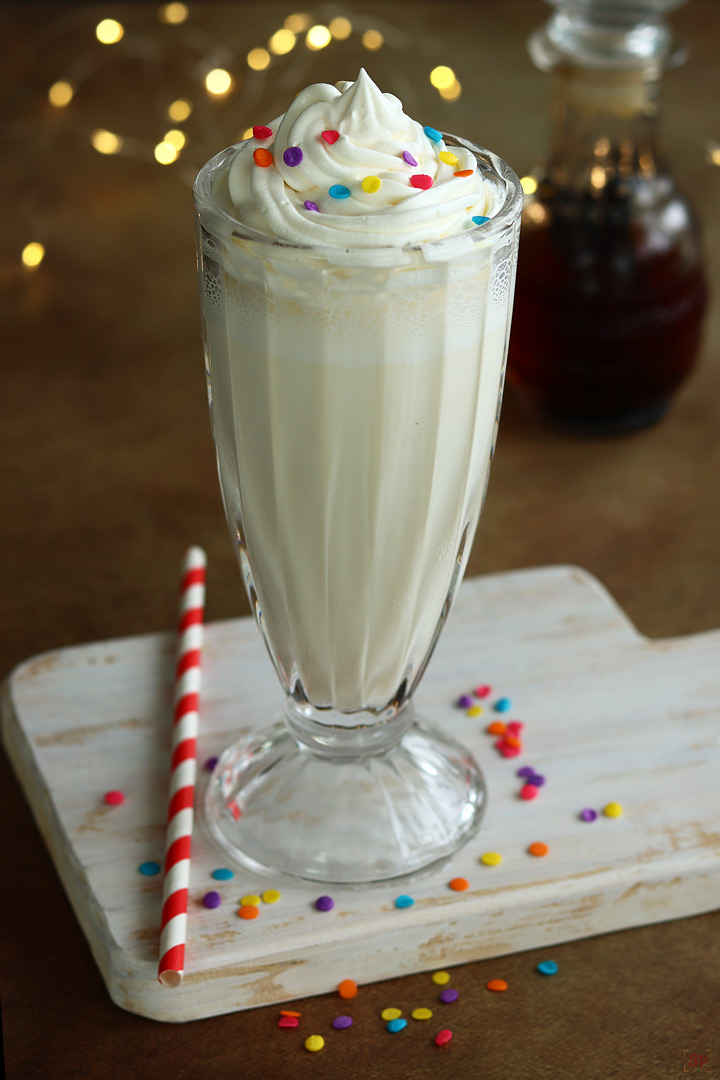
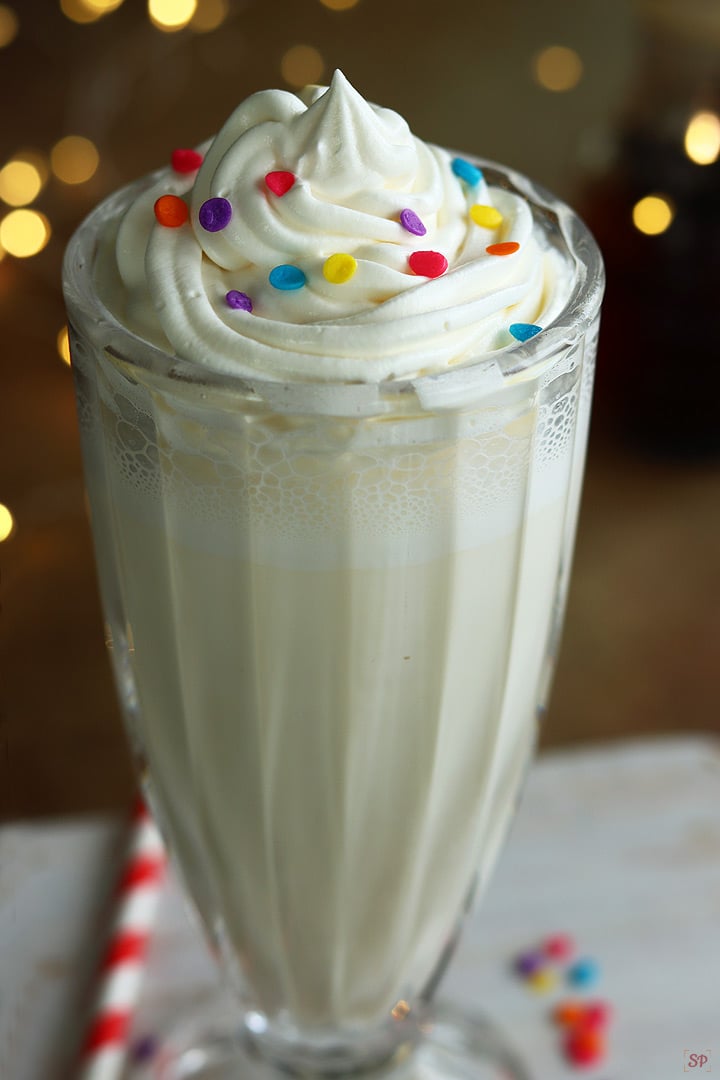
6.Pour vanilla milkshake into a tall glass.

7.Top it up with whipped cream and sprinkles.

Serve immediately and Enjoy Vanilla Milkshake!
Expert Tips
- Milk - Always add full cream milk for milkshakes. Make sure milk is boiled before use. Add only ¼ cup milk if you prefer a very thick milkshake.
- Chilling - Add chilled milk and ice cream to make the shake chill. Also you can refrigerate the shake for few mins to make it chilled. Do not add ice cubes as it will dilute and make the shake watery.
- Sweetness - Though adding sugar is optional, I recommend adding it.
- Ice cream - Adding more ice cream makes the shake rich and creamy.
Variations
- Without ice cream - You can make vanilla milkshake with or without ice cream as per your preference. Check out tips for more details on making vanilla milkshake without icecream.
- Adding nuts - You can add chopped nuts and dry fruits to get a more rich nutty vanilla milkshake.
- Custard - You can add 2 tablespoon vanilla custard to make vanilla milkshake for a variation.
Topping Ideas
- Top it up with nuts and dry fruits if you like.
- You can add a scoop of vanilla icecream with a syrup drizzle of your choice. Caramel syrup and chocolate syrup suits best.
- If you like strawberry flavour drizzle strawberry sauce and serve.
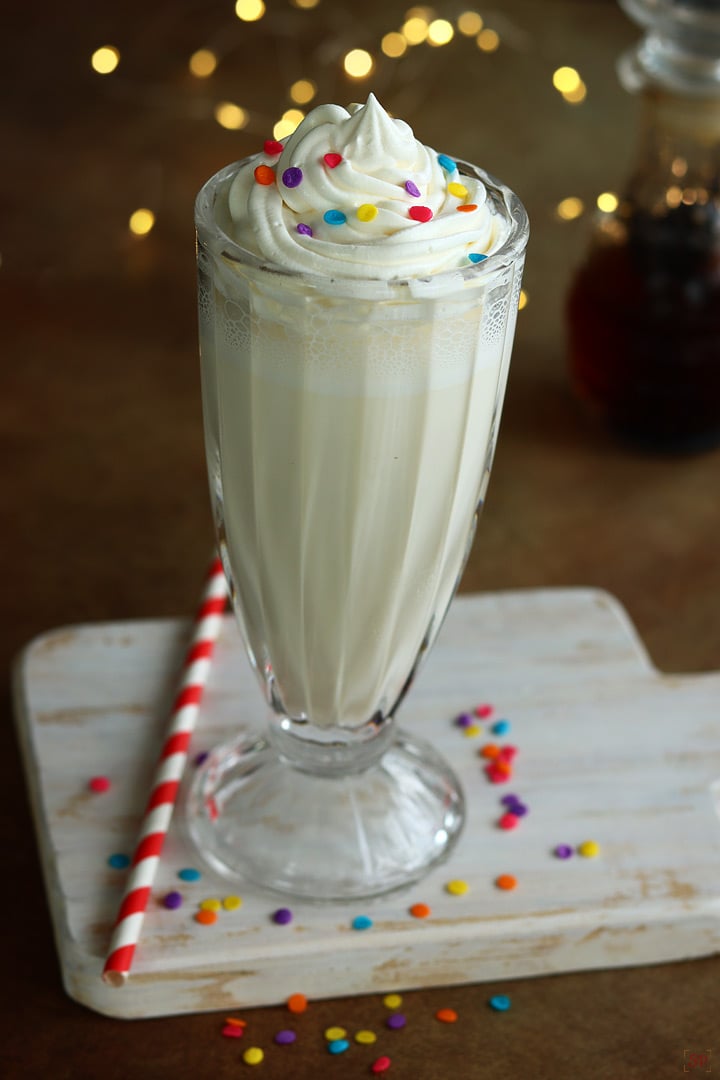
- You can add whipped cream with sprinkles.
- Topping and garnish is fully your preference, you can even add chocolate chips or cut fresh fruits.
Serving and Storage
Always serve Vanilla Milkshake chilled! You can make the milkshake and store it in fridge up to 2 days. Incase if you want to store more than that then freeze the milkshake which keeps well for about 10 days. When you want to serve just thaw it just give a quick blend and serve chilled!
FAQs
1.Can I make Vanilla shake without ice cream?
Yes! You can make Vanilla milkshake without ice cream. You can add frozen milk replacing ice cream to get a perfect thick and creamy shake.
2.What is Vanilla milkshake made of?
Vanilla Milkshake is made using chilled milk, sugar, vanilla ice cream and vanilla essence or extract.
3.Can I make milkshake without mixer?
Yes you can make Vanilla milkshake using an immersion blender instead of a mixer.
4.Which milk is used for Vanilla Milkshake?
Use full cream milk for milkshakes. Do not use raw milk boil well, chill it and then use. As we buy cows milk I do not use raw milk. May be if you are using carton milk that is readily available you can use raw milk.
If you have any more questions about this Vanilla Milkshake Recipe do mail me at sharmispassions@gmail.com. In addition, follow me on Instagram, Facebook, Pinterest ,Youtube and Twitter .
Tried this Vanilla Milkshake Recipe? Do let me know how you liked it. Also tag us on Instagram @sharmispassions and hash tag it on #sharmispassions.
📖 Recipe Card
Vanilla Milkshake Recipe (Vanilla Shake)
Ingredients
- ½ cup milk
- 2 teaspoon sugar
- ½ teaspoon vanilla extract
- 4 scoops vanilla icecream
Instructions
- To a blender add ½ cup chilled milk(boiled, cooled and chilled).
- Add 2 teaspoon sugar to it.
- Add ¼ teaspoon vanilla extract.
- Add 4 scoops vanilla ice cream.
- Blend everything together until smooth and creamy.
- Pour vanilla milkshake into a tall glass.
- Top it up with whipped cream and sprinkles.
- Serve immediately and Enjoy Vanilla Milkshake!
Video
Notes
- Milk - Always add full cream milk for milkshakes. Make sure milk is boiled before use. Add only ¼ cup milk if you prefer a very thick milkshake.
- Chilling - Add chilled milk and ice cream to make the shake chill. Also you can refrigerate the shake for few mins to make it chilled. Do not add ice cubes as it will dilute and make the shake watery.
- Sweetness - Though adding sugar is optional, I recommend adding it.
- Ice cream - Adding more ice cream makes the shake rich and creamy.
Nutrition
The post Vanilla Milkshake Recipe appeared first on Sharmis Passions.