Smoked Turkey
Smoked Turkey
Juicy Meat & Crispy Skin Every Time
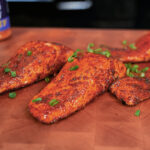
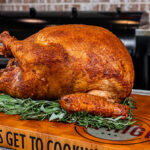
This smoked turkey is all about big flavor and perfect texture — juicy meat with crispy, bite-through skin. The secret isn’t complicated: a simple brine, a good dry, and steady heat on the pit.
Once the bird soaks up that flavor, I let the skin dry out, season it from top to bottom, and smoke it low and slow over pecan wood. The result is golden skin that crackles when you slice and meat so tender it practically drips juice.
Serve it hot off the board for Thanksgiving dinner and show off what a real smoked turkey should taste like.
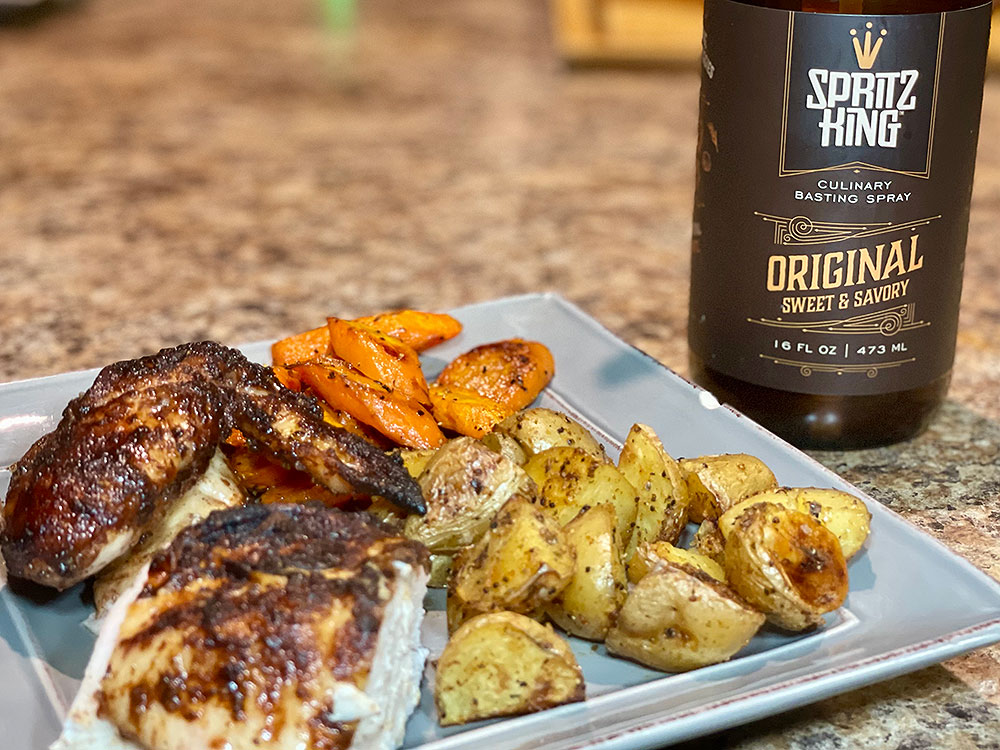
WHAT MALCOM USED IN THIS RECIPE:
- HowToBBQRight Ultimate Brine Kit
- Malcom’s Bird Brine
- Meat Bags – Brining Bags
- Killer Hogs AP Seasoning
- Malcom’s King Craw Cajun Seasoning
- Chicken Rack
- Disposable BBQ Boards
- Thermoworks DOT
- BBQ Gloves
Smoked Turkey
5 Stars 4 Stars 3 Stars 2 Stars 1 Star
No reviews
- Author: Malcom Reed
Description
Juicy, smoky, and crisped to perfection — this smoked turkey is everything a holiday bird should be. Tender, flavorful, and kissed with just the right amount of smoke — it’s turkey done right.
Ingredients
- 1 whole turkey (12–18 lbs), thawed
- HowToBBQRight Ultimate Brine Kit
- OR
- 1 bottle Malcom’s Bird Brine
- 1 bottle Killer Hogs AP Seasoning
- 1 bottle Malcom’s King Craw Cajun Seasoning
- Meat Bag
- OR
- Water (enough to completely submerge turkey)
- 1 stalk celery, cut into chunks
- 1 medium onion, quartered
- 1 apple, quartered
- 3 cloves garlic, smashed
- Cooking spray or oil (for coating the skin)
- Chicken Rack (optional)
Instructions
- Brine the Turkey
- Mix one bottle of Bird Brine with 1 gallon of water until dissolved. Place the turkey in a large brining bag or container and pour the brine mixture over the bird. Add enough cold water to completely submerge.
- Seal the bag (or cover the container) and refrigerate for 24 hours. For larger turkeys (over 16 lbs), brine up to 48 hours.
- Dry and Prep
- Remove the turkey from the brine and discard the liquid. Pat the skin completely dry with paper towels—this is key to getting crispy skin.
- Stuff the Cavity
- Place the celery, onion, apple and garlic (use whatever aromatics you like) inside the cavity.
- Tie the legs together and tuck the wing tips underneath so the turkey cooks evenly.
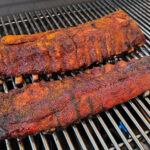
- Oil and Season
- Lightly coat the entire surface of the turkey with cooking spray or oil.
- Season the backside first with a medium coat of Killer Hogs AP Seasoning, followed by a medium coat of Malcom’s King Craw Cajun Seasoning.
- Flip the turkey onto a rack and repeat on the top side with the same layers of seasoning.
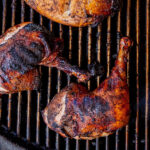
- Smoke the Turkey
- Preheat your smoker or grill to 275°F using pecan pellets (or your preferred wood).
- Place the turkey on the pit, centered for even airflow, and cook until the internal temperature in the deepest part of the breast reaches 160°F.
- Rest and Serve
- Remove the turkey from the smoker and rest for 20 minutes. The internal temperature will carry over to about 165°F in the breast and 175°F in the dark meat.
That’s how you smoke a turkey that comes out juicy every single time — with golden, crispy skin and that rich, smoky flavor you can only get from cooking it low and slow. Keep it simple, trust the process, and you’ll carve into the best turkey you’ve ever put on the table.
Malcom Reed
Connect on Facebook
Follow me on TikTok
Subscribe to my YouTube Channel
Follow me on Instagram
The post Smoked Turkey appeared first on HowToBBBQRight.