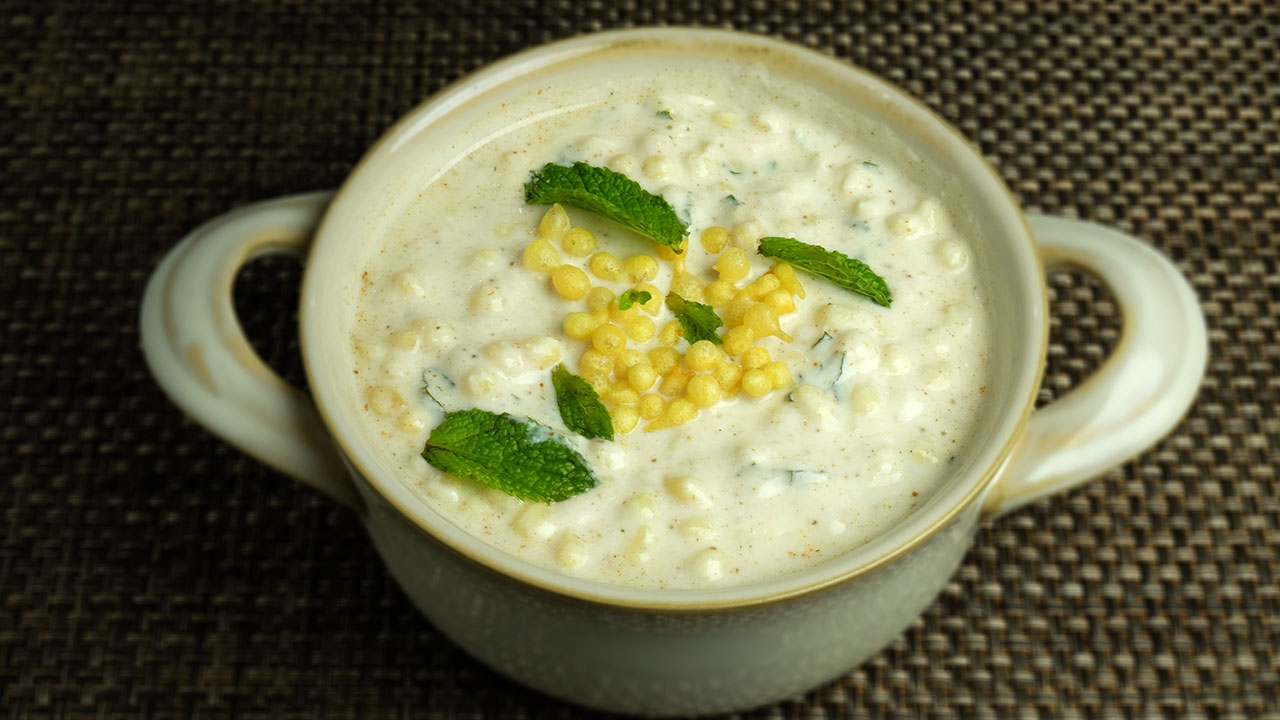
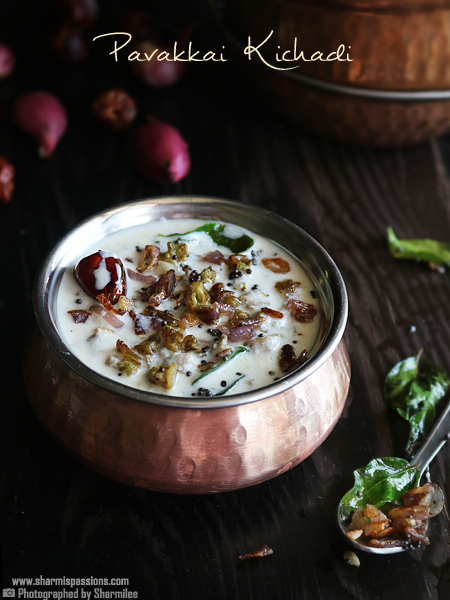
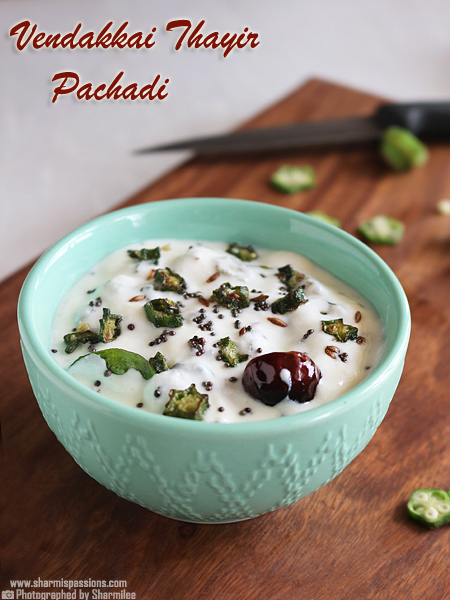
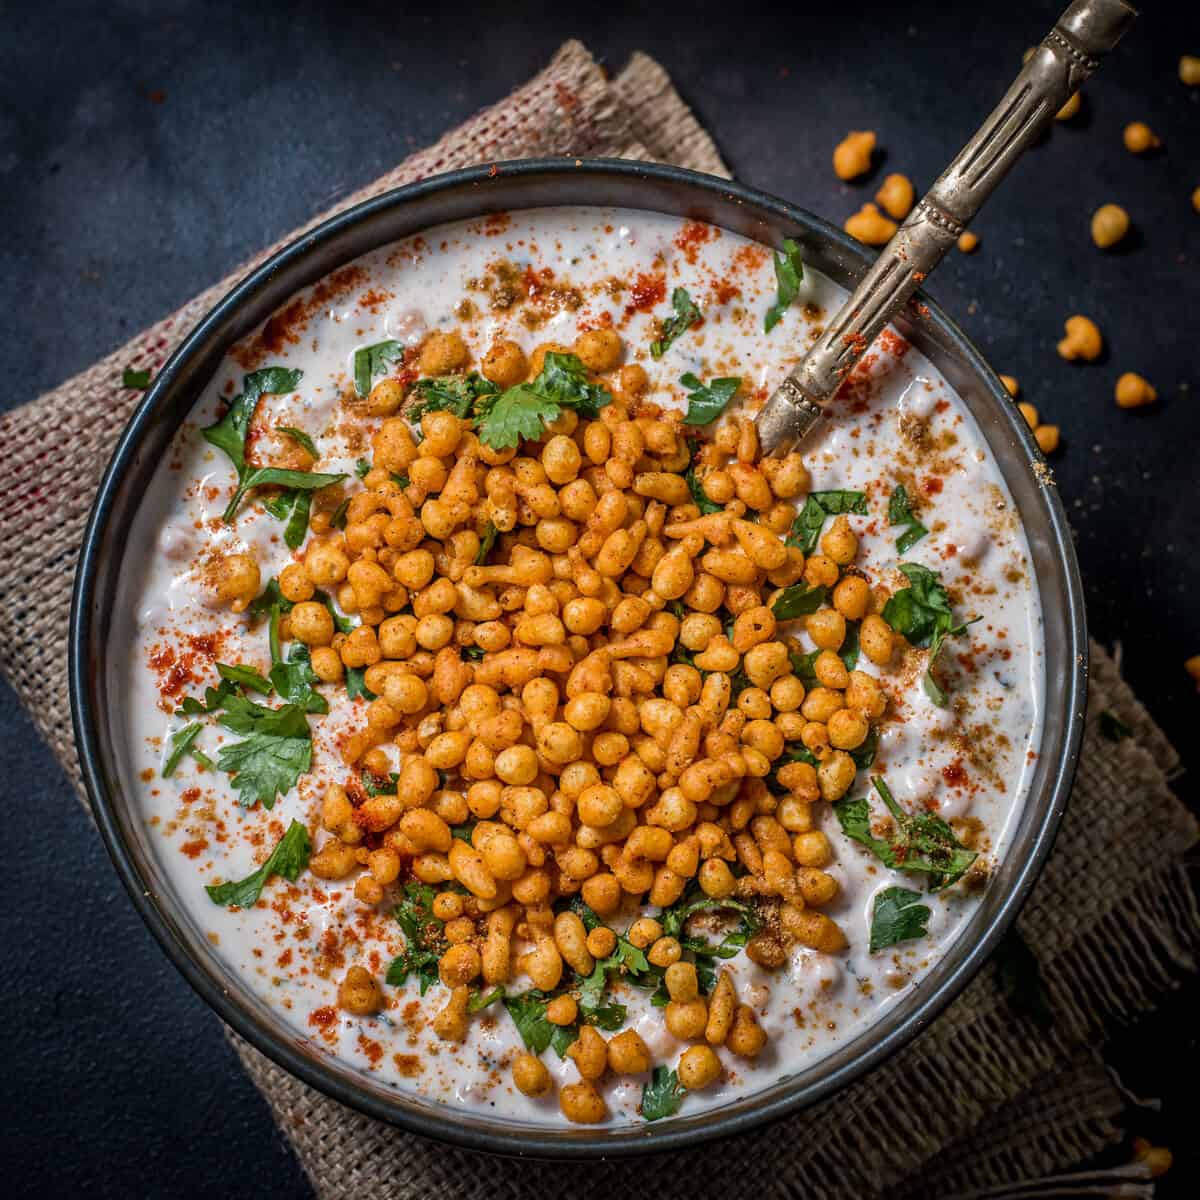
Boondi Raita Recipe
Boondi Raita is a curd based dish made with crispy boondis. thick curd and some basic spices. Boondi Raita is one of those quick side dishes that comes together in just few minutes but tastes so refreshing with almost any meal. It tastes really good with hot rotis or parathas, and even goes well with a simple pulao or on days when you want something cooling on the side.

The creamy curd mixed with soft little boondis gives a nice mix of textures, and the spices add light tang and small heat also. It keeps light on the stomach and the boondi gives a small crunch if you serve it immediately. Many people like it chilled too because the flavor settles nicely and the raita tastes fresh.
[feast_advanced_jump_to]About Boondi Raita
Boondi Raita is a popular Indian side dish made using yogurt, boondi and spices. Boondi is a deep fried snack made using gram flour. The texture can be changed based on how you like. Some prefer the boondi crunchy, some like it little soft after it soaks in the curd. The overall taste is mild and creamy goes well with rice dishes.
My fond memories with boondi raita is having it with aloo paratha in my favorite North Indian restaurant. They serve aloo paratha with boondi raita and a spicy veg sabji. The boondi raita they serve has a slightly sweet taste which I love the most. Hope my regular followers will know my love for North Indian food and this raita is one of my favorite side dishes.
Boondi is a deep fried snack made using gram flour batter, and it comes in both sweet and spicy versions. For this raita, mostly kara boondi is used since it gives a nice savory flavor. Spices keep the taste lively without making it too heavy. The curd acts like the base and balances everything quite well.
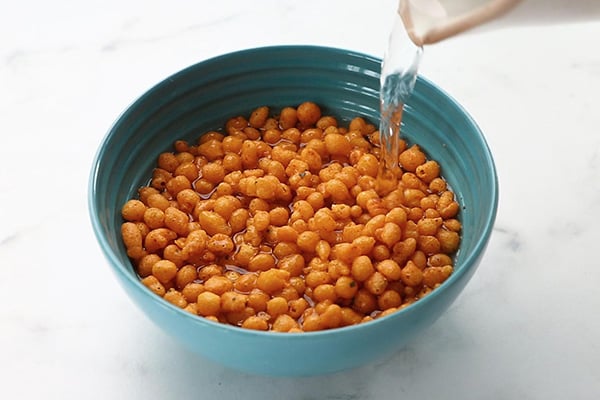
There are many small variations you can try like adding roasted jeera powder, tiny pinch of sugar for balance, or using mint leaves instead of coriander. I have soaked the boondi in warm water first to soften it and remove extra oil also. It makes the boondi soft, but you can add as such too for crispy boondis in raita.
You can make the raita thick or thin depending on what you are serving with. We love it a bit thick and creamy like here. I usually make this whenever I want a no-cook side dish that still feels complete. I make it often on busy days also because it hardly takes any time at all.
Boondi Raita Video
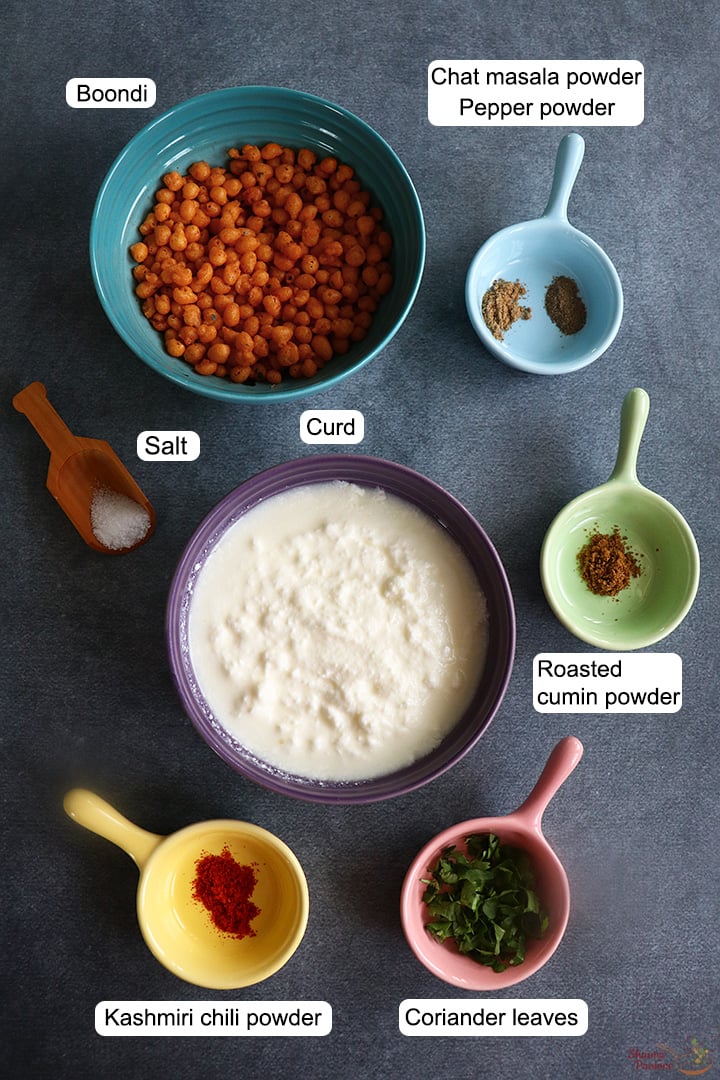
Boondi Raita Ingredients
- Thick curd - I have thick homemade curd as it it adds creamy texture and holds the spices well. You can add little water or milk if you want it slightly thinner.
- Boondi - You can add plain boondi or kara boondi that is available in shops. This adds the main flavor and little crunch.
- Red chili powder - I used this for a mild heat and color. You can add little more if you prefer the raita spicier.
- Roasted cumin powder - This adds a great flavor to any raita and is a must spice too.
- Chat masala powder - I add this for tangy flavor. You can add roasted jeera powder also as another option.
- Pepper powder - This adds a light sharpness but it is optional. You can skip it if you don't want the extra spice.
- Coriander leaves - I added as this adds freshness and color. You can add mint leaves also if you like that flavor.
Similar Recipes
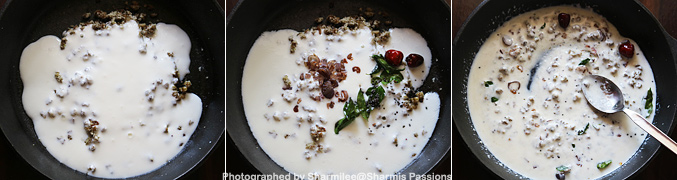
How to make Boondi Raita Step by Step
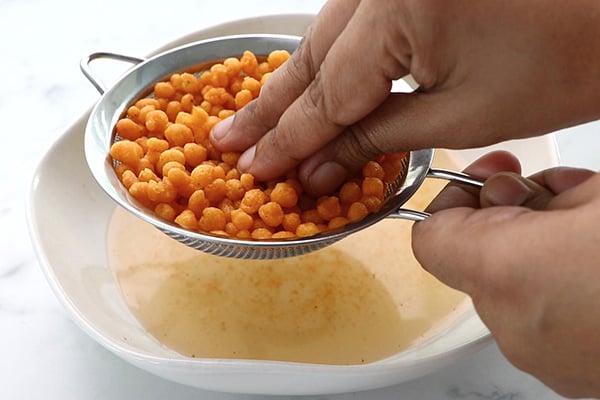
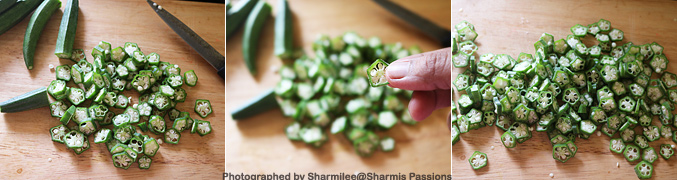
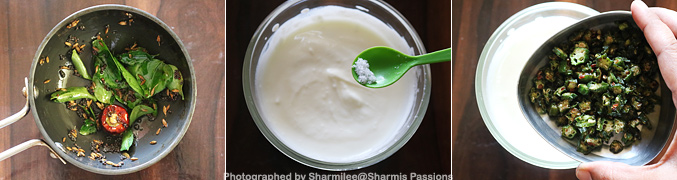
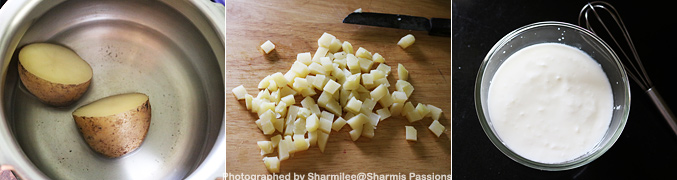
1.To a bowl add ½ cup boondi, add warm water to it. Soak for 5-7 minutes. I used store bought kara boondi, you can use plain boondi too.
2.Transfer to a strainer and press slightly to remove excess water, Set aside.
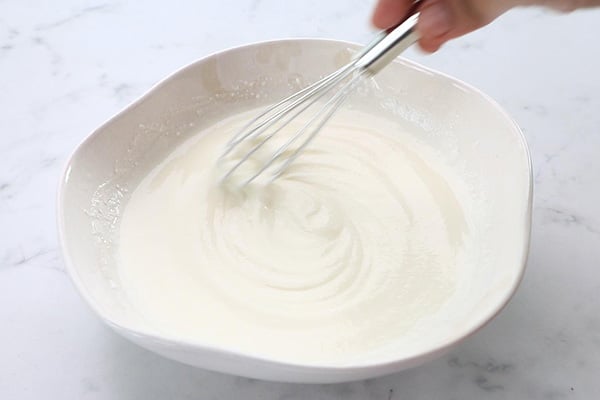
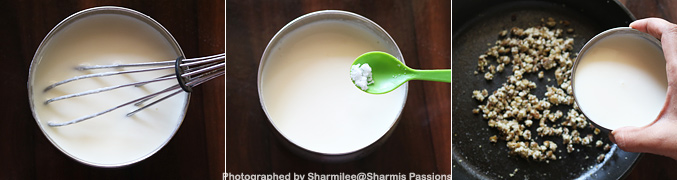
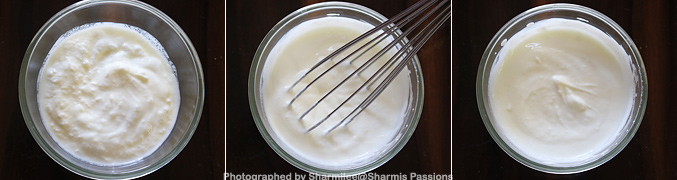
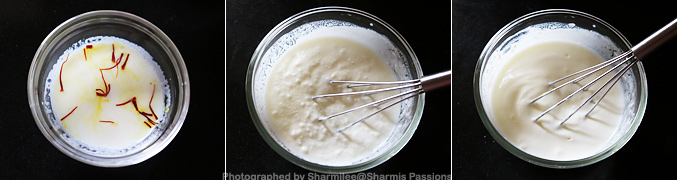
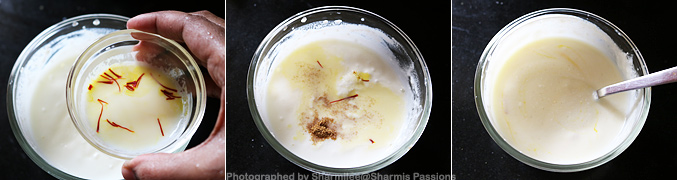
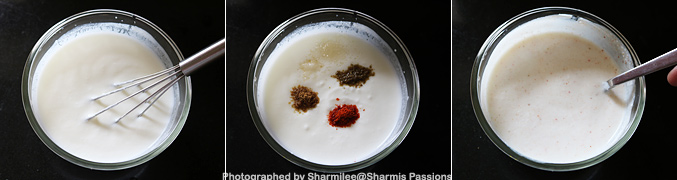
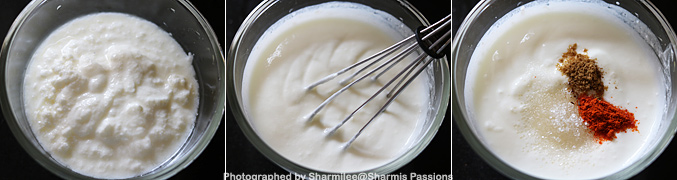
3.To a mixing bowl add 1 cup thick curd, whisk it well to make it smooth and creamy. You can add little water or milk to thin down the consistency.
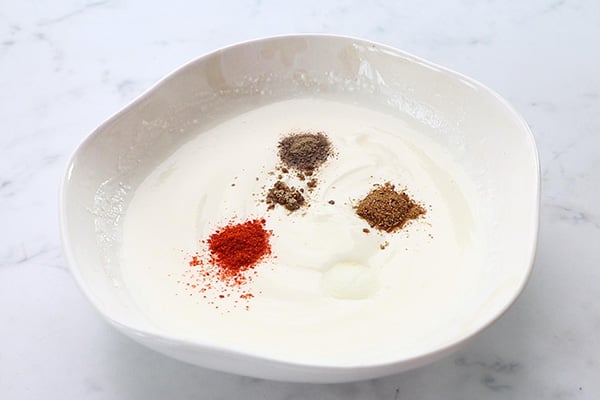
4.Add ½ teaspoon kashmiri chili powder, ½ teaspoon roasted cumin powder, ¼ teaspoon chat masala powder and ¼ teaspoon pepper powder.
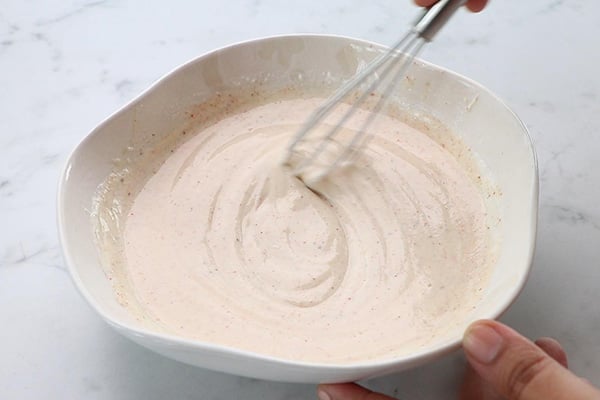
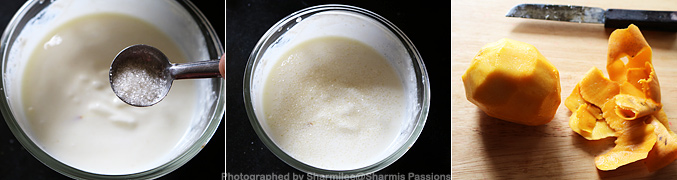
5.Mix it well until the spice mix is blended evenly.
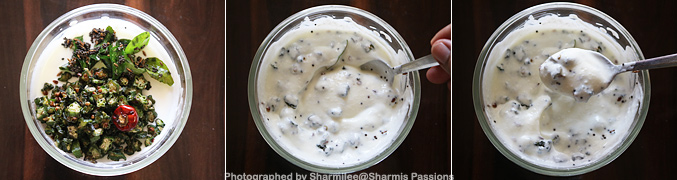
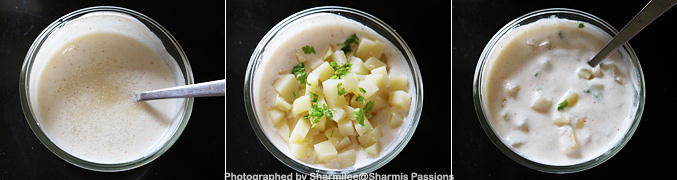
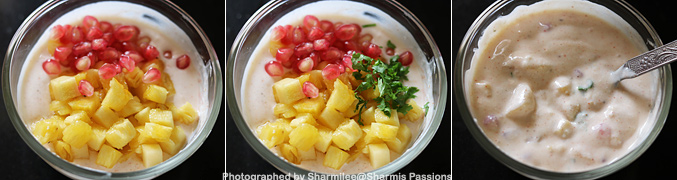
6.Now add drained boondi and 1 tablespoon coriander leaves.
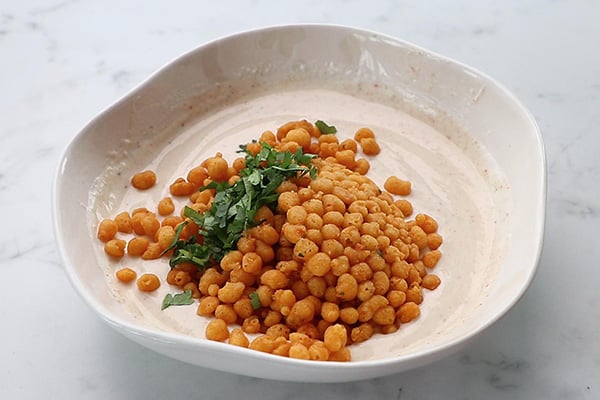
7.Mix it well.
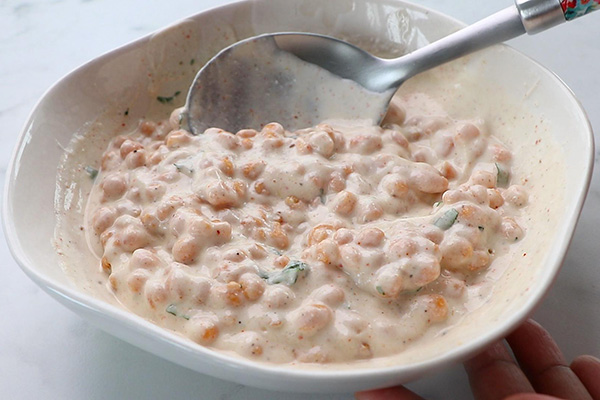
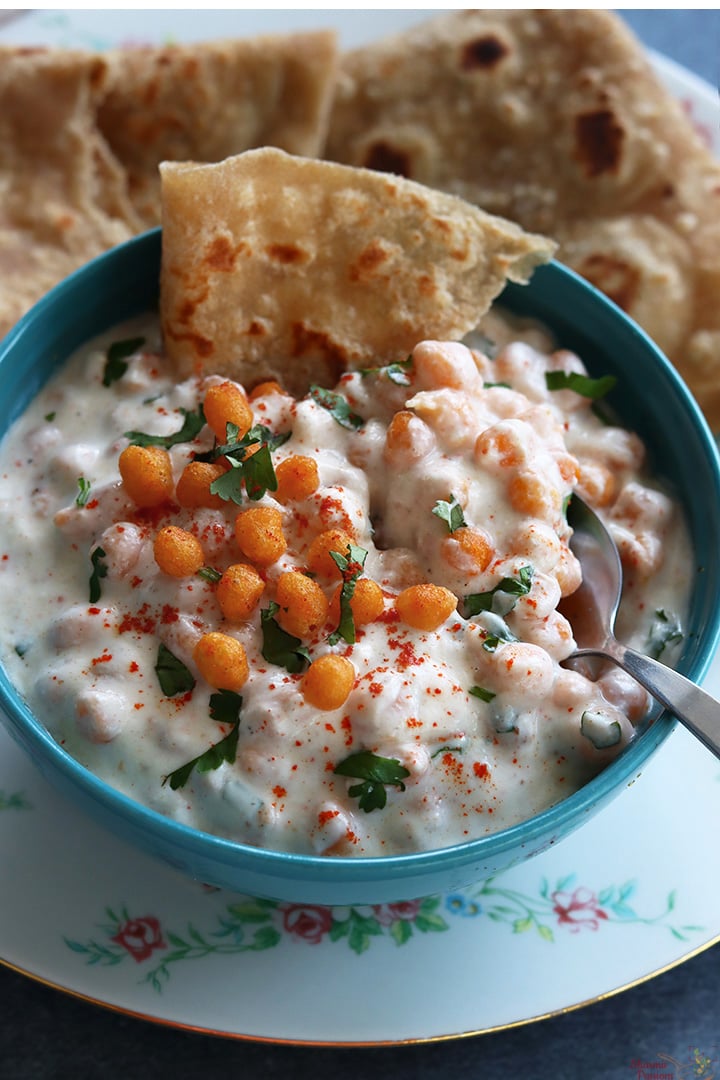
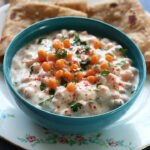
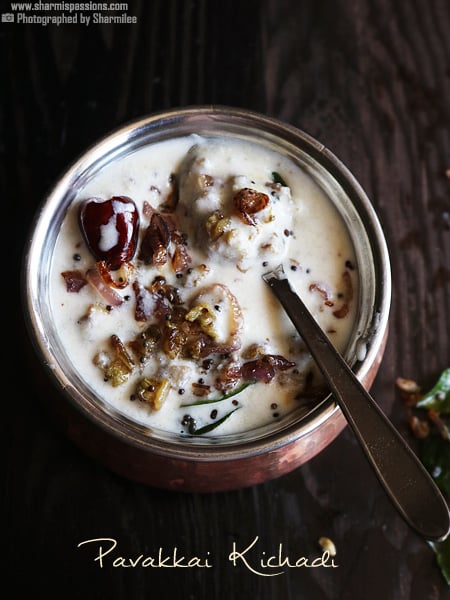
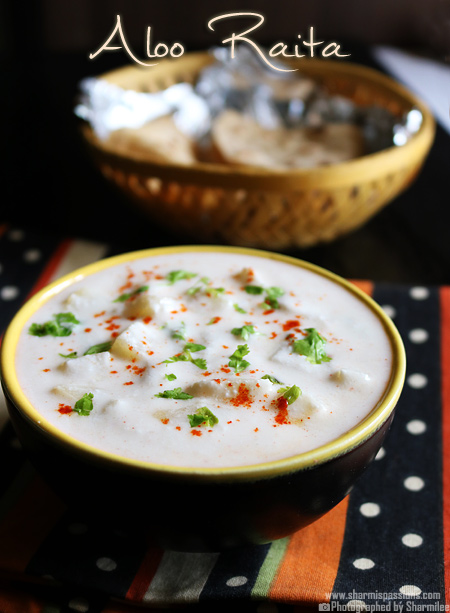
Boondi Raita is ready!
Expert Tips
- Boondi - You can use plain or kara boondi for this raita. Add boondi to hot water to make it soft and add it as such to have a crunch in the raita. Make sure to add boondi just before serving if you want the crunch.
- Whisking - I whisk the curd smooth as it helps the spices mix evenly. Don't skip this step.
- Soft boondi - If you like softer boondi, soak them it in warm water for a minute and squeeze out the water and add.
- Chilling - I just usually chill the raita for few minutes before eating, it makes the flavors settle well.
- Seasoning - I make sure to taste and adjust salt or chat masala after mixing, so raita tastes better when balanced.
Serving and Storage
Serve them chilled with hot parathas, pulao or roti for the best taste. This goes well with biryani also when you want something light on the side. Store the raita in the fridge and try to finish it the same day.
FAQS
1.Can I use sweet boondi for this?
It won't suit because sweet boondi changes the flavor, better to use kara or plain boondi.
2.Why did my boondi become too soft?
It happens when kept for long in the curd, add boondi just before serving for crunch.
3.Can I make this ahead?
You can whisk the curd and spices earlier but add the boondi only while serving.
4.What other spices can I add?
You can amchoor powder, garam masala powder for a flavor change.
5.How to fix raita if it becomes too thick?
Just add little chilled water or milk and mix until it reaches to desired consistency.

If you have any more questions about this Boondi Raita Recipe do mail me at sharmispassions@gmail.com. In addition, follow me on Instagram, Facebook, Pinterest, Youtube and Twitter .
Tried this Boondi Raita Recipe? Do let me know how you liked it. Also tag us on Instagram @sharmispassions and hash tag it on #sharmispassions.
📖 Recipe Card
Boondi Raita Recipe
Ingredients
- 1 cup thick curd
- ½ cup boondi
- ½ teaspoon red chilli powder
- ½ teaspoon cumin powder
- ¼ teaspoon chat masala powder
- ¼ teaspoon pepper powder
- 1 tablespoon coriander leaves
- salt to taste
Instructions
- To a bowl add ½ cup boondi, add warm water to it. Soak for 5-7 minutes. I used store bought kara boondi, you can use plain boondi too.
- Transfer to a strainer and press slightly to remove excess water, Set aside.
- To a mixing bowl add 1 cup thick curd, whisk it well to make it smooth and creamy. You can add little water or milk to thin down the consistency.
- Add ½ teaspoon kashmiri chili powder, ½ teaspoon roasted cumin powder, ¼ teaspoon chat masala powder and ¼ teaspoon pepper powder.
- Mix it well until the spice mix is blended evenly.
- Now add drained boondi and 1 tablespoon coriander leaves.
- Mix it well.
- Boondi Raita is ready!
Video
Notes
- Boondi - You can use plain or kara boondi for this raita. Add boondi to hot water to make it soft and add it as such to have a crunch in the raita. Make sure to add boondi just before serving if you want the crunch.
- Whisking - I whisk the curd smooth as it helps the spices mix evenly. Don't skip this step.
- Soft boondi - If you like softer boondi, soak them it in warm water for a minute and squeeze out the water and add.
- Chilling - I just usually chill the raita for few minutes before eating, it makes the flavors settle well.
- Seasoning - I make sure to taste and adjust salt or chat masala after mixing, so raita tastes better when balanced.
Nutrition
The post Boondi Raita Recipe appeared first on Sharmis Passions.


/Potlakaaya (Telugu) /Padavalanga (Malayalam) / Padavalkkai (Kannada) , Snake gourd /padwal(Marathi)/Potlakaaya (Telugu) /Padavalanga (Malayalam) / Padavalkkai (Kannada) pachadi, perugu pachadi, pachadi, kichadi, padavalnga kichadi, podalanga pachadi, podalanga thayir pachadi, potlakaya perugu,potlakaya, padwal raita, padval raita, dahi padwal")
/Potlakaaya (Telugu) /Padavalanga (Malayalam) / Padavalkkai (Kannada) , Snake gourd /padwal(Marathi)/Potlakaaya (Telugu) /Padavalanga (Malayalam) / Padavalkkai (Kannada) pachadi, perugu pachadi, pachadi, kichadi, padavalnga kichadi, podalanga pachadi, podalanga thayir pachadi, potlakaya perugu,potlakaya, padwal raita, padval raita, dahi padwal")
/Potlakaaya (Telugu) /Padavalanga (Malayalam) / Padavalkkai (Kannada) , Snake gourd /padwal(Marathi)/Potlakaaya (Telugu) /Padavalanga (Malayalam) / Padavalkkai (Kannada) pachadi, perugu pachadi, pachadi, kichadi, padavalnga kichadi, podalanga pachadi, podalanga thayir pachadi, potlakaya perugu,potlakaya, padwal raita, padval raita, dahi padwal")
/Potlakaaya (Telugu) /Padavalanga (Malayalam) / Padavalkkai (Kannada) , Snake gourd /padwal(Marathi)/Potlakaaya (Telugu) /Padavalanga (Malayalam) / Padavalkkai (Kannada) pachadi, perugu pachadi, pachadi, kichadi, padavalnga kichadi, podalanga pachadi, podalanga thayir pachadi, potlakaya perugu,potlakaya, padwal raita, padval raita, dahi padwal")