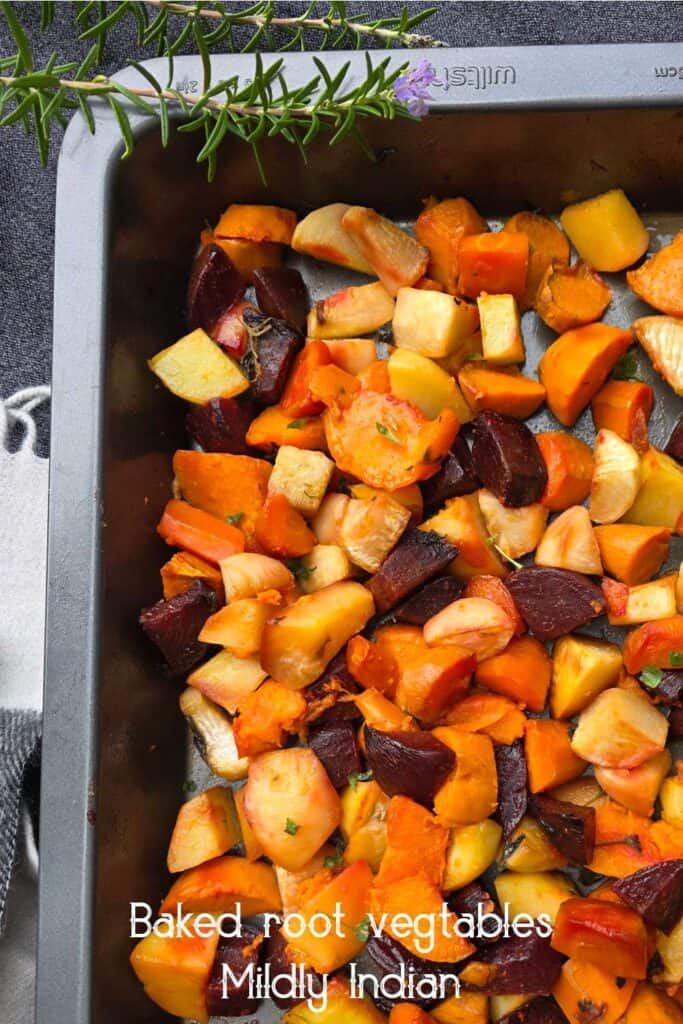
Baked root vegetables
- They are one pot so much less effort.
- The starchier sweetness improves your baking adding a ton more cozy feeling.
- When I bake my kitchen is warm at the same time.
- It is a recipe that you can do as a big batch with minimal prep and have all week long in the fridge.
- It pairs well with pasta, rice or any grains,can be rolled as wraps or made into a salad.
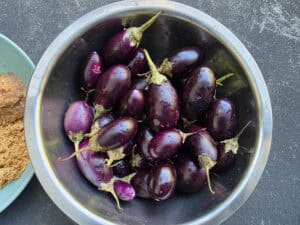
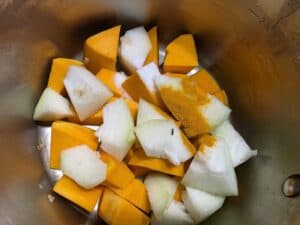
Ingredients for baked root vegetables.
The vegetables: the baked vegetable tray is one recipe that allows you so much flexibility in terms of what you can have. You can make it as colourful as you like or as monochrome as you prefer. Here is a list of vegetables I like to throw into the tray.
- Sweet potatoes
- Carrot
- Turnip
- Potato
- Radish
- Swedes
- Beetroot
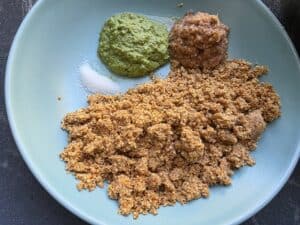
For roasting: Olive oil, salt and herbs are the ones that work. The herbs I have chosen is rosemary and oregano. You can use thyme or basil as well.
Lets make baked root vegetables
The baked vegetables is the best use of a roasting tray.
Prep the vegetables: choose starchy tough vegetables to start with. Wash thoroughly. Cut them into big chunks or dices as you prefer. Keep the beets separately. The carrots, potato sweet potato, radish, parsnip, swedes, turnip can all go together.
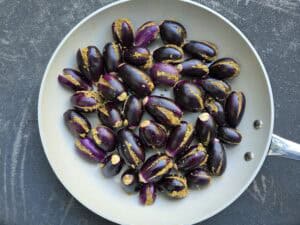
Coat them in flavours. Since the vegetables are going to be soft and bland, it is best to coat them with flavours. Sprinkle salt, pepper abd drizzle oil and toss them well. For flavours I prefer to add fresh study herbs that just dont burn away. Rosemary, oregano and thyme are my first choice. Go with what feels natural to you. You can replace the pepper with chilli flakes if you like the heat. Lets the vegetable mix sit while you preheat the oven
Ensure that the beets are coated and kept separate.
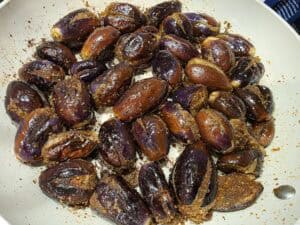
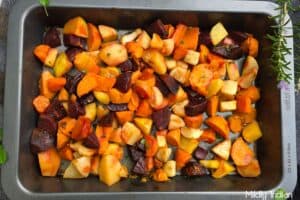
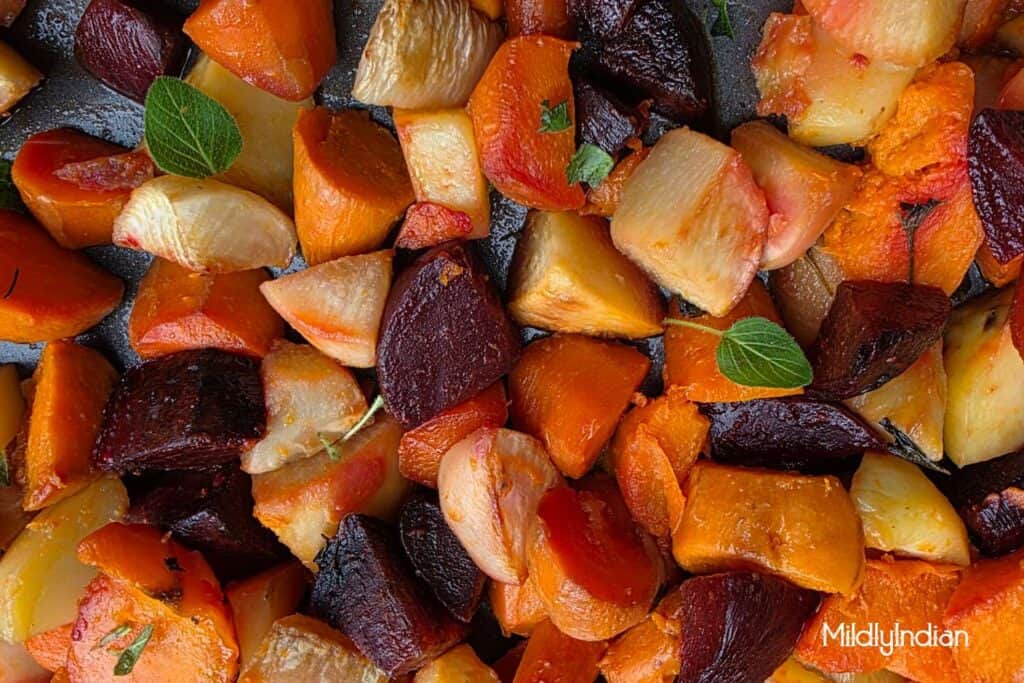
Bake: preheat the oven at 180 degrees for 10 minutes. Place the vegetables on a roasting tray. Spread them out evenly. Poke in pieces of beets into the gaps so they cook along. Roast the vegetables for 35 to 40 minutes at 180 degrees Celsius on heat both from up and down. Half way through the time, flip the vegetables over to ensure even roasting. After about 35 minutes the vegetables will be ready and fork tender. Remove from heat and direct to the table. Or cool and proceed for storage.
Meal prep and storage
The baked root vegetables are wonderful to add bulk to any meal or in the lunch box.
Is this a vegan recipe?
Baked root vegetable is an excellent vegan platter. It is filling, a mix of good healthy fibre and carbs and perfect for any vegan meal.
How to make baked root vegetables into a salad?
Once you have the baked veggies in meal prep you can have a hearty salad with it. For the dressing I prepare a generous mix of lemon and lime juice with some pepper and salt. Then you need some freshness. Chop up some tomatoes, a cucumber and handful of oregano, mint and parsley. Add all this into the mixing bowl with double the quantity of baked vegetables. Pour the dressing over it. Toss well and serve immediately. They are great sides to meals and double up as salads. You can add a bunch to your breakfasts to as hash.
How do you ensure the beets don’t leech the colour all over?
There are a couple of ways you can achieve this. If you peel chop and place the beets separately, then place them on the tray to bake it will have zero leaching.
Another method is to ensure you add the beets right at the end, a quick toss in the oil and salt and straight into the oven.
Baked root vegetables
Equipment
- baking trays
- Cutting board
- Knife
Ingredients
- 3 medium sized carrots
- 1 large sweet potato
- 1 turnip
- 1 swedes
- 1 large beetroot
- 1 medium sized potatoes
- 2 tbsp olive oil
- salt to taste
- 1 sprig rosemary
- 5-7 leaves oregano
Instructions
- Wash, peel and cut the vegetables into big chunks.
- Add them to the baking tray.
- Tuck in rosemary and oregano.
- Spinkle salt and drizzle oilve oil and massage it in.
- Preheat the oven at 180 degrees for 10 minutes.
- Place the tray in the oven to bake.
- Bake for 30 minutes.
- About 15 minutes in turn the vegetables for even baking.
- After 30 minutes, check if the vegetables are fork tender.
- The vegetables are then ready to be served.
Other baked recipes from us that make a good mealprep
Baked whole cauliflower
Dried peas nuggets
Stay connected
Hope you enjoy making this batch of low effort baked root vegetables. When you make your batch using this recipe, do share your thoughts and improvements in the comments below.
Pin this for later.
Stay subscribed see you in the next post.