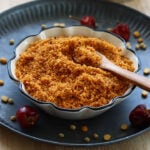
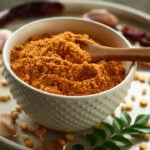
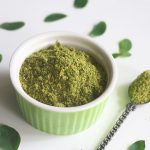
Drumstick Leaves Powder | Moringa Leaves Powder
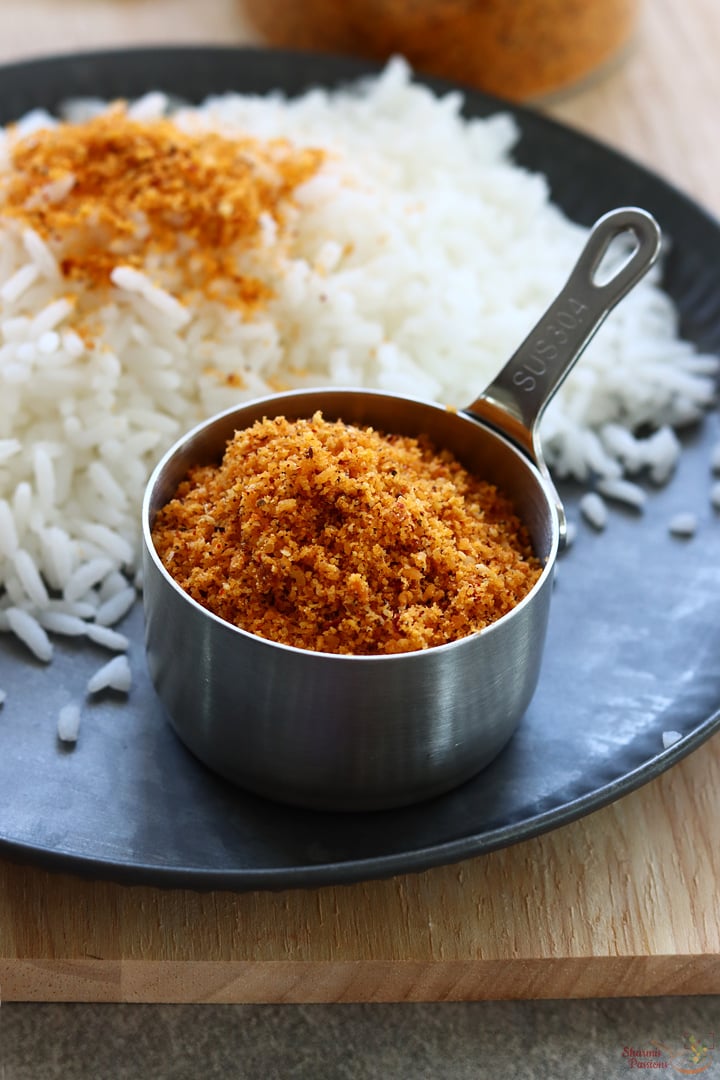
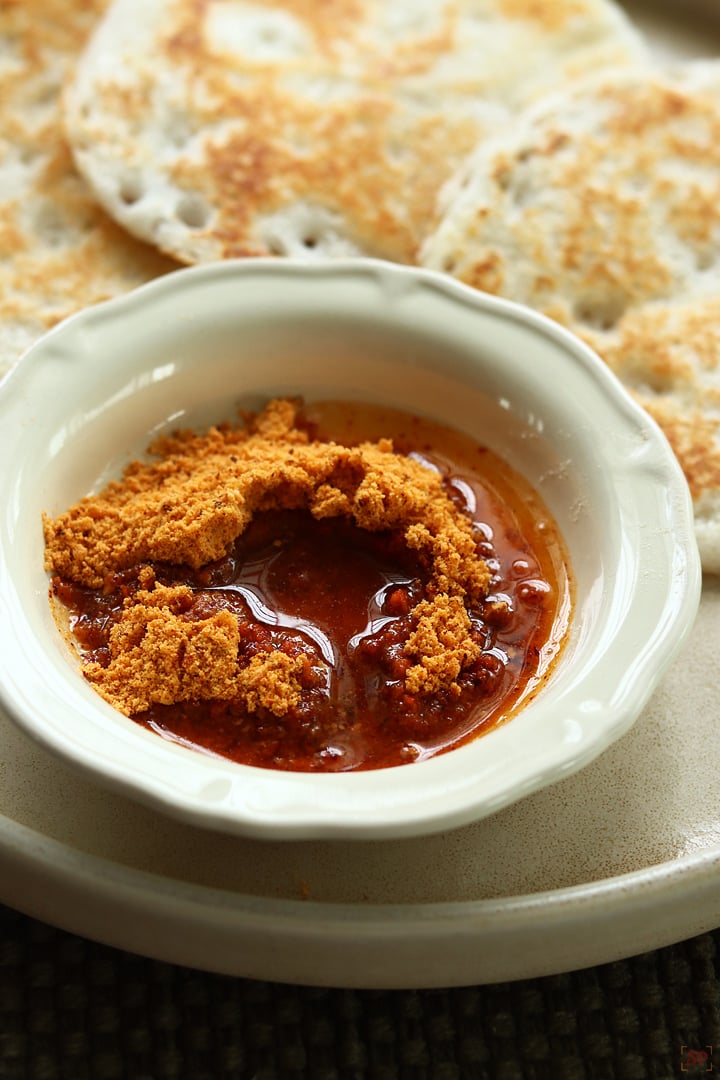
Drumstick Leaves Powder is a simple homemade mix that works like a natural health booster. Drumstick Leaves Powder or Moringa Leaves Powder is a healthy spice mix which can be used a dietary supplement, side for idli, dosa. This recipe has a mild flavor and blends easily with almost anything you put it on. It goes really well with idli or dosa too, and somehow feels extra comforting on simple days.
These leaves are already known for their nutrients, and making the powder fresh at home gives a much better, kind of cleaner taste than the store-bought ones. When you roast the leaves slowly, they turn nice and crisp and mix so well with the dals and spices. The powder feels light on the stomach but still gives flavor because of all those roasted ingredients together.
[feast_advanced_jump_to]About Drumstick Leaves Powder
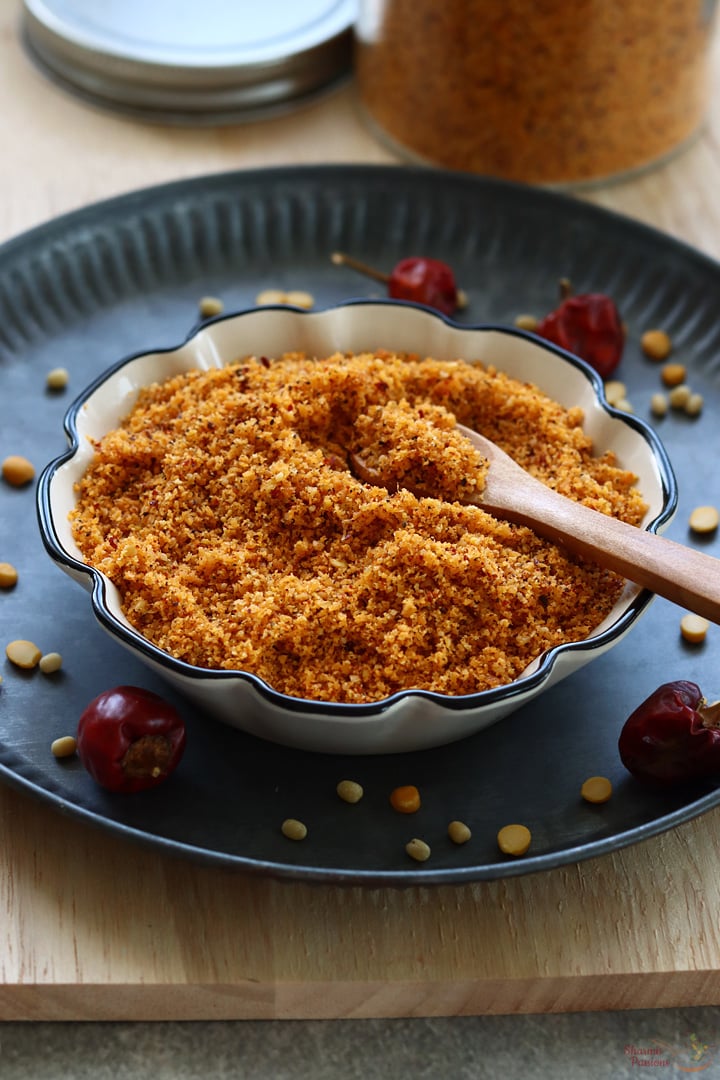
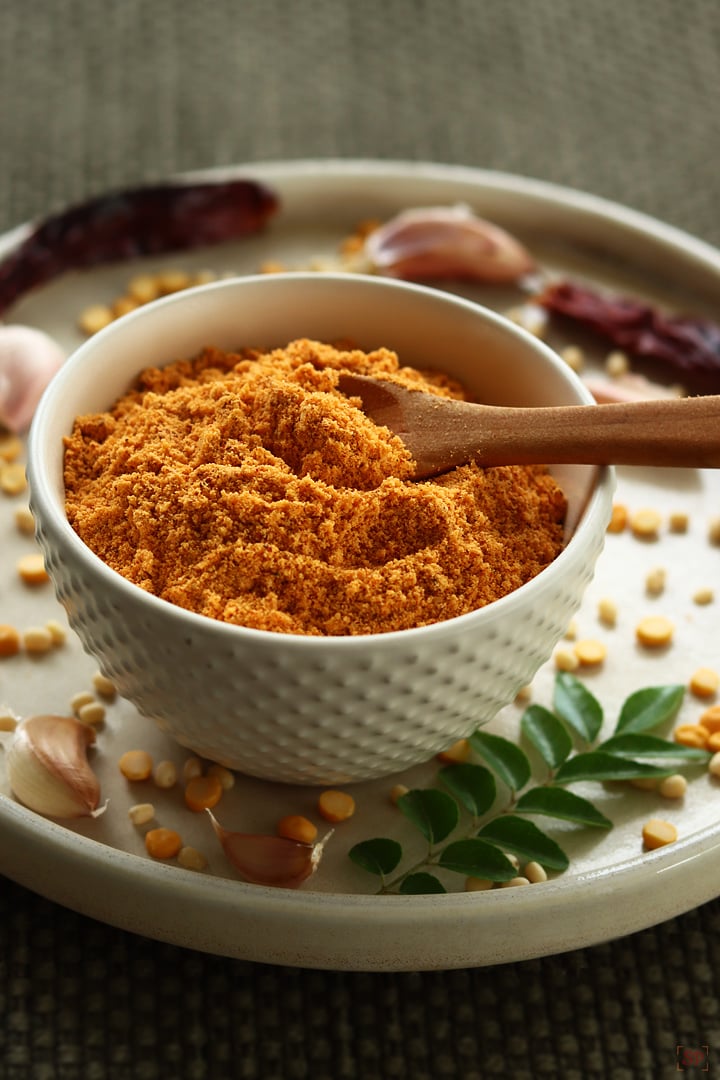
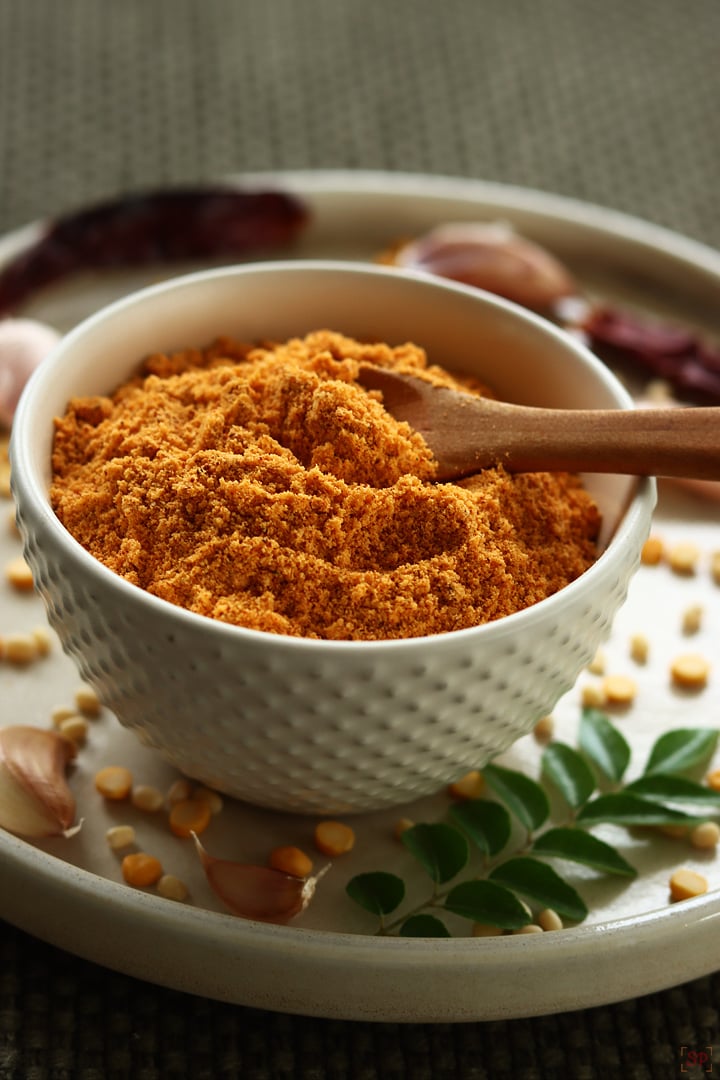
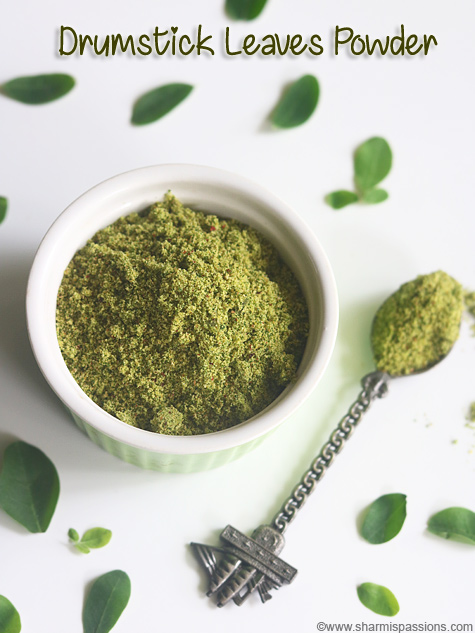
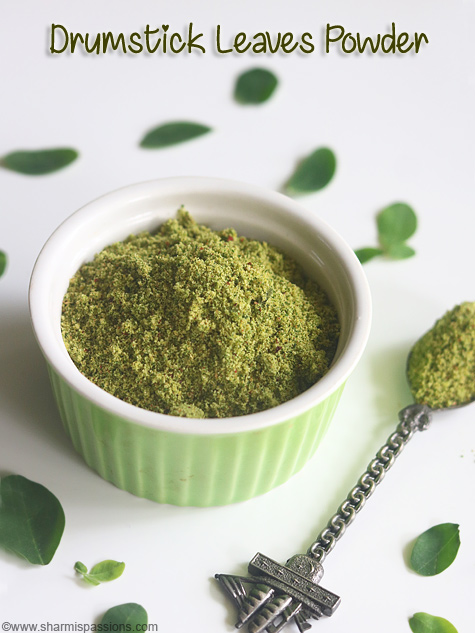
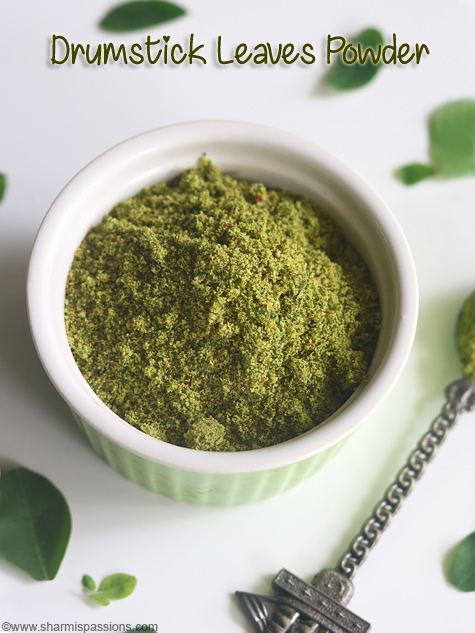
Drumstick Leaves Powder is an aromatic spice powder made using roasted moringa leaves, dal and a few spices. It has a bit coarse texture and not fully smooth, which gives that homemade touch. You can mix it with hot ghee rice or have it with dosa. The roasted moringa leaves add a deep earthy taste that mixes really well with the lentils.
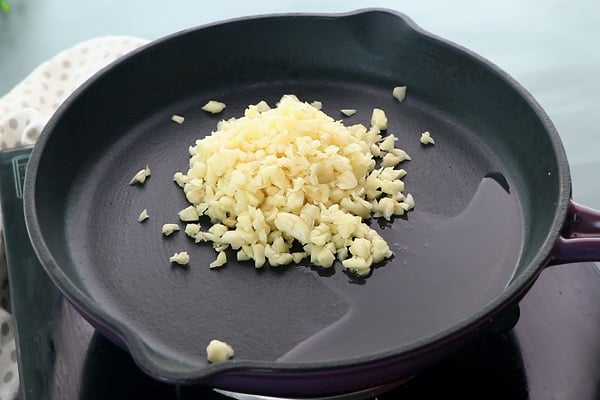
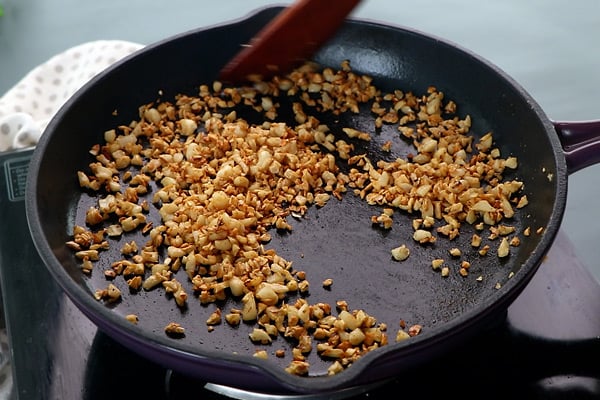
This powder is quite common in many South Indian homes where podis are like a regular part of daily meals. The mix of dals like urad, chana and moong along with coriander seeds and jeera gives a warm flavor that kind of ties everything together.Some people even add garlic as another small variation. Hing gives a tiny lift and balances the leaves also.
It is a very versatile podi because you can sprinkle it on poriyal, mix with curd, or even add it in simple stir fry. Some people use it like a health supplement too since moringa leaves are known for iron, fibre and few more nutrients. Roasting the leaves well is the main step as it removes the raw smell and helps the powder stay good for longer time.
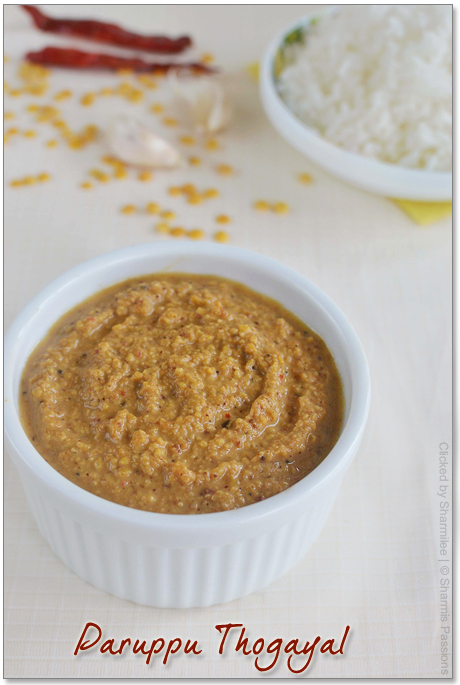
Drumstick Leaves or Moringa or Murungai keerai has a lot of health benefits so I make this quite often at. least twice a month. Drumstick Leaves Powder will be a great sidedish with rice and ghee. I make mostly this time tried this podi and its so flavorful. Do try this fresh and flavorful podi and store it.
I usually make only a small batch because the flavor stays more fresh like that. You can always adjust the spice by adding little more red chilli or even some pepper.
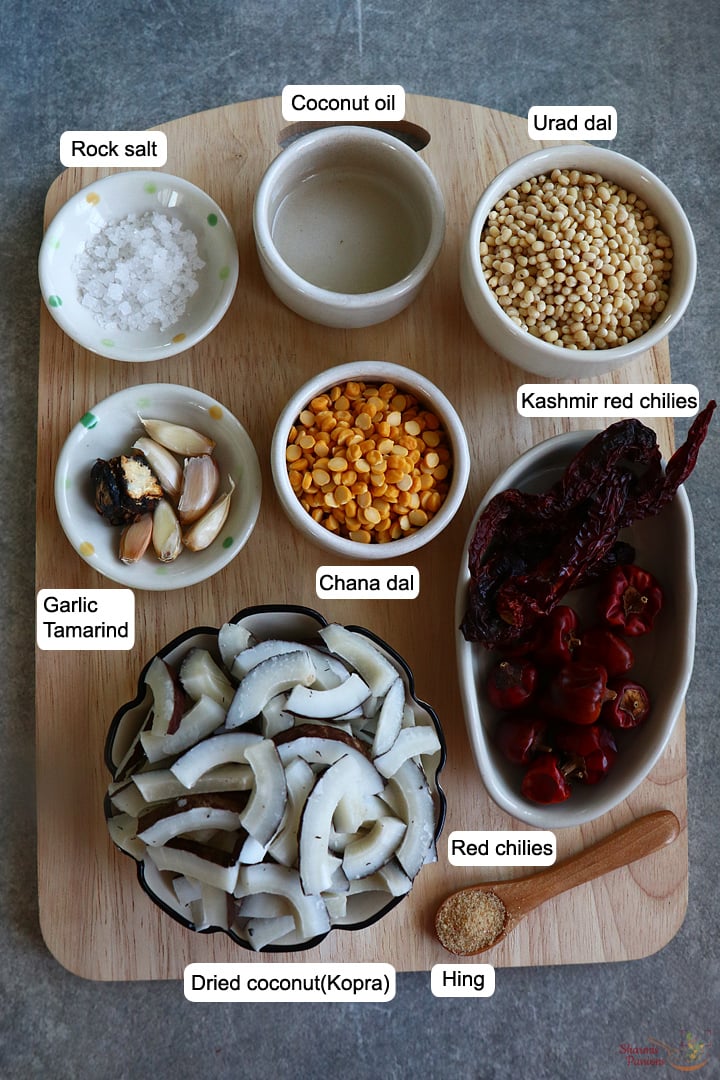
Drumstick Leaves Powder Ingredients
- Moringa leaves - I have used fresh leaves for this, they give natural earthy taste after roasting. You can use dried leaves too but the flavor comes little different.
- Urad dal - This adds body to the powder and gives mild nuttiness. You can add little more if you like thicker podi.
- Moong dal - I used this for soft roasted flavor and smoother texture. You can skip and increase urad dal also.
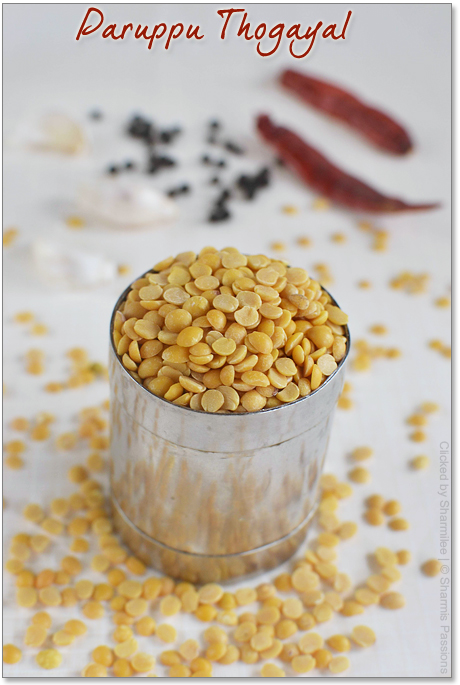
- Chana dal - This gives stronger nutty taste and helps balancing the earthy leaves. You can add less if you want the powder more light.
- Coriander seeds - I have used this for mild fresh aroma. You can add tiny bit more if you prefer stronger coriander flavor.
- Jeera - This is for flavor and digestion, it gives slight sharpness to the podi.
- Red chilli - I used one for mild heat. You can add more if you want the powder more spicy.
- Gingelly oil - This is used for roasting and gives warm smell. You can use any cooking oil but gingelly gives best taste mostly.
- Hing - This adds small punch and blends well with roasted leaves. You can skip if you don't like the flavor.
Why This Recipe Works
- It is very simple and uses basic Indian pantry ingredients.
- The roasted moringa leaves give strong earthy flavor that tastes homemade.
- You can adjust the spice level or the amount of dals accordingly.
- This powder recipe stays fresh for long when roasted well.
- You can just serve it with many dishes so it is quite versatile.
Similar Recipes
- Murungai keerai oothapam
- Murungai keerai poriyal
- Carrot Stir Fry
- Carrot Beans Poriyal
- Cauliflower pepper fry
How to make Drumstick Leaves Powder Step by Step
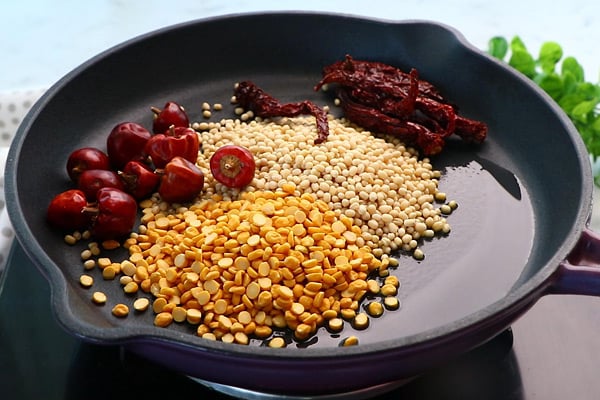
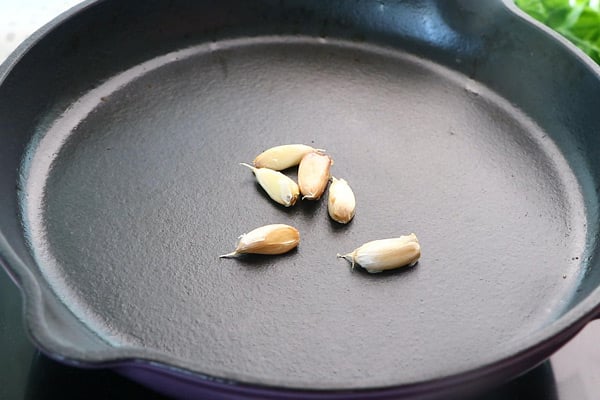
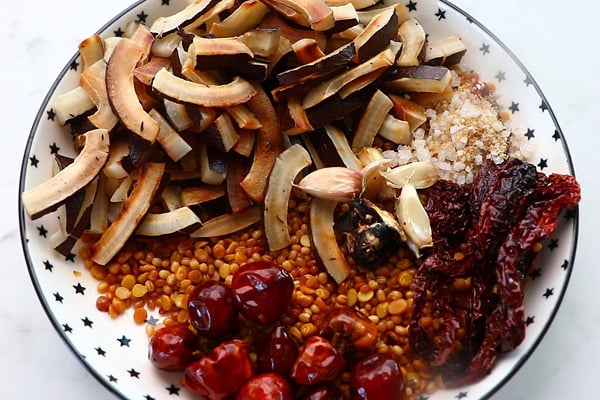
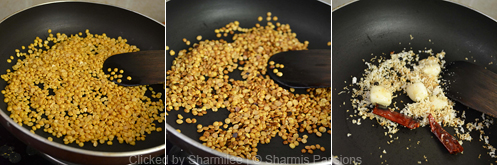
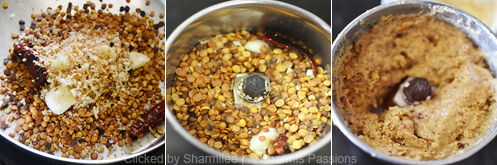
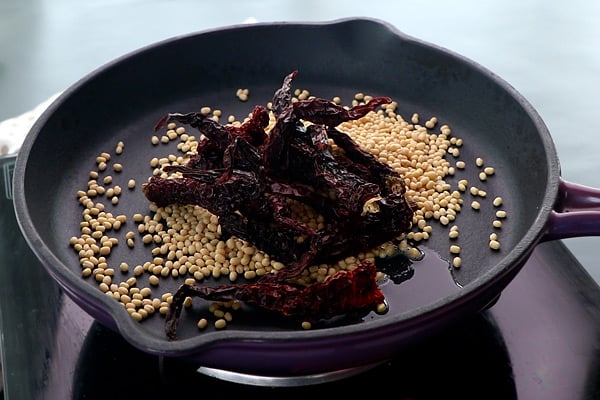
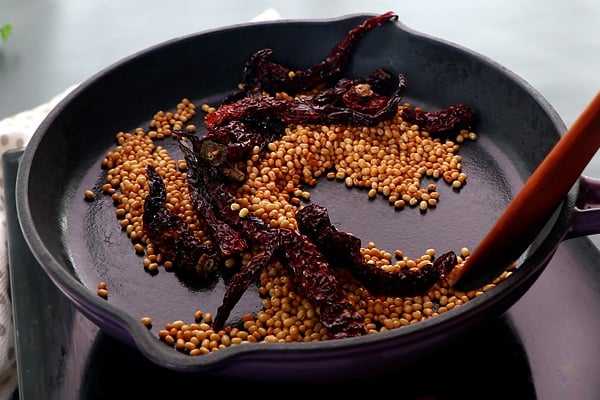
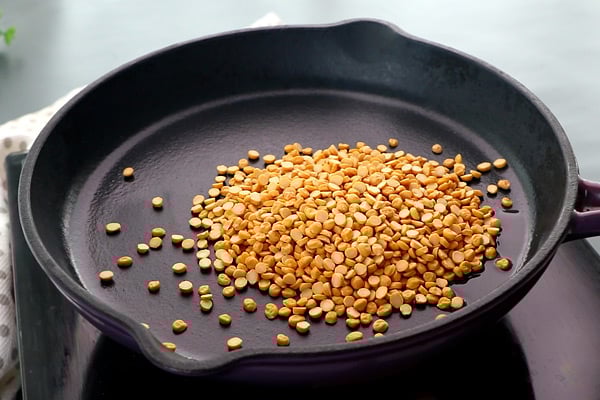
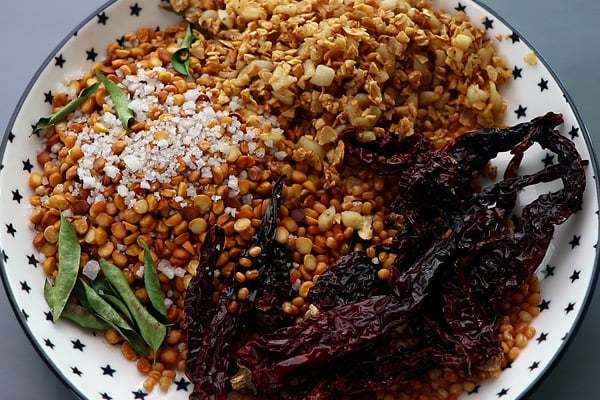
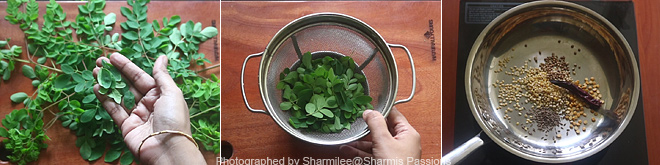
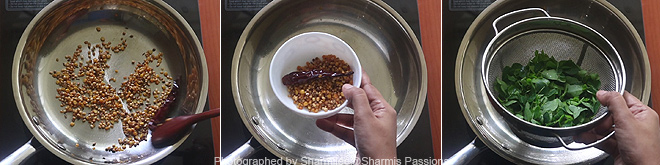
1.Pluck the leaves from the stem. Measure 1 cup, rinse it well and set aside. To a pan add gingelly oil add the items listed under 'to roast'.
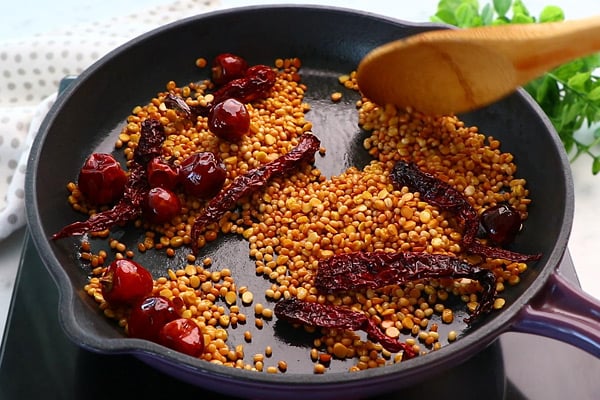
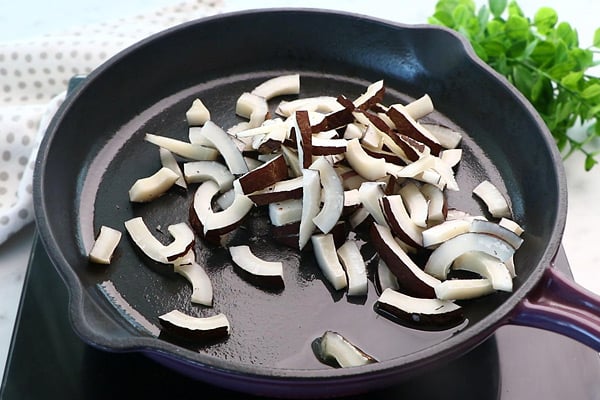
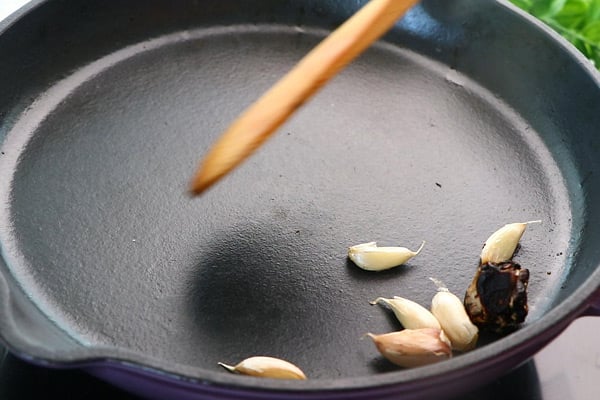
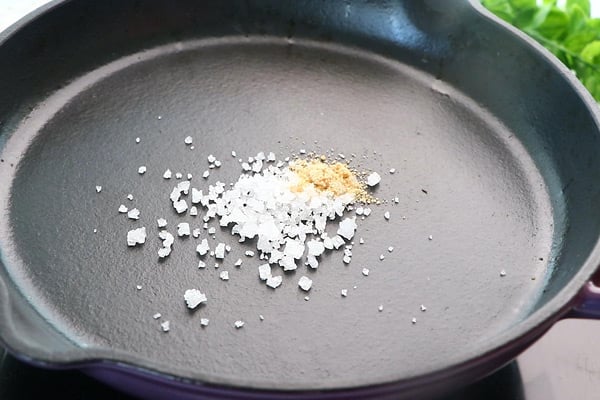
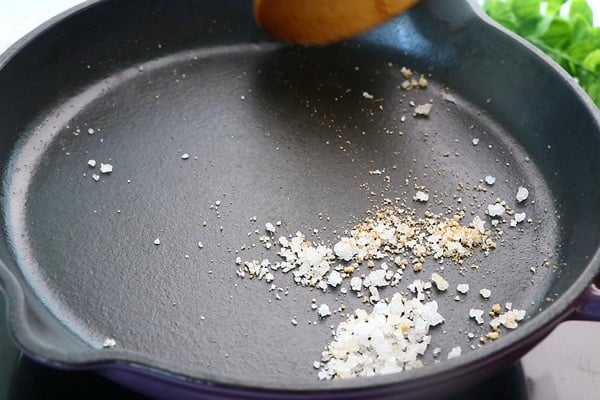
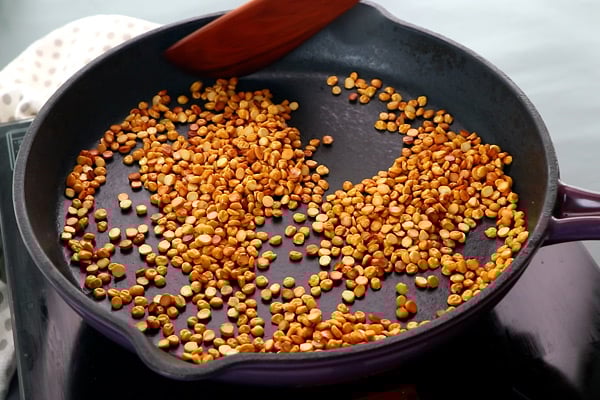
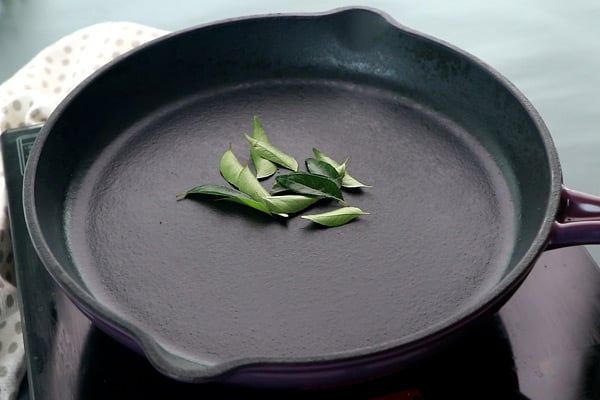
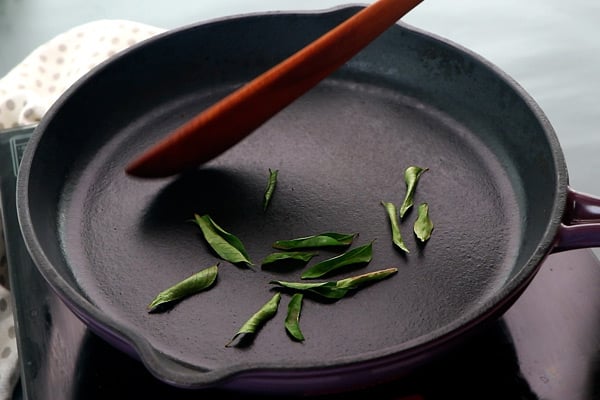
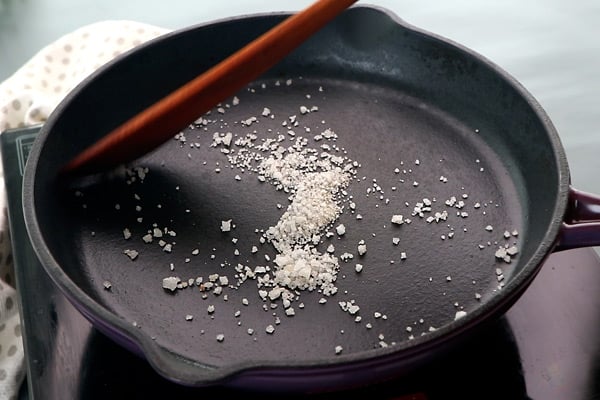
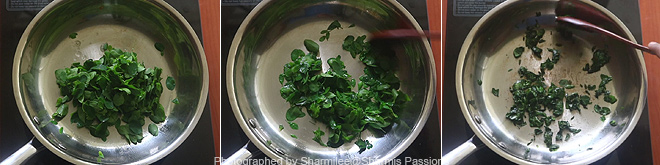
2.Roast till golden brown, add hing, salt saute for a minute then transfer to a bowl and set aside. Add drumstick leaves.
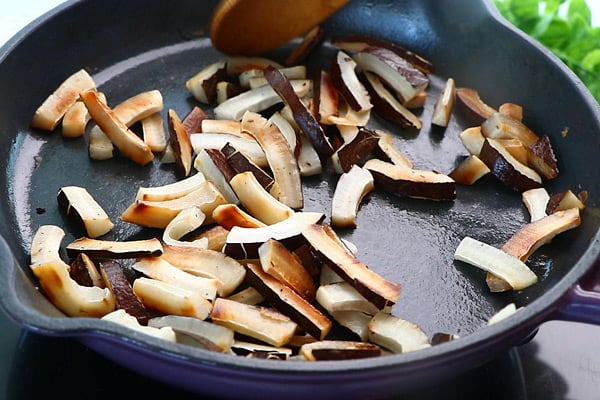
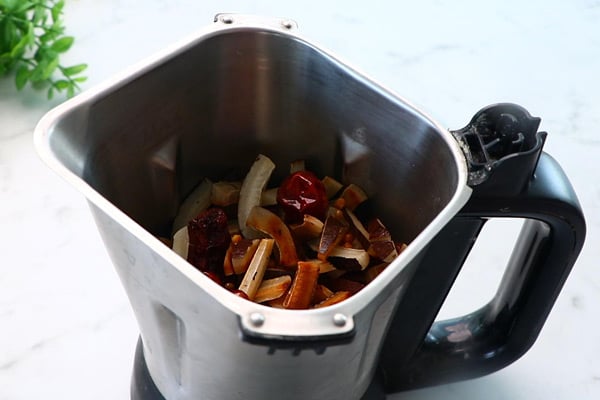
3.Roast it, first it may look sticky and moist slowly while roasting it will turn crisp.
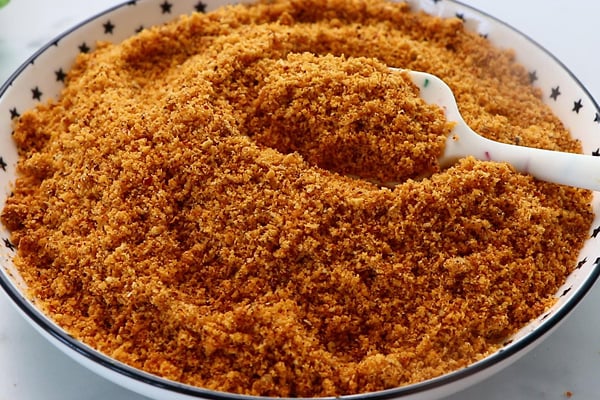
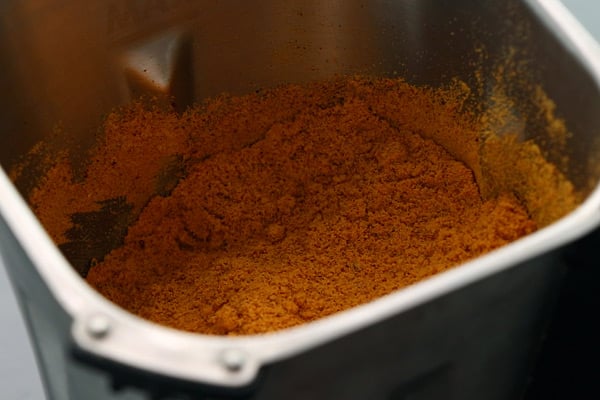
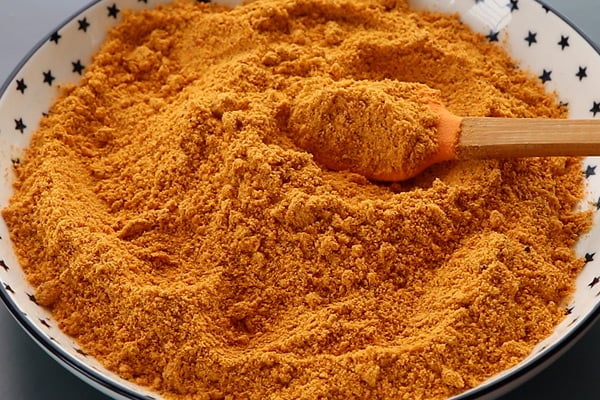
4.Roast till nicely crisp as shown. Transfer to a mixer and grind till slightly coarse mixture
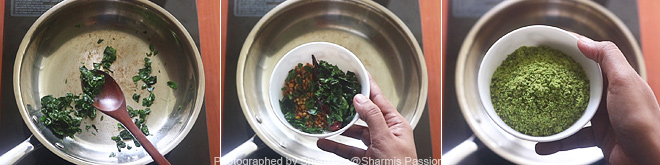
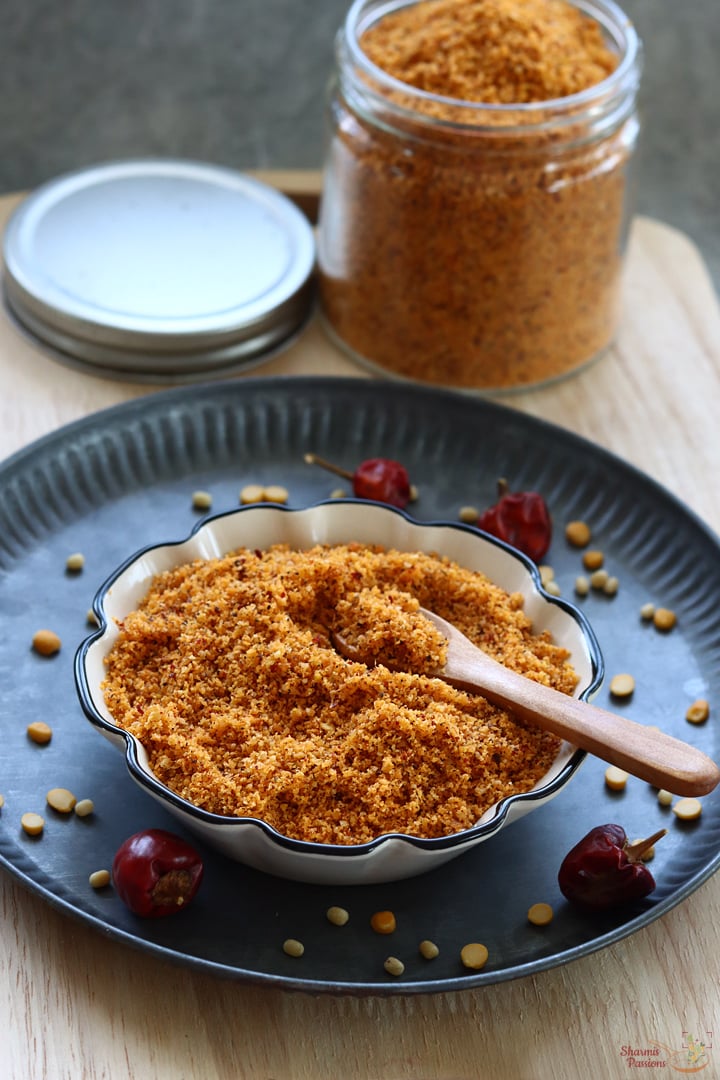
Store in a clean airtight container.

Expert Tips
- Roasting the leaves - I roast the moringa leaves slowly, I usually keep flame low so they turn crisp without burning.
- Dals roasting - Try not to rush this part because roasted dals give the main flavor and aroma.
- Grinding - I usually grind it little coarse as it tastes better, but you can grind them smoother too.
- Moisture - I completely let the mixture cool fully before grinding, moisture can spoil the powder fast.
- Storage - I store in clean dry jar and avoid using wet spoon to keep the powder fresh longer.
Serving and Storage
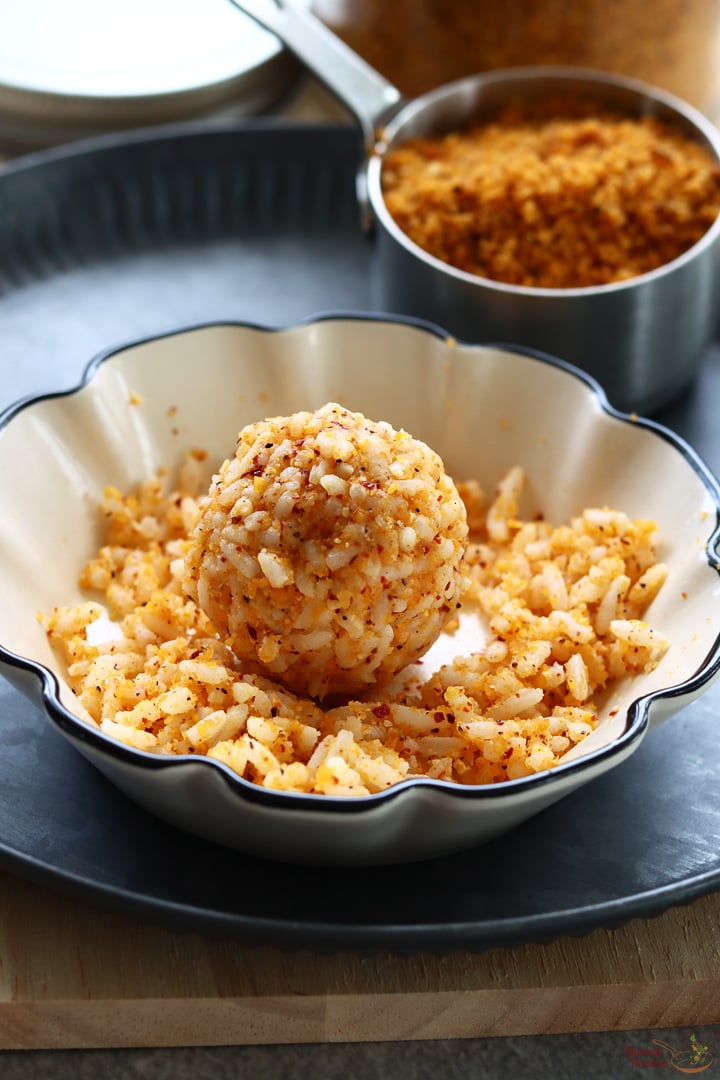
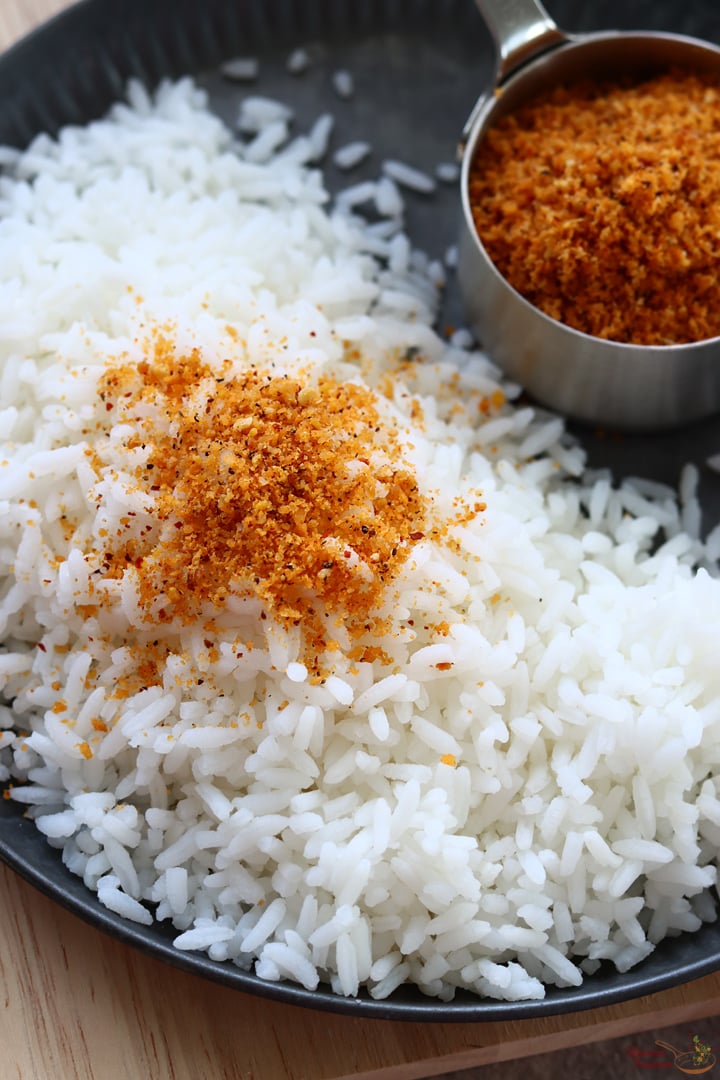
Serve this with hot rice and ghee or sprinkle on dosa or idli. This goes well with curd rice also when you want something light. Store leftover powder in air-tight container and keep in a cool dry place. It stays fresh for few weeks if roasted well. You can refrigerate for longer shelf life also.
FAQS
1.Can I use dried moringa?
Yes you can, but roast them lightly and the flavor will be little different from fresh leaves.
2.Why is my powder tasting bitter?
Mostly the leaves or dals got over-roasted, try to roast on low flame next time.
3.Can I skip any of the dals?
Yes you can adjust based on taste, but mixing dals gives better balance.
4.Should I add garlic to this?
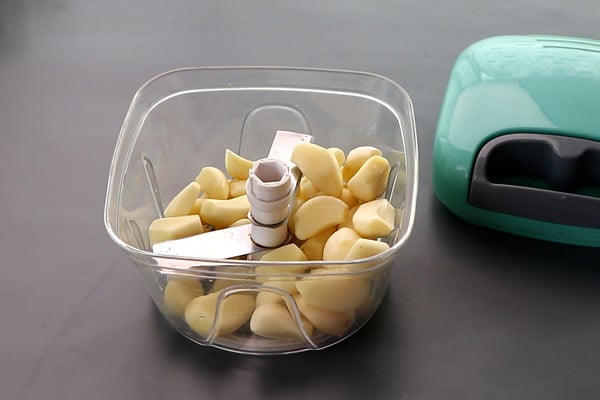
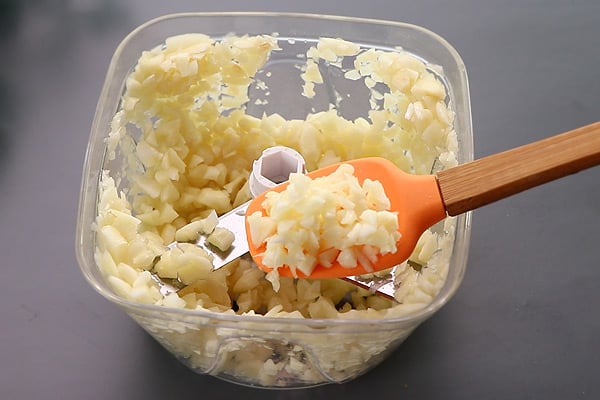
You can add roasted garlic for extra flavor, many people do this variation.
5.How long I store this?
If roasted well and stored dry, it stays good for 3 to 4 weeks easily.
If you have any more questions about this Drumstick Leaves Powder Recipe do mail me at sharmispassions@gmail.com. In addition, follow me on Instagram, Facebook, Pinterest ,Youtube and Twitter .
Tried this Drumstick Leaves Powder Recipe? Do let me know how you liked it. Also tag us on Instagram @sharmispassions and hash tag it on #sharmispassions.
📖 Recipe Card
Drumstick Leaves Powder Recipe | Moringa Leaves Powder Recipe
Ingredients
- 1 cup moringa leaves
- 1.5 tablespoon urad dal
- 1.5 tablespoon moong dal
- 1 tablespoon chana dal
- 1 teaspoon coriander seeds
- ½ teaspoon jeera
- 1 no red chilli
- 1 teaspoon gingelly oil
- a pinch hing
- salt to taste
Instructions
- Pluck the leaves from the stem. Measure 1 cup,rinse it well and set aside. To a pan add gingelly oil add the items listed under 'to roast'.
- Roast till golden brown, add hing, salt saute for a minute then transfer to a bowl and set aside. Add drumstick leaves.
- Roast it, first it may look sticky and moist slowly while roasting it will turn crisp.
- Roast till nicely crisp as shown. Transfer to a mixer and grind till slightly coarse mixture.
- Store Moringa Leaves Powder in a clean dry container.
Video
Notes
- Roasting the leaves - I roast the moringa leaves slowly, I usually keep flame low so they turn crisp without burning.
- Dals roasting - Try not to rush this part because roasted dals give the main flavor and aroma.
- Grinding - I usually grind it little coarse as it tastes better, but you can grind them smoother too.
- Moisture - I completely let the mixture cool fully before grinding, moisture can spoil the powder fast.
- Storage - I store in clean dry jar and avoid using wet spoon to keep the powder fresh longer.
Nutrition
The post Drumstick Leaves Powder | Moringa Leaves Powder appeared first on Sharmis Passions.