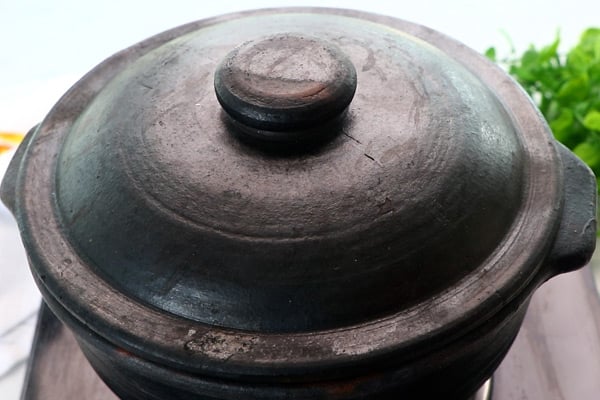
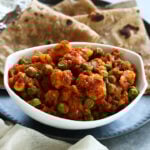
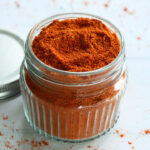
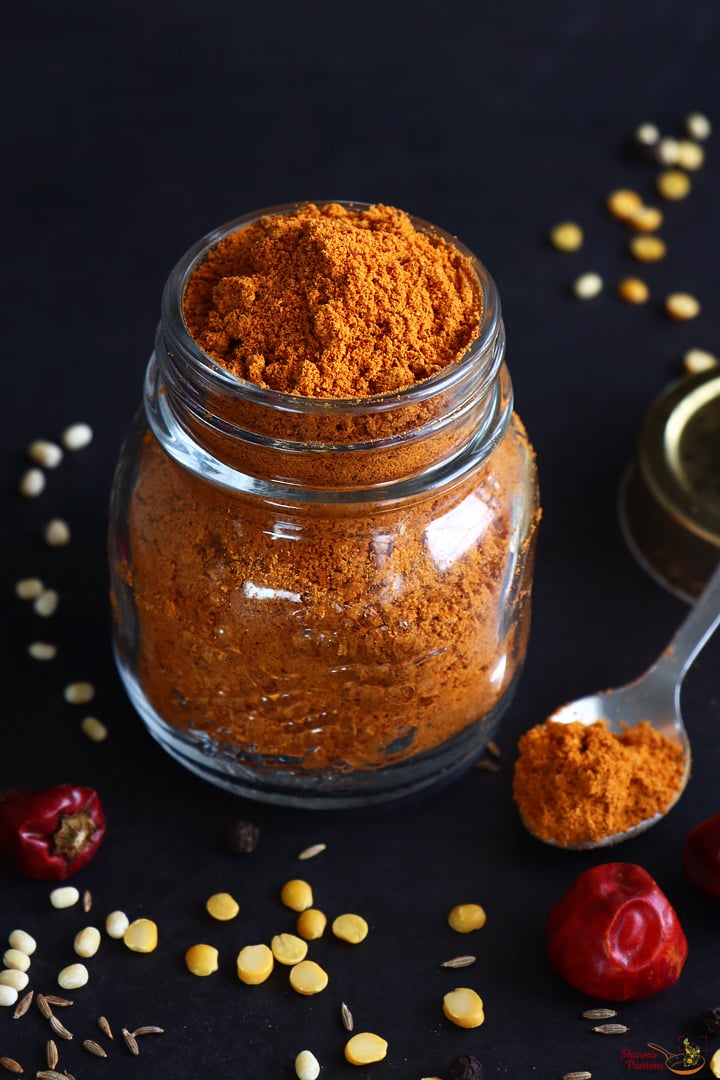
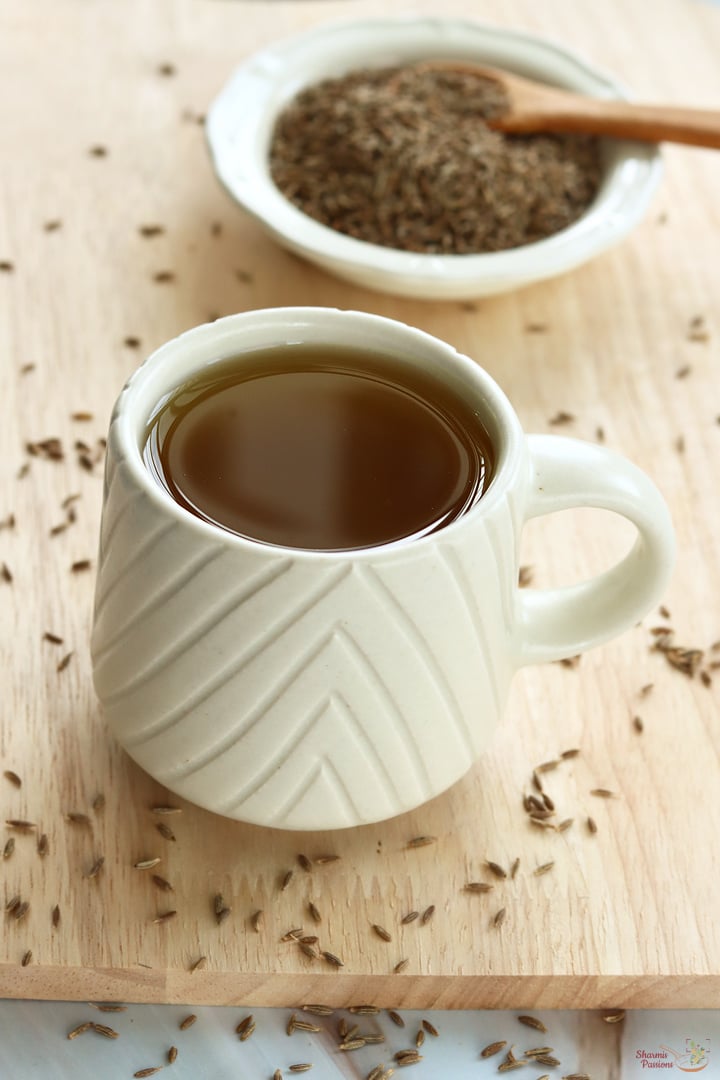
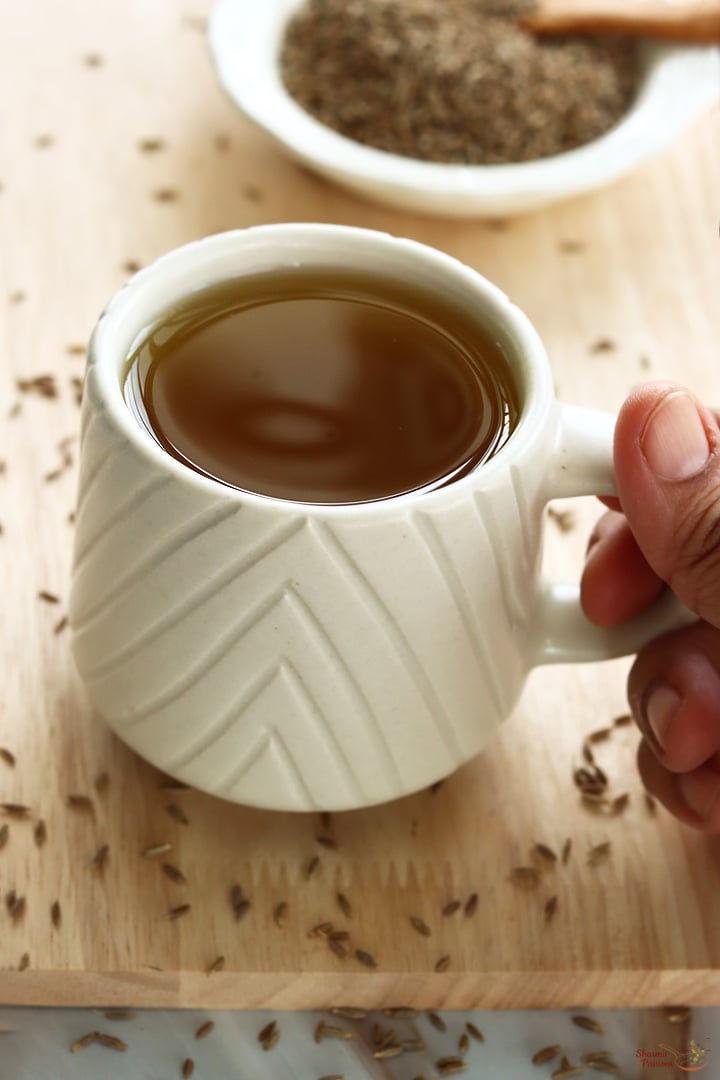
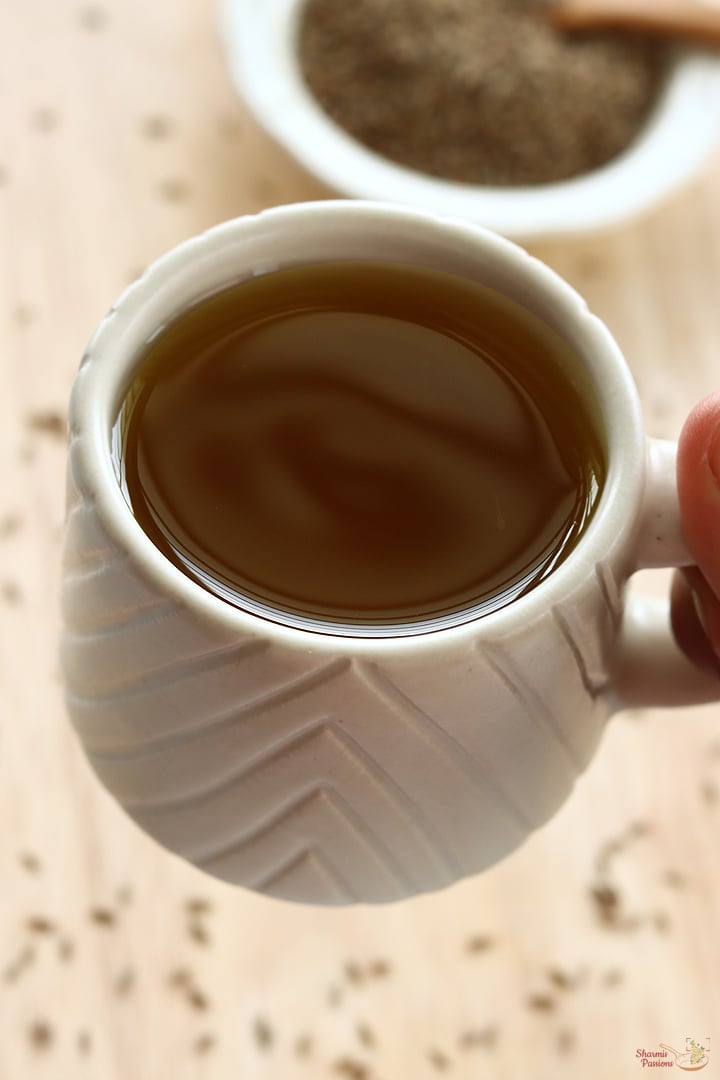
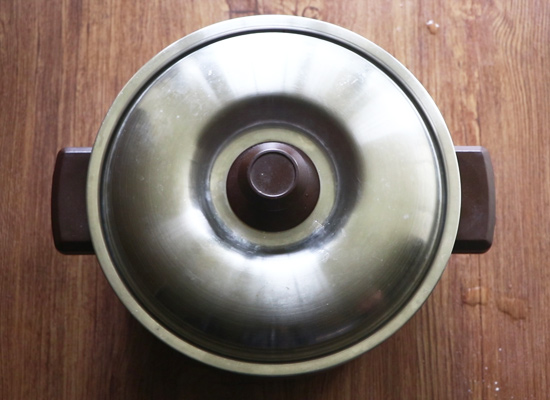
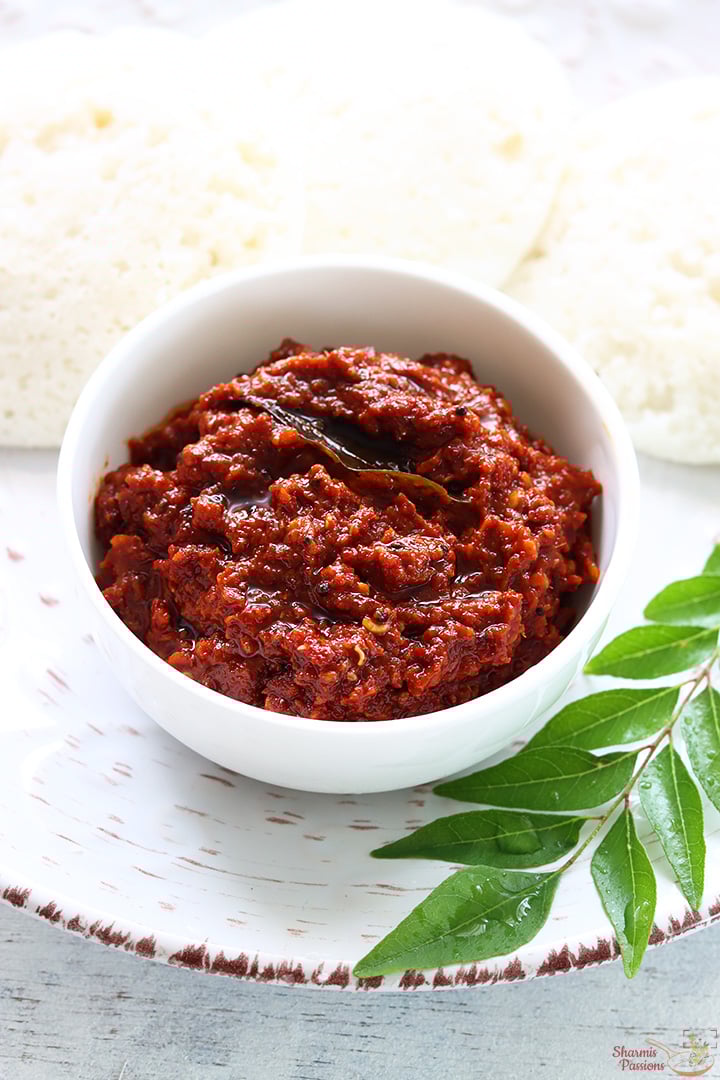
Chettinad Milagai Chutney Recipe
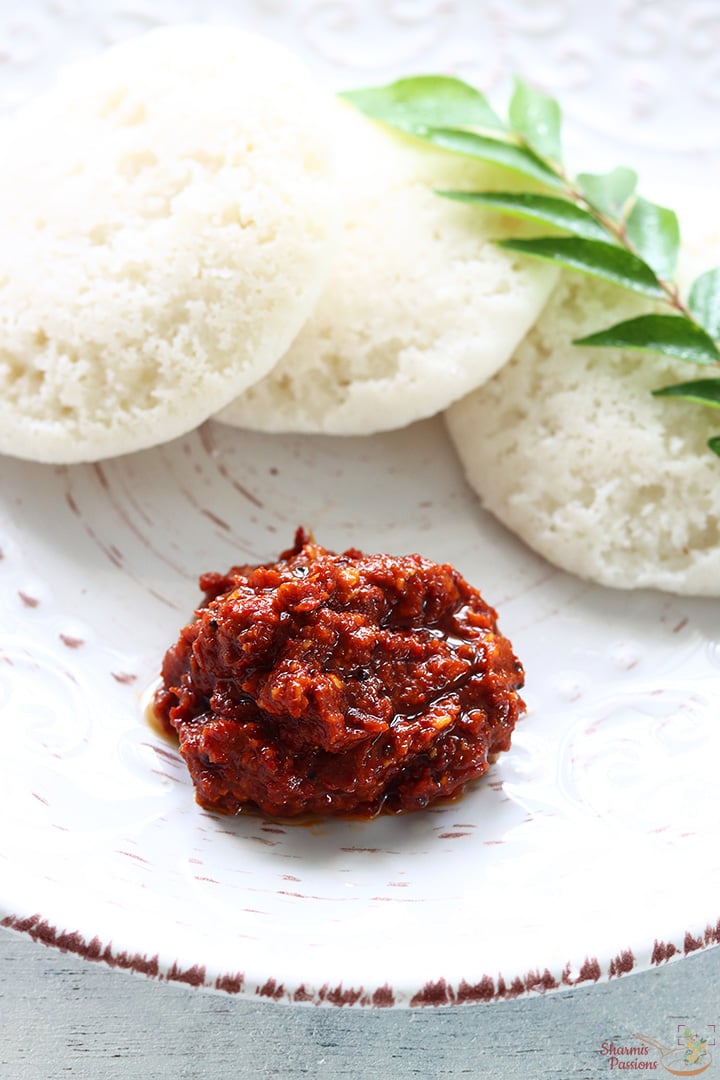
Chettinad Milagai Chutney is a spicy side dish made using dry chillies, garlic, small onion, tamarind and few basic spices. This milagai chutney recipe is Chettinad style perfect to relish with paniyaram, idli, dosa, uttapam etc. Chettinad Dry Chilli Chutney is simple and quick to make in minutes.
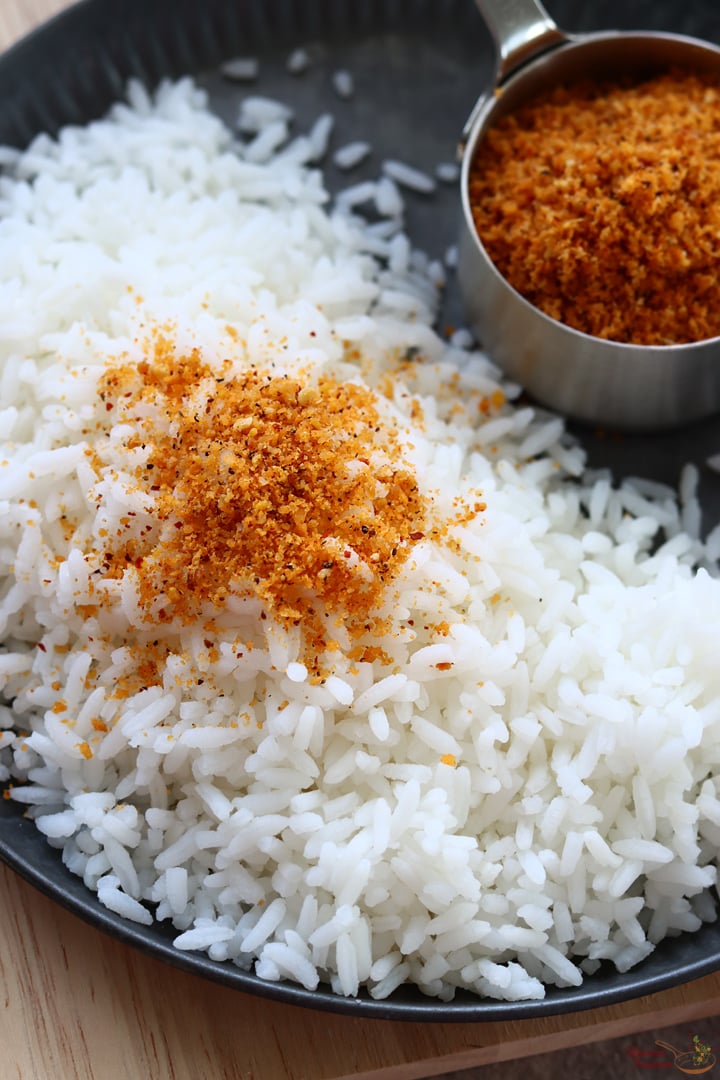
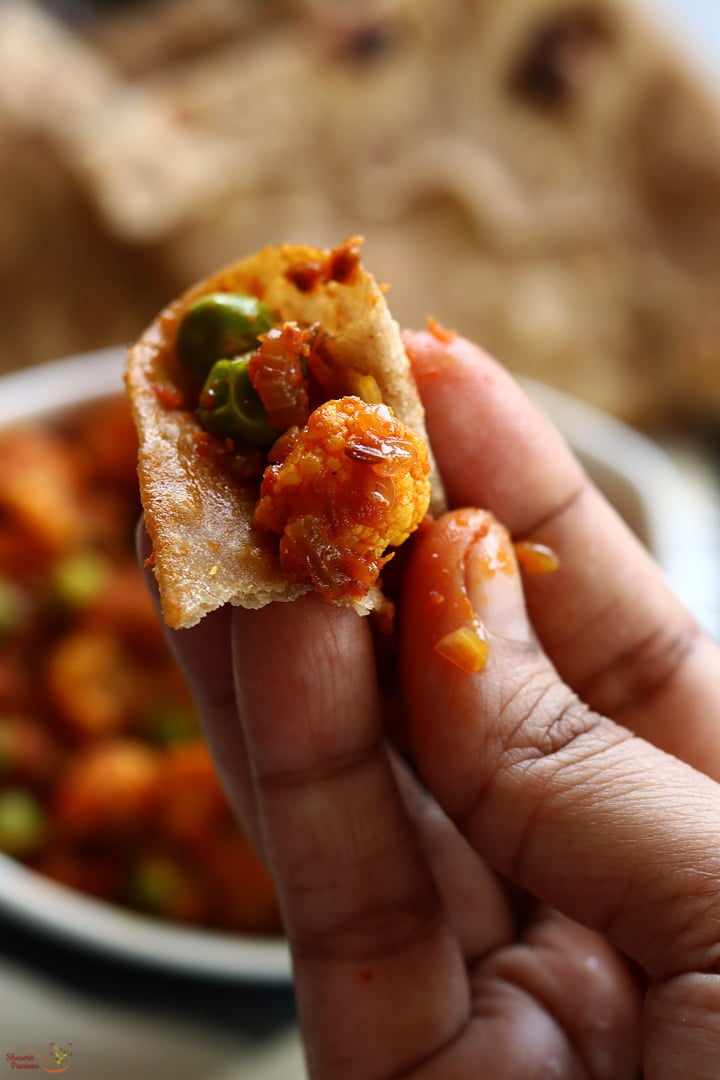
This chutney follows Chettinad style, so the flavor is bit stronger than the usual milagai chutney we make often. It lifts even a plain idli and makes it feel special. It tastes too good with paniyaram also because the spicy-sour taste balances well with the soft batter.
[feast_advanced_jump_to]About Vara Milagai Chutney
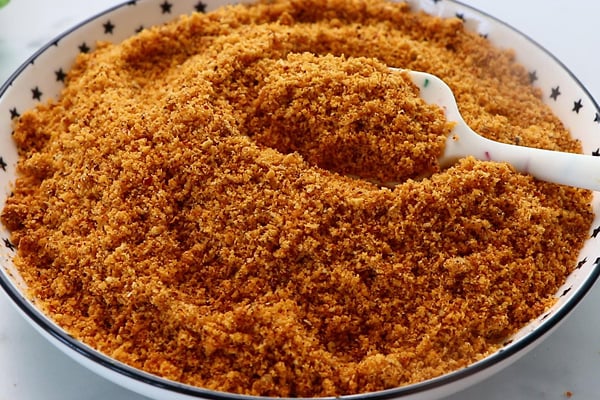
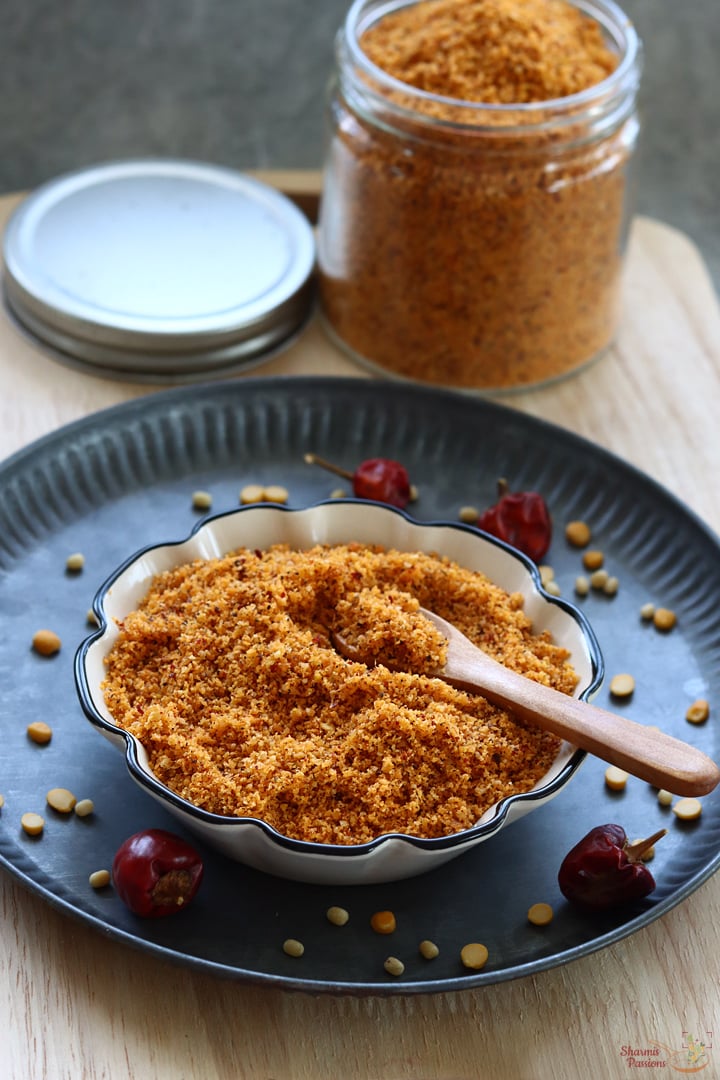
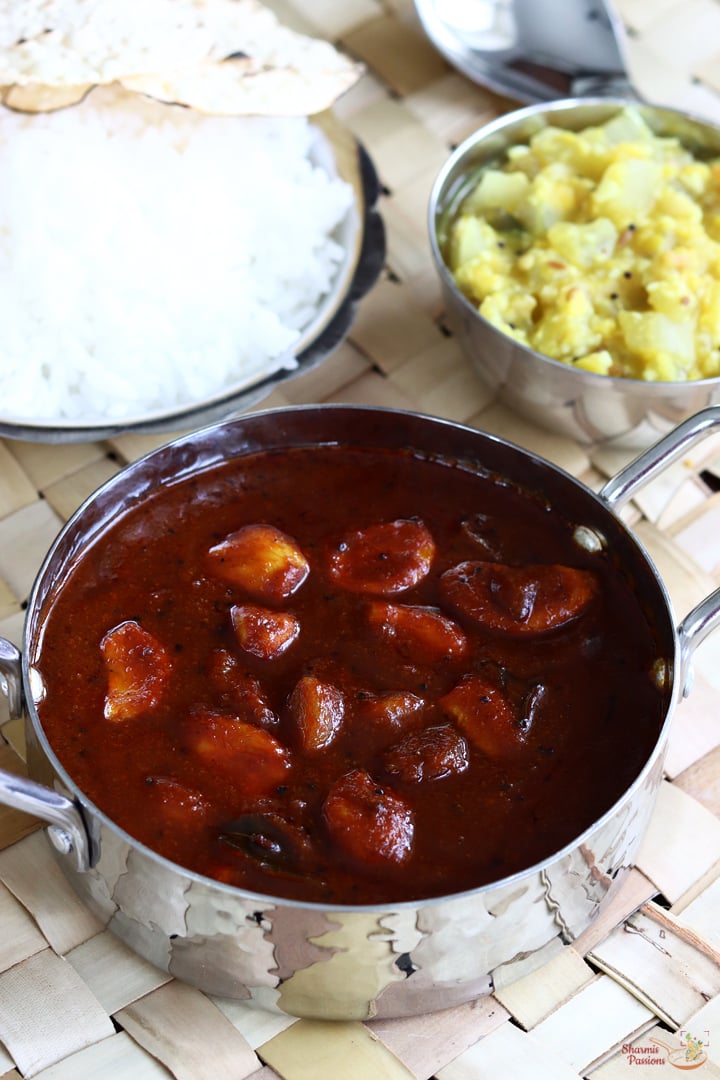
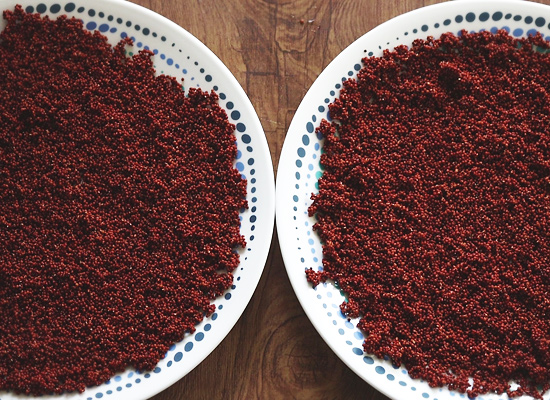
Vara Milagai Chutney is a classic and popular red chilli chutney known for its bright color and simple rustic taste. This chutney is traditionally served wihVella Paniyaram in Chettinad homes. The dry chili, onion garlic paste is kept little coarse, so the texture feels more natural. The bright red color comes mostly from the mix of chillies. It cooks fast also, so it really helps on busy mornings.
It tastes bold, has good flavor, and goes well with almost any South Indian tiffin we make often. As it cooks, the raw smell slowly fades and the chutney becomes a deep red mix. Some versions add garlic or skip tomato, but the taste stays close to the traditional one only.
There are version using tomatoes in this chutney but the traditionally tomatoes are not used. But it is your preference if you want to reduce the heat then you can add tomatoes while grinding and make this chutney too.
You can adjust this chutney based on what you like. For a brighter color, add few more Kashmiri chillies. For sharper taste, increase regular chillies little. A pinch of jaggery also balances heat if you prefer mild. Small changes bring slightly new taste but the main chilli flavor stays the hero.
I usually make this chutney whenever we plan dosa or idli for brunch. It needs very little chopping and comes together so quick If you like chutneys with small punch but still homely, this one fits daily meals nicely.
Vara Milagai Chutney is one of those quick chutneys I make when I don't want to spend too much time in kitchen but still need something tasty for dosa or idli. We love it with soft hot idlis.
Chettinad Milagai Chutney Video
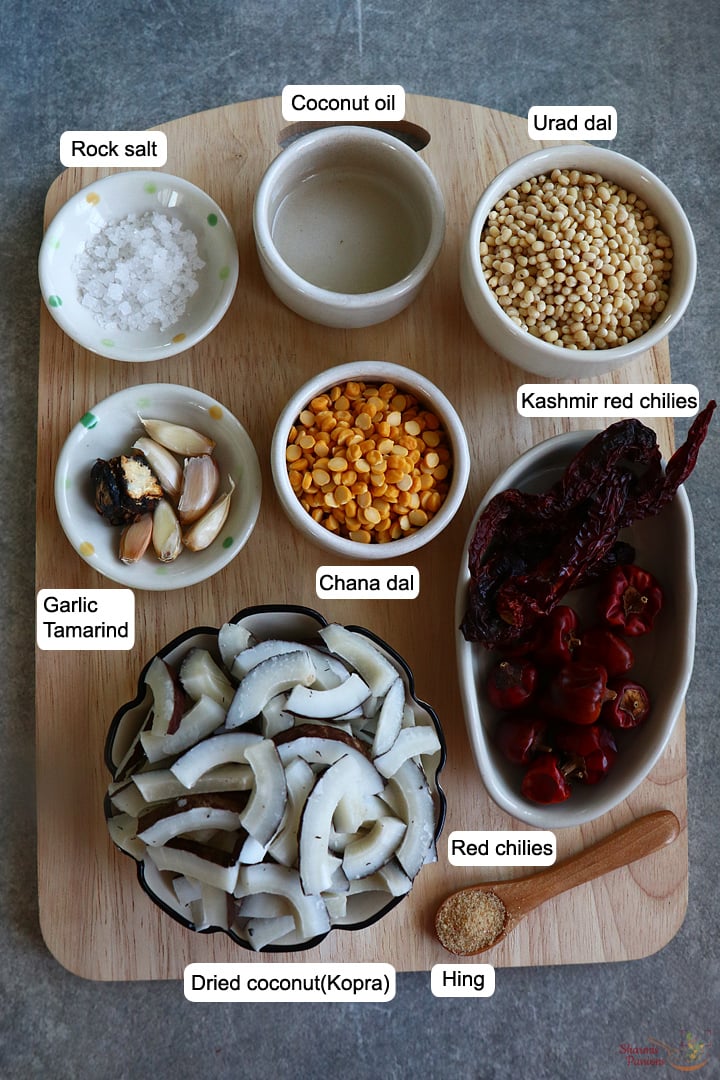
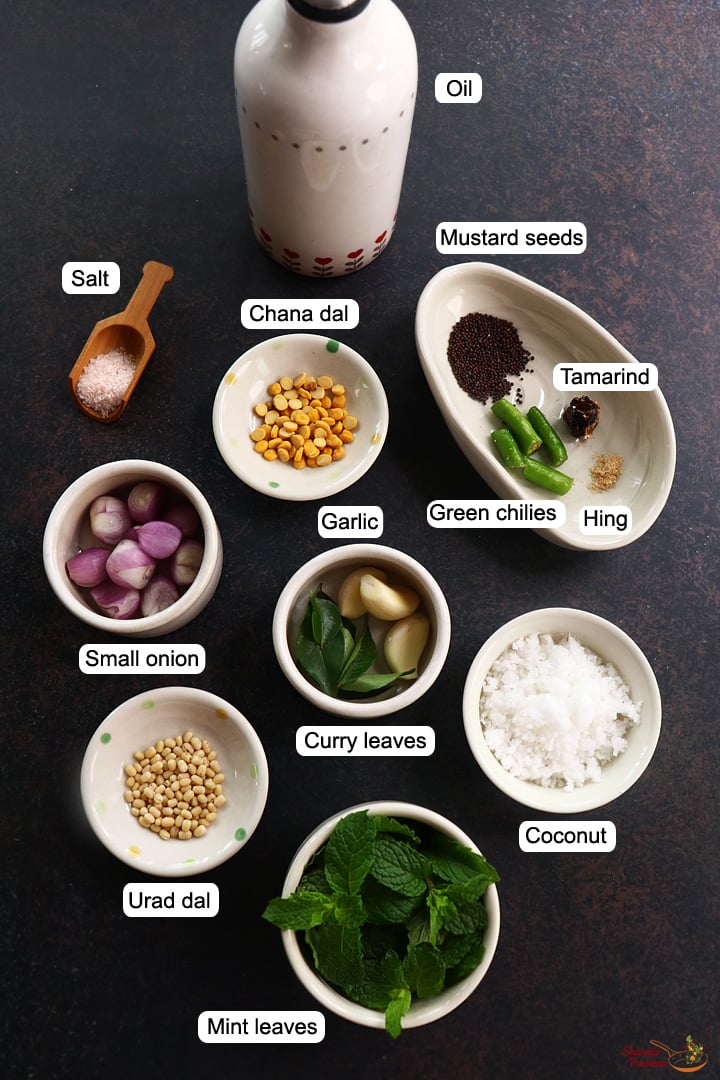
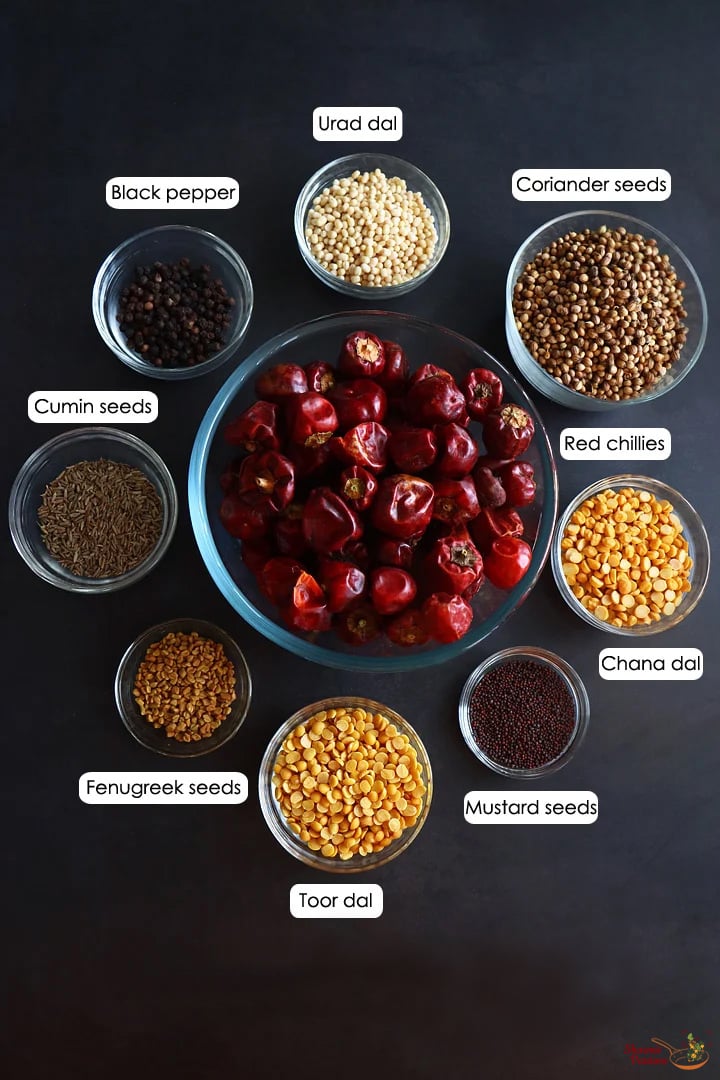
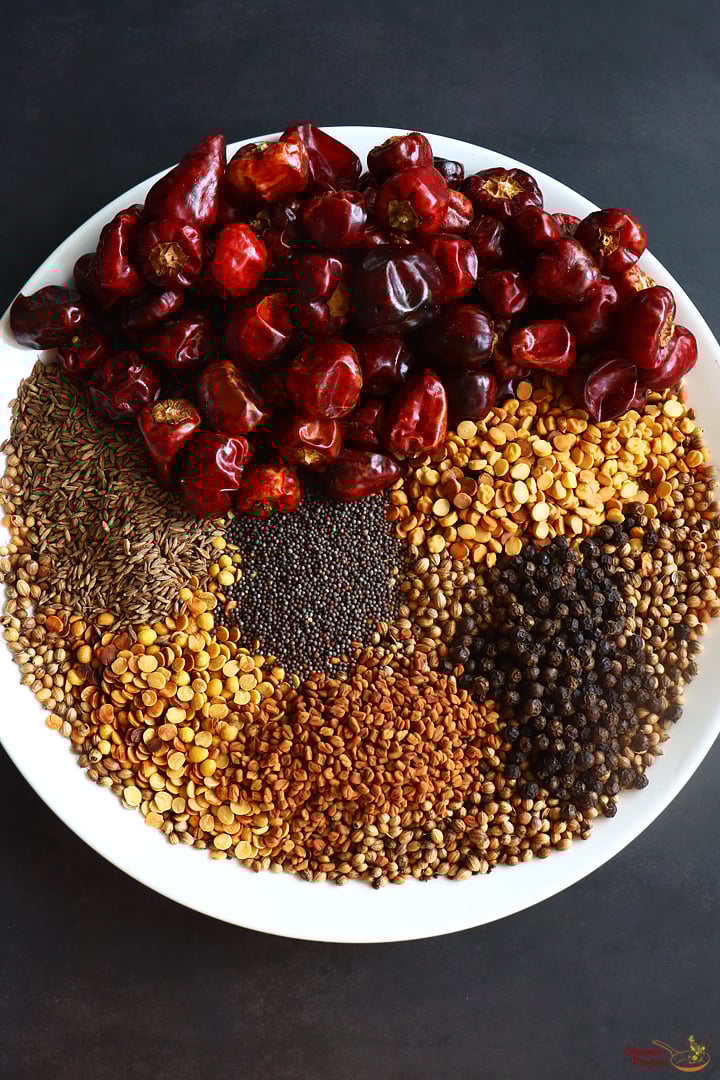
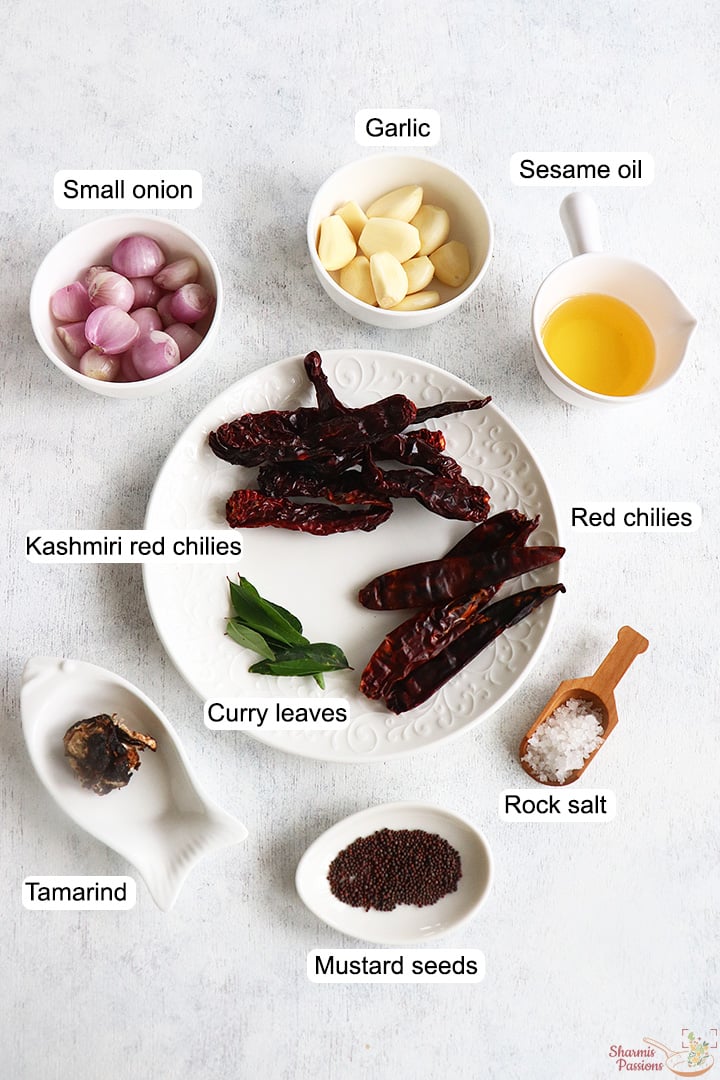
Vara Milagai Chutney Ingredients
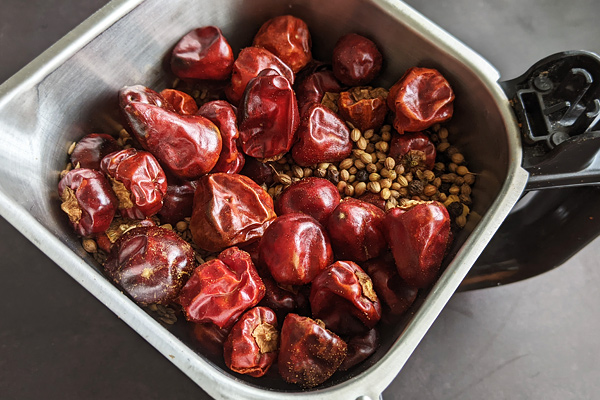
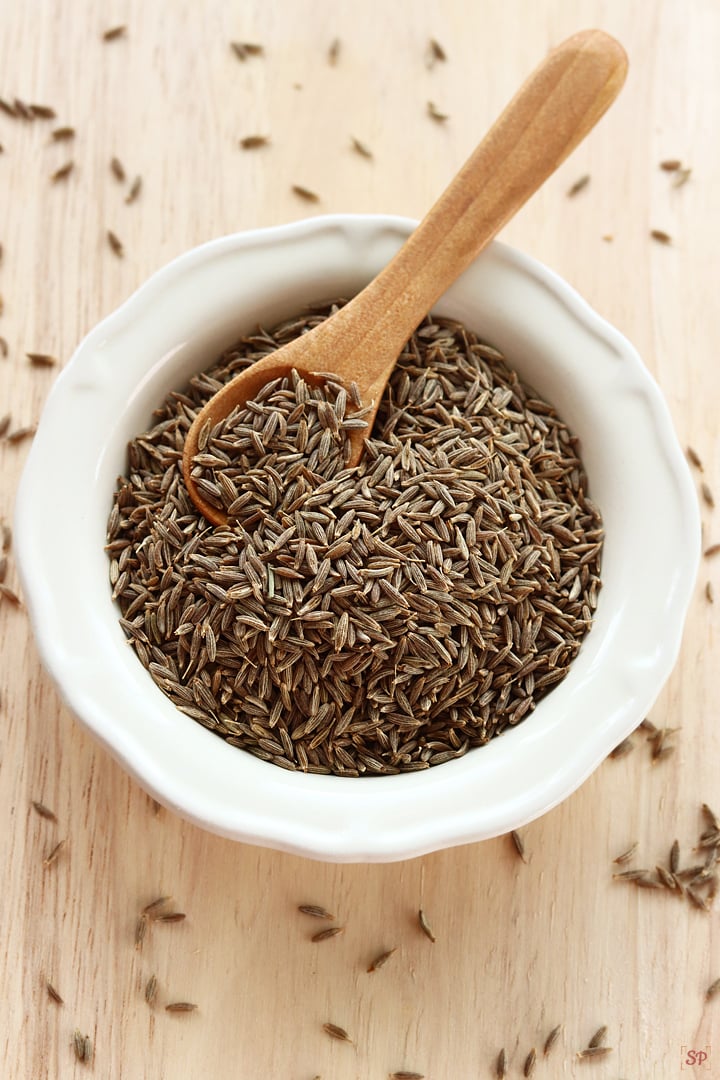
- Red chillies - I have used these for heat since they give that sharp spicy taste. You can reduce it if you want milder chutney.
- Kashmiri red chillies - I added this mainly for color because it gives a nice deep red look. You can use only regular chillies also, but then the color comes a bit darker.
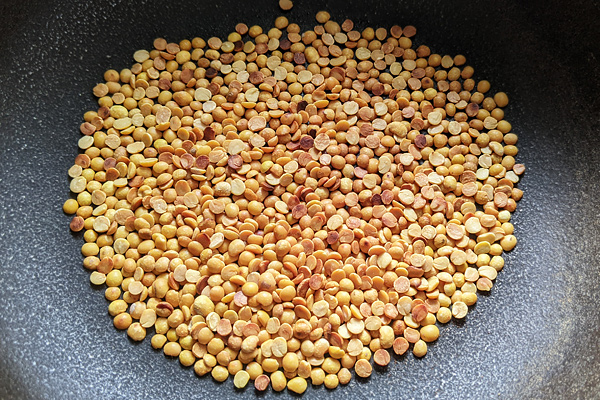
- Small onion - I have used this for the base flavor, it gives a mild sweetness and blends well with the chillies. You can add regular onion if you don't have small ones.
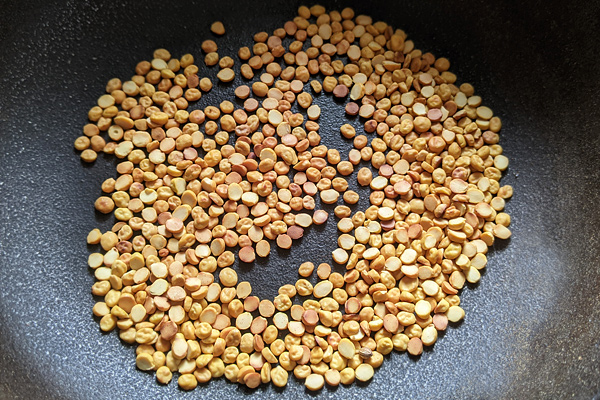
- Garlic - This adds great taste and flavor.
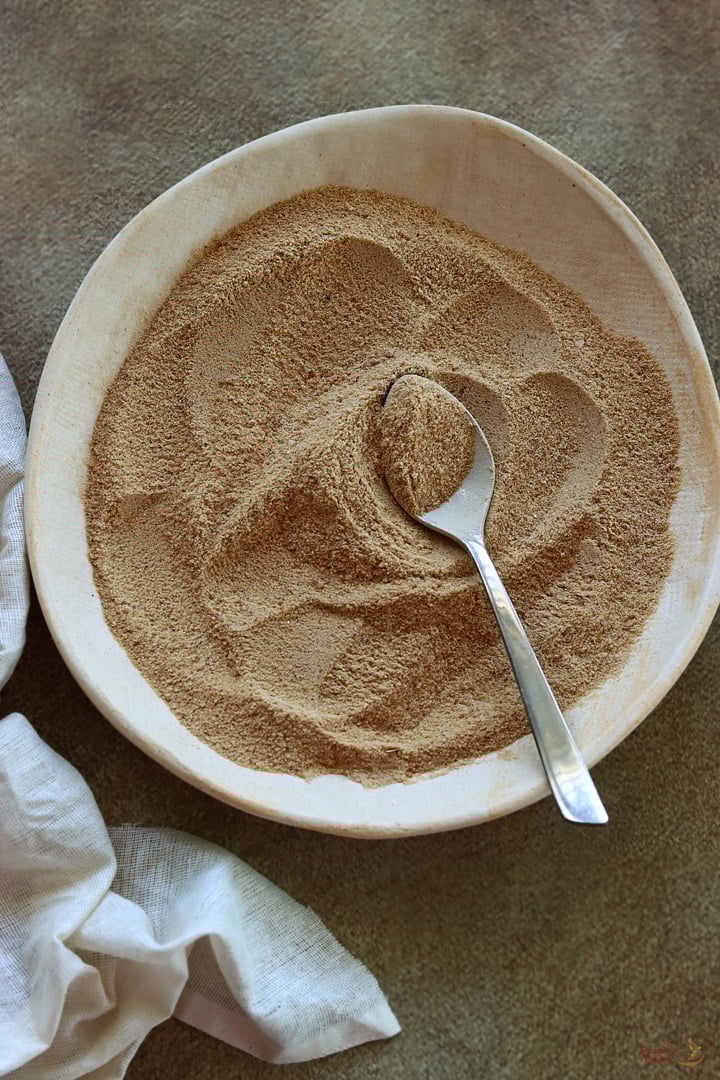
- Tamarind - I added a small piece for slight tanginess which balance the spice nicely. You can add little more if you like extra sour taste.
- Gingelly oil - I used this for tempering since it gives a lovely aroma and that usual traditional taste. If you don't have it, you can add little coconut oil also.
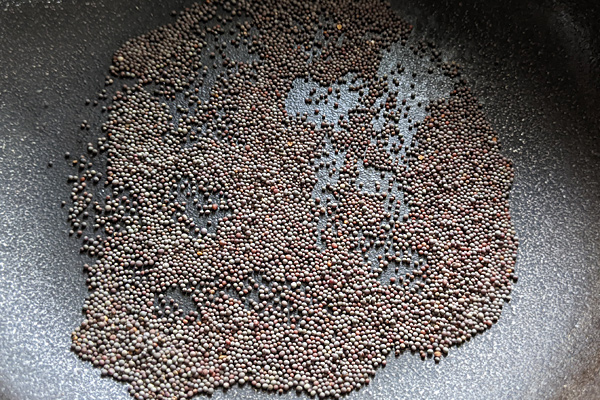
- Mustard seeds - This is added for tempering and gives a light nuttiness when it splutters. You can skip if you don't like mustard flavor.
- Curry leaves - This gives a fresh smell and blends so well with gingelly oil. You can add more leaves if you like stronger flavor.
Similar Recipes
How to make Chettinad Milagai Chutney Step by Step
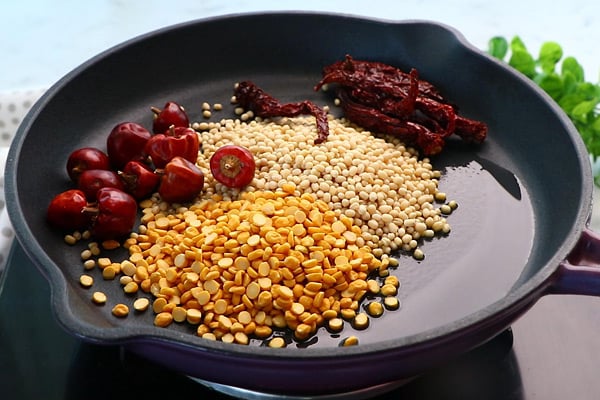
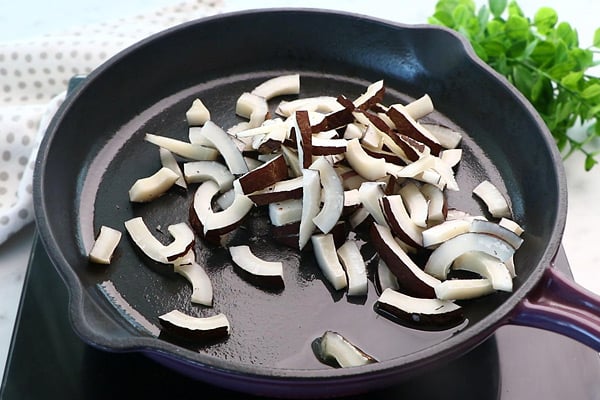
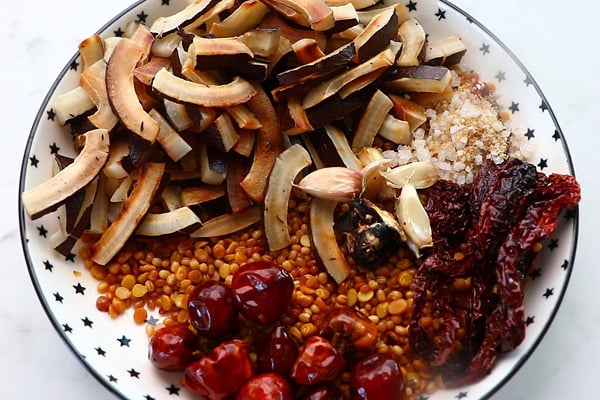
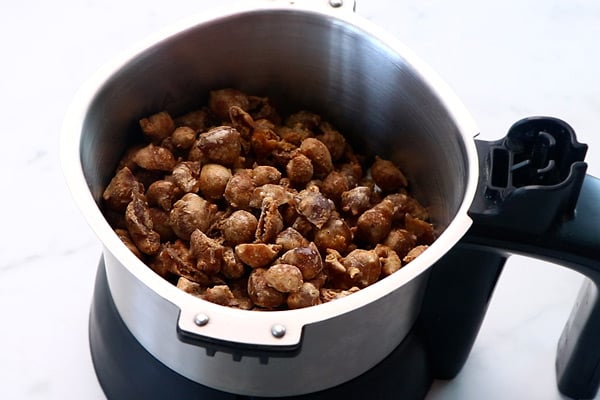
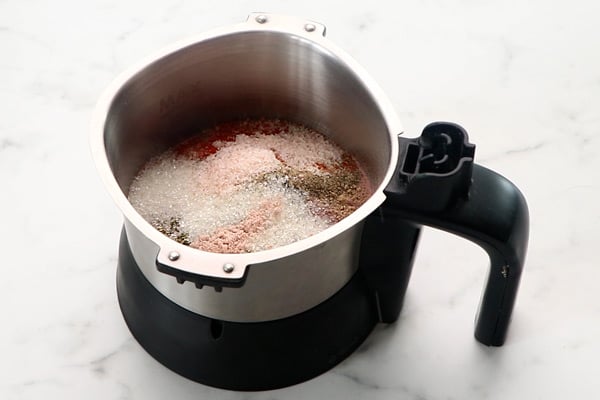
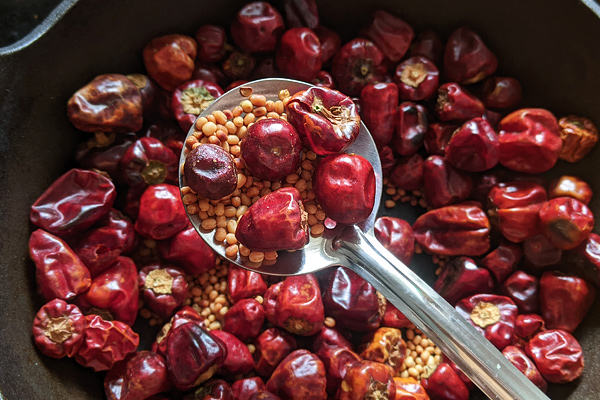
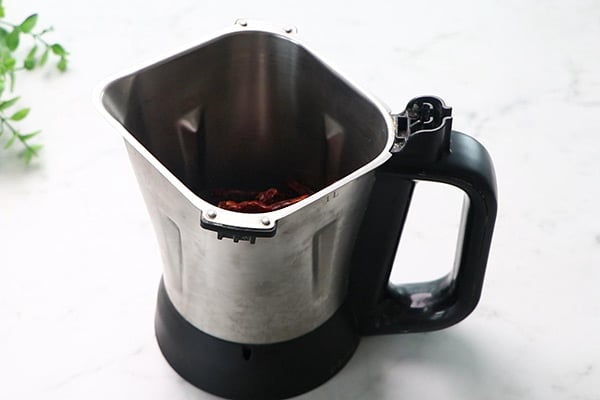
1.To a mixer jar add 10 kashmiri red chilies along with 5 regular red chilies.
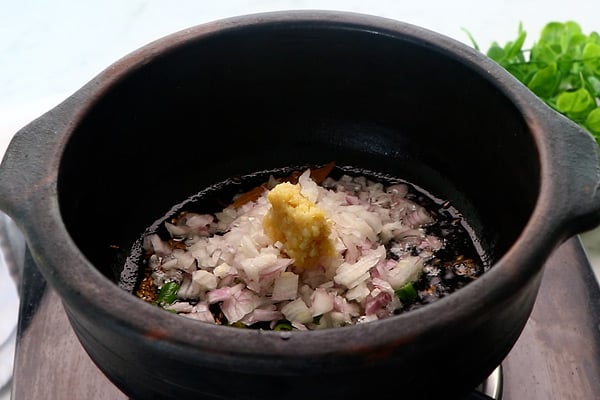
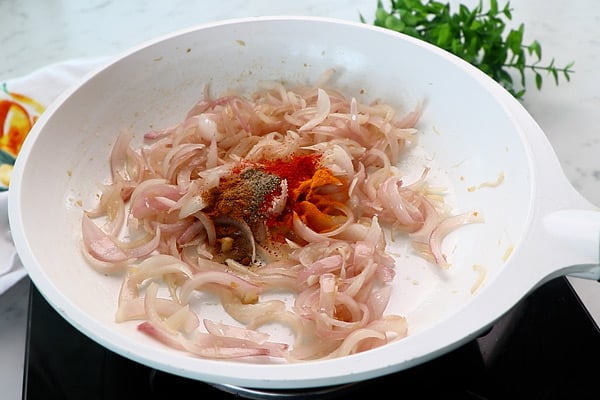
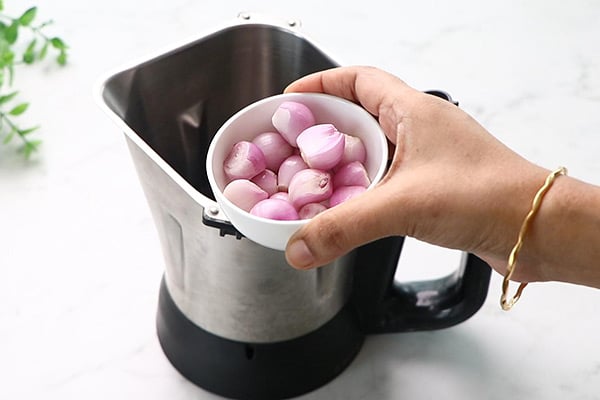
2.Add 15 small onion.
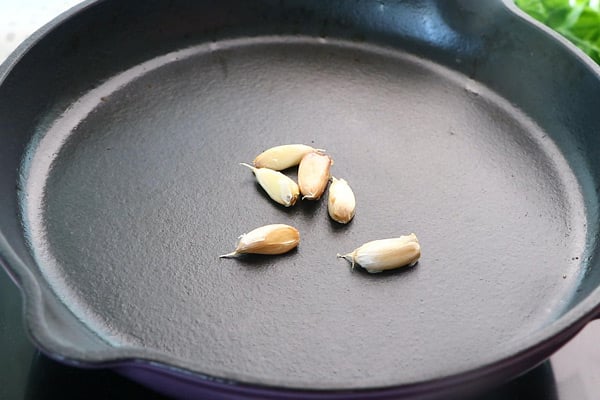
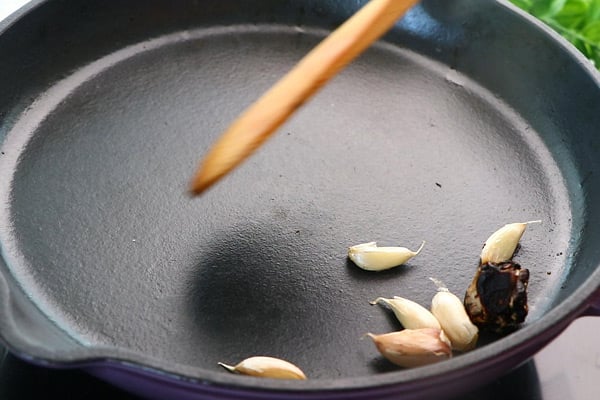
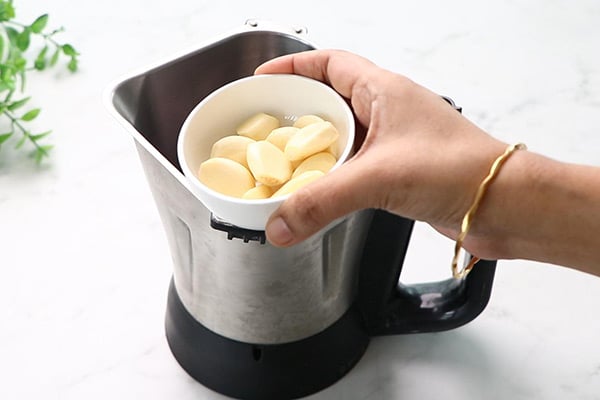
3.Add 10 garlic cloves.
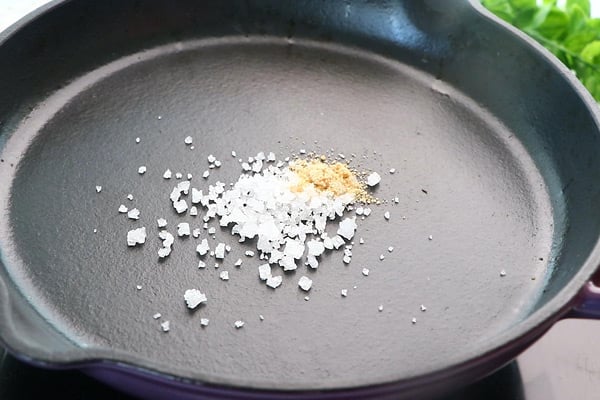
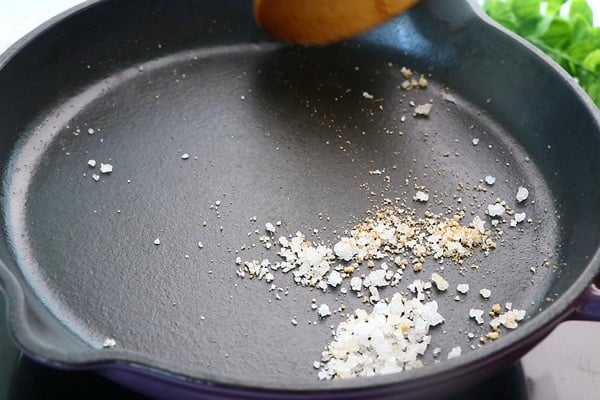
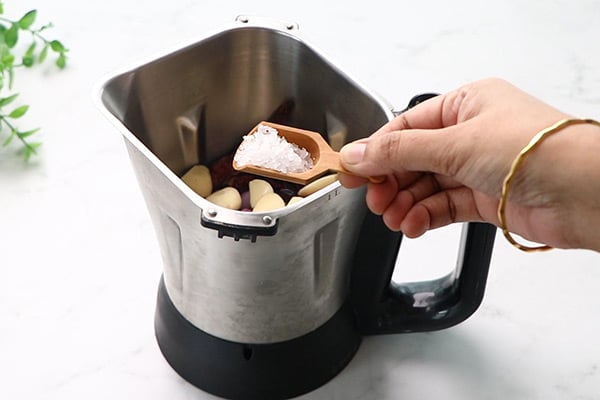
4.Add rock salt to taste.
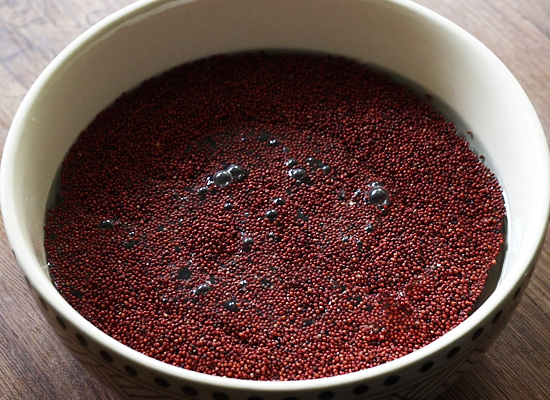
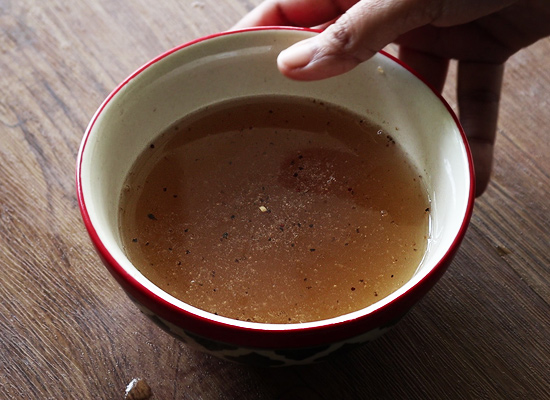
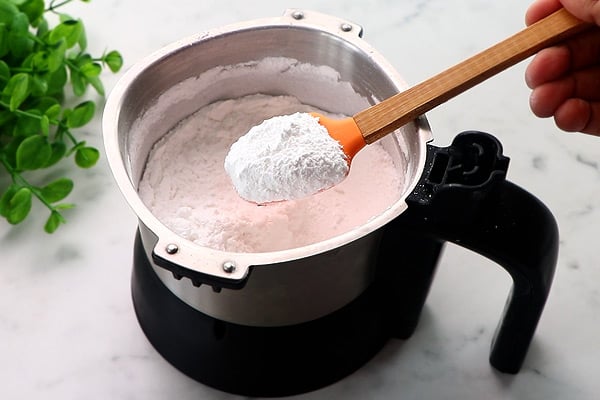
5.Add 1 teaspoon tamarind.

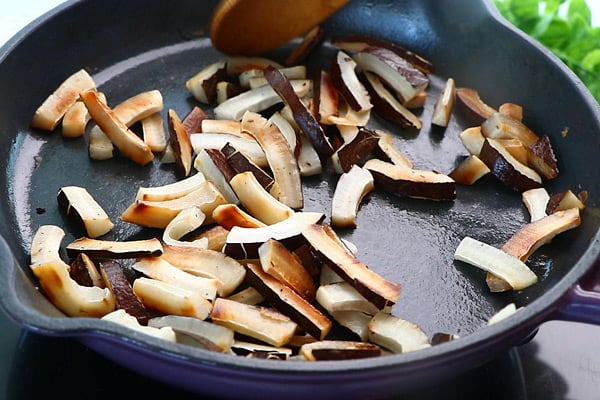
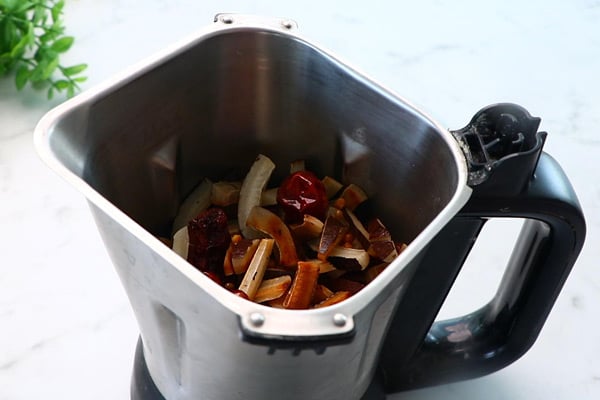
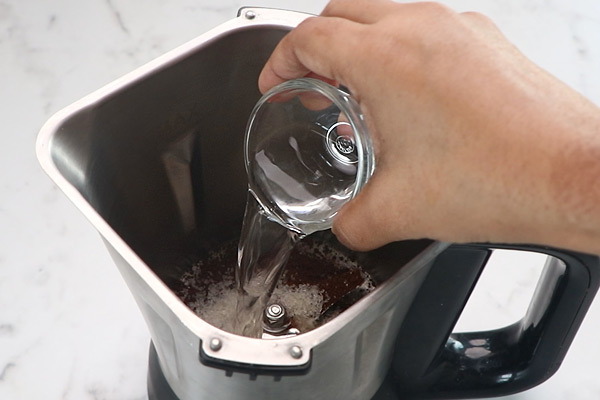
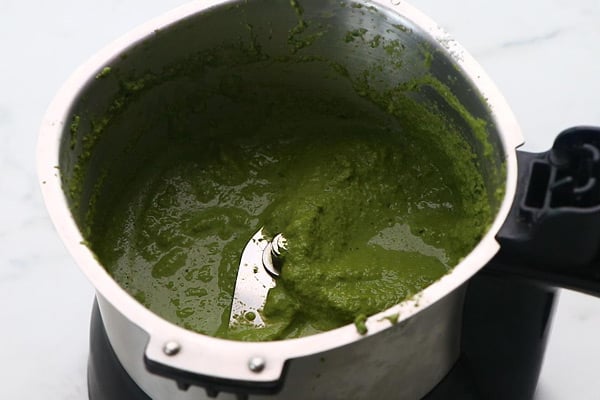
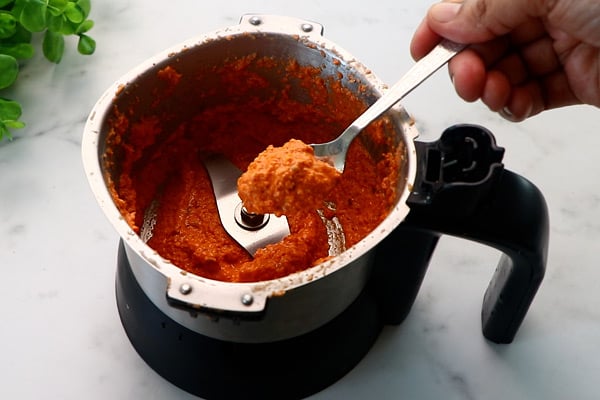
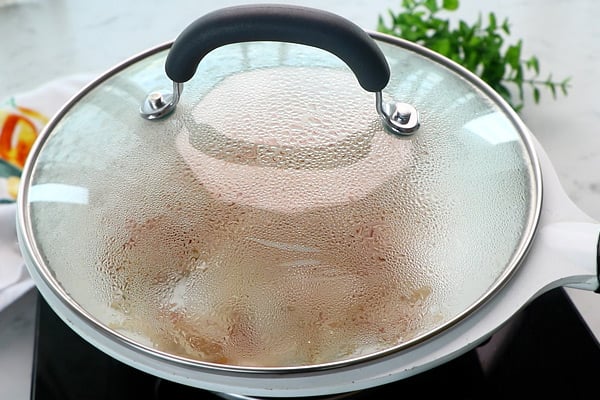
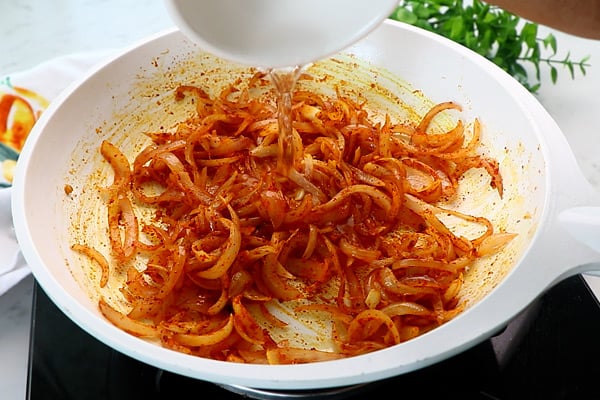
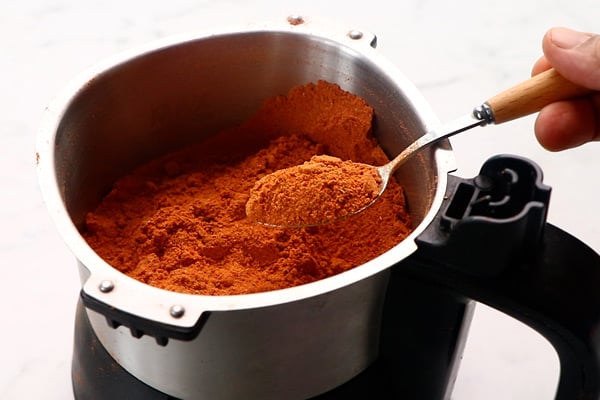
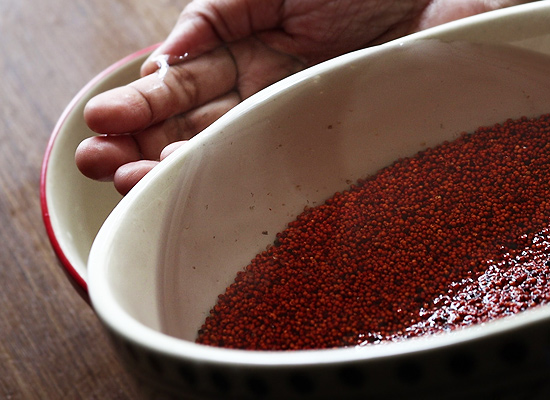
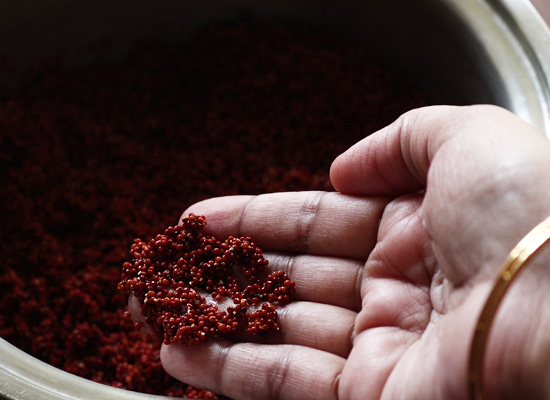
6.Add little water and grind it slightly coarse.
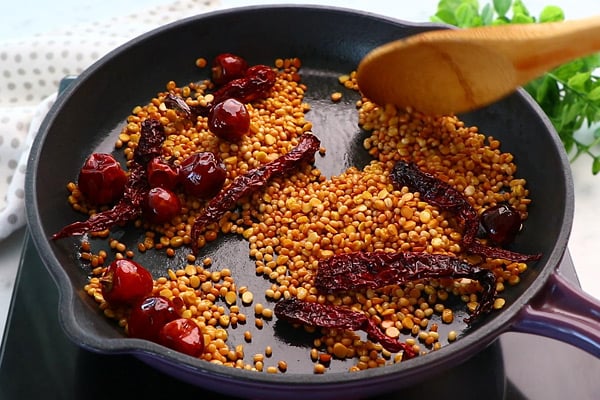
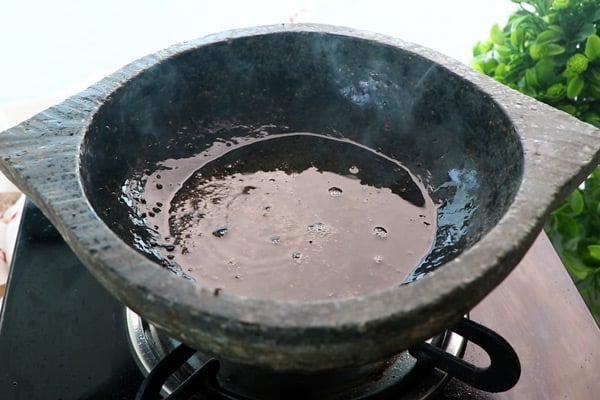
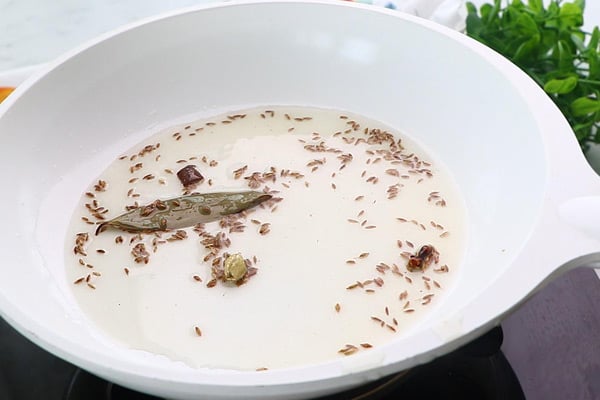
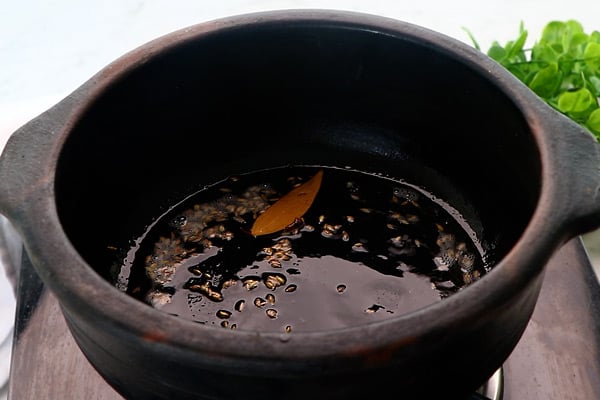
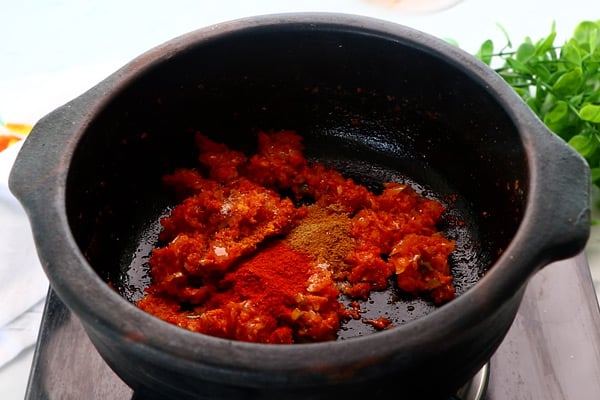
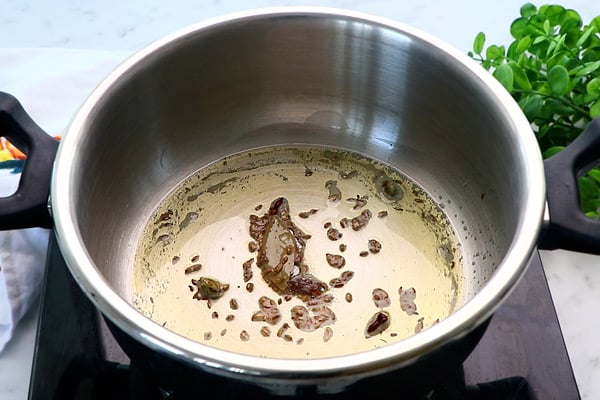
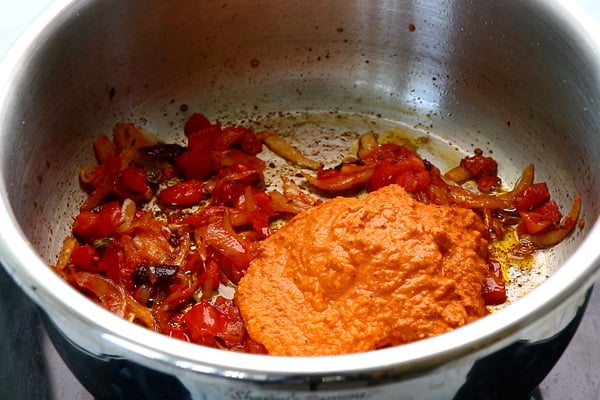
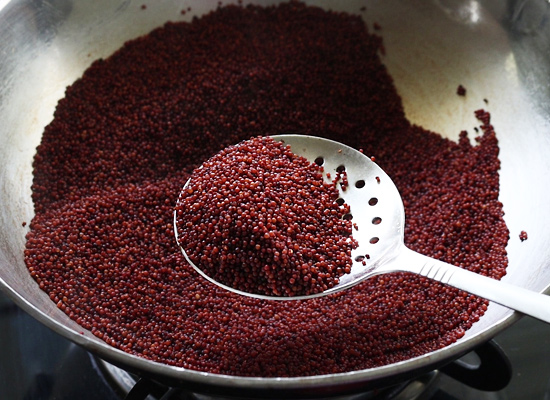
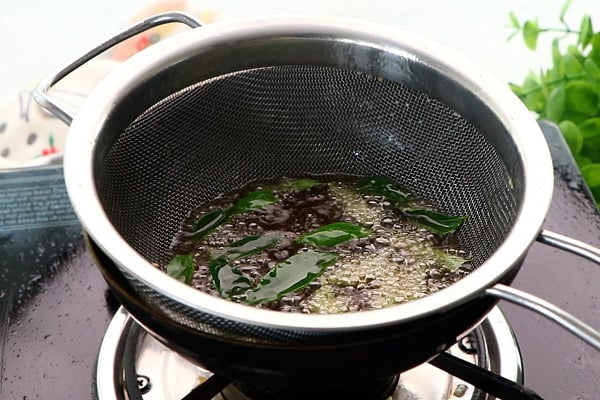
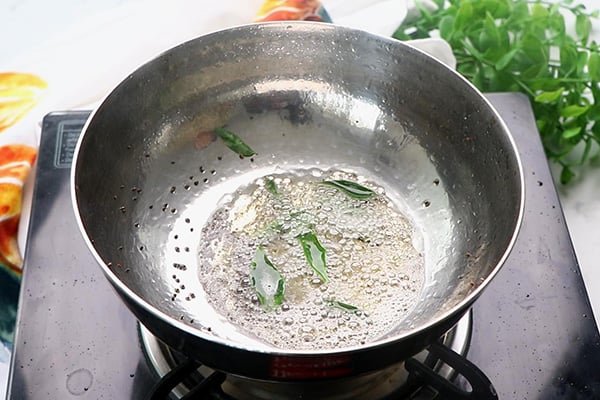
7.Heat 1 tablespoon sesame oil - add 1 teaspoon mustard seeds let it splutter then add few curry leaves, let it splutter.
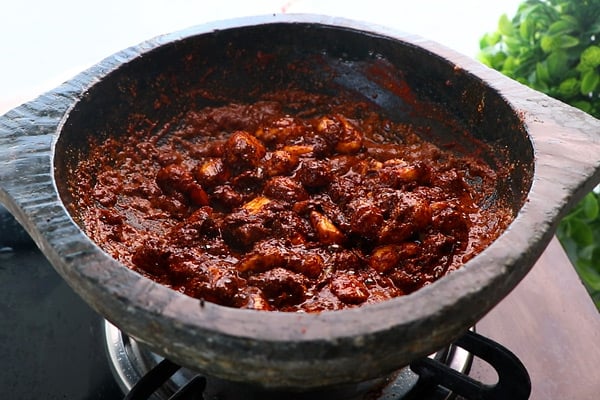
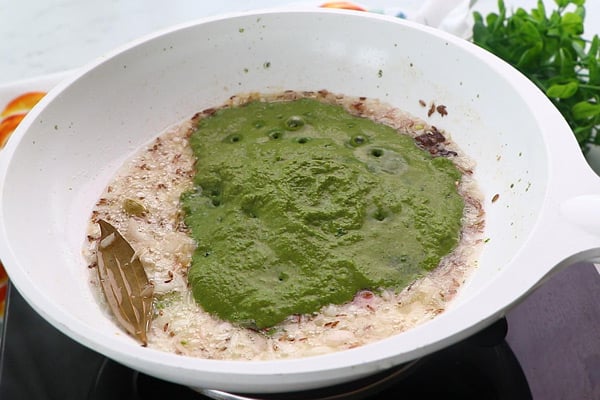
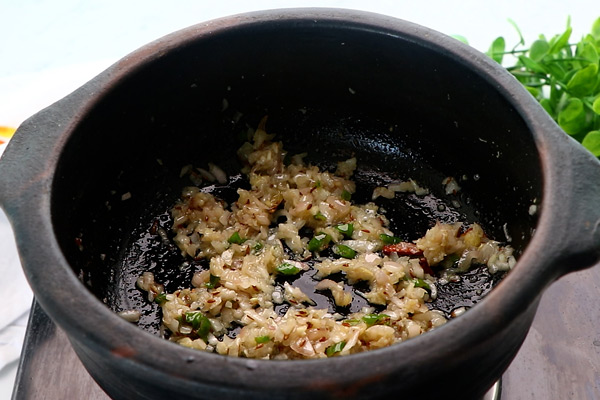
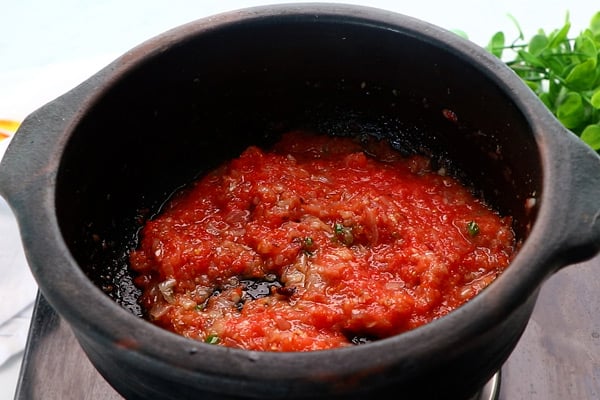
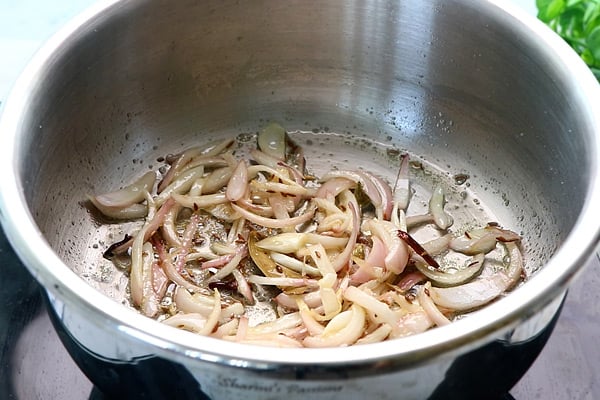
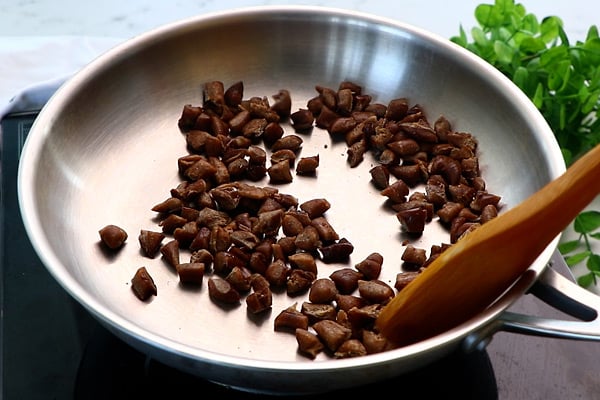
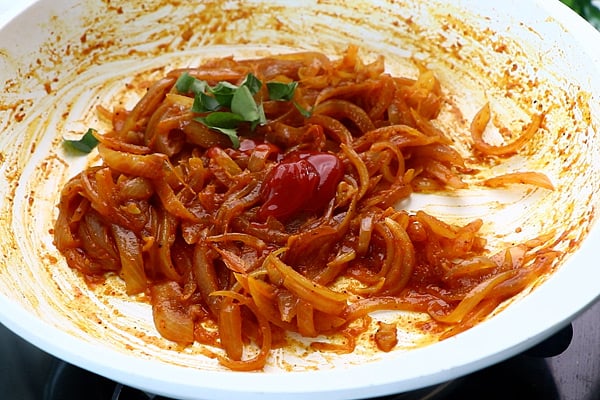
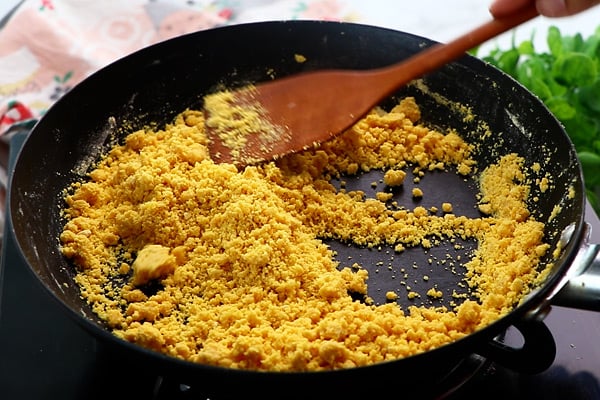
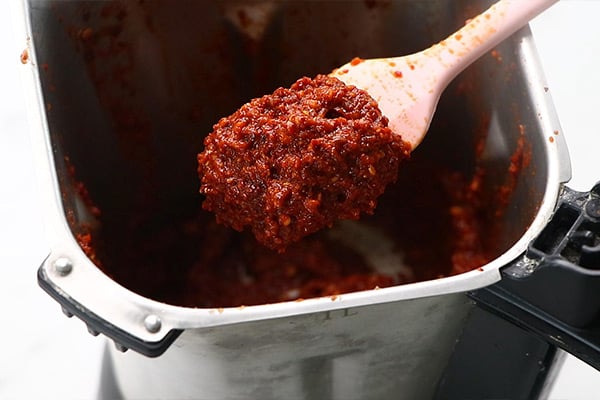
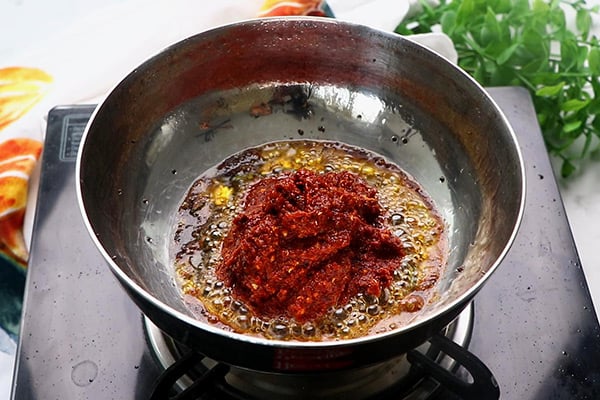
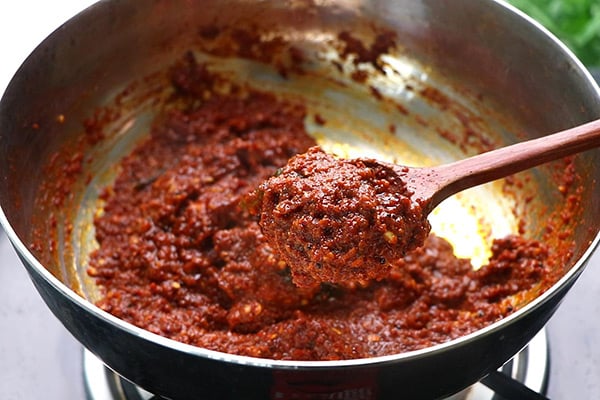
8.Add the prepared chili paste.
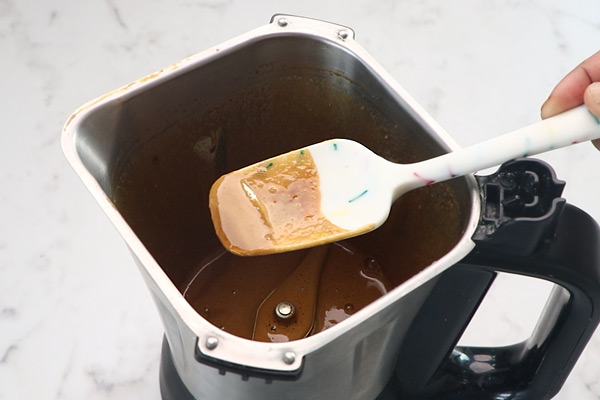
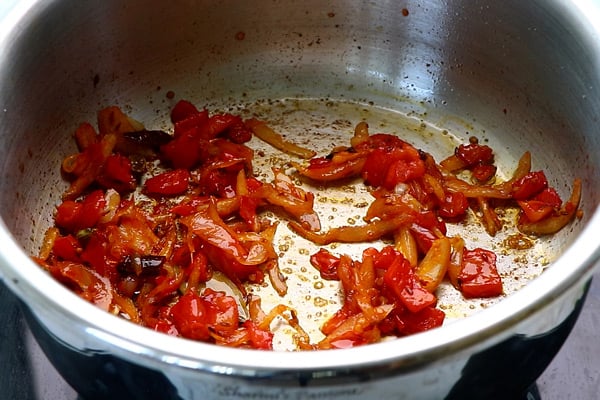
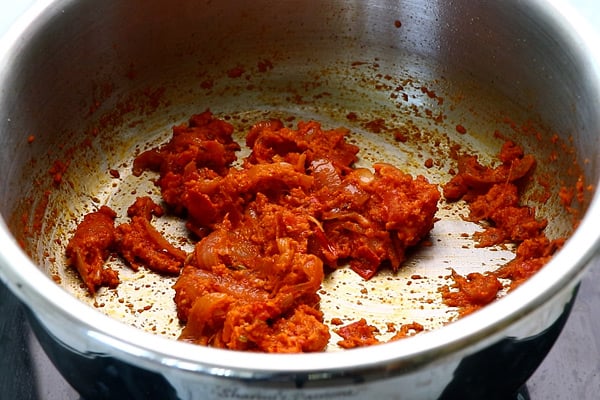
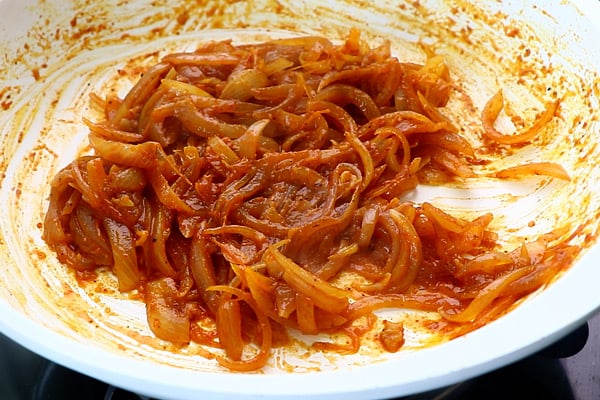
9.Saute well.
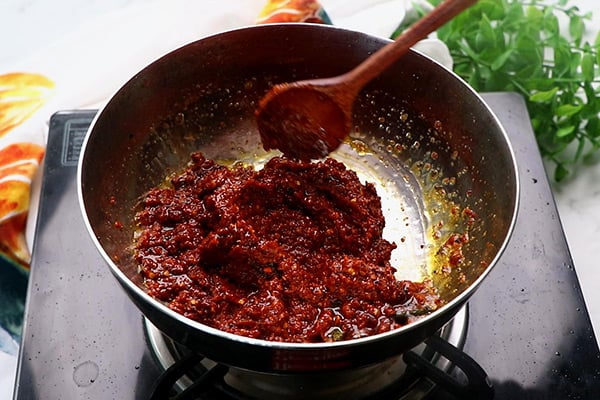
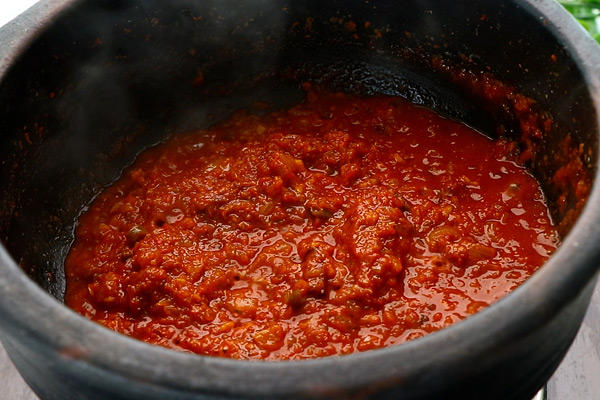
10.Cook for 5-7 minutes or until raw smell leaves.
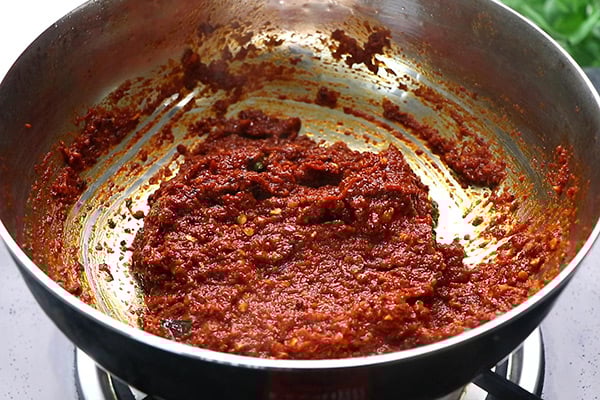
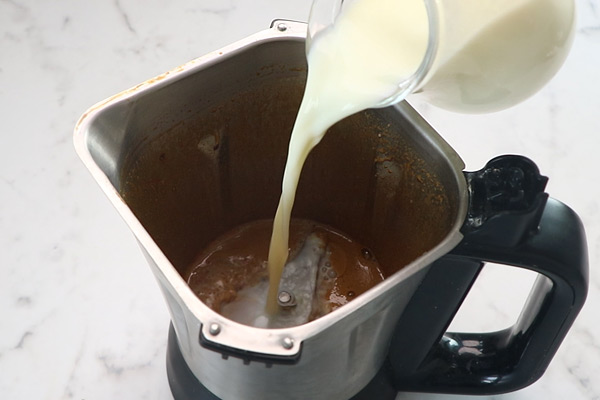
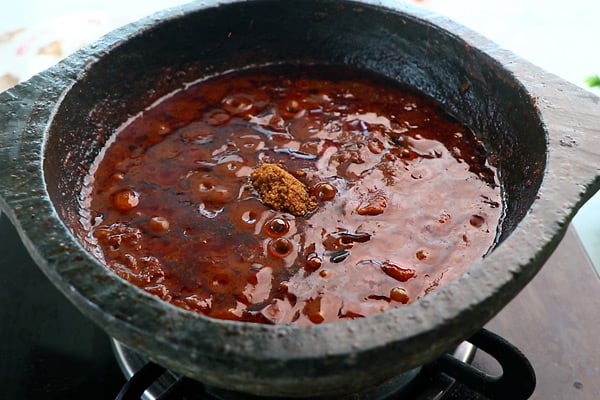
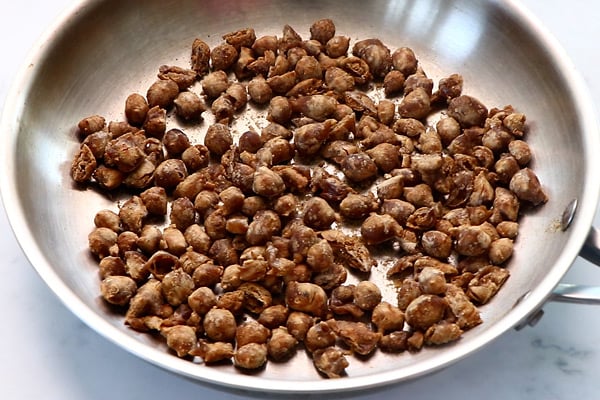
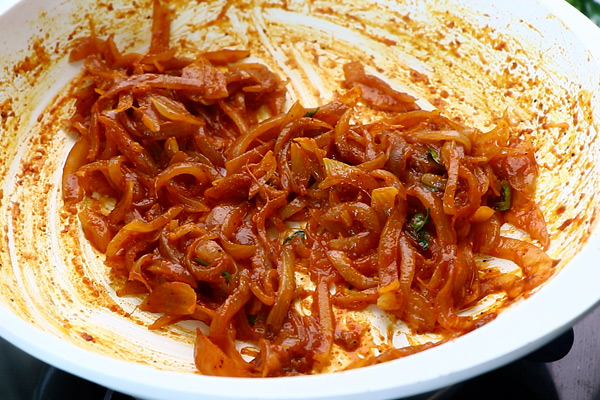
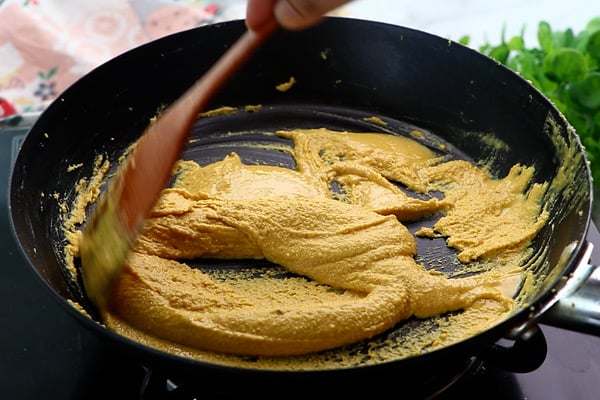
11.Finally add 1 tablespoon sesame oil.
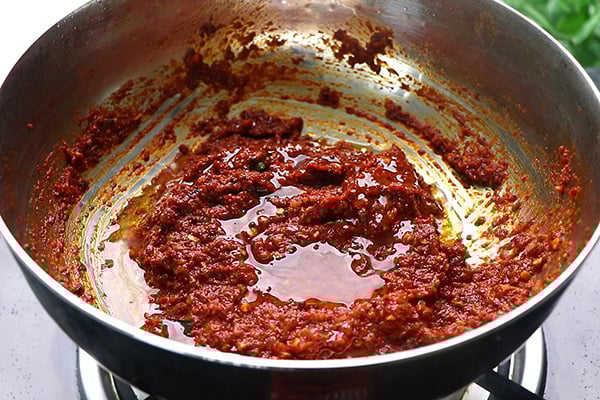
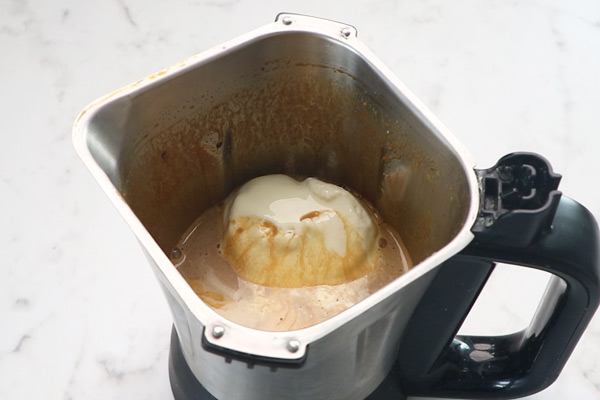
12.Mix it well and switch off.
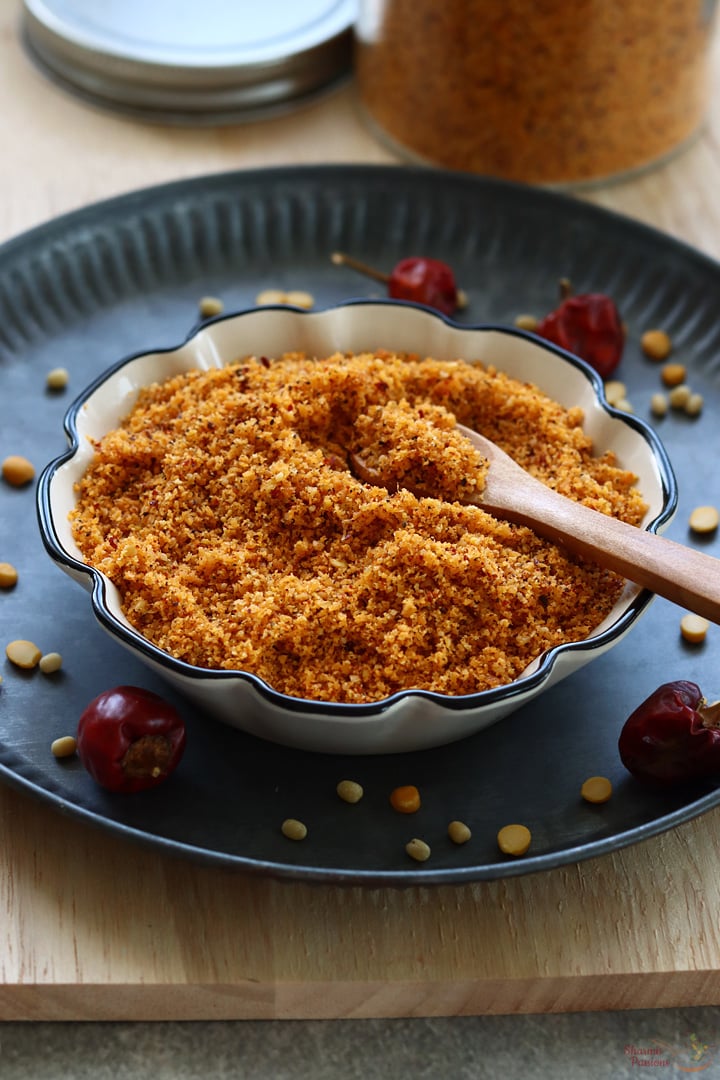
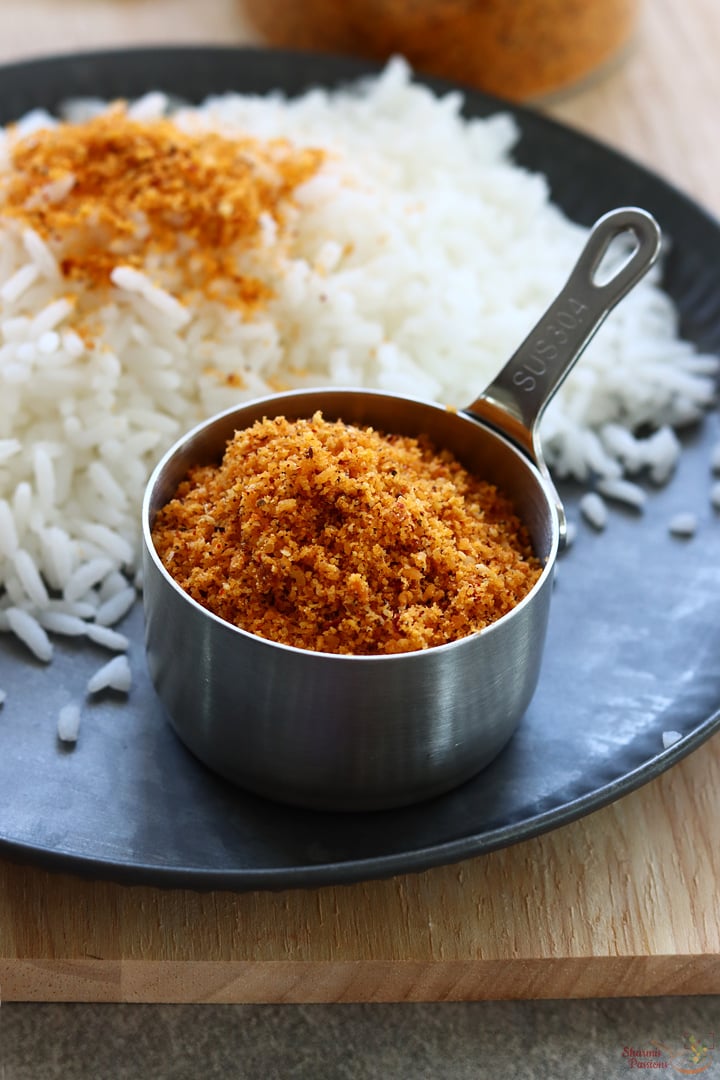
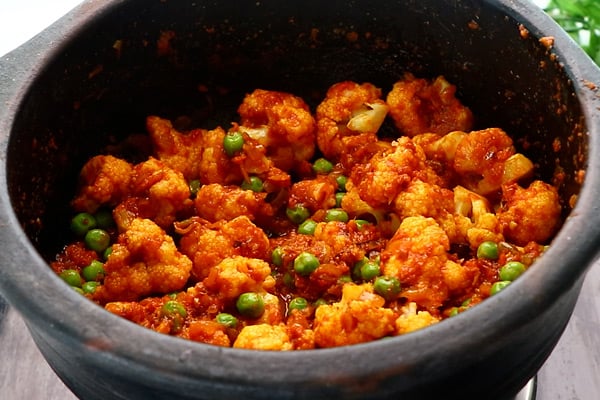
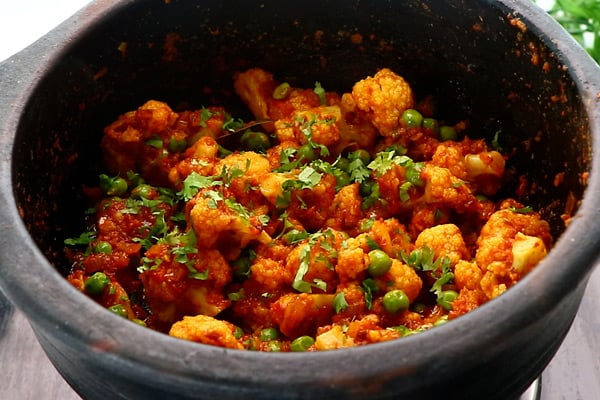
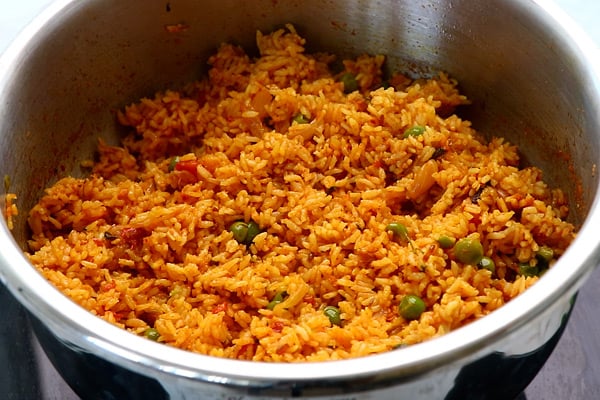
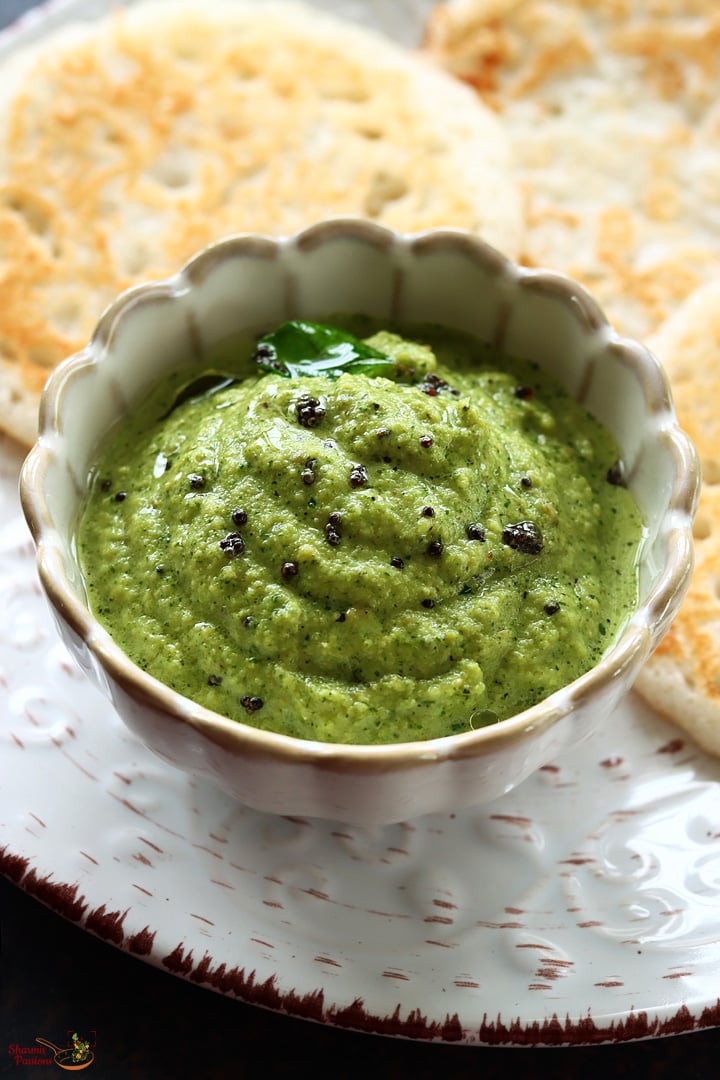
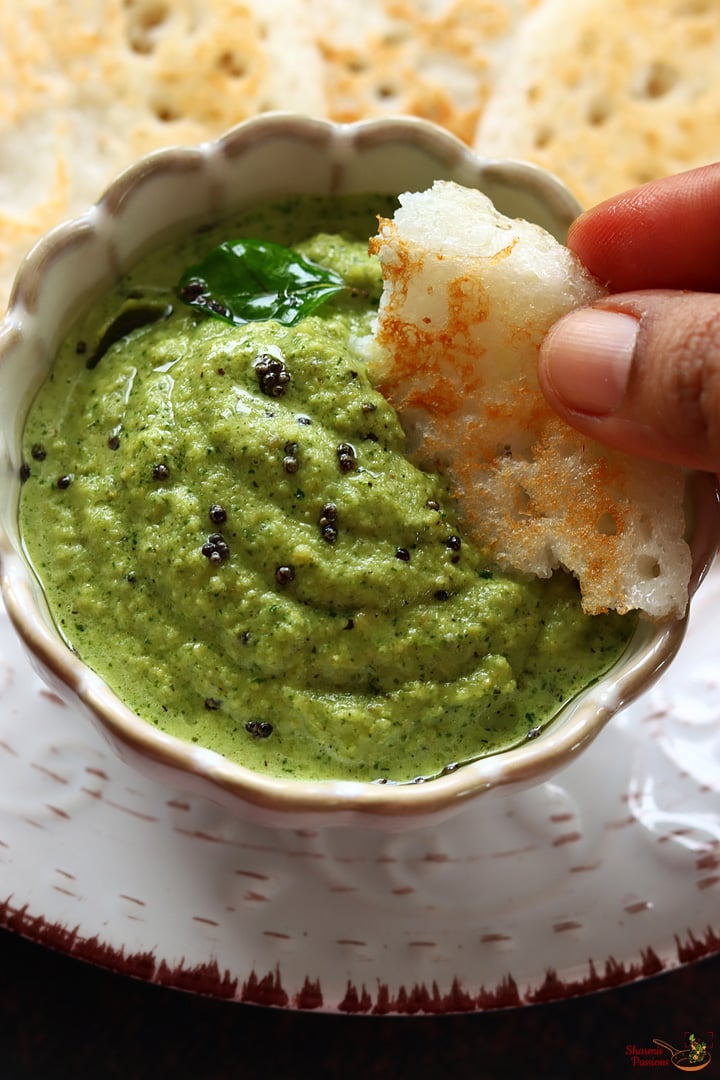
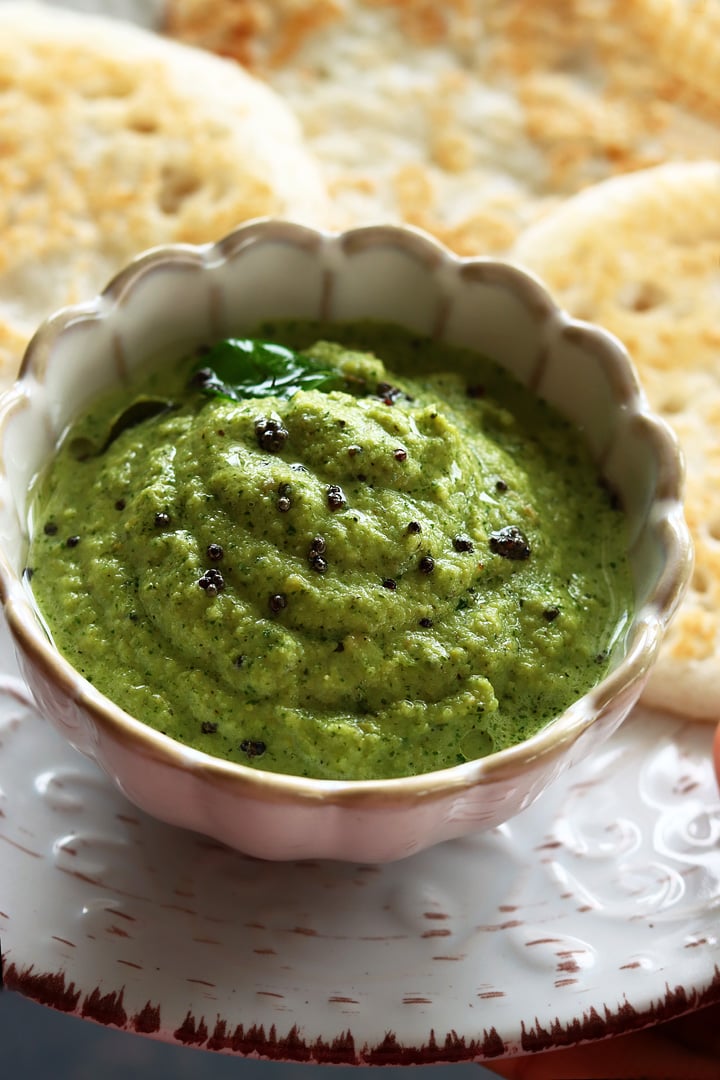
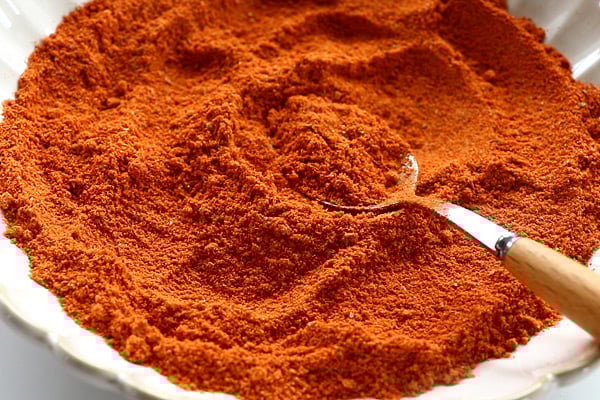
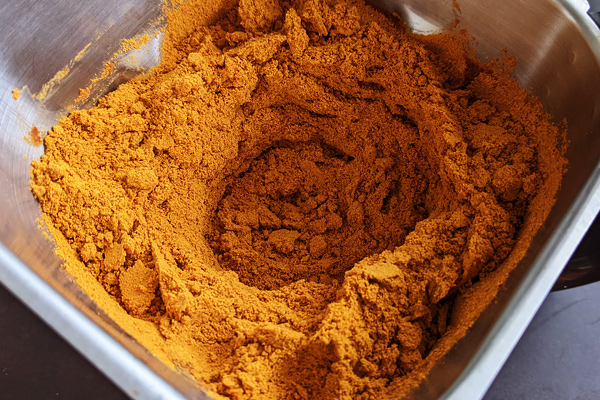
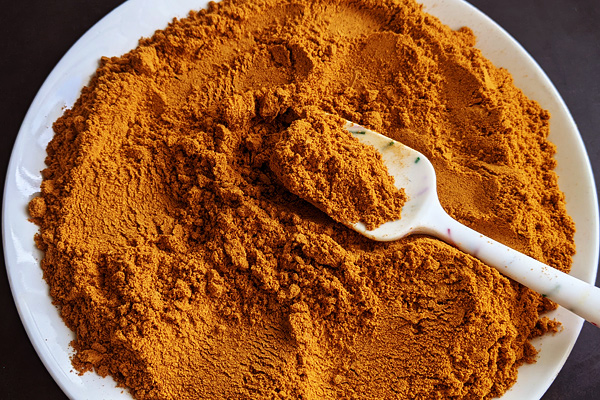
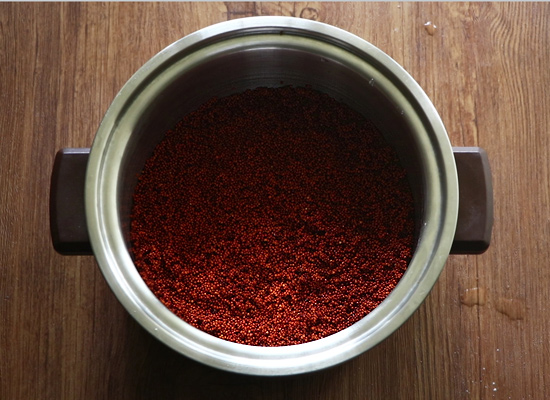
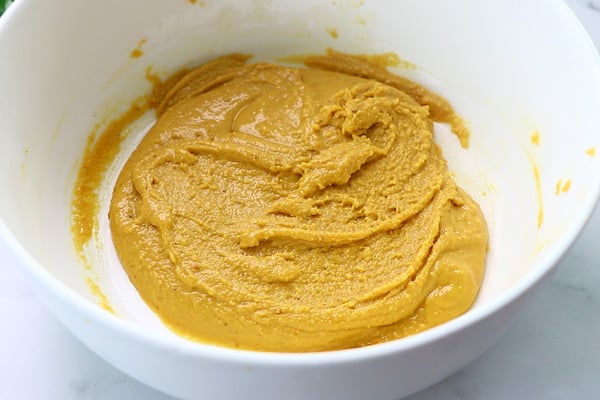
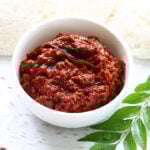
Chettinad style raw milagai chutney is ready.
Expert Tips
- Grind texture - I grind the mixture slightly coarse as it gives better taste and rustic feel. Smooth grinding changes the flavor.
- Oil quantity - I usually add little extra gingelly oil because this chutney tastes better when oil shows up. Try not to reduce it too much.
- Cooking time - I cook till the raw smell goes fully, otherwise the chutney tastes harsh. Let it simmer slowly.
- Chilli mix - Try mixing both regular and Kashmiri chillies as it gives the right color and heat. Only regular chillies make it too spicy.
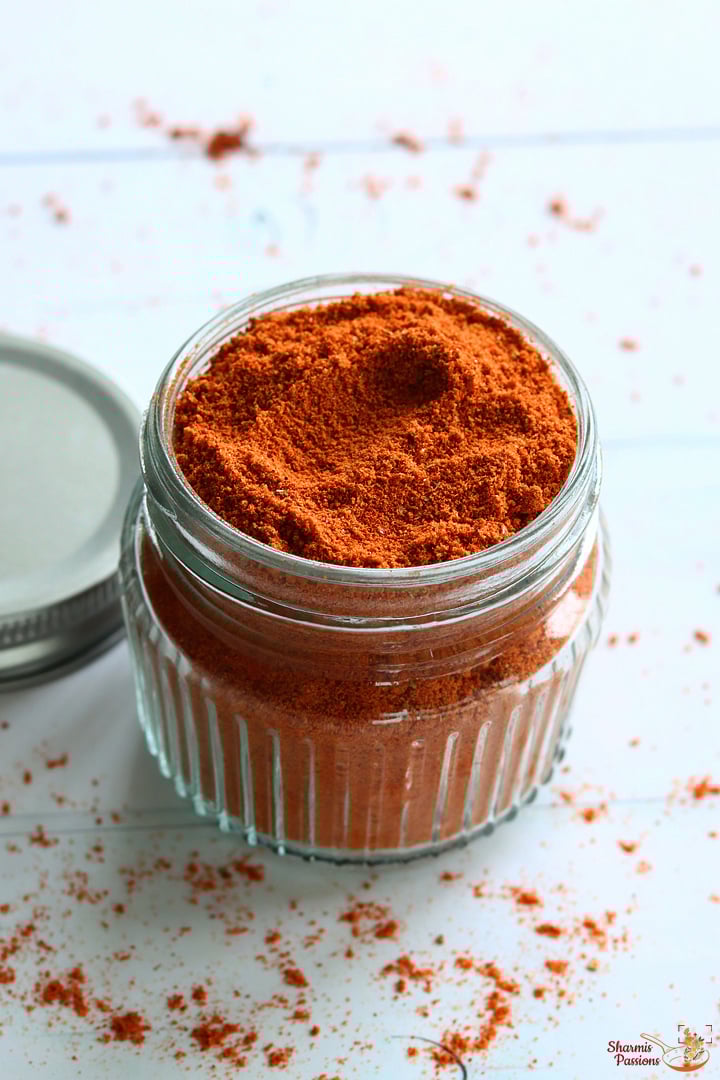
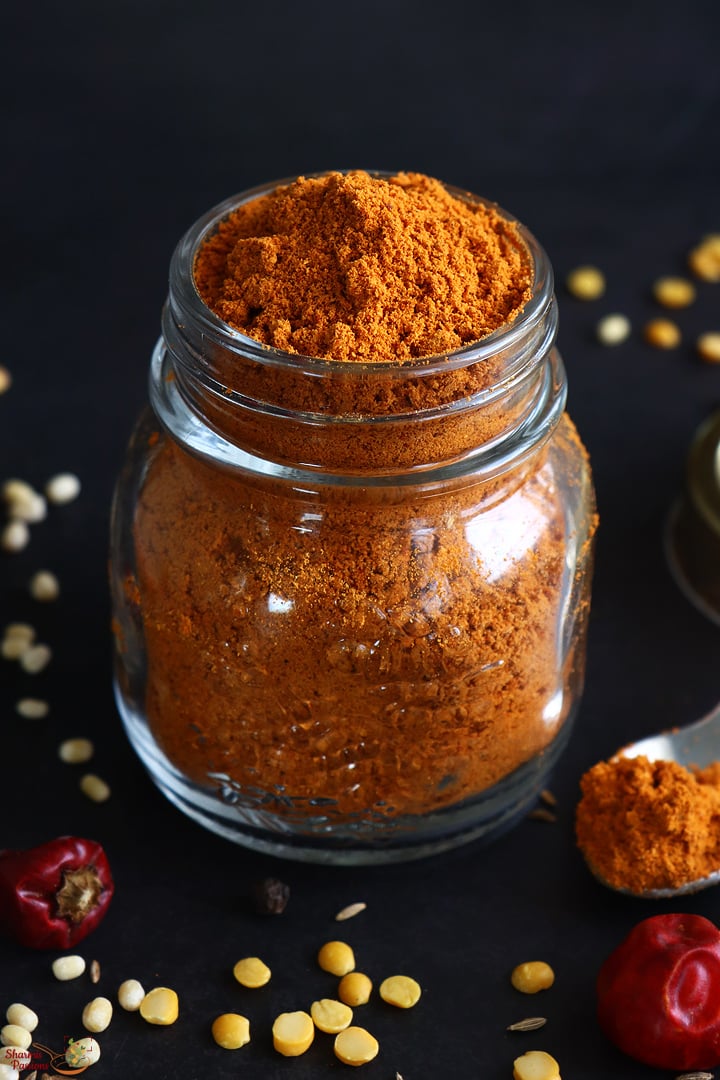
- Storage - Keep the chutney a little thick if you want to store it, thinner consistency doesn't stay fresh for long.
- Balance - Add 1 teaspoon sugar for a tangy taste and balance.
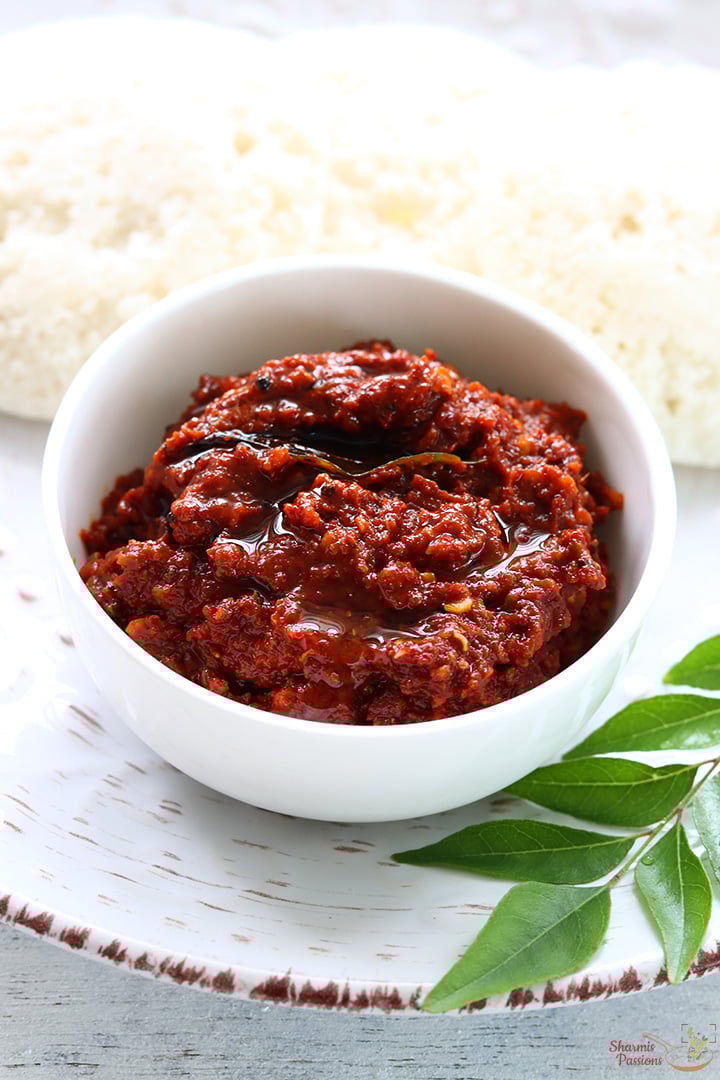
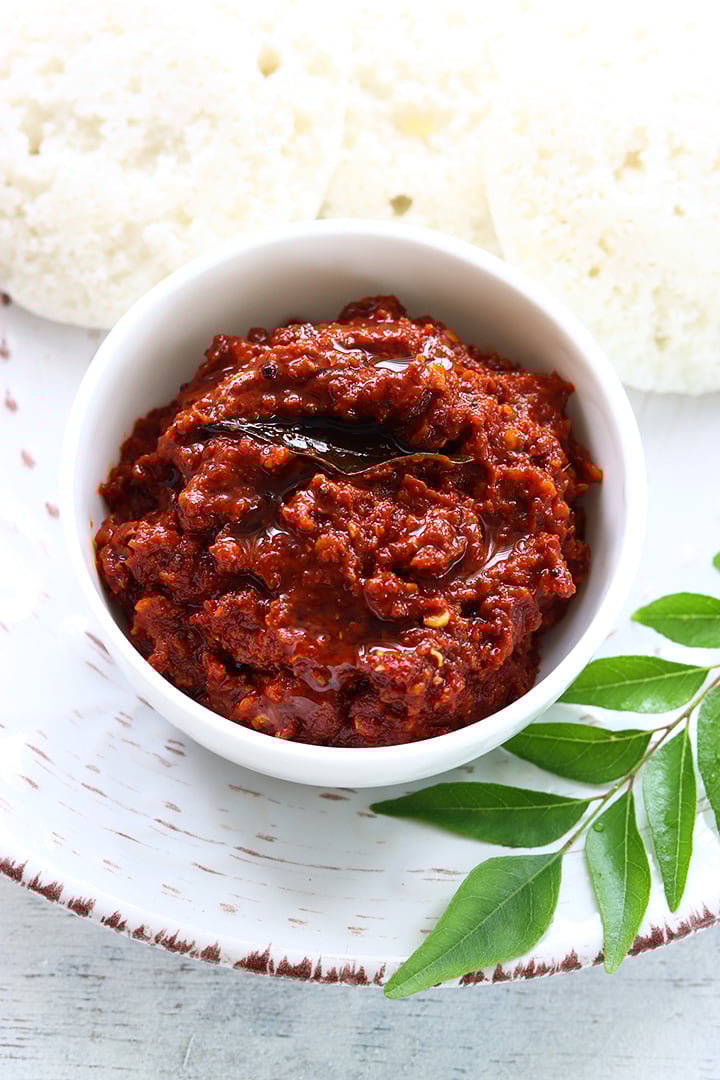
Serving and Storage
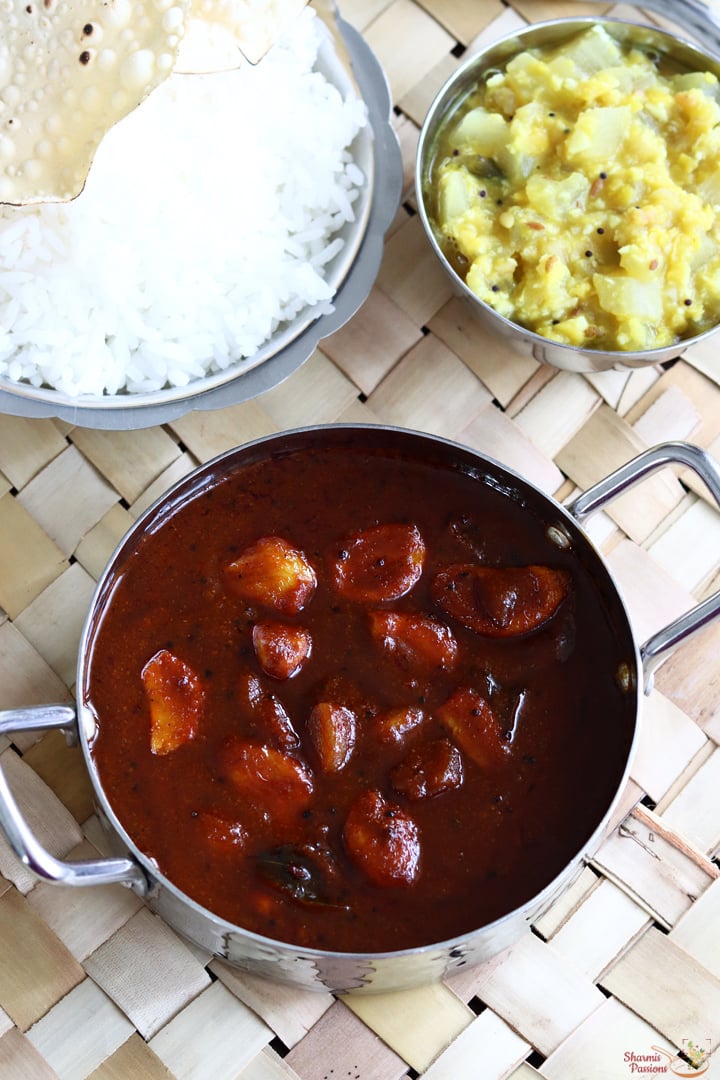
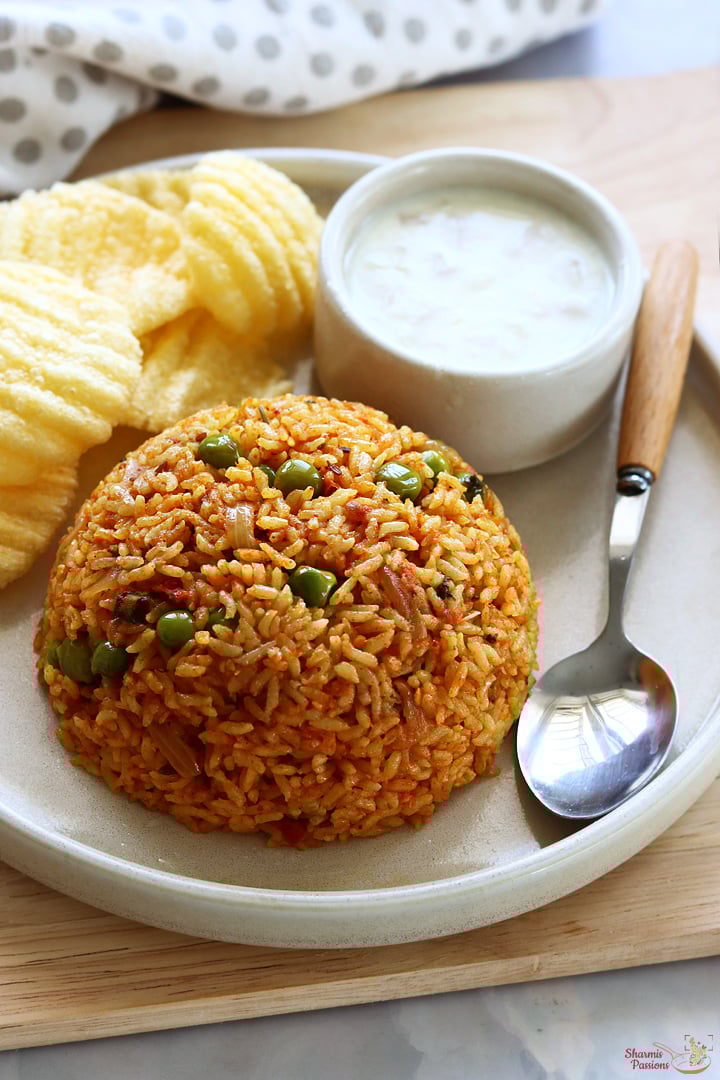
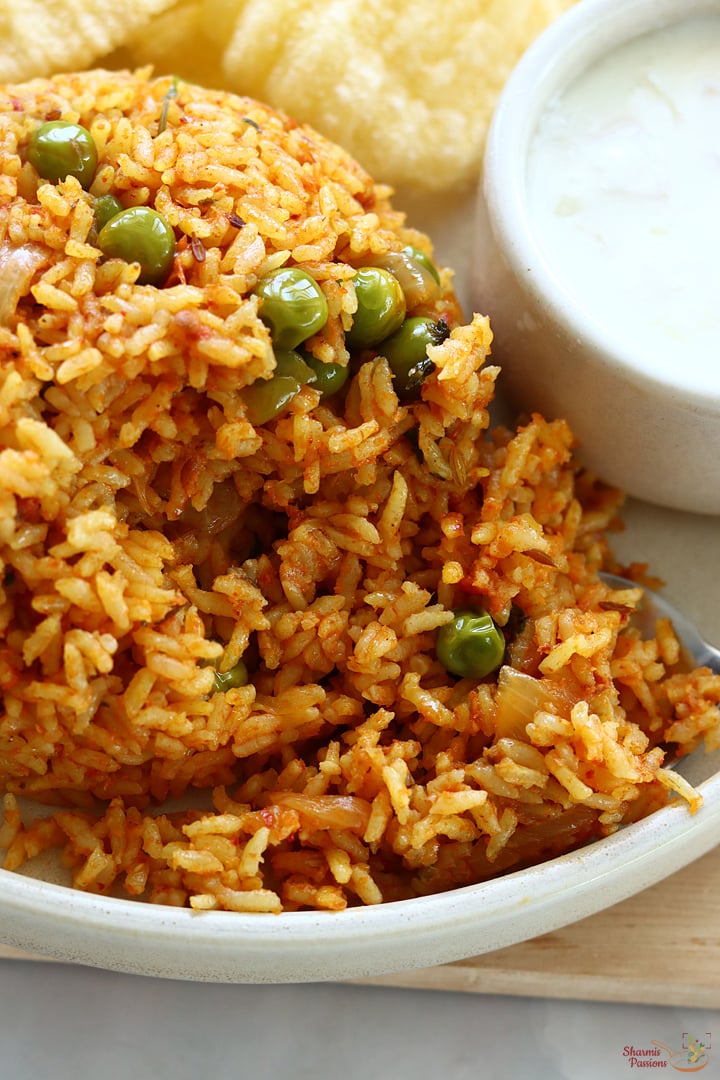
Serve this chutney hot with idli, dosa, uthappam or even kuzhi paniyaram. It also goes nice with curd dosa or even chapathi if you enjoy a spicy side. Store the chutney in a tight jar and keep it in fridge. It stays good for around two days. You can warm it a bit before serving, just don't heat too much otherwise the color turns little dark.
FAQS
1.Can I add tomato?
Yes, you can add 1 tomato while grinding but chutney becomes less spcy. Traditionally tomatoes are not used for this chutney.
2.Can I make with Kashmiri chillies alone?
Yes you can, but then the chutney won't be much spicy, so adjust it how you like.
3.Can I add big onion?
Yes, you can add big onion but small onion adds more taste.
4.Can I make this chutney in advance?
Yes, it keeps well in fridge for two days. Just reheat a little before using.
5.Why sesame oil?
It gives the best flavor for this chutney, and it matches the chili taste so well.
If you have any more questions about this Milagai Chutney Recipe do mail me at sharmispassions@gmail.com. In addition, follow me on Instagram, Facebook, Pinterest ,Youtube and Twitter .
Tried this Milagai Chutney Recipe? Do let me know how you liked it. Also tag us on Instagram @sharmispassions and hash tag it on #sharmispassions.
📖 Recipe Card
Chettinad Milagai Chutney Recipe
Ingredients
- 1 tablespoon sesame oil
- 10 kashmiri red chilies
- 5 red chilies
- 15 small onion
- 10 garlic
- 1 teaspoon tamarind
- rock salt to taste
To temper:
- 1 tablespoon sesame oil
- 1 teaspoon mustard seeds
- few curry leaves
Instructions
- To a mixer jar add 10 kashmiri red chilies along with 5 regular red chilies.
- Add 15 small onion.
- Add 10 garlic cloves.
- Add rock salt to taste.
- Add 1 teaspoon tamarind.
- Add little water and grind it slightly coarse.
- Heat 1 tablespoon sesame oil - add 1 teaspoon mustard seeds let it splutter then add few curry leaves, let it splutter.
- Add the prepared chili paste.
- Saute well.
- Cook for 5-7 minutes or until raw smell leaves.
- Finally add 1 tablespoon sesame oil.
- Mix it well and switch off.
- Chettinad style raw milagai chutney is ready.
Video
Notes
- Grind texture - I grind the mixture slightly coarse as it gives better taste and rustic feel. Smooth grinding changes the flavor.
- Oil quantity - I usually add little extra gingelly oil because this chutney tastes better when oil shows up. Try not to reduce it too much.
- Cooking time - I cook till the raw smell goes fully, otherwise the chutney tastes harsh. Let it simmer slowly.
- Chilli mix - Try mixing both regular and Kashmiri chillies as it gives the right color and heat. Only regular chillies make it too spicy.
- Storage - Keep the chutney a little thick if you want to store it, thinner consistency doesn't stay fresh for long.
- Balance - Add 1 teaspoon sugar for a tangy taste and balance.
Nutrition
The post Chettinad Milagai Chutney Recipe appeared first on Sharmis Passions.