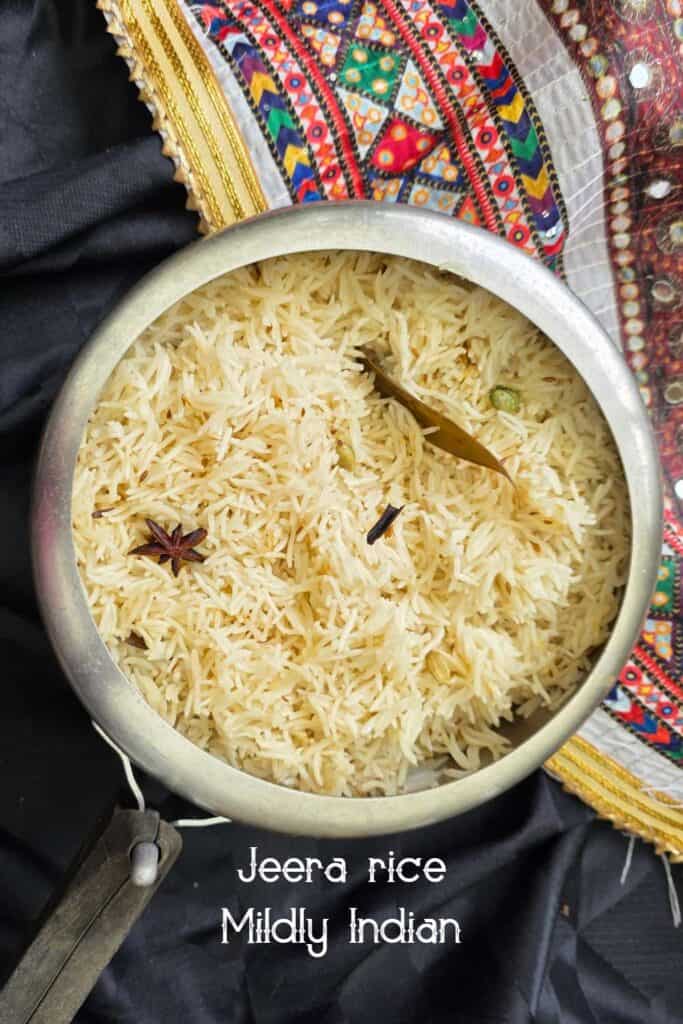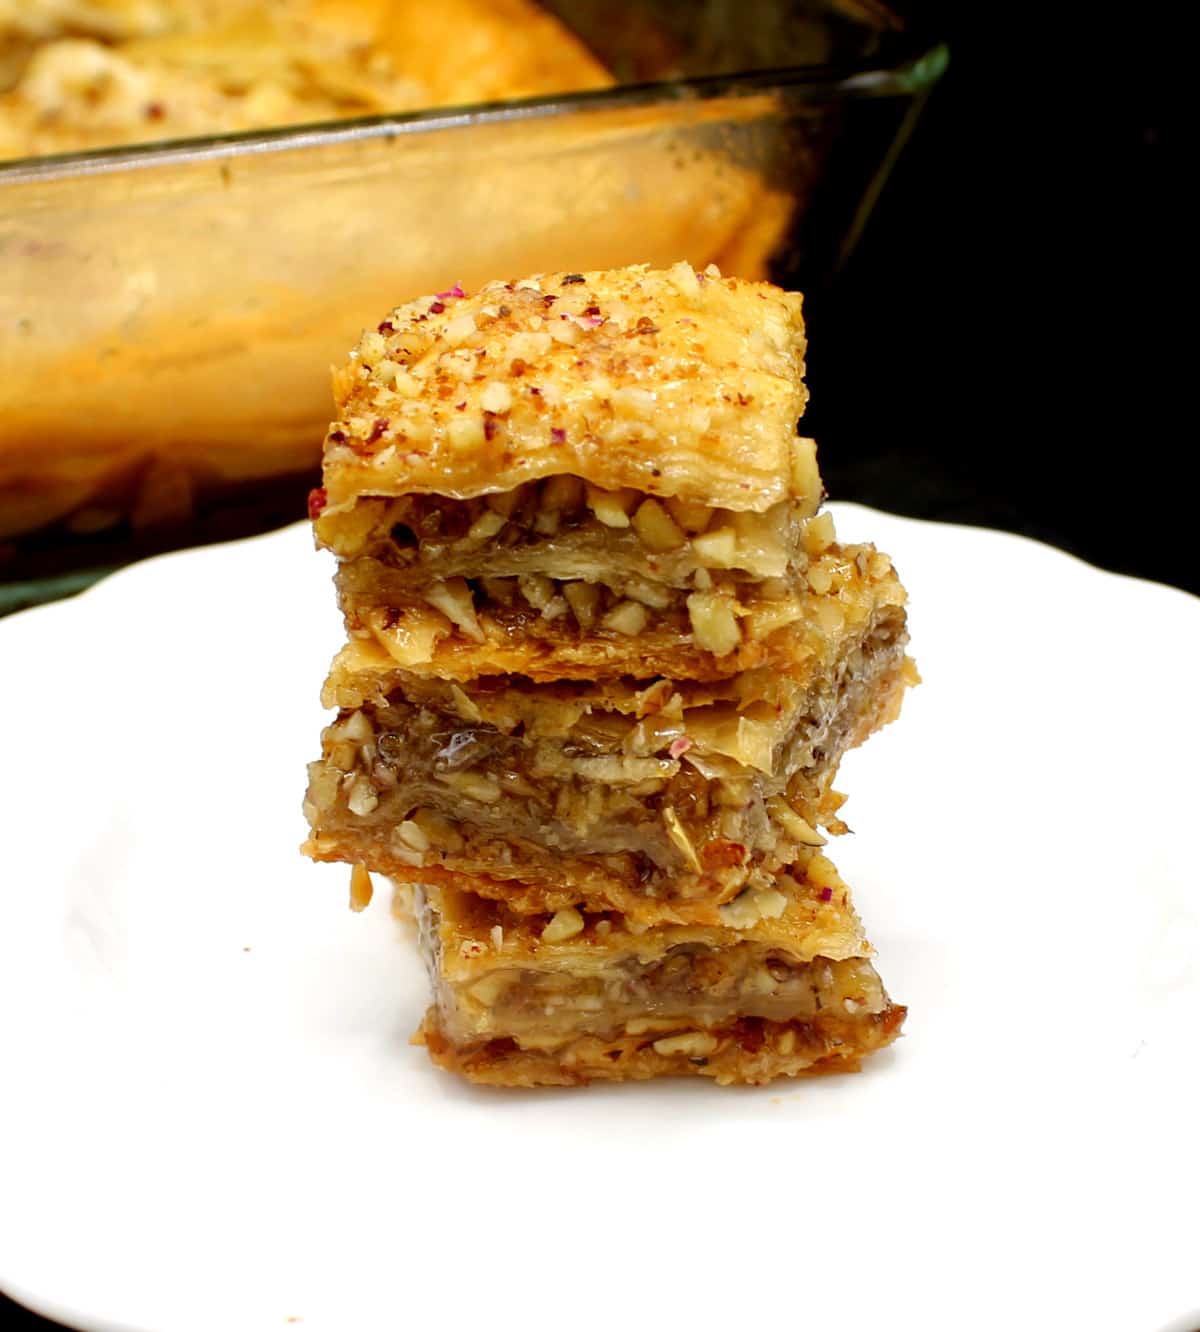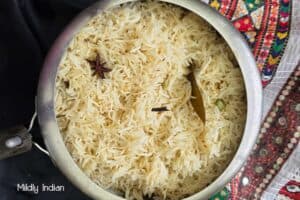
The cumin flavoured, gluten free, delicate basmati rice preparation is one of the basic recipes from Indian kitchen. This jeera rice pairs well with most curries, and is quick and easy to prepare.
The Indian pressure cooker that wakes up most of us is the biggest secret to fastest Indian cooking. May it be rice, beans, dals, curries or snacks, we can proudly say we mastered the art of the pressure cooker.
Cooking rice in the pressure cooker is one of the first tasks we learn in the kitchen. Among these jeera rice comes out perfectly each time. This is the beginning of confidence in the Indian kitchen. Hope you like this basic recipe.
Ingredients for jeera rice
Basmathi rice: Long grain basmathi rice is the key to many north Indian staple recipes. For making jeera rice, aged basmathi is preffered as it keeps shape really well. The aging process strengthens the rice reducing the water content in it and strengthens the starch. I prefer to use the basmathi that is aged two years or more.
Oils and fats: ghee is the fat that makes this recipe so fragrant. You can any brand you choose. You can also use an oil of choice to make this recipe, not much changes need. I have made this recipe with plant based butter too and they come out well.
Spices and Seasoning: the main spice used to flavour the recipe is cumin seeds (jeera). This is the small seeds and should not be confused with caraway seeds (shahi jeera) or fennel seeds (saunf). Also, cumin powder is not a substitute.
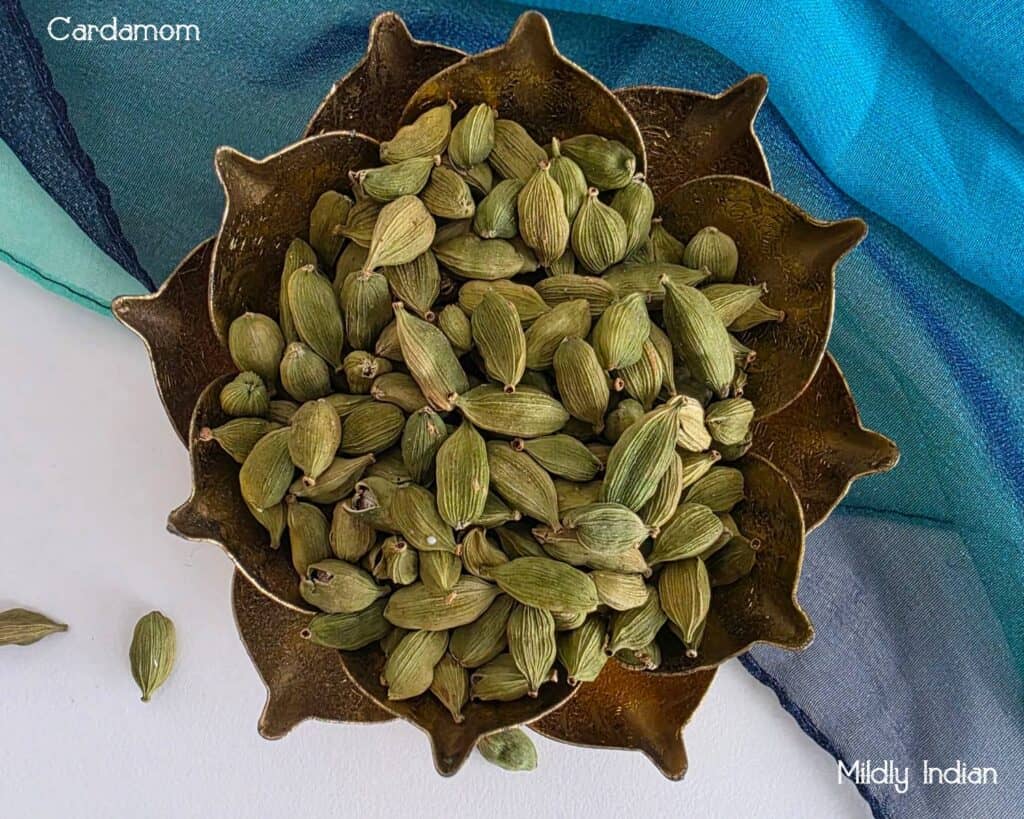
Other than this you will need a cinnamon stick a bayleaf, 4 to 5 green cardamom and a star anise to make tjis recipe. These are not the overpowering spices but the whole spices that add a lot of fragarnce to the recipe in the background.
Salt: is another major ingredient you need for the seasoning. Not so specific, anytype of cooking salt will do.
At times, I do pop in a whole Serrano chilli on top of the rice, this add a chilli fragrance without any heat to the recipe.
Let’s make jeera rice
Jeera rice is that recipe many of us make effortlessly and over a period of time acquire the small tips that make it better. Though a basic recipe it is important to follow some steps to get the perfect non-sticky fluffy rice.
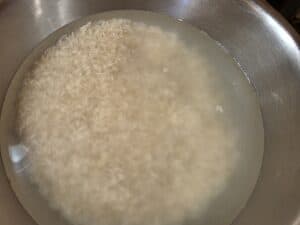
- Washing the rice and soaking: measure the rice and add to the bowl. it is so important to wash the rice multiple times till the water runs clear. Don’t pop it into a sieve and run it under water, it doesn’t help. Rather, rub the rice grain and drain the water each time. It takes about 3 to 4 washes to get the rice run clear. Drain well and set aside.
- Now to soaking, measure the water 1:5 times of the rice. Add to the drained rice and let it sit for 15 minutes. After 15 minutes ( can go up to 30 minutes), drain the rice and save the soaking water. The cooking water is the cooking medium later as you have already measured it out.
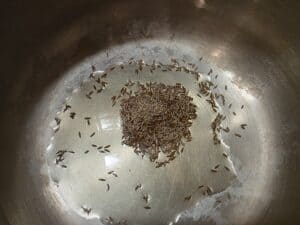
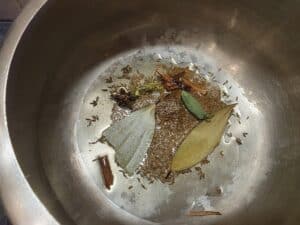
- Saute the spices add ghee to the instantpot. Saute them on low heat till they are aromatic and slightly change in colour. The ghee is now flavored with the volatile oils of the spices.
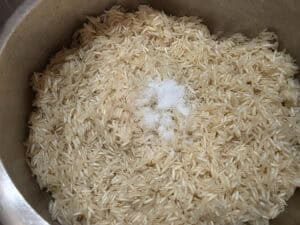
- Frying the rice: Frying the rice on low heat for a a few minutes coats the rice grains with the aromatic ghee. This process also ensures that the rice does not stick to each other when cooking. I prefer to add the salt at this stage so it is evenly distributed.
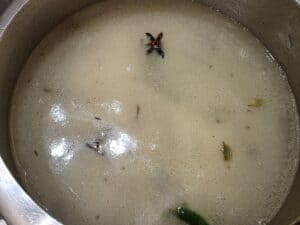
- Cooking the rice: Pour the soaking water that we drained and set aside, back into the rice. This water is enough for the cooking process. Place the lid and pressure cook for 1 whistle ( the Indian pressure cooker measure). Remove from heat. Let the pressure hold and naturally release. This takes about 15 minutes off the heat.
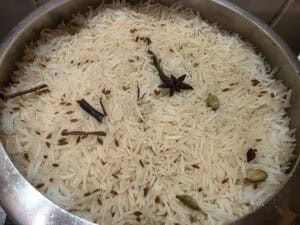
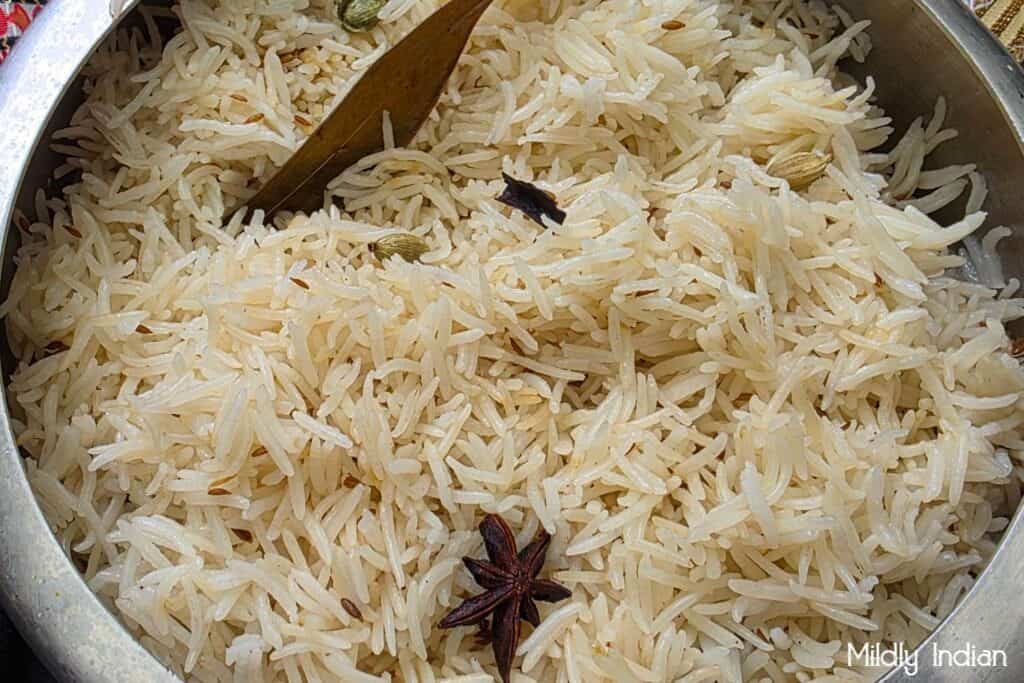
- Fluff and garnish: When the pressure is naturally released, use a fork and fluff the rice gently. Be careful as the steam is still hot. Once this is done, the jeera pulao is ready to be served.
Can I make this recipe in the instant pot or rice cooker?
The jeera rice recipe works perfectly for the instant pot too. You can saute the whole spices initially and then cook on rice mode to get the perfect fluffiness. The key point is to ensure that you have an exact rice to water ratio of 1:1.5
For the rice cooker sauce the spices first and then add the rice and water. You will get a very similar result to the pressure cooker, about the same time too. The rice to water ratio for the rice cooker is 1: 2
Should I soak the rice?
It is good to soak your basmathi rice for 15 minutes before cooking to ensure you are getting fluffy rice. However, this is not essential for the jeera rice to be perfect. It is really important to know that the water that you measured and took is the same that you are using for soaking.
Key points to remember.
- Do not use excess water to soak the rice. The water as per the ratio is plenty.
- Do not drain the soaking water and add fresh water afterwards to cook, this changes the ratio of water for cooking the rice to fluffy separate grains.
Can we make this recipe vegan?
The classic jeera rice is made with ghee. This takes away from being vegan. If you swap the ghee for oil (olive oil, ricebran or any you like) you will make this recipe vegan. The rest of the whole spices and basmathi rice used is vegan friendly.
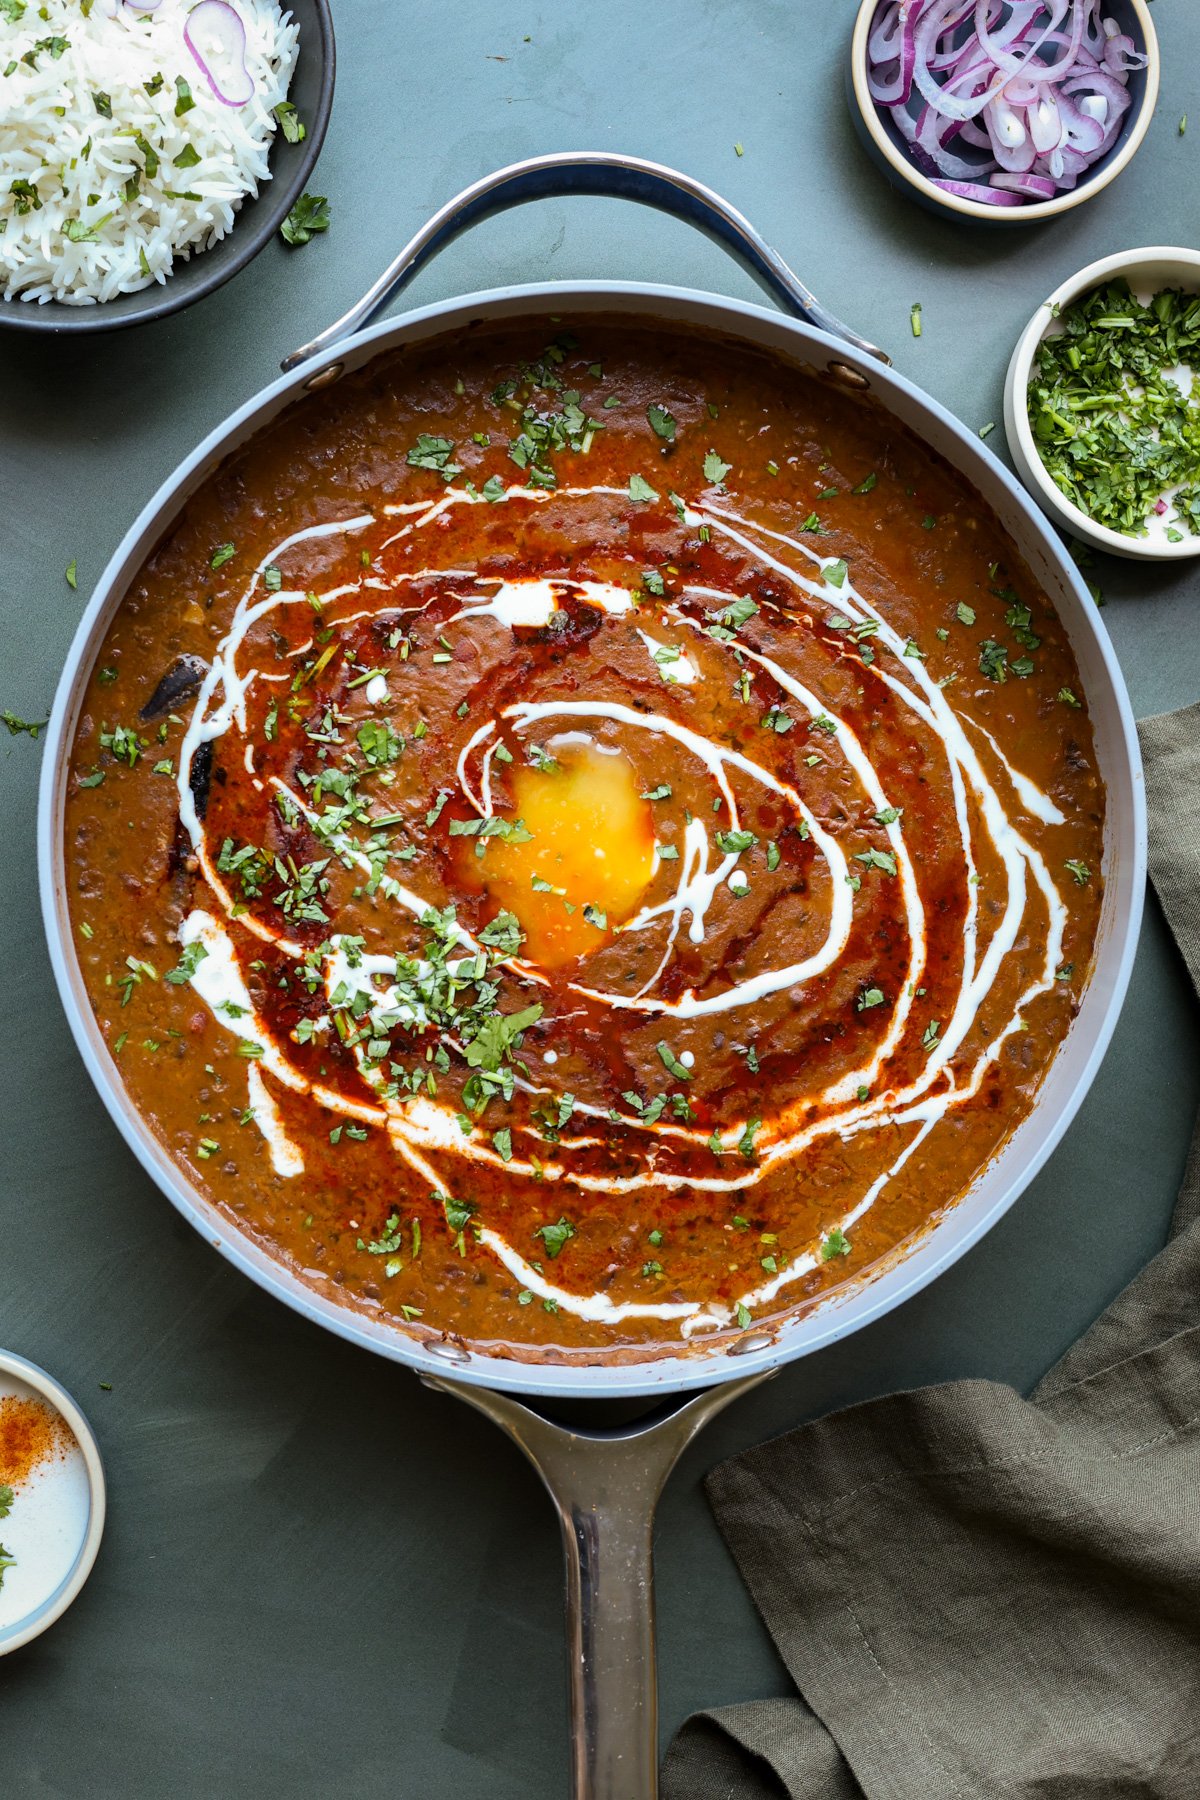
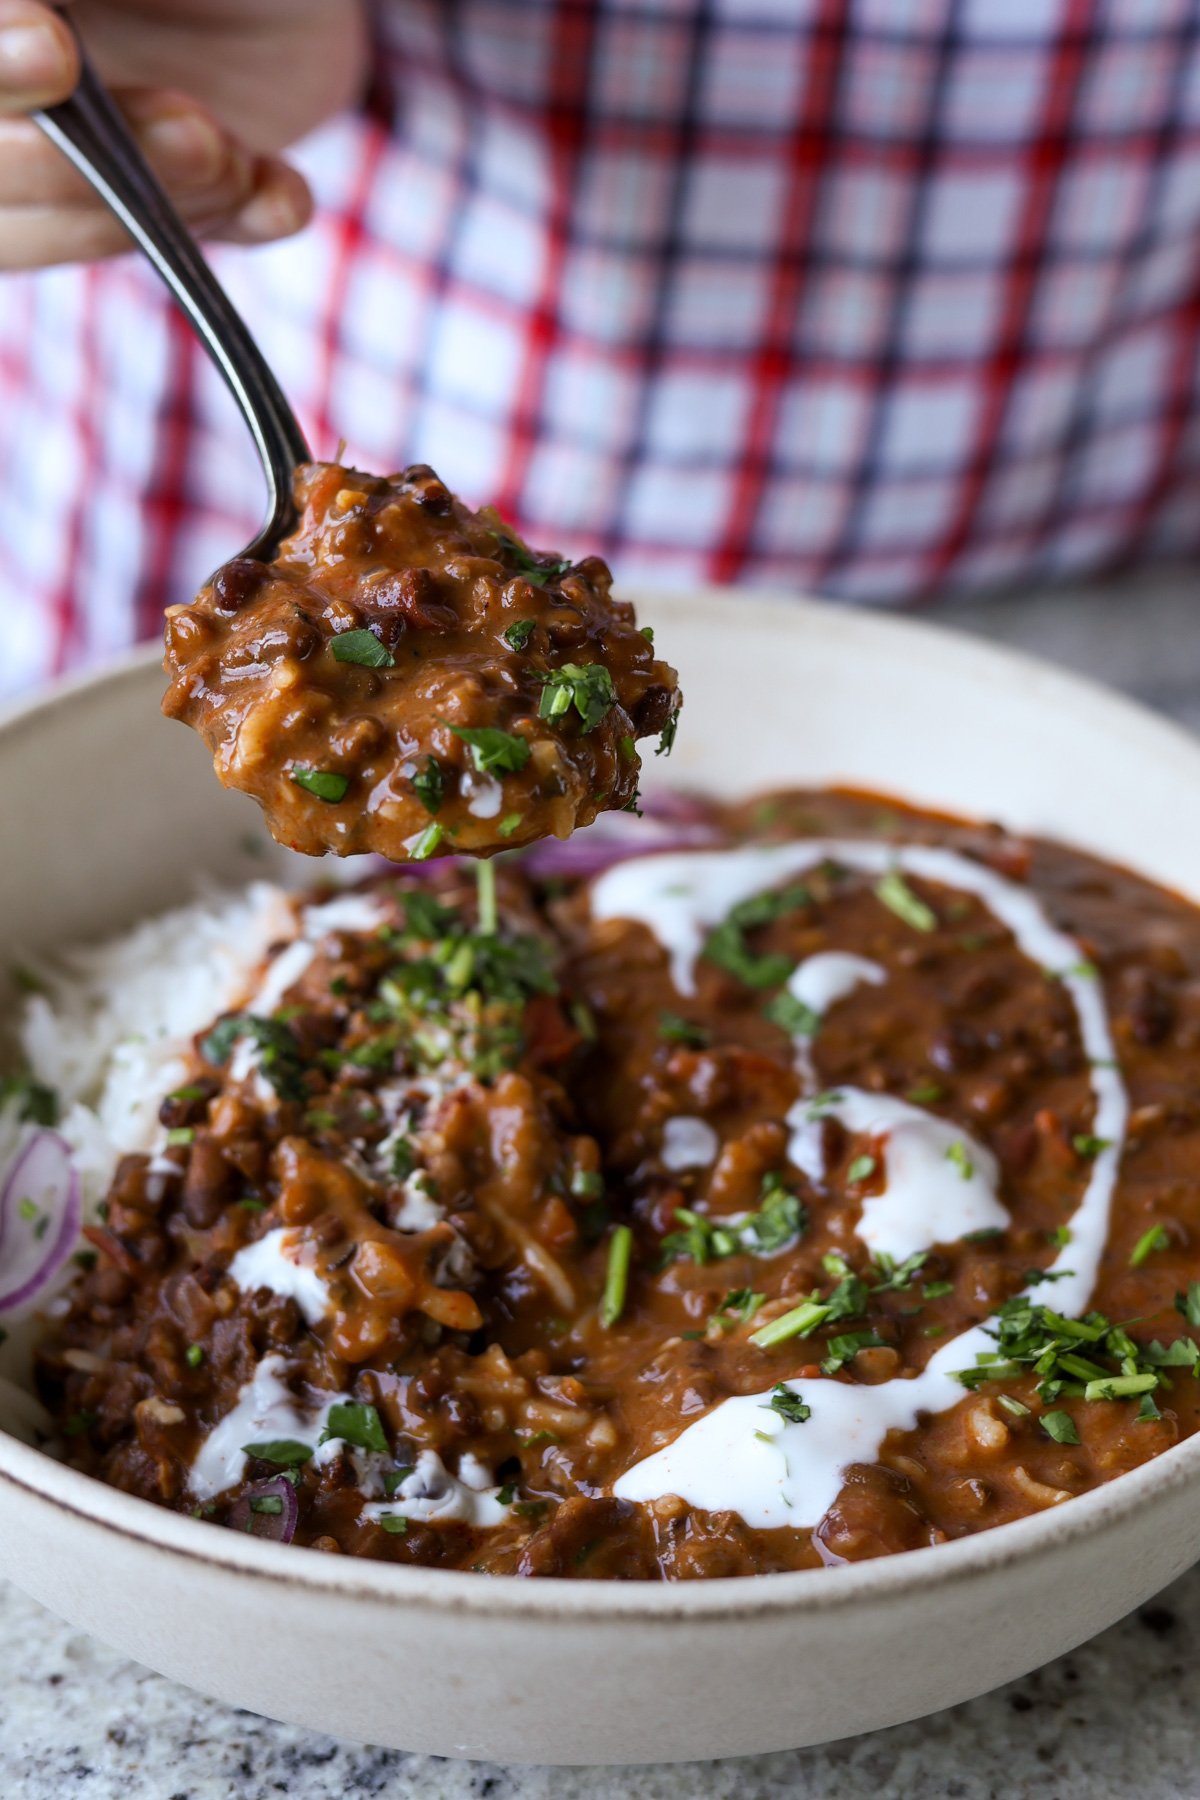
What pairs well with jeera rice?
Most Indian curries pair well with jeera rice.
These are my top favourites to pair with this fluffy rice.
If you are doing a wrap you can certainly add this rice for volume and flavour. We make a lunch wrap with the basic paneer khati roll idea and added jeera rice yo make it a fuller meal.
Mealprep and storage
Jeera rice is one of the recipes I love in mealprep. The rice doesn’t dry easily and it stays good and fluffy in the refrigerator for up to a week. Packed in freezer safe boxes, it stays well for upto 3 months. To reheat, defrost and heat up in a microwave.
Usually I pack jeera rice and dal half and half in the boxes. This when reheated is pretty much like my grab and go box.
Print
Jeera pulao
The cumin flavoured, gluten free, delicate basmati rice preparation is one of the basic recipes from Indian kitchen. This jeera rice pairs well with most curries, and is quick and easy to prepare.
Course Main Dish
Cuisine gluten free, Indian
Prep Time 10 minutes minutes
Cook Time 10 minutes minutes
soaking time for rice 15 minutes minutes
Servings 4 people
Ingredients
to soak the rice
- 1 cup Basmathi rice
- 1.5 cups drinking water
For tempering the ghee
- 3 tbsp ghee or oil
- 2 tsp cumin seeds
- 1 star anise
- 1 large bay leaf
- 2 green cardamom
Instructions
Wash the basmathi rice till the water runs clear.
Soak the rice using the measured 1.5 cups of water for 15 minutes.
After 15 minutes, drain and save the soaking liquid.
On a low heat place the pressure cooker to warm.
Add the ghee, add all the spices and cumin seeds.
Saute till he spices are aromatic.
Add the drained rice, salt and saute for two minutes till the rice is coated with the spices.
Add the water that was drained and kept.
Mix well and pressure cook for one whistle.
Once the pressure release naturally, fluff the rice.
The Jeera pulao is ready to be served.
Stay connected
It is so useful to have some basic recipes that you can pair back and forth with a million curries. We love sharing these ideas with you. Hope you like making them too. When you do make some, please share your comments on how much you loved the recipe or if the recipe needed tweaks.
Stay subcribed and see you in the next post.