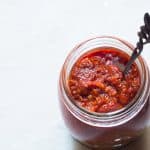
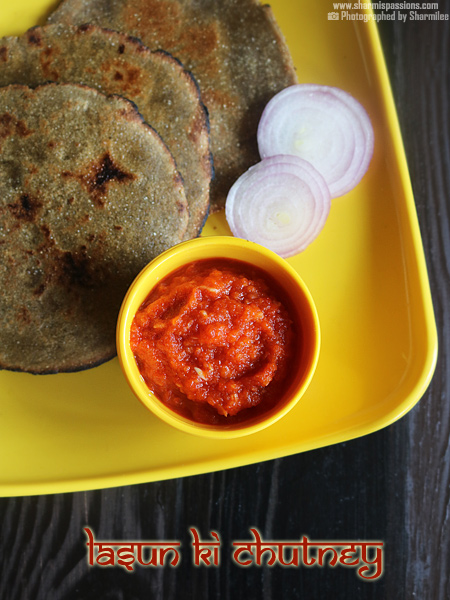
Lehsun ki Chutney Recipe
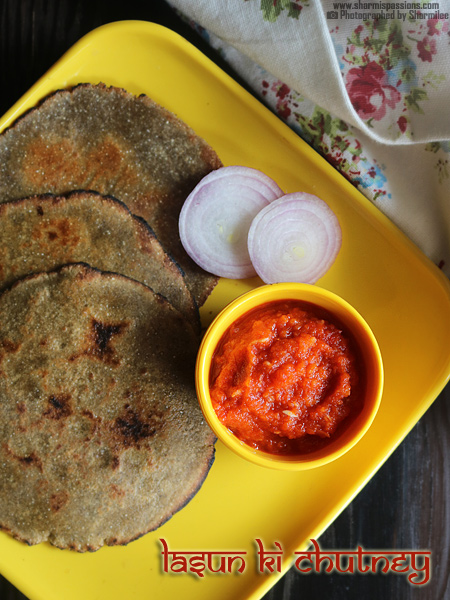
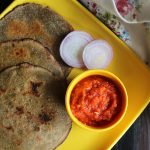
Lehsun Ki Chutney is a spicy garlic flavored dip that goes well with roti, chapati or even snacks. Lehsun Ki Chutney is a Rajasthani cuisine dip for roti, snacks and chaat. It is simple to make and very quick, you can have it ready in minutes. The garlic in this recipe has strong, punch flavor while the chilies give a nice heat. Also lemon juice adds a bit of tang and it balances the flavor.
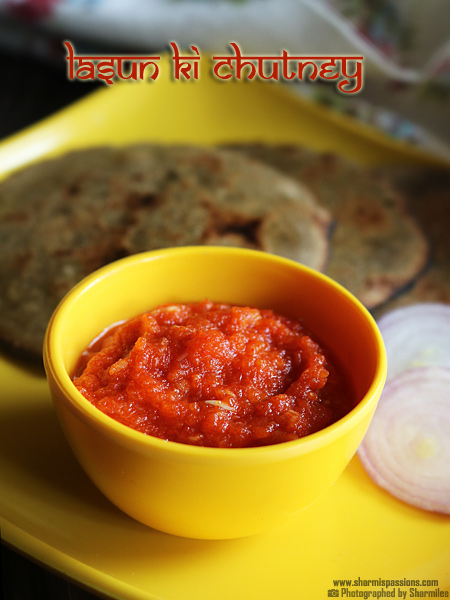
This chutney is mostly used in Rajasthani food, but it works anywhere you need spicy side dish. The red color from Kashmiri chilies makes it looks really inviting. I like how it adds extra flavor without needing anything fancy. It is easy to make and perfect if you want something small to lift up simple meals.
[feast_advanced_jump_to]About Lehsun Ki Chutney
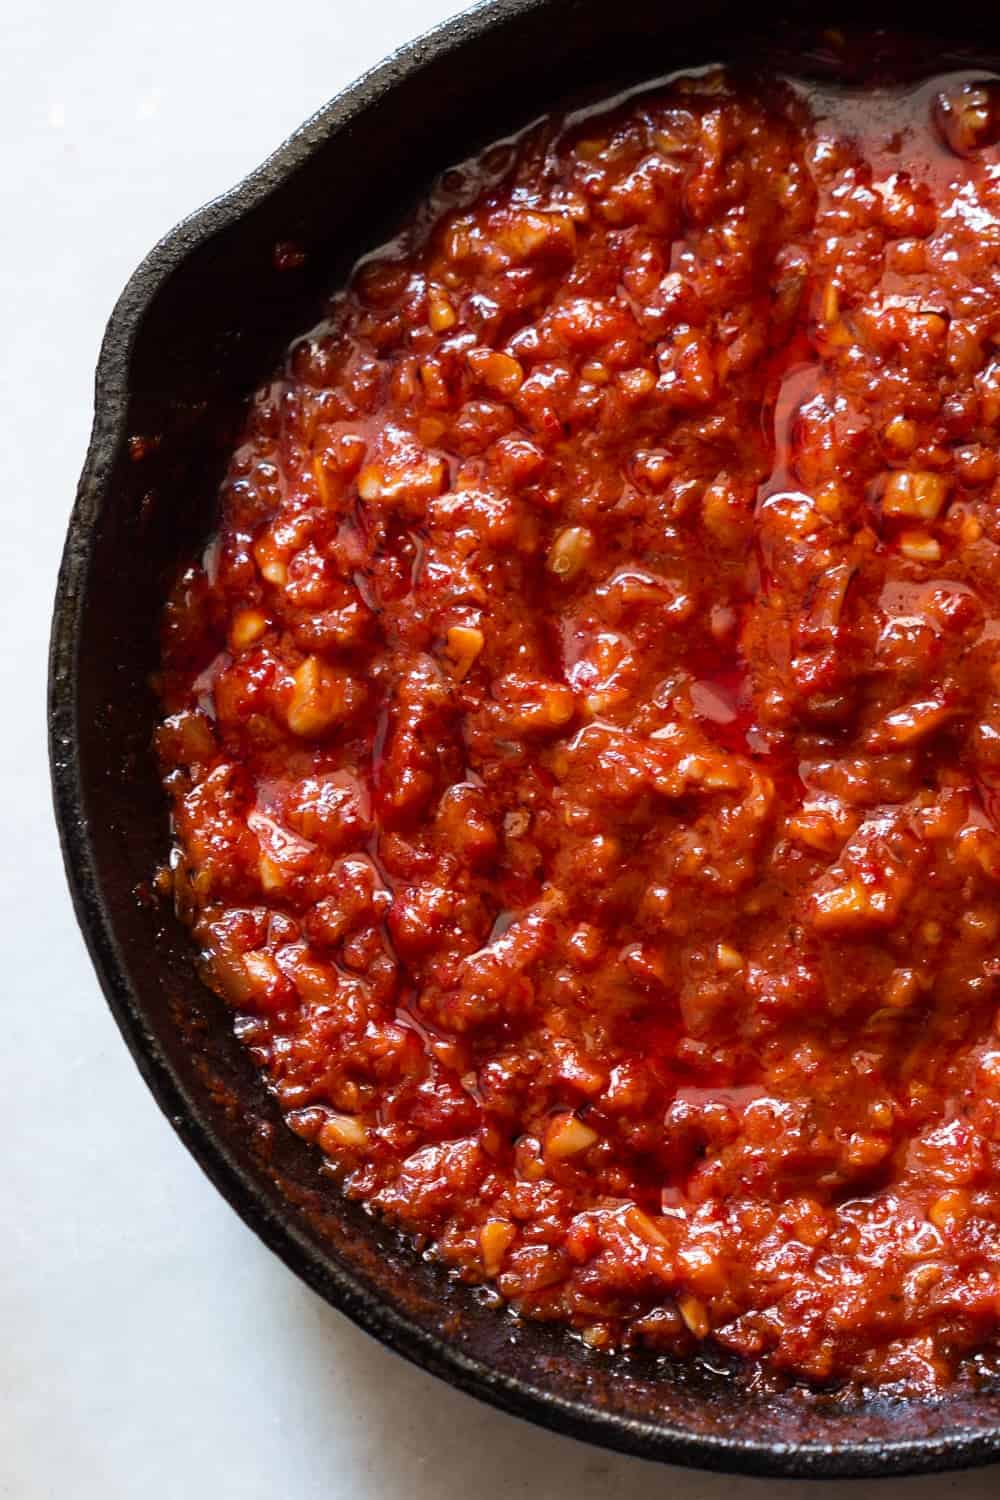
Lehsun Ki Chutney is quite famous in Rajasthan. It's made by grinding garlic together with red chilies, salt and lemon juice. The paste comes out slightly coarse because of garlic. It is spicy, tangy and very aromatic. It stays for a week in fridge so its helpful in busy days.
The texture is soft but a little rough bits of garlic here and there which gives a bite while eating. Flavor is strong, tangy and spicy. Some people add oil or roasted spices, which makes it richer but simple version is also great. This chutney is bold and full of flavors, it really wakes up your taste buds in one go.
This chutney recipe have different variations in many regions. You can just roast the garlic and for mild flavor. You can add some peanuts or sesame seeds to make crunchy bits. I usually make a small batch at home and keep in fridge so I can just scoop it with my roti or snacks. It has spiciness but not overpowering.
I usually make it on weekends for dosa or Idly. It goes so well with warm chapati or bajra roti. I sometimes add a bit of gingelly oil to it. I love garlic chutney so this was a treat for me. You can accompany this chutney with many chats, sandwiches and snacks too.
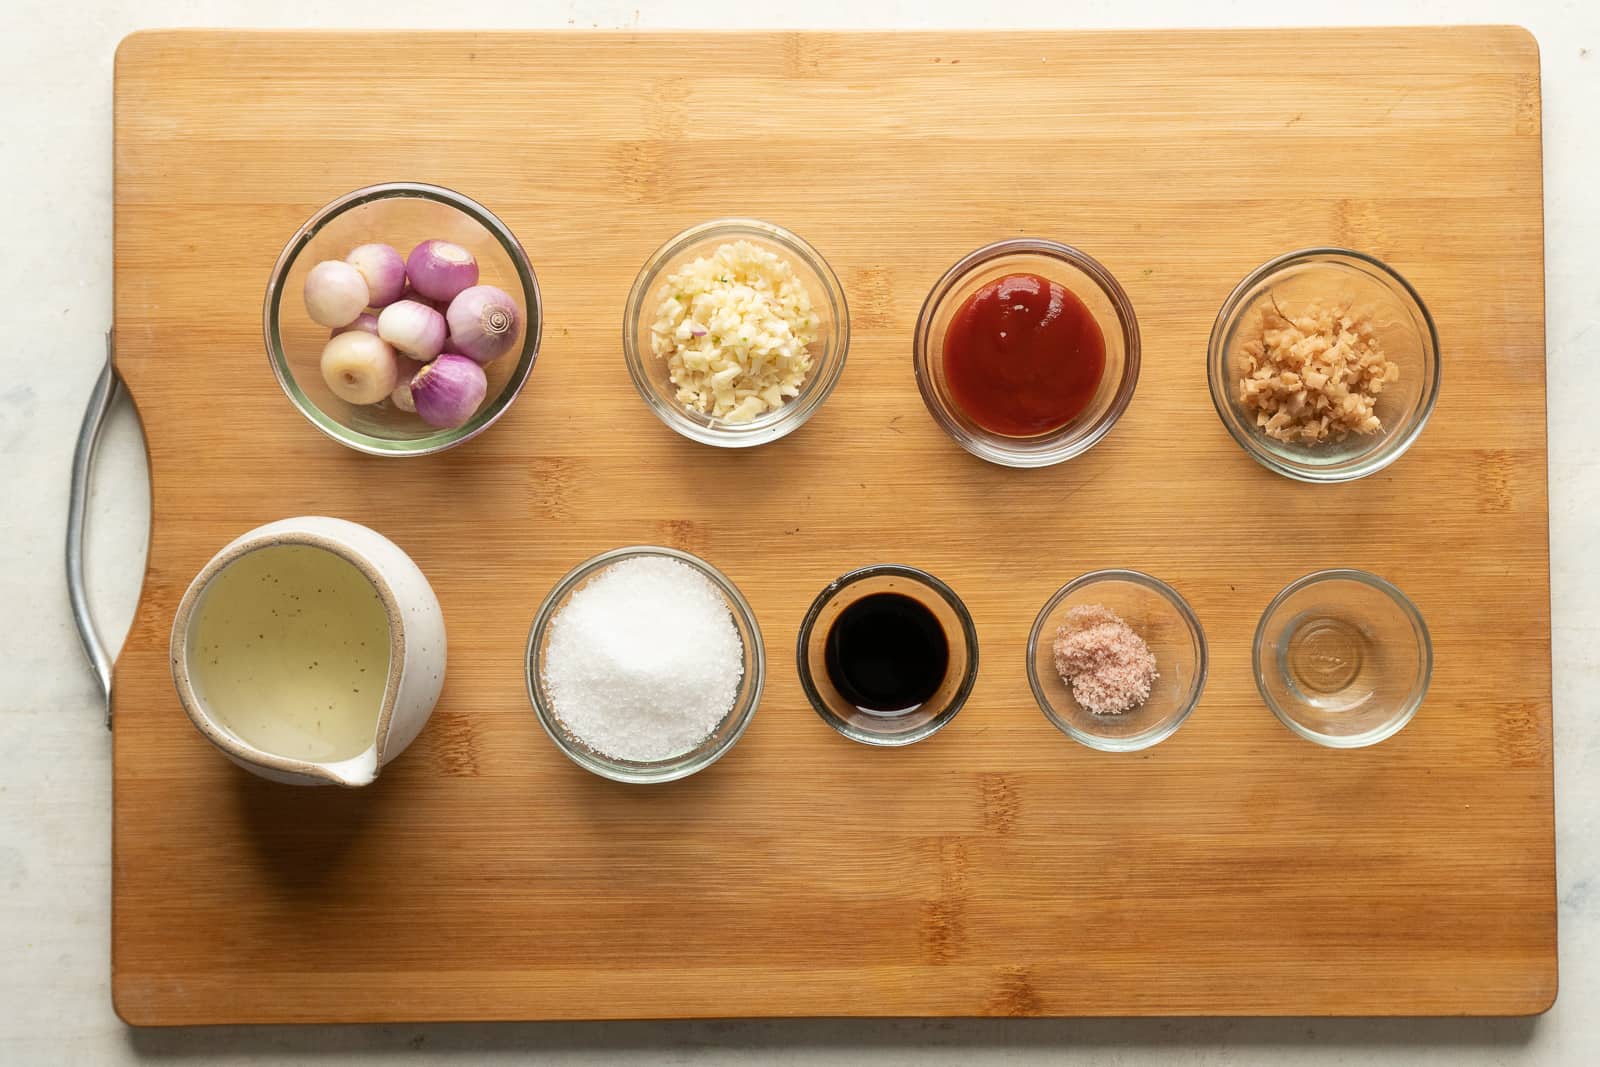
Lehsun Ki Chutney Ingredients
- Garlic - I had used fresh garlic cloves for that strong aroma and bold flavor. You can roast them also if you want the taste to be more mild. This is actually the main ingredient here.
- Kashmiri red chilli powder - I used this for that bright red color and it's also not too spicy. You can also add normal red chilli powder, just reduce it a bit if you don't want it spicier.
- Lemon juice - I just added some to reduce that strong garlic hit. Lime juice will also do fine. It gives a nice tangy to the chutney.
Why This Recipe Works
- This recipe is quick and easy to make, uses very few ingredients.
- It is bold and spicy and adds flavor to simple meals.
- The texture is soft but slightly coarse which makes it rustic and nice.
- You can use it as dip, spread or mix in snacks.
- Garlic is healthy and good for immunity, so it is also good for health.
Similar Recipes
How to make Lehsun ki Chutney Step by Step
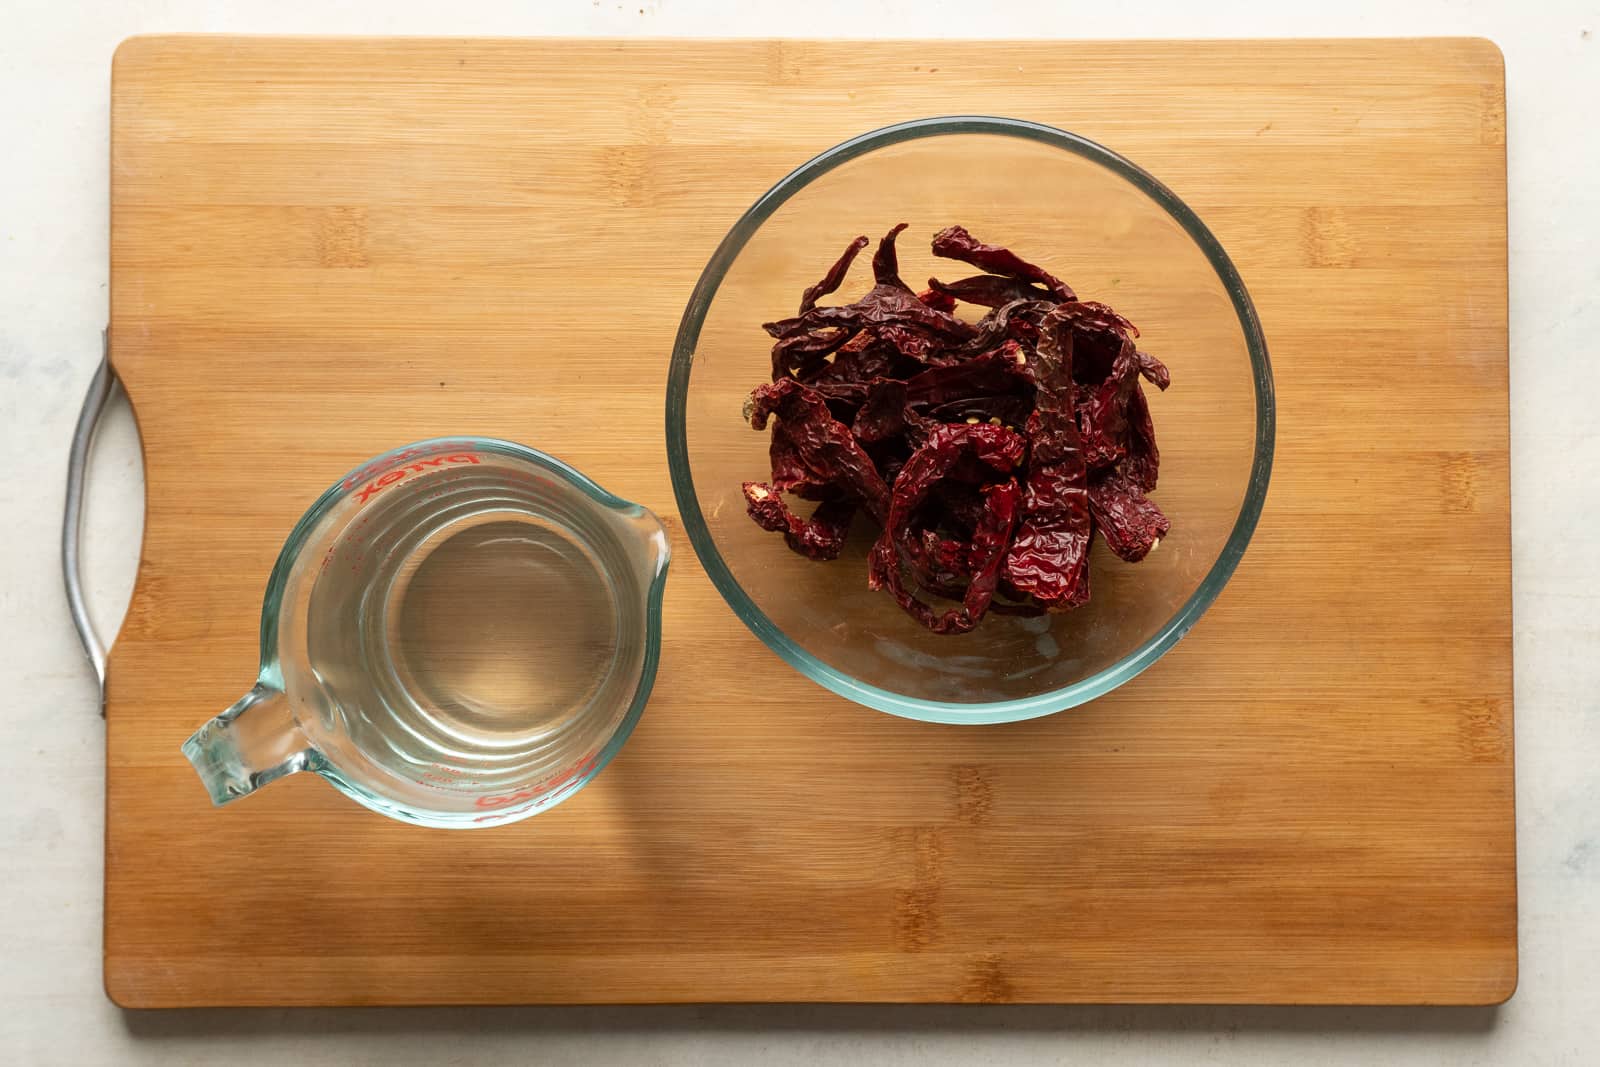
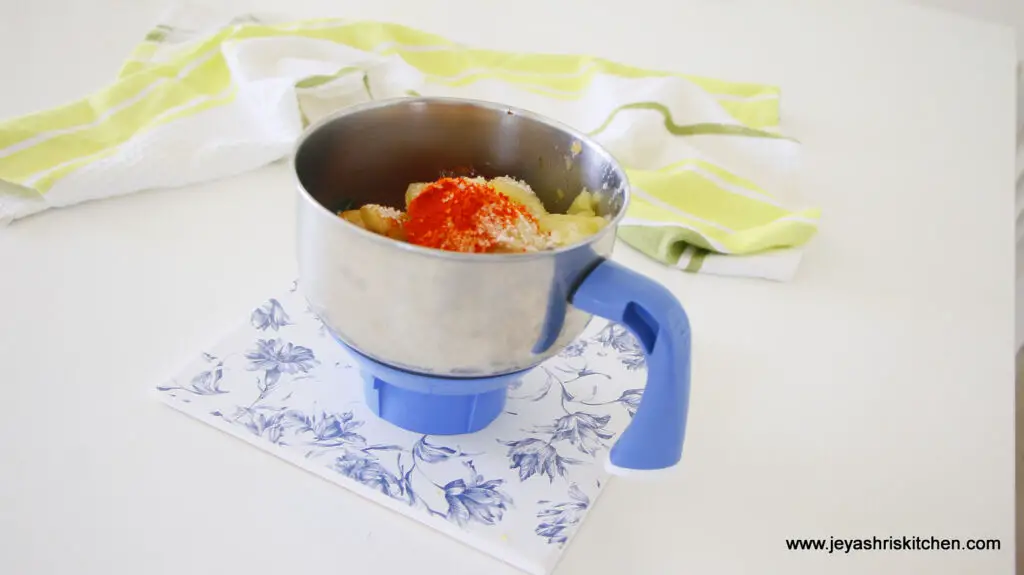
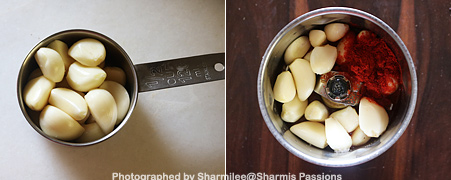
1.Peel the skin from garlic, measure and transfer to a mixer jar along with salt, red chilli powder, lemon juice.
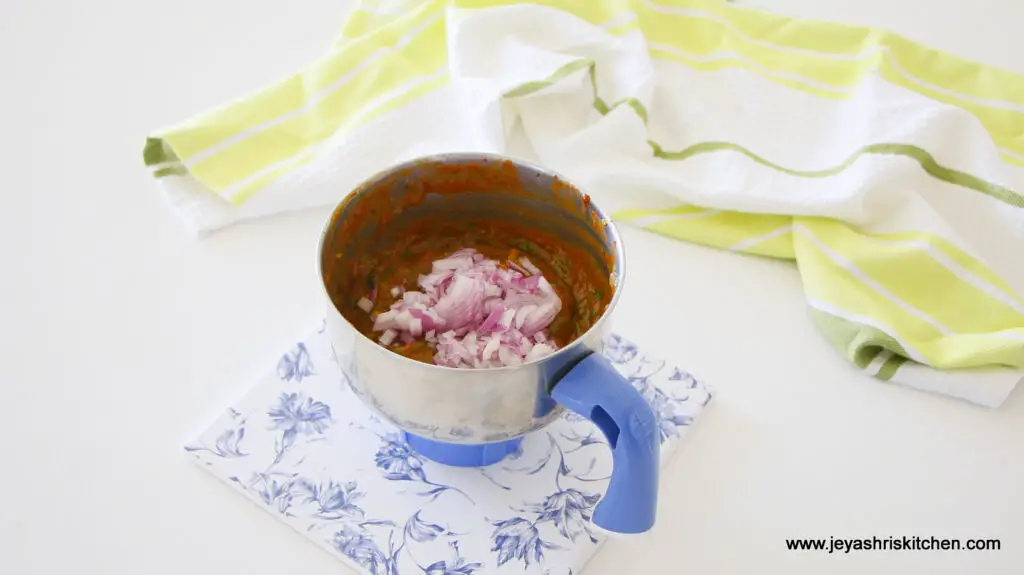
2.Add little water and grind it to a semi fine paste.
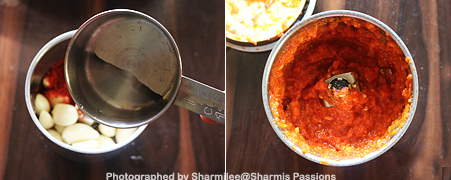
Serve hot with bajra roti.
Expert Tips
- Adjust spice - I usually start with less chilli powder and then add some more only if needed.
- Fresh garlic -Use only fresh garlic as it gives best aroma and taste. Old garlic can taste bitter.
- Consistency -You can add a little water while grinding to get semi-fine paste. Not too watery.
- Lemon juice -I always add lemon at end, it balances the spice and reduces harsh taste.
- Hot Oil -If you want you can also add hot oil on top of the chutney for a better taste. You can either use gingerly or ground nut oil for best flavor.
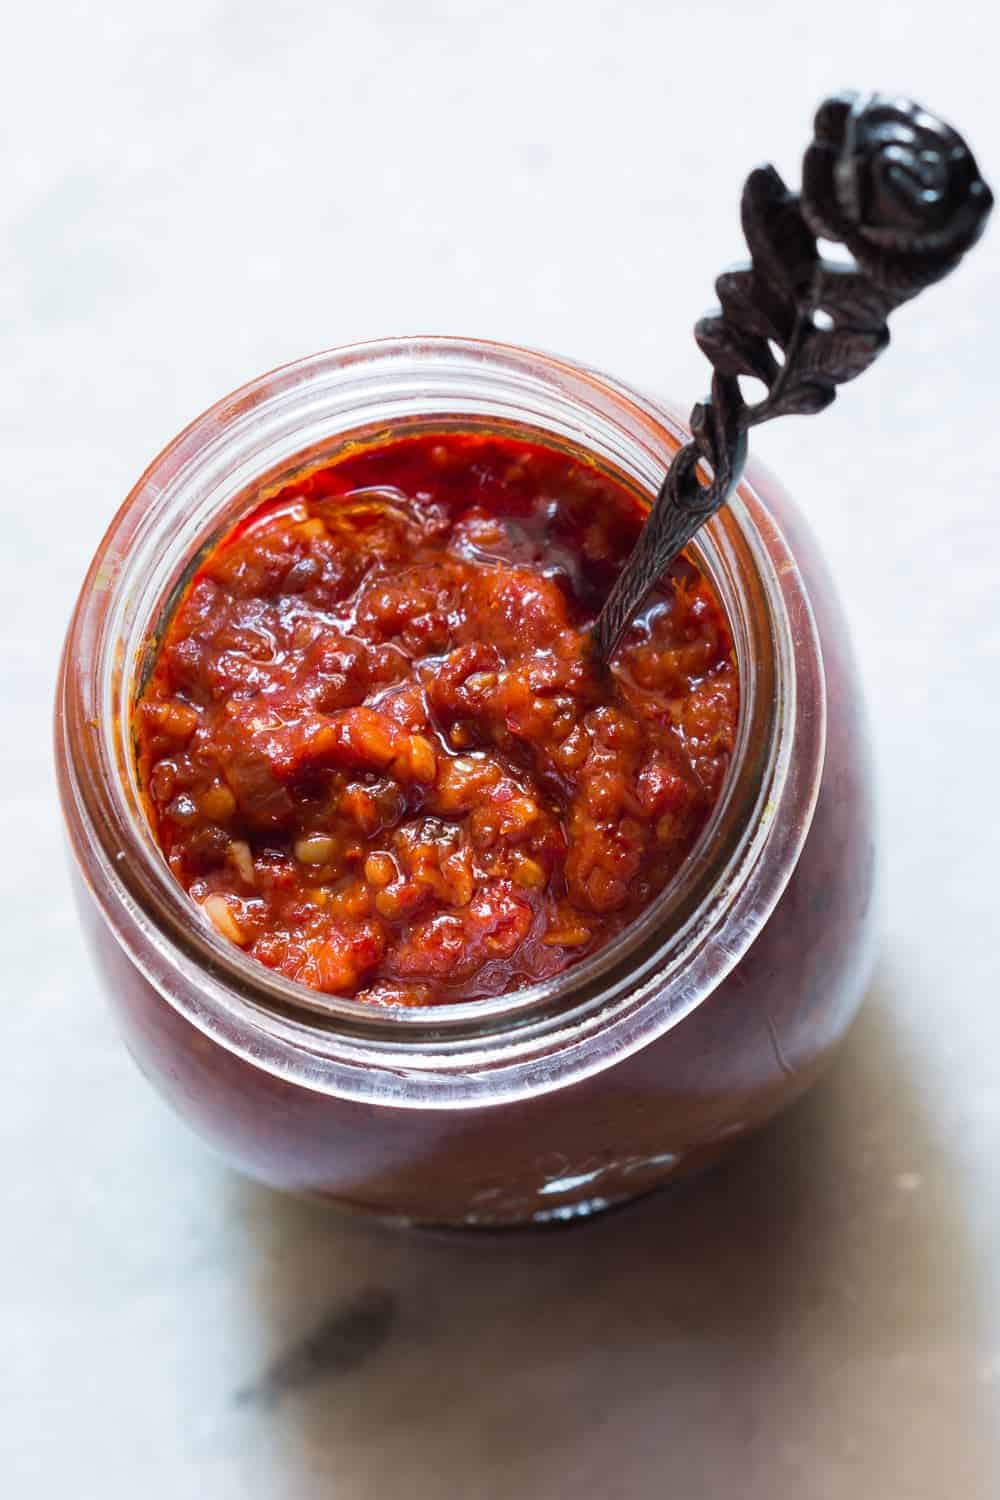
Serving and Storage
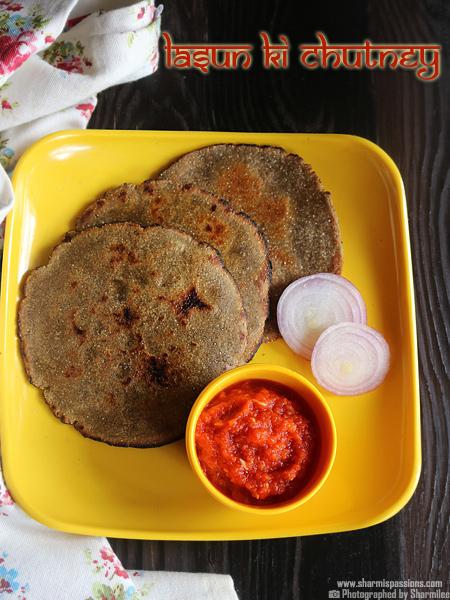
Serve this with chapathi, bajra roti or snacks. It goes well with chaats too. Store in fridge in small jar, use for up to a week. Let it come to room temperature before using, or just scoop and eat. Very handy for quick meals.
FAQS
1.Can I skip lemon juice?
Yes, chutney will taste strong and pungent without it. Lemon balances the flavor.
2.Can I make it in advance?
Yes, I make it and keep in fridge for a week. Tastes even better after few hours.
3.Can I reduce spice?
Yes, just reduce some or use Kashmiri red chili for mild heat.
4.Can I use oil?
Yes, you can add gingelly or sesame oil. Gives extra aroma.
5.Does it stay fresh?
Yes, in fridge for a week in airtight jar. I usually keep small jar for daily use.
If you have any more questions about this Lehsun Ki Chutney Recipe do mail me at sharmispassions@gmail.com. In addition, follow me on Instagram, Facebook, Pinterest, Youtube and Twitter .
Tried this Lehsun Ki Chutney Recipe? Do let me know how you liked it. Also tag us on Instagram @sharmispassions and hash tag it on #sharmispassions.
📖 Recipe Card
Lehsun Ki Chutney Recipe
Ingredients
- ½ cup garlic cloves
- 1 and ½ teaspoon kashmiri red chilli powder
- 1 teaspoon lemon juice
- salt to taste
- water as required
Instructions
- Peel the skin from garlic, measure and transfer to a mixer jar along with salt, red chilli powder, lemon juice.
- Add little water and grind it to a semi fine paste.
- Serve Lehsun Ki Chutney with bajra roti, chapathi.
Notes
- Adjust spice - I usually start with less chili powder and then add some more only if needed.
- Fresh garlic -Use only fresh garlic as it gives best aroma and taste. Old garlic can taste bitter.
- Consistency -You can add a little water while grinding to get semi-fine paste. Not too watery.
- Lemon juice -I always add lemon at end, it balances the spice and reduces harsh taste.
- Hot Oil -If you want you can also add hot oil on top of the chutney for a better taste. You can either use gingerly or ground nut oil for best flavor.
Nutrition
The post Lehsun ki Chutney Recipe appeared first on Sharmis Passions.