Thirukarthigai - Recipes - Why & How do we celebrate Karthigai Deepam
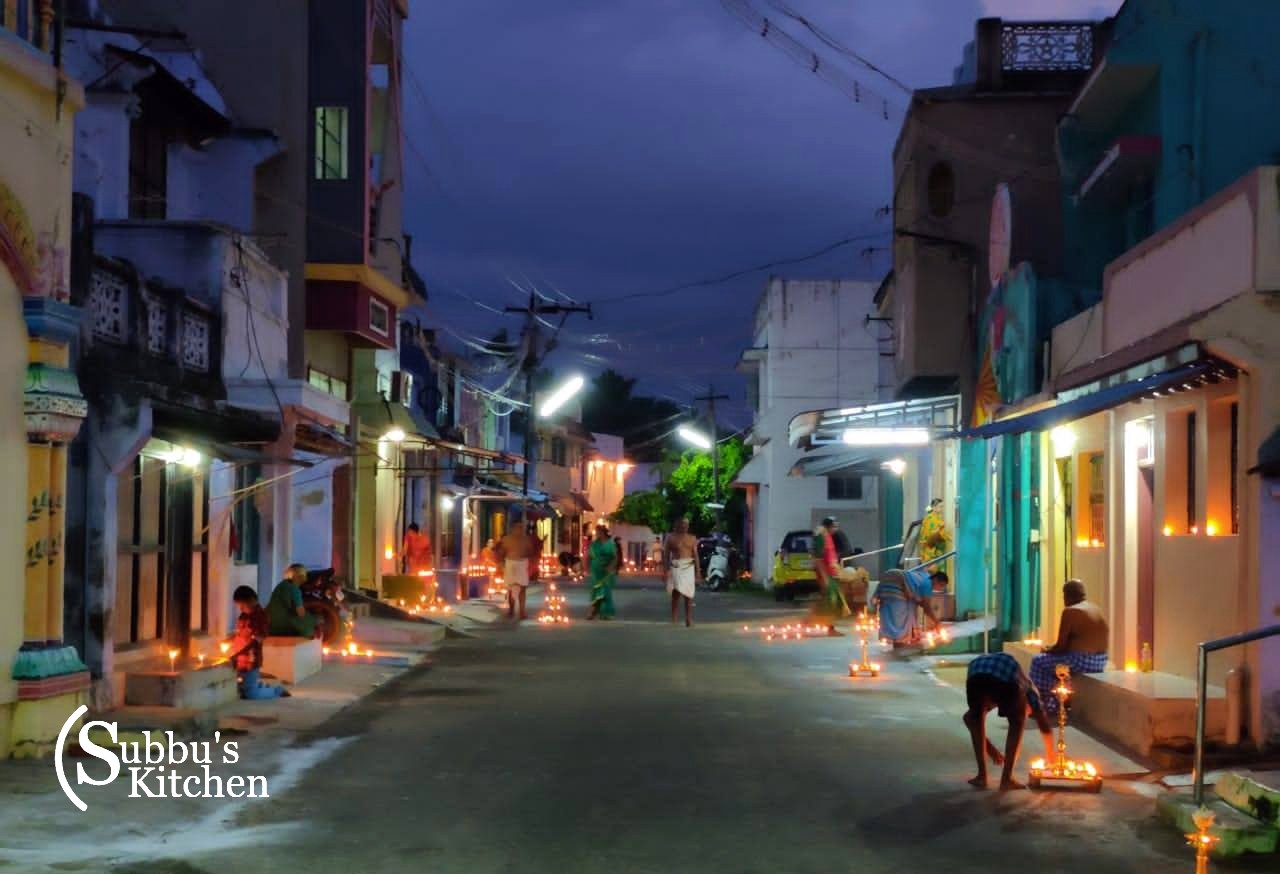
Thirukarthigai, also known as Karthigai Deepam, is one of the oldest and most sacred Tamil festivals, celebrated in the Tamil month of Karthigai on the auspicious Pournami (Full Moon) day. It is a festival of light, devotion, and divine protection, where homes are adorned with rows of glowing oil lamps symbolizing prosperity and spiritual awakening.
Throughout the entire month of Karthigai, families light lamps at the entrance of their homes. On the day of Thirukarthigai/Karthigai Deepam, the whole house is beautifully illuminated, creating a divine and uplifting atmosphere.
One of the most iconic places associated with this festival is Thiruvannamalai, world-renowned for its spectacular Karthigai Deepam celebrations.
The Legend Behind Thirukarthigai / Karthigai Deepam
According to Hindu scriptures, Lord Brahma and Lord Vishnu once fell into an ego-driven argument, each claiming superiority. To humble them and restore harmony, Lord Shiva appeared as an infinite pillar of fire (Jyothi Sthambam) and challenged them:
“Whoever finds the beginning or end of this fire is the greatest.”
- Brahma transformed into a swan (Annam) and flew upward.
- Vishnu took the form of Varaha (boar) and dug deep into the earth.
Despite their divine powers, neither could find the beginning nor end of Shiva’s fiery form. Realizing their mistake, they surrendered their ego and prayed with devotion. Lord Shiva then revealed himself to them.
This divine appearance as a pillar of endless fire is commemorated as Thirukarthigai / Karthigai Deepam.
Thiruvannamalai Deepam – The Holy Fire Hill
Thiruvannamalai in Tamil Nadu is the spiritual epicenter of Karthigai Deepam. Lord Shiva is believed to have manifested as Arunachala Hill, a form of Agni (fire).
- Tiruvannamalai and Arunachala both mean “holy fire hill.”
- The Shiva Linga here is the Agni Linga, representing the fire element.
- Devotees light tiny oil lamps at home which symbolize miniature Jyothi Lingas.
Every year, lakhs of devotees gather to witness the Mahadeepam, lit atop the sacred hill—a mesmerizing sight symbolizing divine brilliance and protection.
Spiritual Significance of Thirukarthigai
Karthigai Deepam represents
- The victory of light over darkness
- Removal of ignorance and ego
- Infinite nature of God (Ananta Jyothi)
- Protection, prosperity & spiritual growth
Homes are decorated with rows of lamps to invoke Lord Shiva’s Jyothi Swarupam—the form of divine light.
Festival Days
- Day 1: Appa Karthigai
- Day 2: Vadai Karthigai
Devotees prepare and offer traditional neivedhyam such as Pori, Adhirasam, Vella Seedai, Vetrilai-Pakku, and fruits.
In South Tamil Nadu and Kerala, sisters light the sacred Gajalakshmi Vilakku (Elephant Lamp) to pray for the well-being and longevity of their brothers.
Why Do We Light the Elephant Lamp (Gajalakshmi Vilakku) on Karthigai?
A touching traditional story explains this practice:
A king once had a single daughter who grew up with a beloved elephant. She treated the elephant as her own brother. After marriage, she deeply missed him. Every Karthigai Deepam, she lit an elephant-shaped lamp, prayed for her brother, and offered:
- Tender coconut
- Milagu Adai (elephant-leg sized)
- Pori
- Adhirasam
- Vella Seedai
This devotional practice later became part of the traditional Karthigai rituals. Today, lighting the Gajalakshmi Vilakku symbolizes:
- Protection of brothers
- Family prosperity
- Blessings of Goddess Lakshmi
- Removal of obstacles
Verses to Chant While Lighting the Lamp
கீட: பதங்கா மசகாஸ்ச வ்ருதா
ஜலே ஸ்த்யேயே விசரந்தி ஜீவா
தருஷ்டவா ப்ரதீபம் ந ச ஜன்ம பாகிந:
பவந்தி நித்யம் சவ பசா ஹி விப்ரா
Yaanai Vaazha
Arasan Vaazha
Penn Vaazha
Piranthagam Vaazha
After chanting, devotees place a piece of pori into the lamp and offer neivedhyam.
Thirukarthigai Neivedhyam Recipes
- Pori Urundai Recipe | Aval Pori Urundai Recipe | Nel Pori Urundai Recipe
- Milagu Adai | Thirukarthigai Adai
- Vella Seedai Recipe | Sweet Seedai Recipe
- Nei Appam (Ghee Appam)
- Adhirasam
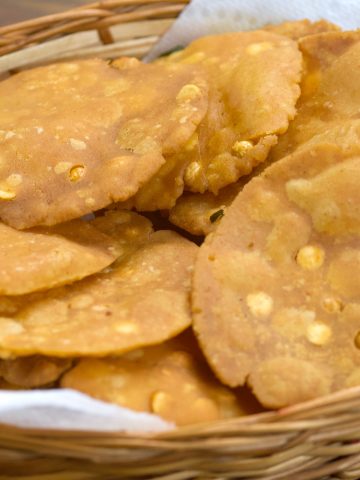
- Thattai
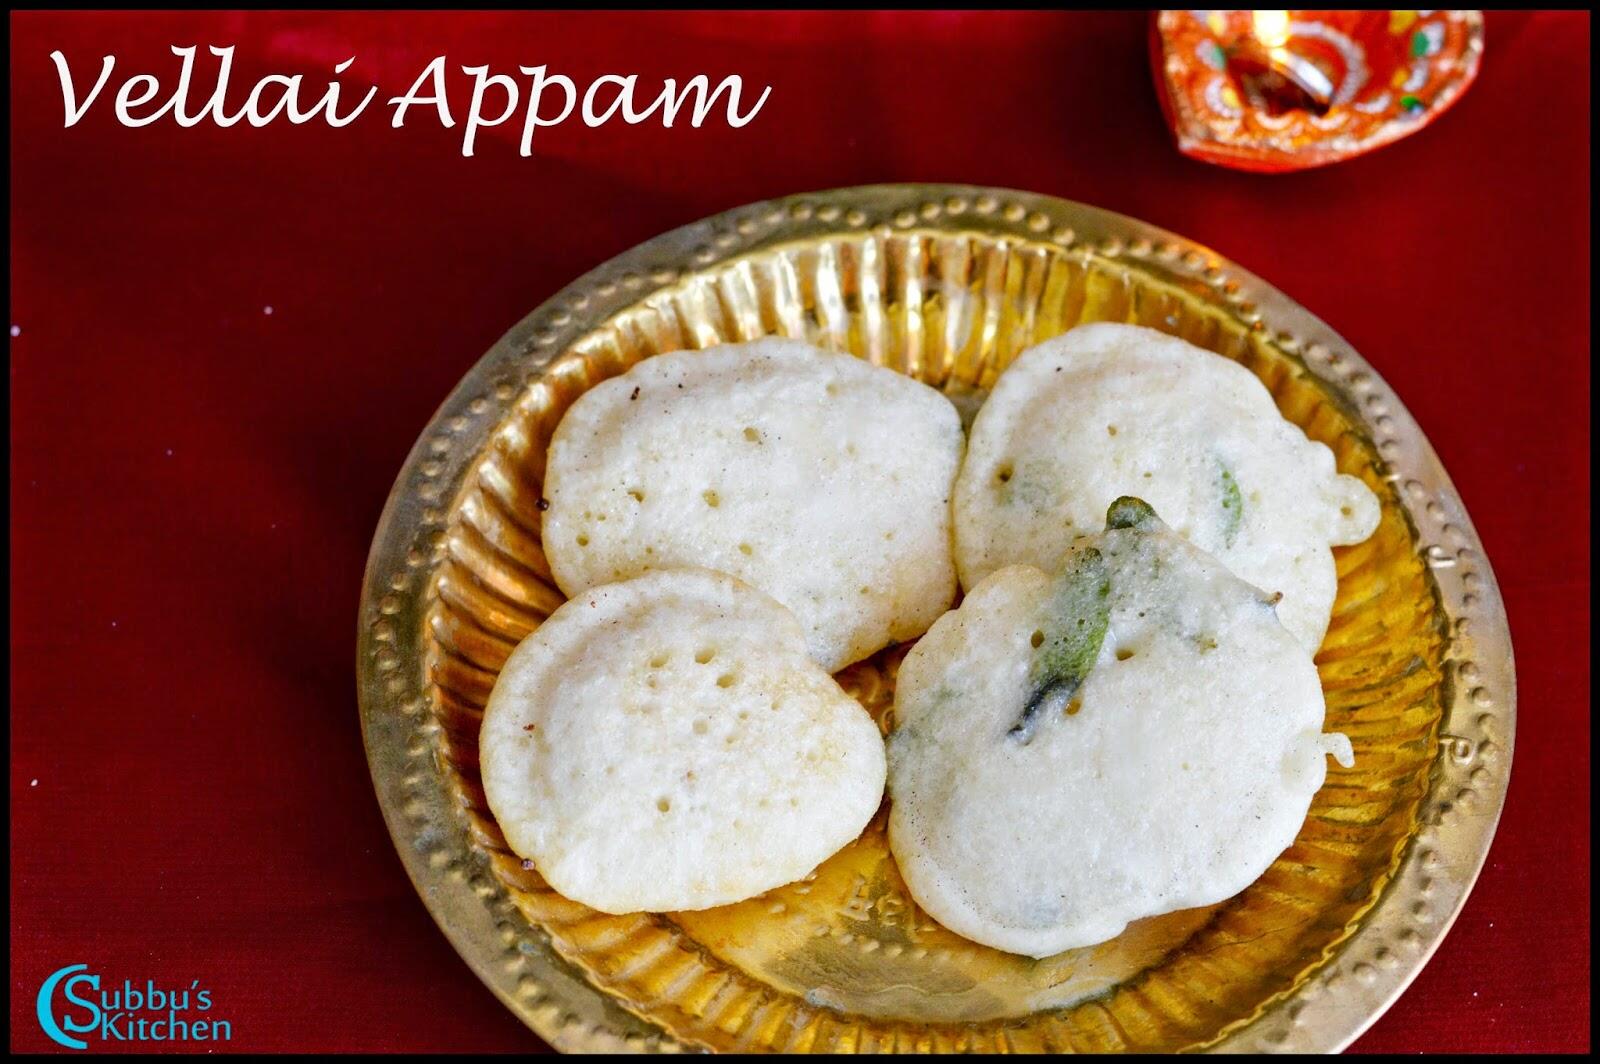
- Vellai Appam Recipe | How to make Vellai Appam | Vellai Appam for Thirukarthigai
- Kadalai urundai (Ground nut & Jaggery balls)


The post Thirukarthigai - Recipes - Why & How do we celebrate Karthigai Deepam appeared first on Subbus Kitchen.


 Enjoy Christmas Special Offer


