❌

Reading view

There are new articles available, click to refresh the page.

Make Non-Sticky Sabudana Khichdi: Fool-Proof Step-by-Step Guide

Non Sticky Sabudana Khichdi Recipe

What is Sabudana Khichdi

Sabudana Khichadi is a delightful Indian dish hailing from the Western region of India, particularly Maharashtra. This recipe has gained widespread popularity owing to its distinct taste and uniqueness.

Sabudana Khichdi on Patio

Sabudana Khichdi is often consumed during religious fasts, or vrats, as it is made with non-grain ingredients and provides an energy boost during these periods. This delicacy, brimming with rich flavors, is indeed a testament to Indian culinary diversity and expertise. It can be eaten either for breakfast or lunch and is considered to be one of the most popular comfort foods.

With so many variations available out there today it can be difficult to know how to make the perfect sabudana khichdi recipe but with some simple tips you’ll have your very own foolproof version in no time!

What is Sabudana

Sabudana, also known as tapioca pearls, is a traditional ingredient used in many Indian dishes. Sabudana is made from the starch extracted from cassava root and is consumed throughout India due to its nutritional value and versatility as a crop. Sabudana can be cooked in various ways such as steaming or boiling and served either hot or cold depending on the recipe. It has a soft texture when cooked which makes it an ideal addition to both sweet and savory recipes alike!

Cassava root, the primary ingredient for Sabudana pearls in a Sabudana Khichdi recipe, is grown mostly in tropical and subtropical regions worldwide. It is particularly important in South America and Africa, where it is a major staple crop. In India, it is grown mainly in the states of Andhra Pradesh, Telangana, Maharashtra, and Gujarat.

How is Sabudana made?

The production of sabudana pearls (routinely called sago pearls in India) used to make Sabudana Khichdi has been a major industry across the world since the 19th century with countries such as Thailand being one of the main suppliers.

Sabudana production in India

When it comes to tapioca pearl manufacture in India, most of it takes place in rural areas like Madhya Pradesh and Karnataka. Here, traditional methods are still used to produce large quantities of Sabudana for domestic consumption as well as for export. The process involves first soaking the cassava roots overnight before preparing them for grinding into paste. After that, they are dried until they form granules which are further dried before being rolled into Sabudana pearls.

With its relatively low cost of production and higher yield per acre than other crops like rice or wheat, Sabudana production remains an important industry across India.

Nutrition of Tapioca Pearls

Tapioca pearls, a major ingredient in Sabudana Khichdi, are rich in carbohydrates being the starch of cassava root, and low in saturated fat.

They also include essential minerals such as calcium, magnesium, potassium, and iron.

Sabudana is naturally gluten-free and can be eaten by people with certain food allergies and is a good option in gluten free dishes.

Sabudana is also known to have Vitamin B1, Vitamin B3, folate, zinc, and phosphorus.

Is Sabudana Khichdi Healthy

We are not nutritionists, so seek qualified advice and self-research. Healthy means many things to different people and the meaning has changed over time.

High nutrition calories and high glycemic index

During food shortages of the past with difficult access to grains, sabudana pearls provided high calories to the population.

In current times high calorific food is easily available. Hence one with an especially high glycemic index due to its high starch content and almost nonexistent fiber content might not be considered healthy. It is also highly processed.

Gluten Free Option

Yet Tapioca pearls may have a role to play in creating a gluten free dish for those with gluten sensitivity and also lack of saturated fat is a plus.

Therefore, while sabudana can be a tasty addition to certain dishes and drinks, its nutritional value should be considered in the context of an overall balanced diet.

Sabudana Vs Sago

Sabudana and Sago are often used interchangeably in India and the dish is even called sago khichdi, but they are two different types of starches. An example is one of the largest cooperative organizations in the city of Salem manufacturing sabudana pearls from cassava root is called SagoServe. Sabudana khichdi is thus often labeled sago khichdi in india.

In reality, sago is a traditional type of flour made from the starch extracted from various palms called sago palm trees while sabudana is made from cassava root. Sago has been used for centuries in Asian cuisines.

The process of making sago involves harvesting the starchy pith found inside certain species of palm trees before grinding it into a paste-like consistency. This paste then undergoes a series of processes to extract its soluble starches and separate them from insoluble fibers. After this separation process, what remains is sago – a fine white powder that can be used to make porridge or bread.

Sabudana Vs Nylon Sabudana

Sabudana and nylon Sabudana are two different types of so-called sago or tapioca pearls.

Sabudana, as mentioned above is made by drying the tapioca starch pearls. This gives them a diffused white look. Nylon Sabudana which is many times larger in size is made by steam treating the cassava puree pearls, which par cooks the starch and makes it translucent, making it appear a bit synthetic like nylon.

Both have their own unique properties and uses, so it’s important to understand the differences between them before cooking with either one.

Nylon sabudana is like par-cooked and dried pearls. You can fry them to make sabudana chiwda. Nylon sabudana should not be used when making sabudana khichdi.

Origin of Sabudana Pearls, Sabudana Khichdi in India

As with many food history topics, there are many theories.

The Cassava root was a native plant of Brazil and South America and was probably brought to India by the Portuguese traders.

In the 1800s, there was a time of not having enough food in Travancore. The king wanted to find another way to get food. He thought of using Cassava root. He encouraged people to grow it and cook it into a dish called β€œkappa.” People believe that Sabudana pearls came from Thailand, Taiwan and other Asian countries. In India, people started to make Sabudana in the 1940s. It was used as a replacement for grains because there was not enough grains during World War II.

Sabudana / Tapioca Pearls in World Cuisine

Sabudana, also known as sago or tapioca pearls in India, is an ingredient that is used in many cuisines around the world. Many times it is used as a grain alternative to come up with gluten free recipes.

From Brazilian tapioca pudding to Filipino bibingka cakes and even Thai bubble tea and also more Indian breakfast recipes than sabudana khichdi, Sabudana has become a popular ingredient for all sorts of global sabudana recipes.

Selecting Sabudana for Sabudana Khichadi Recipe

To make Sabudana Khichdi recipe, it is important to choose the right type of Sabudana.

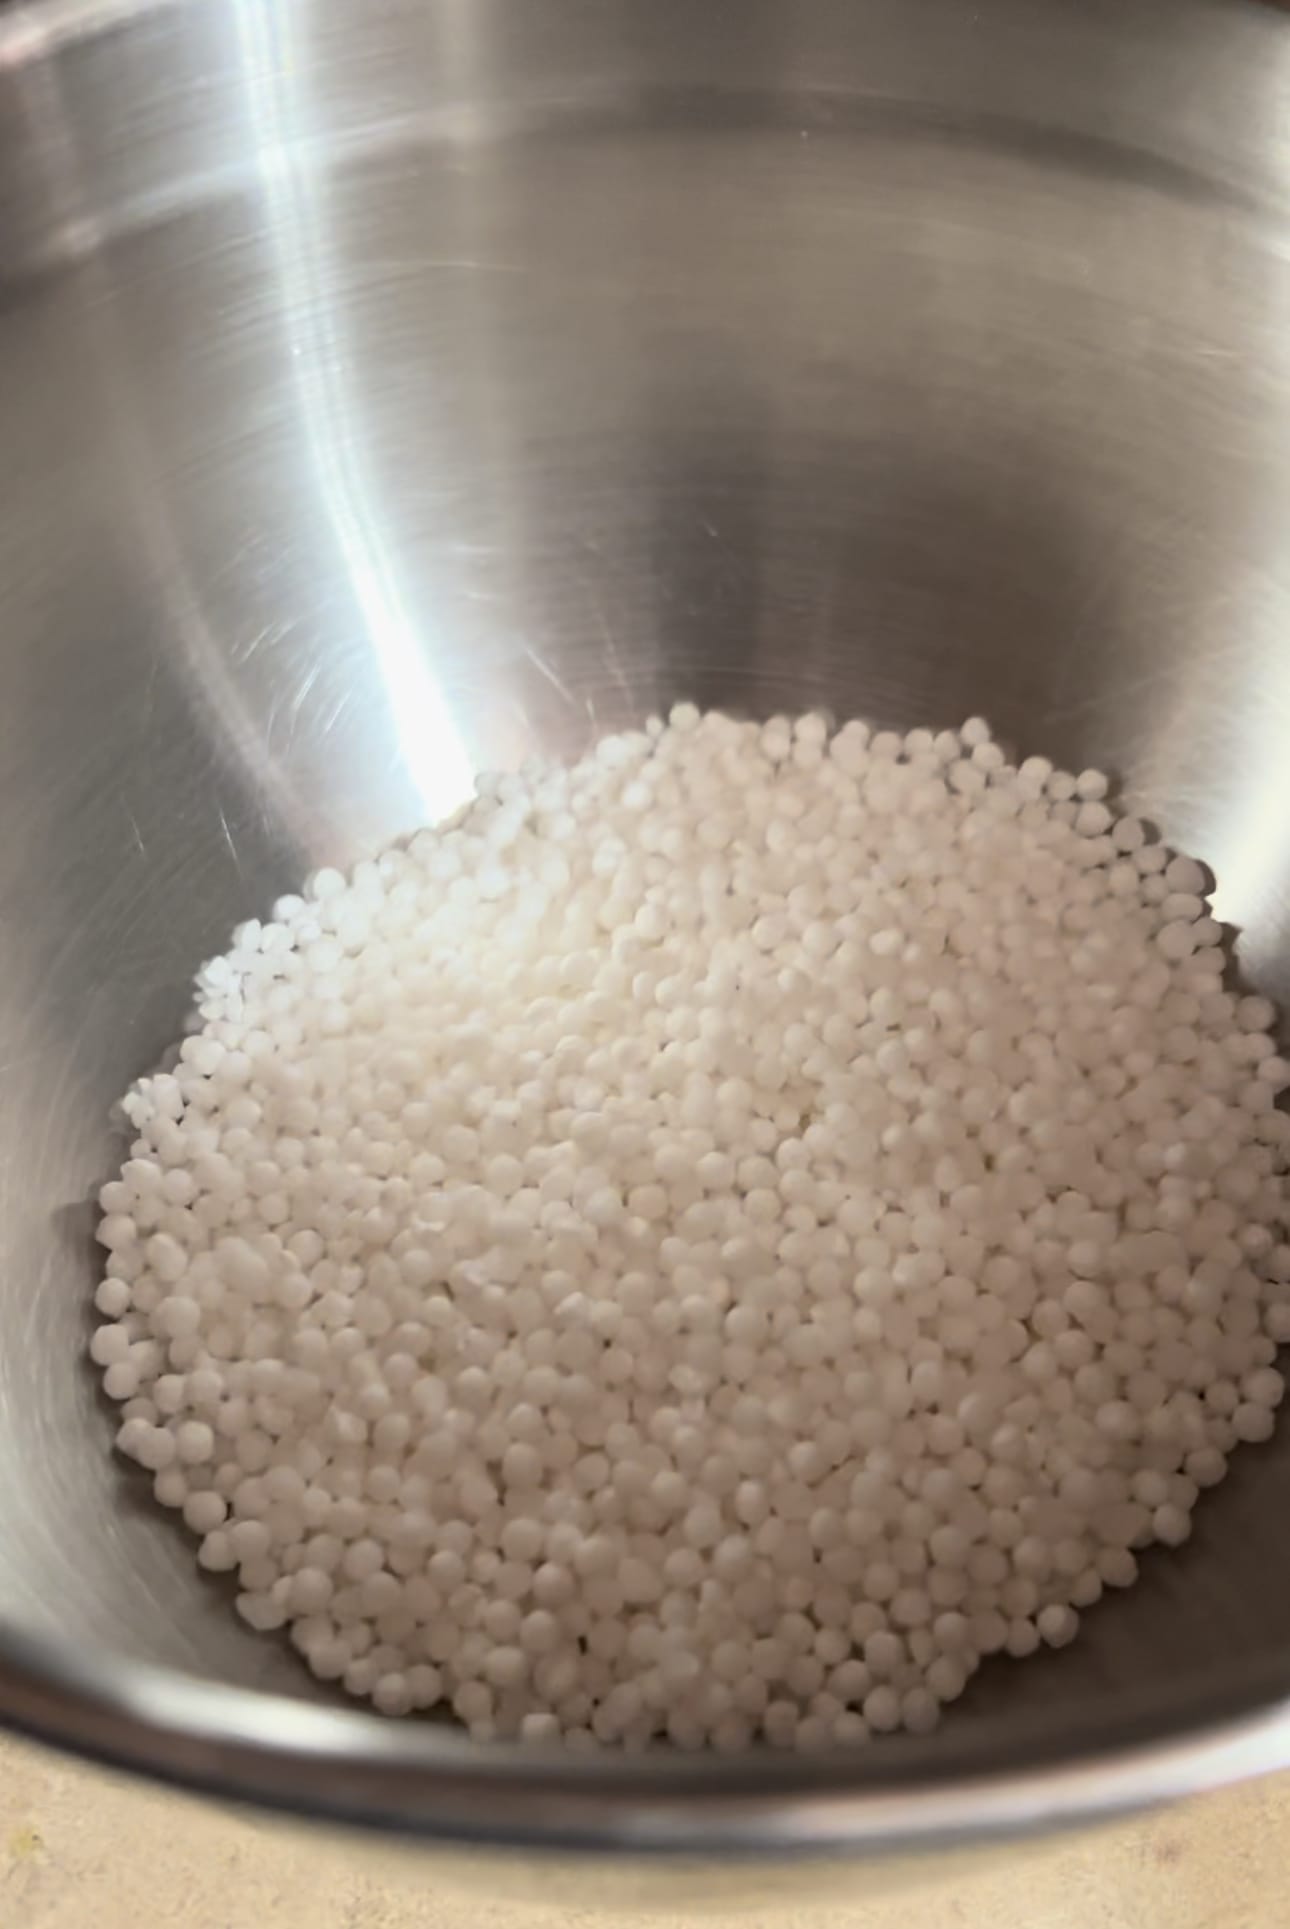
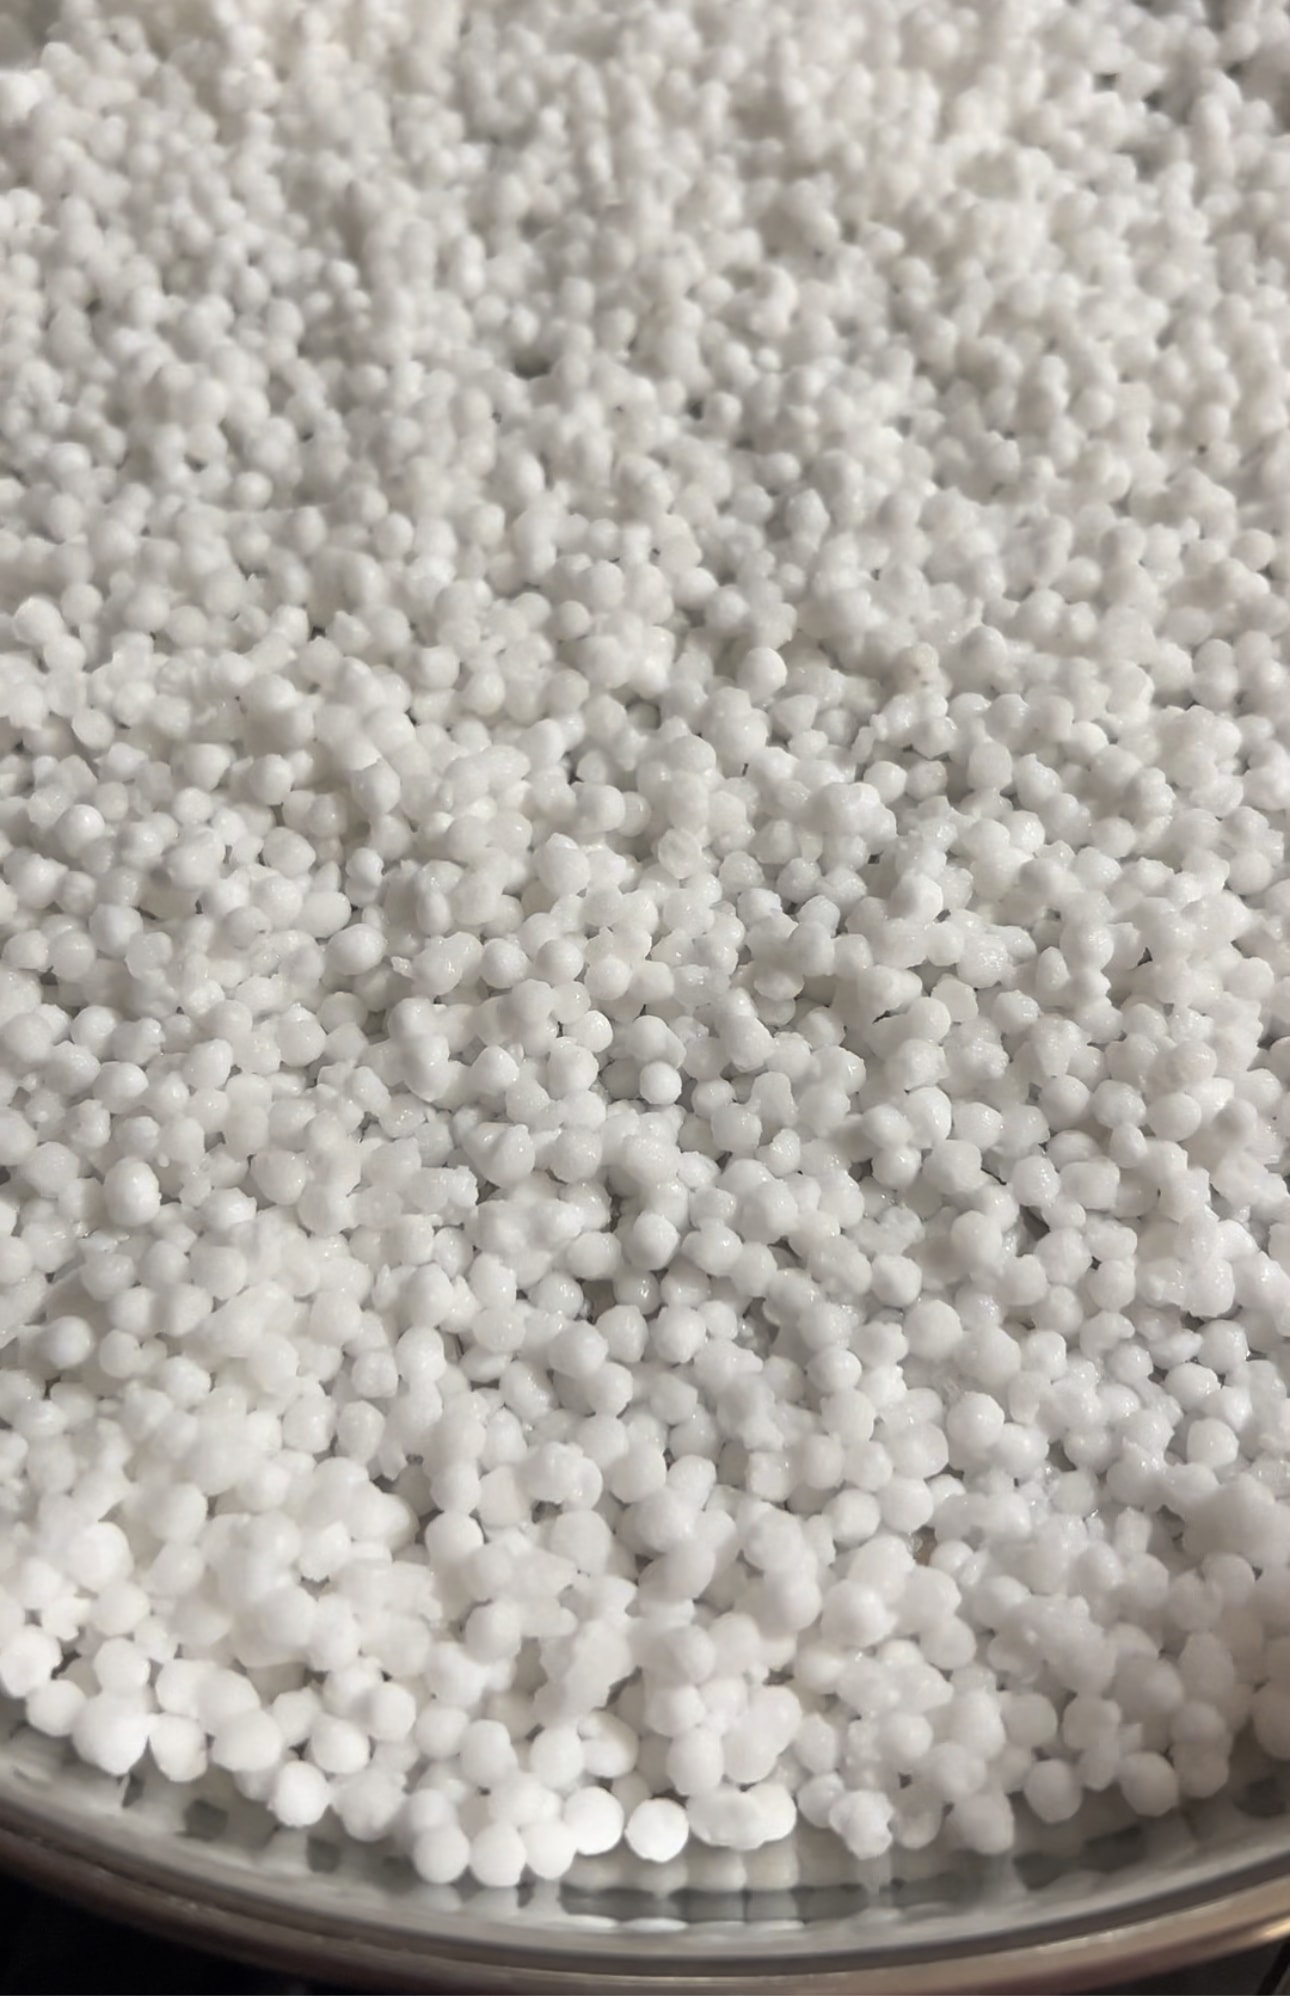
It should be white, round and without any cracks or broken pieces. This way, your Sabudana will cook evenly and stay in shape while cooking. The product should be made recently and stored carefully so it does not get too dry. This way, when you soak it, it will still soften. That way you can get a perfect result every time!

Sabudana Khichdi Recipe Variations across India

Maharashtra

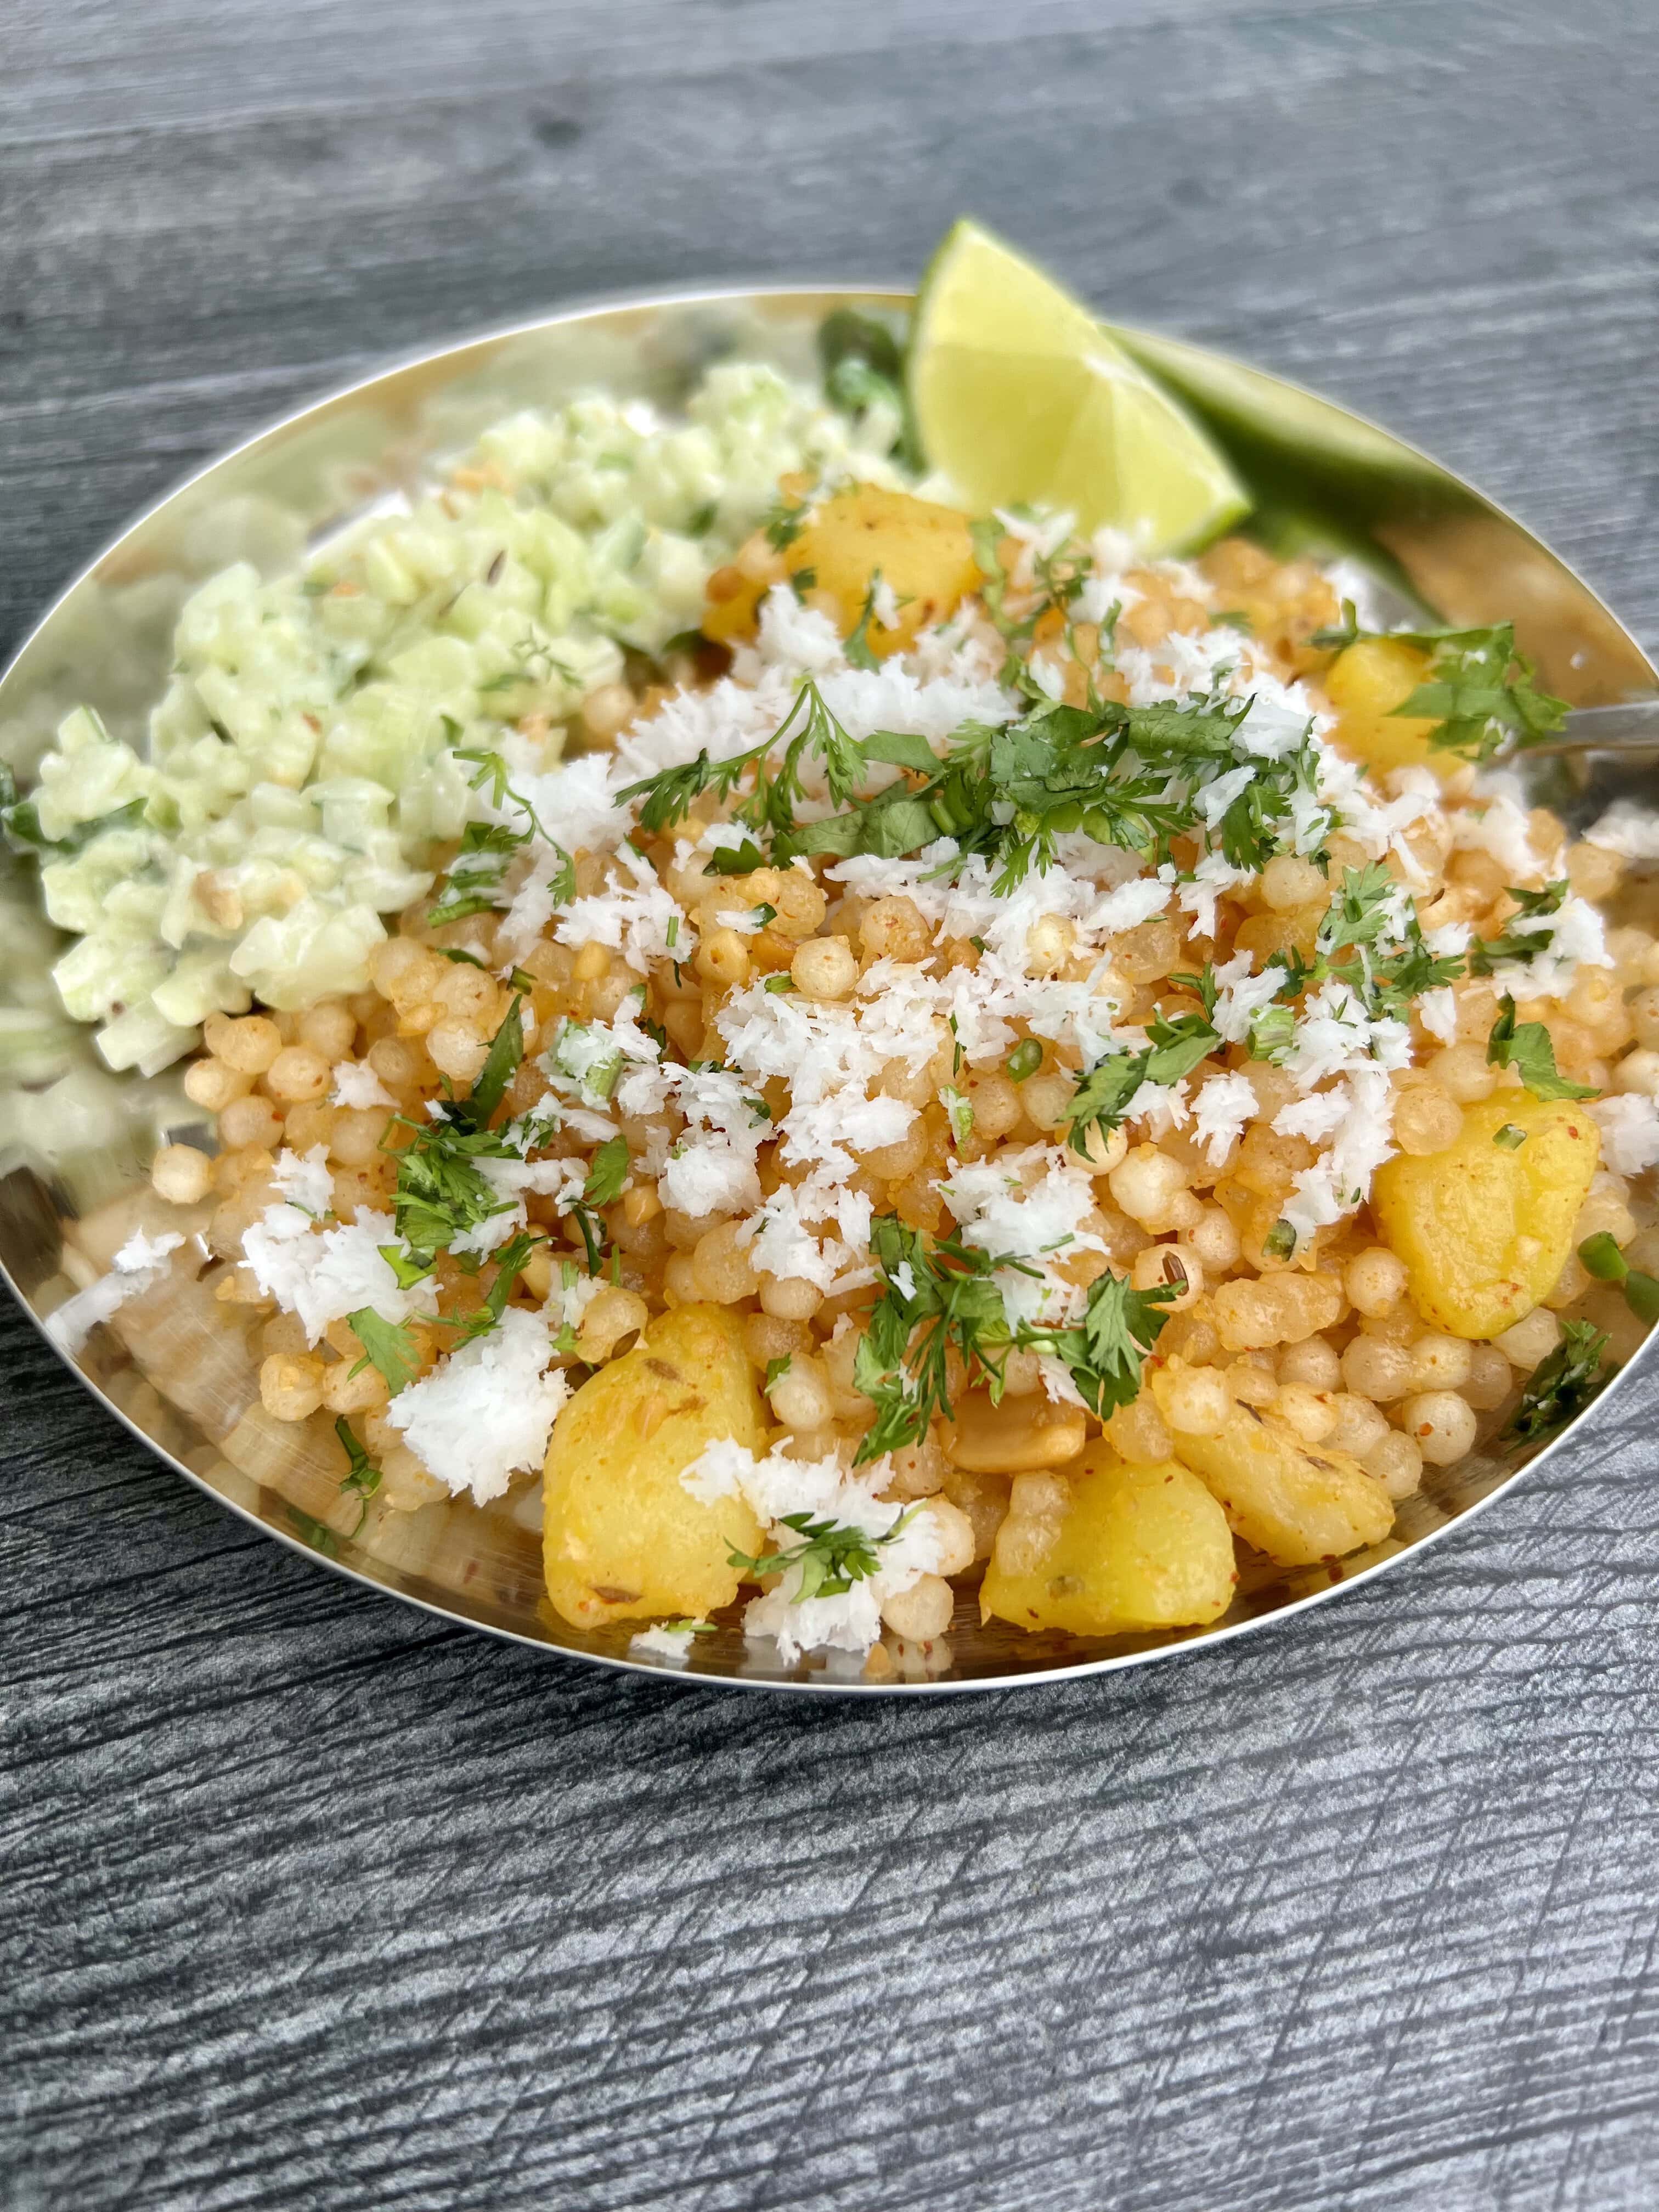
The recipe from Maharashtra traditionally includes roasted peanuts crushed into a coarse peanut powder, green chilies, boiled potatoes, lemon juice, and cumin seeds. Maharashtrian style sabudana khichdi has a unique combination of flavors that come together to create a delicious taste.

Sometimes chopped green chilies heat can also be augmented by a little bit of smokiness from red chili powder. Sometimes instead of chopped green chillies, crushed green chillies are used which makes the dish much hotter. Fats like ghee are used either for cooking or to mix in just before they serve sabudana khichdi.

Cumin in gheePotatoes cumin and green chilies in ghee

It’s often garnished with grated coconut, and coriander leaves, and add lemon juice or sour buttermilk. Curry leaves are not typically used, though the usage of curry leaves is common in the southern states. When made for fast (upwas), rock salt is preferred for seasoning.

Maharashtrian style sabudana khichdi

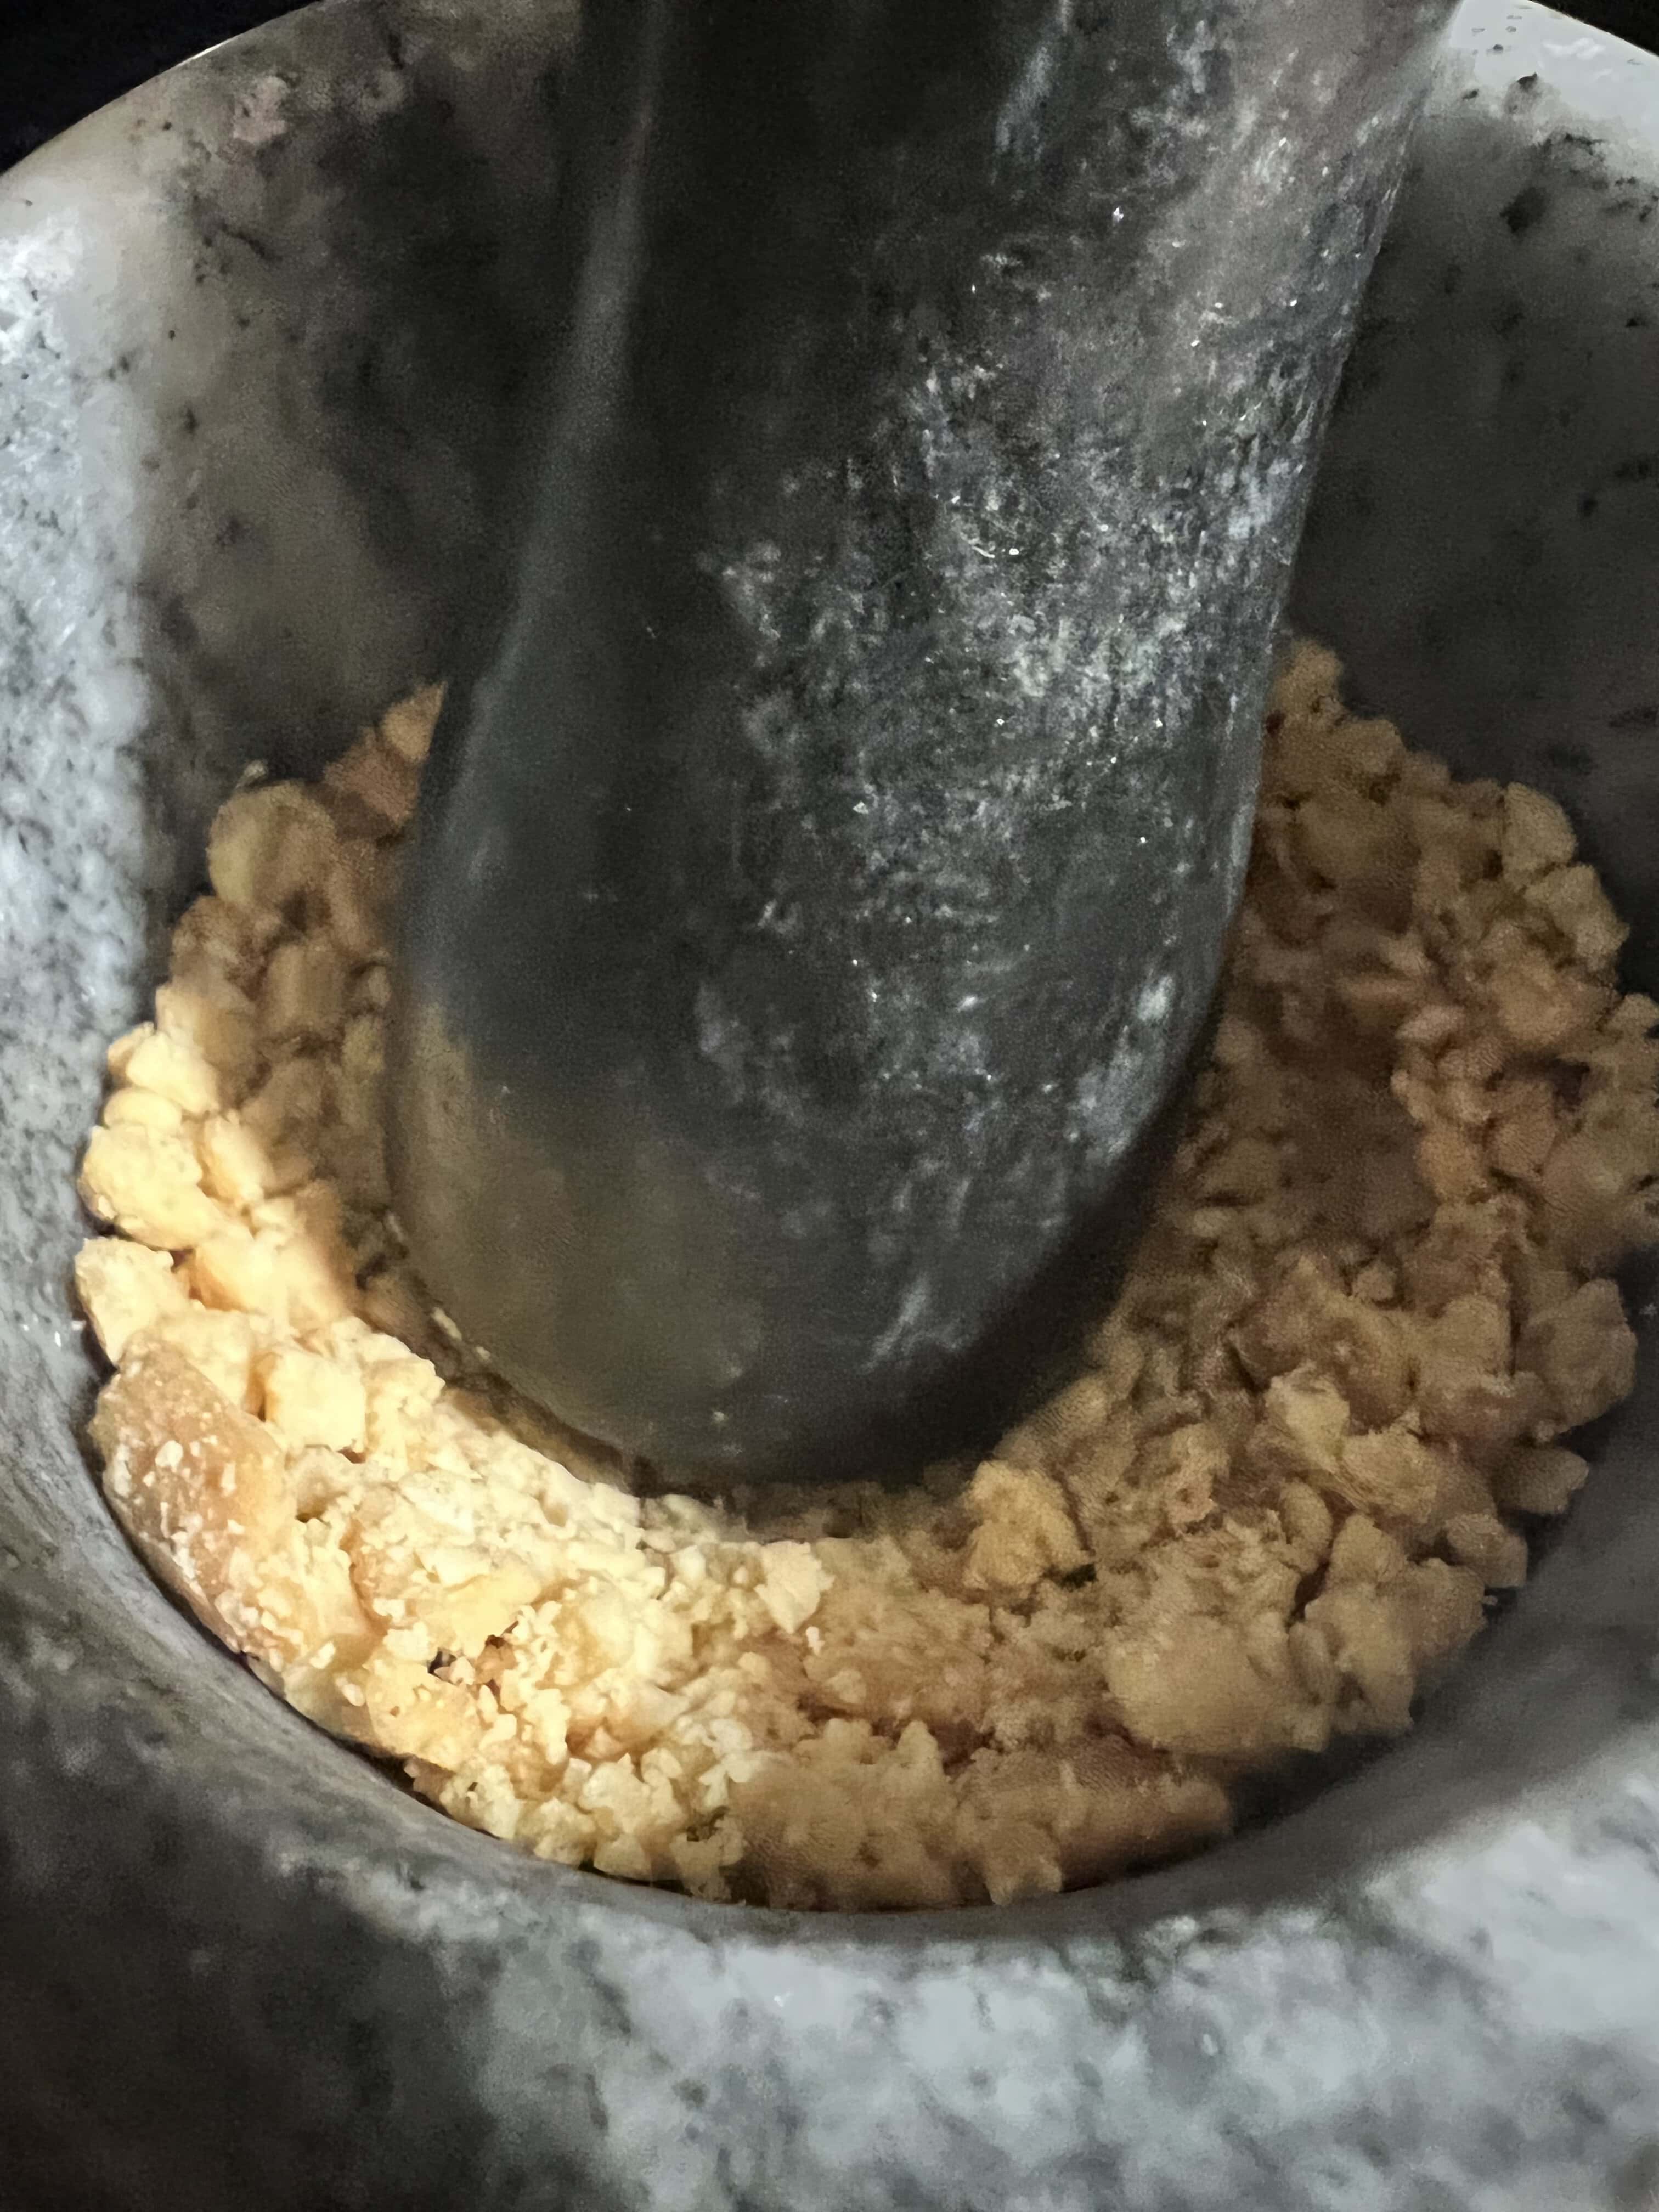
Coarse peanut powder made from roasted peanuts is widely used in Maharashtrian cooking and thus forms a key identity of sabudana khichdi served in Maharashtra. Meticulous cooks will start with raw peanuts with skin to make the slow roasted peanuts fresh on the day of cooking the recipe using a dry roast technique. The dry roast peanuts are then allowed to cool completely and skinned before making crushed peanuts. The use of mortar pestle is common for coarsely powdered peanuts. This ensures peanut powder provides a crunchy texture to the sabudana khichdi served to their guests.

Danyache koot, coarse crushed peanut from roasted peanuts in a mortar and pestle

Gujarat

Sabudana Khichdi from Gujarat is also unique from a Maharashtrian style sabudana khichdi. Different types of nuts like cashews (instead of raw peanuts or roasted peanuts) may be used, as well as jaggery to add sweetness. These ingredients make this dish truly delicious and unique! Boiled potatoes, Cumin seeds, and lemon juice remain common. Cumin seeds bring earthiness, lemon juice brings freshness to the fairly neutral taste of the starch. For navratri festival, rock salt is preferred.

South India and Chennai

Sabudana Khichdi recipe made in chennai is a popular dish in South India. Making Sabudana Khichdi is unique to this region due to the addition of tamarind instead of lemon juice, curry leaves, and asafoetida. Cumin seeds are common, while you might not encounter crushed peanuts here.

Sabudana used for this dish is usually larger than the Sabudana used for making Sabudana Khichdi served with a distinct texture.

Curry leaves are prominently used in southern states in many recipes. Because curry leaves are always available in kitchens and also taste great they thus find a way into these recipes.

North India

Sabudana khichdi recipe shows up as Falhari Khichdi in Northern India. Traditionally sabudana khichdi served with yogurt or pickle on the side, and some households uniquely use some coarse ground black pepper and mustard seeds. The use of rock salt is quite common as well. Whole roasted peanuts do feature prominently along with green chilies. Curry leaves are usually not used with coriander leaves preferred for garnish.

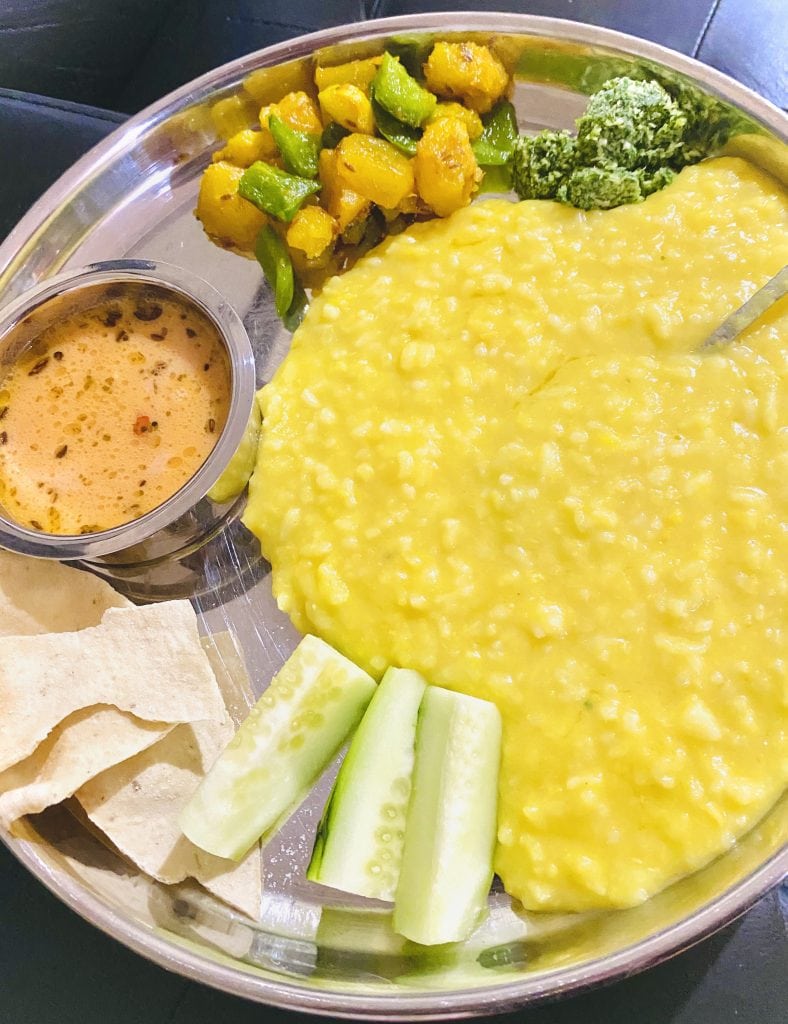
There are many variations of Sabudana Khichdi throughout India, such as adding different vegetables. A unique one is when sometimes people add fleshy cucumber (unique to a warm dish) to their sabudana khichdi recipe.

One common thing is people prefer a non sticky sabudana khichdi and cooks try to avoid making khichdi mushy. Also, all of these variations ideally serve sabudana khichdi hot as the starch can harden making the sabudana chewier as it cools down.

Importance of properly Soaked Sabudana for making sabudana khichdi

How you rinse the sabudana and then Soaking Sabudana is a crucial step when you make Sabudana Khichdi, as it ensures that the Sabudana pearls are adequately hydrated to cook properly. Properly soaking Sabudana gives Sabudana a soft, chewy texture and reduces the cooking time when you make sabudana khichdi significantly.

It also helps Sabudana retain its shape while cooking and prevents chances of hard undercooked Sabudana as well as avoids requiring long cooking of Sabudana ( risks of burnt sabudana or kichdi will mash easily into goop). Properly soaked tapioca pearls sago also helps it absorb the flavors of other ingredients and is easier to digest.

Additionally, soaked Sabudana will not become lumpy even after long periods of soaking due to its high starch content. In fact, if you decide to make sabudana khichdi mastering how to rinse the sabudana and how to soak sabudana is half the battle won.

How to soak sabudana to make a perfect non sticky sabudana khichdi

Β 
Β 
Β 
Β 
Β 
View this post on Instagram
Β 
Β 
Β 
Β 
Β 
Β 
Β 
Β 
Β 
Β 
Β 

A post shared by BreakingNaan (@breakingnaanblog)

A lot of cooks trying maharashtrian style sabudana khichdi struggle with how to make a non sticky sabudana khichdi. Perfectly soaked sabudana pearls (in India routinely called sago pearls) are essential. Here are some tips to make sabudana that is soaked perfectly:

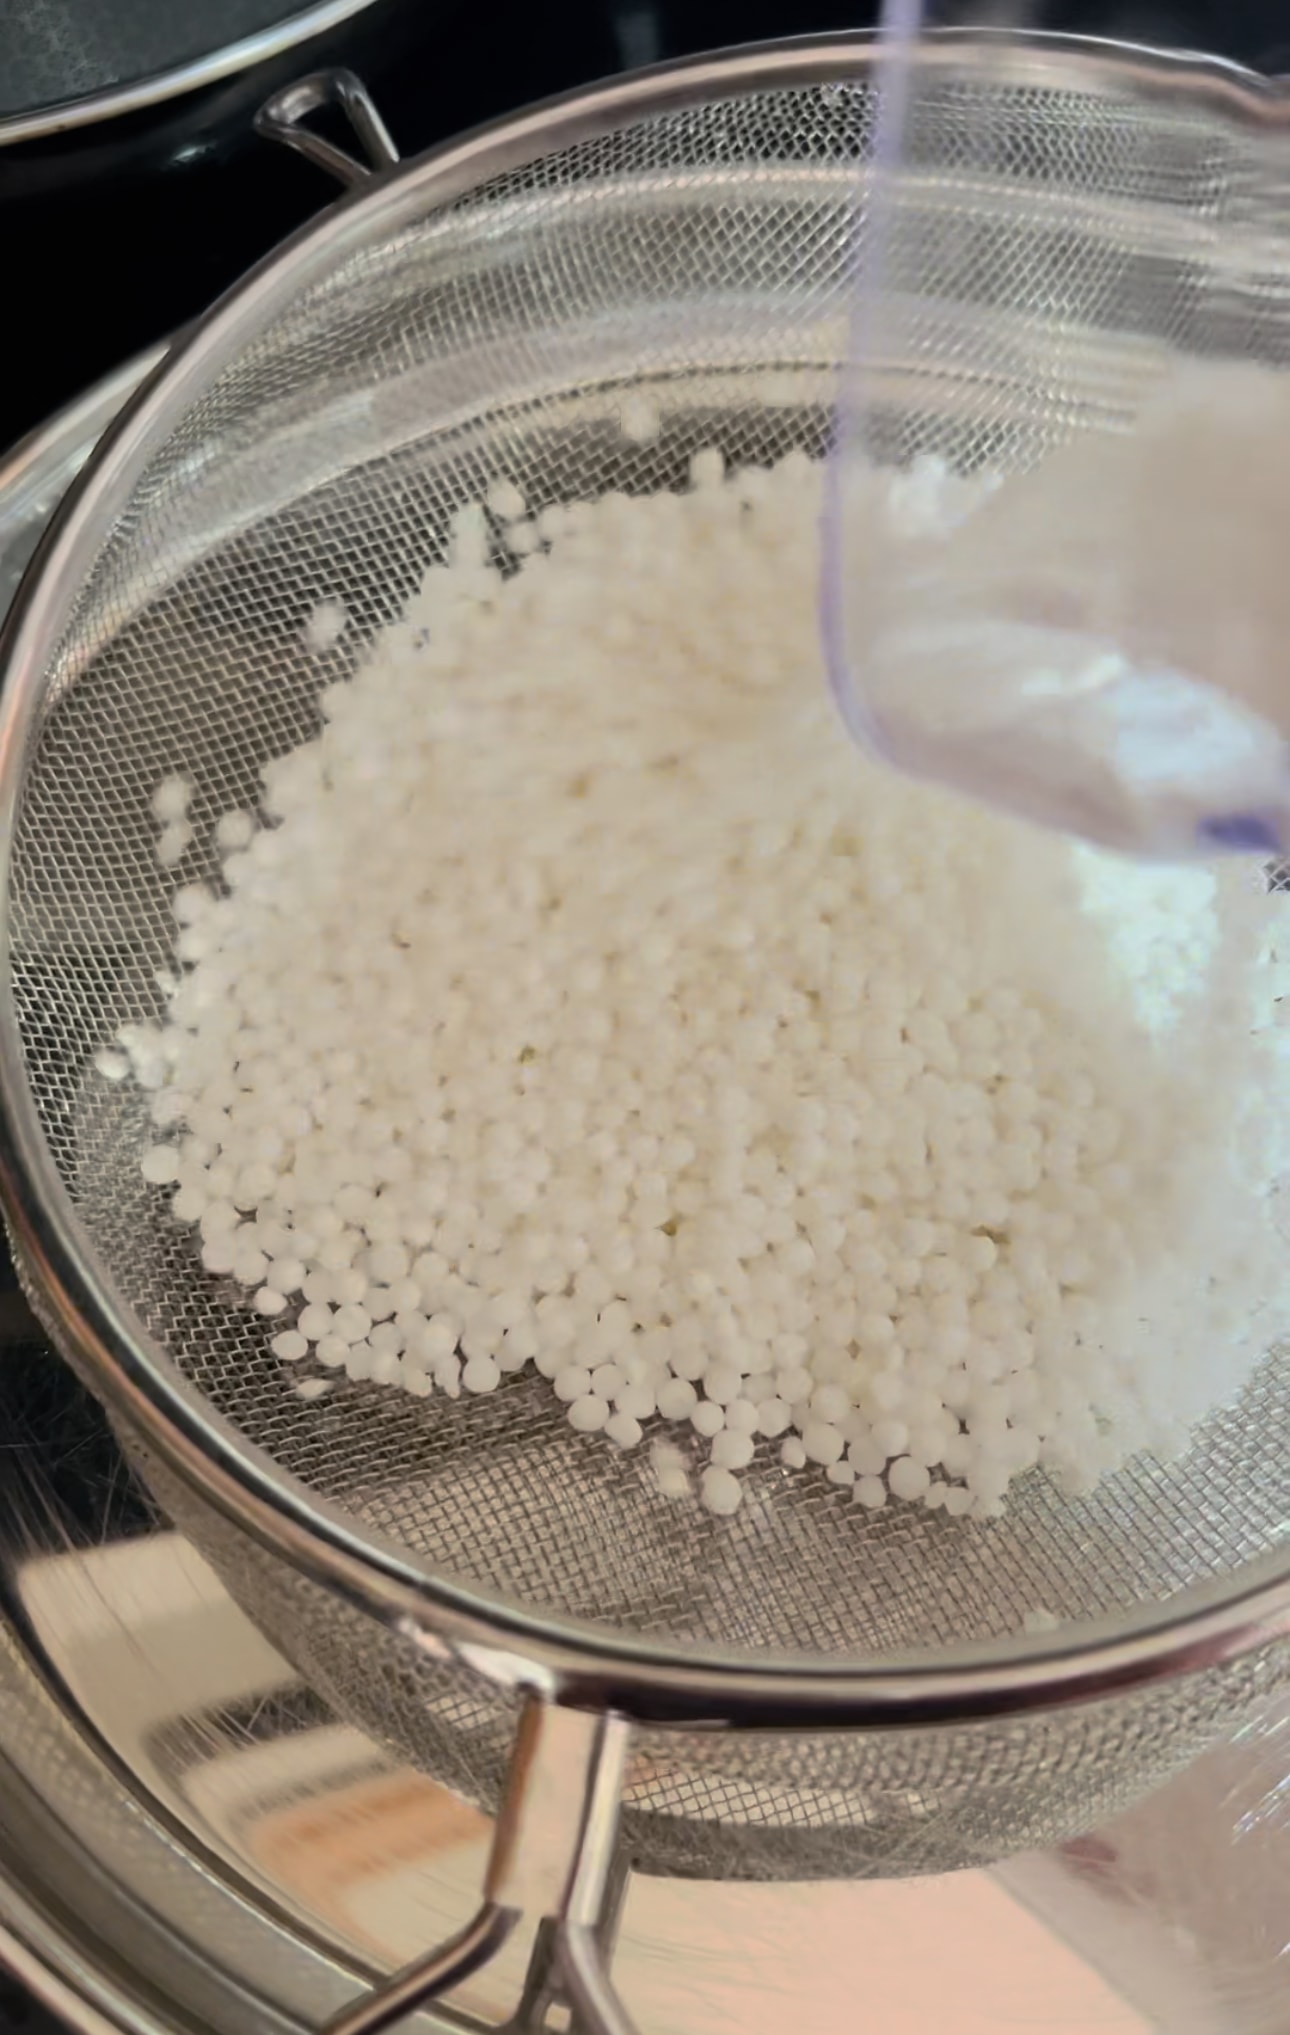
  1. Put the dry sabudana in a sieve. Tap the sieve gently. This will help separate out the small pieces and leave only the pearls behind. This reduces the possibility of small particles and flour clumping together reducing excess starch.
  2. Before washing, you can put the sabudana in a pan and roast it lightly. This will help make sure your khichdi does not get too sticky. But most people make sabudana khichdi without this step.
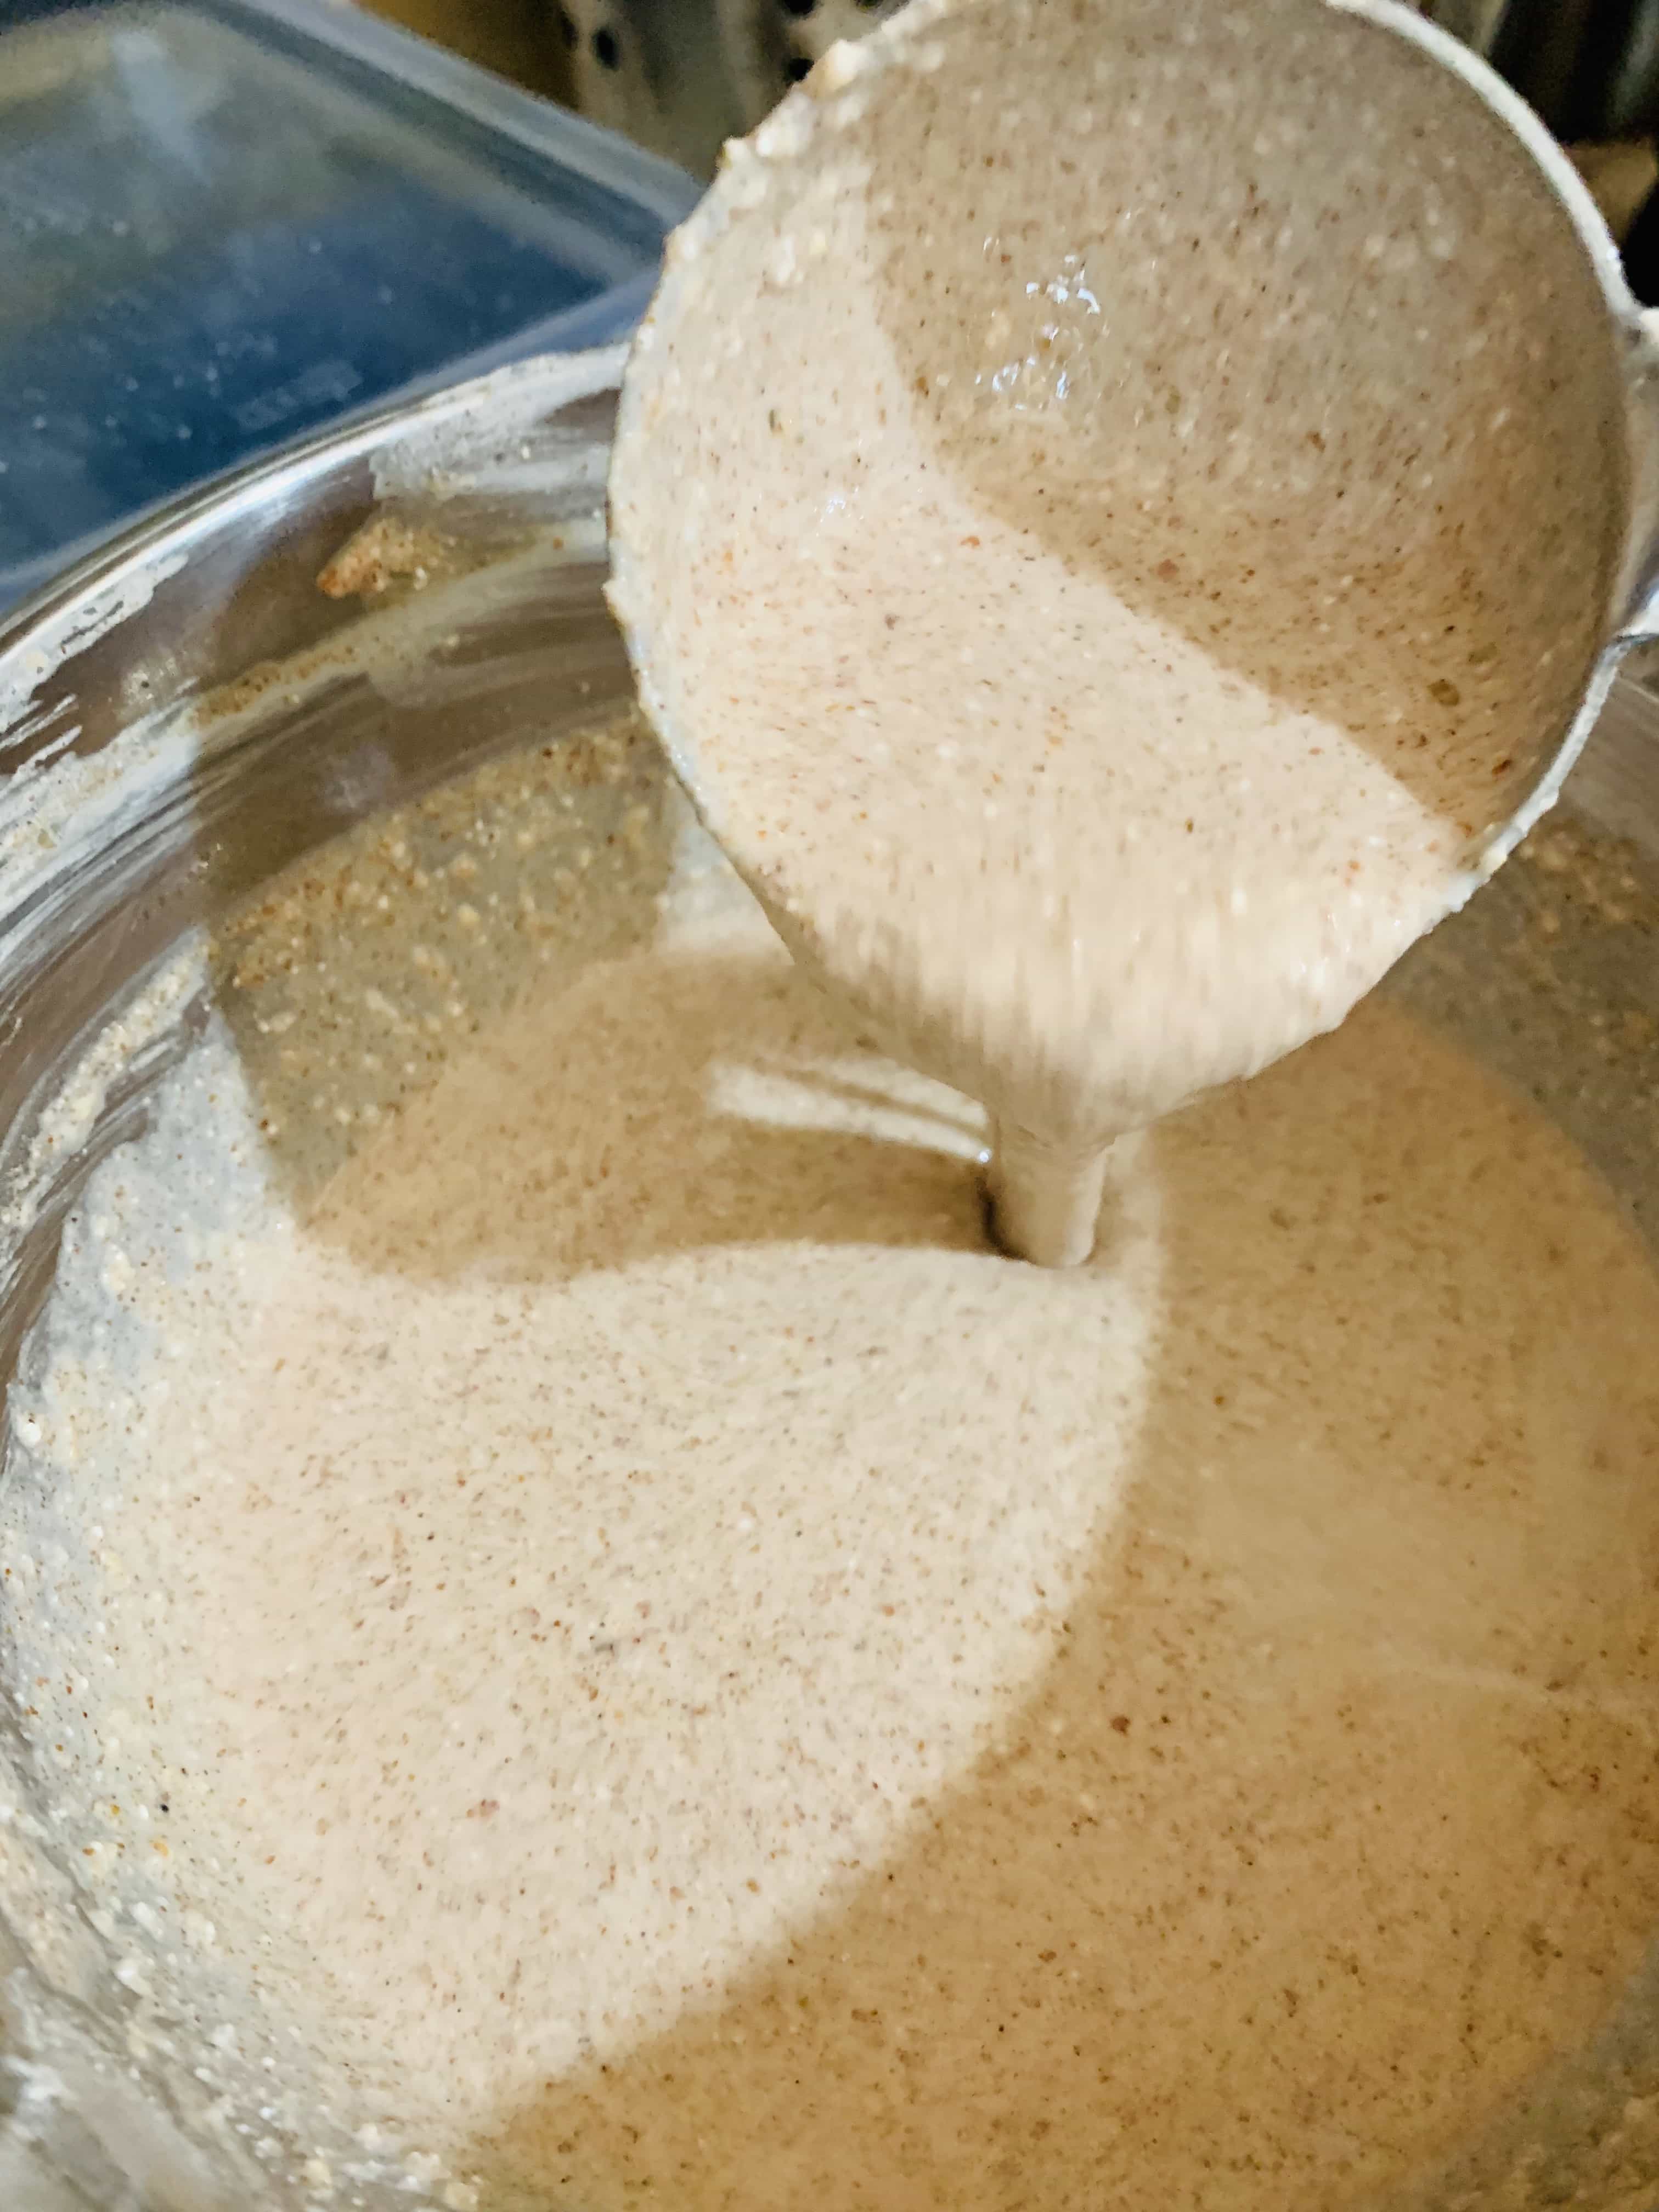
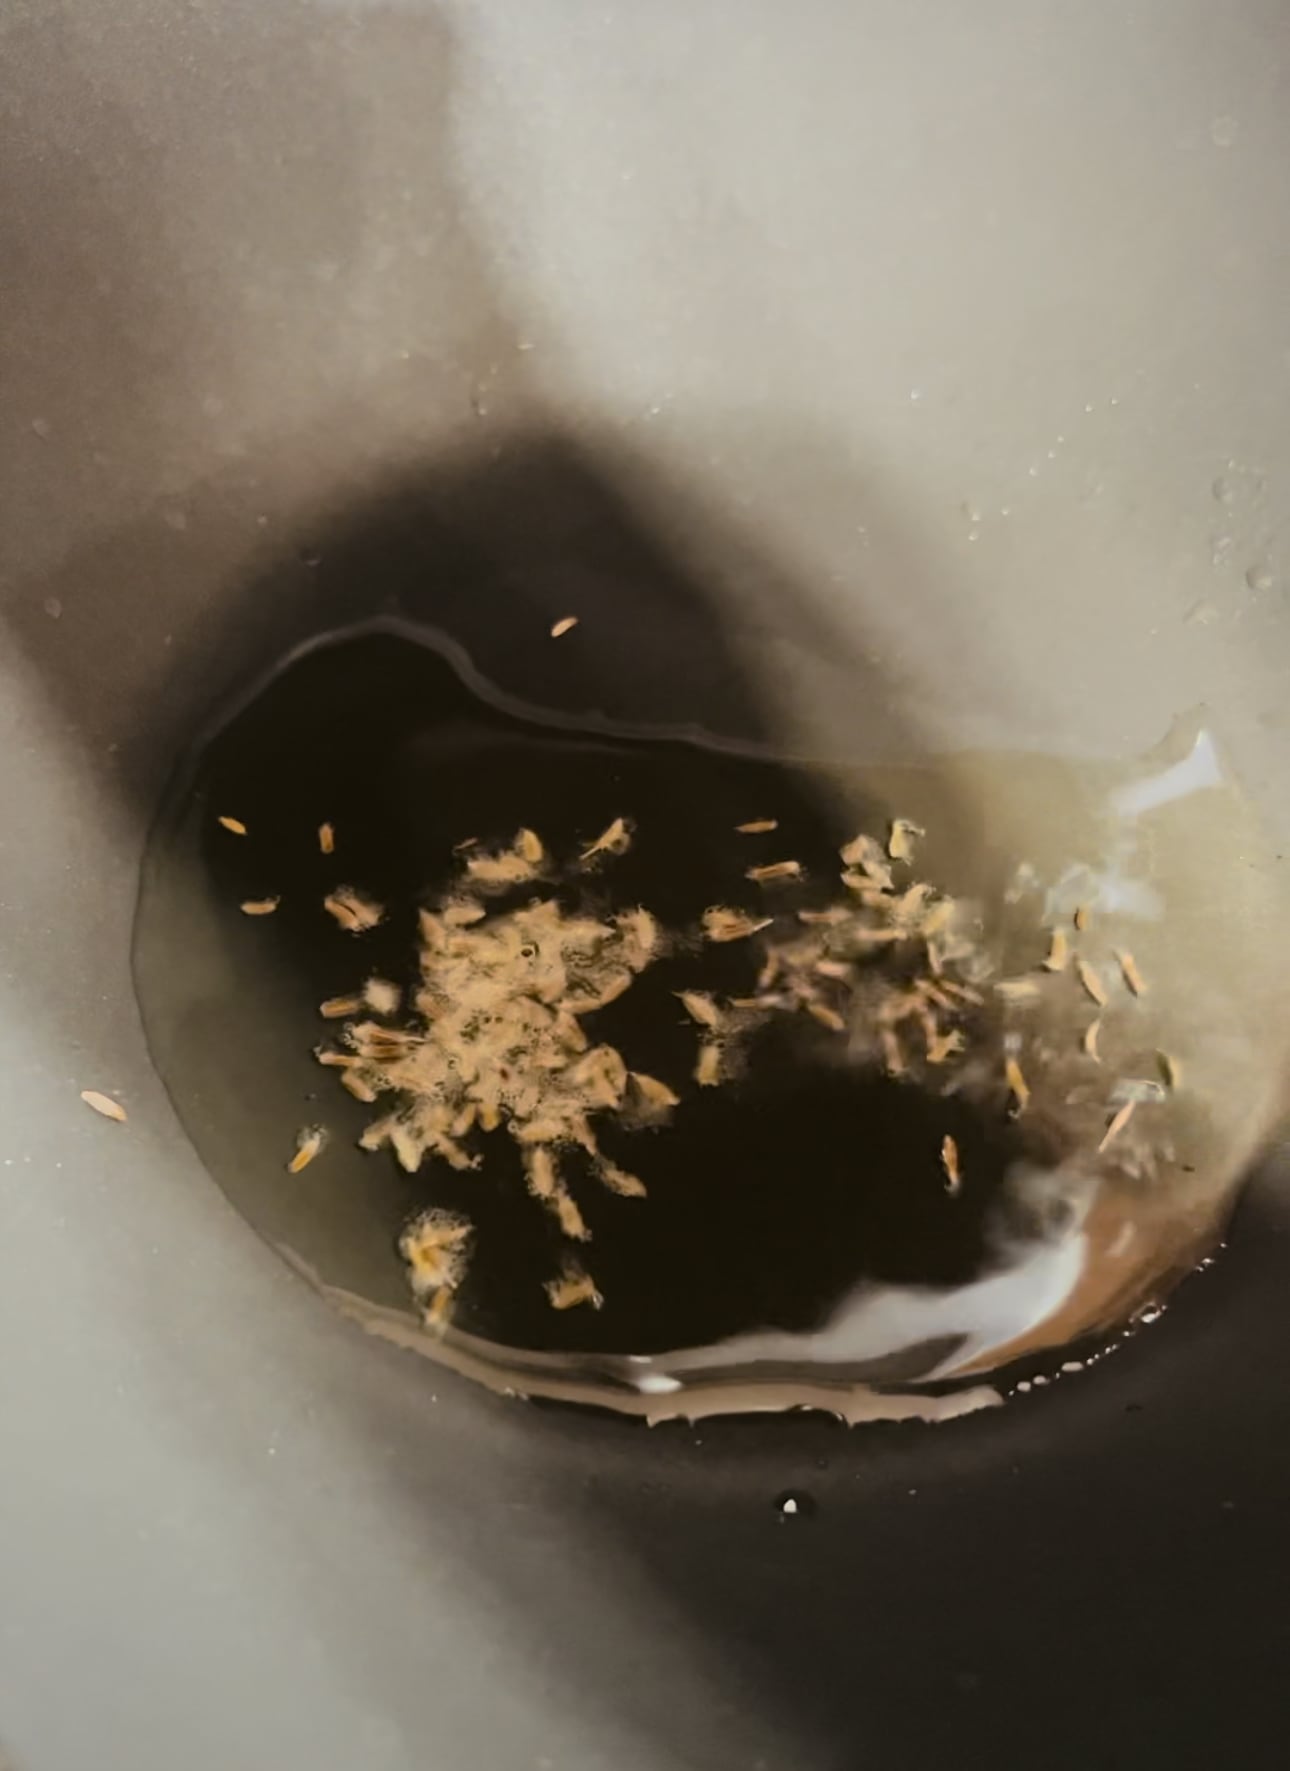
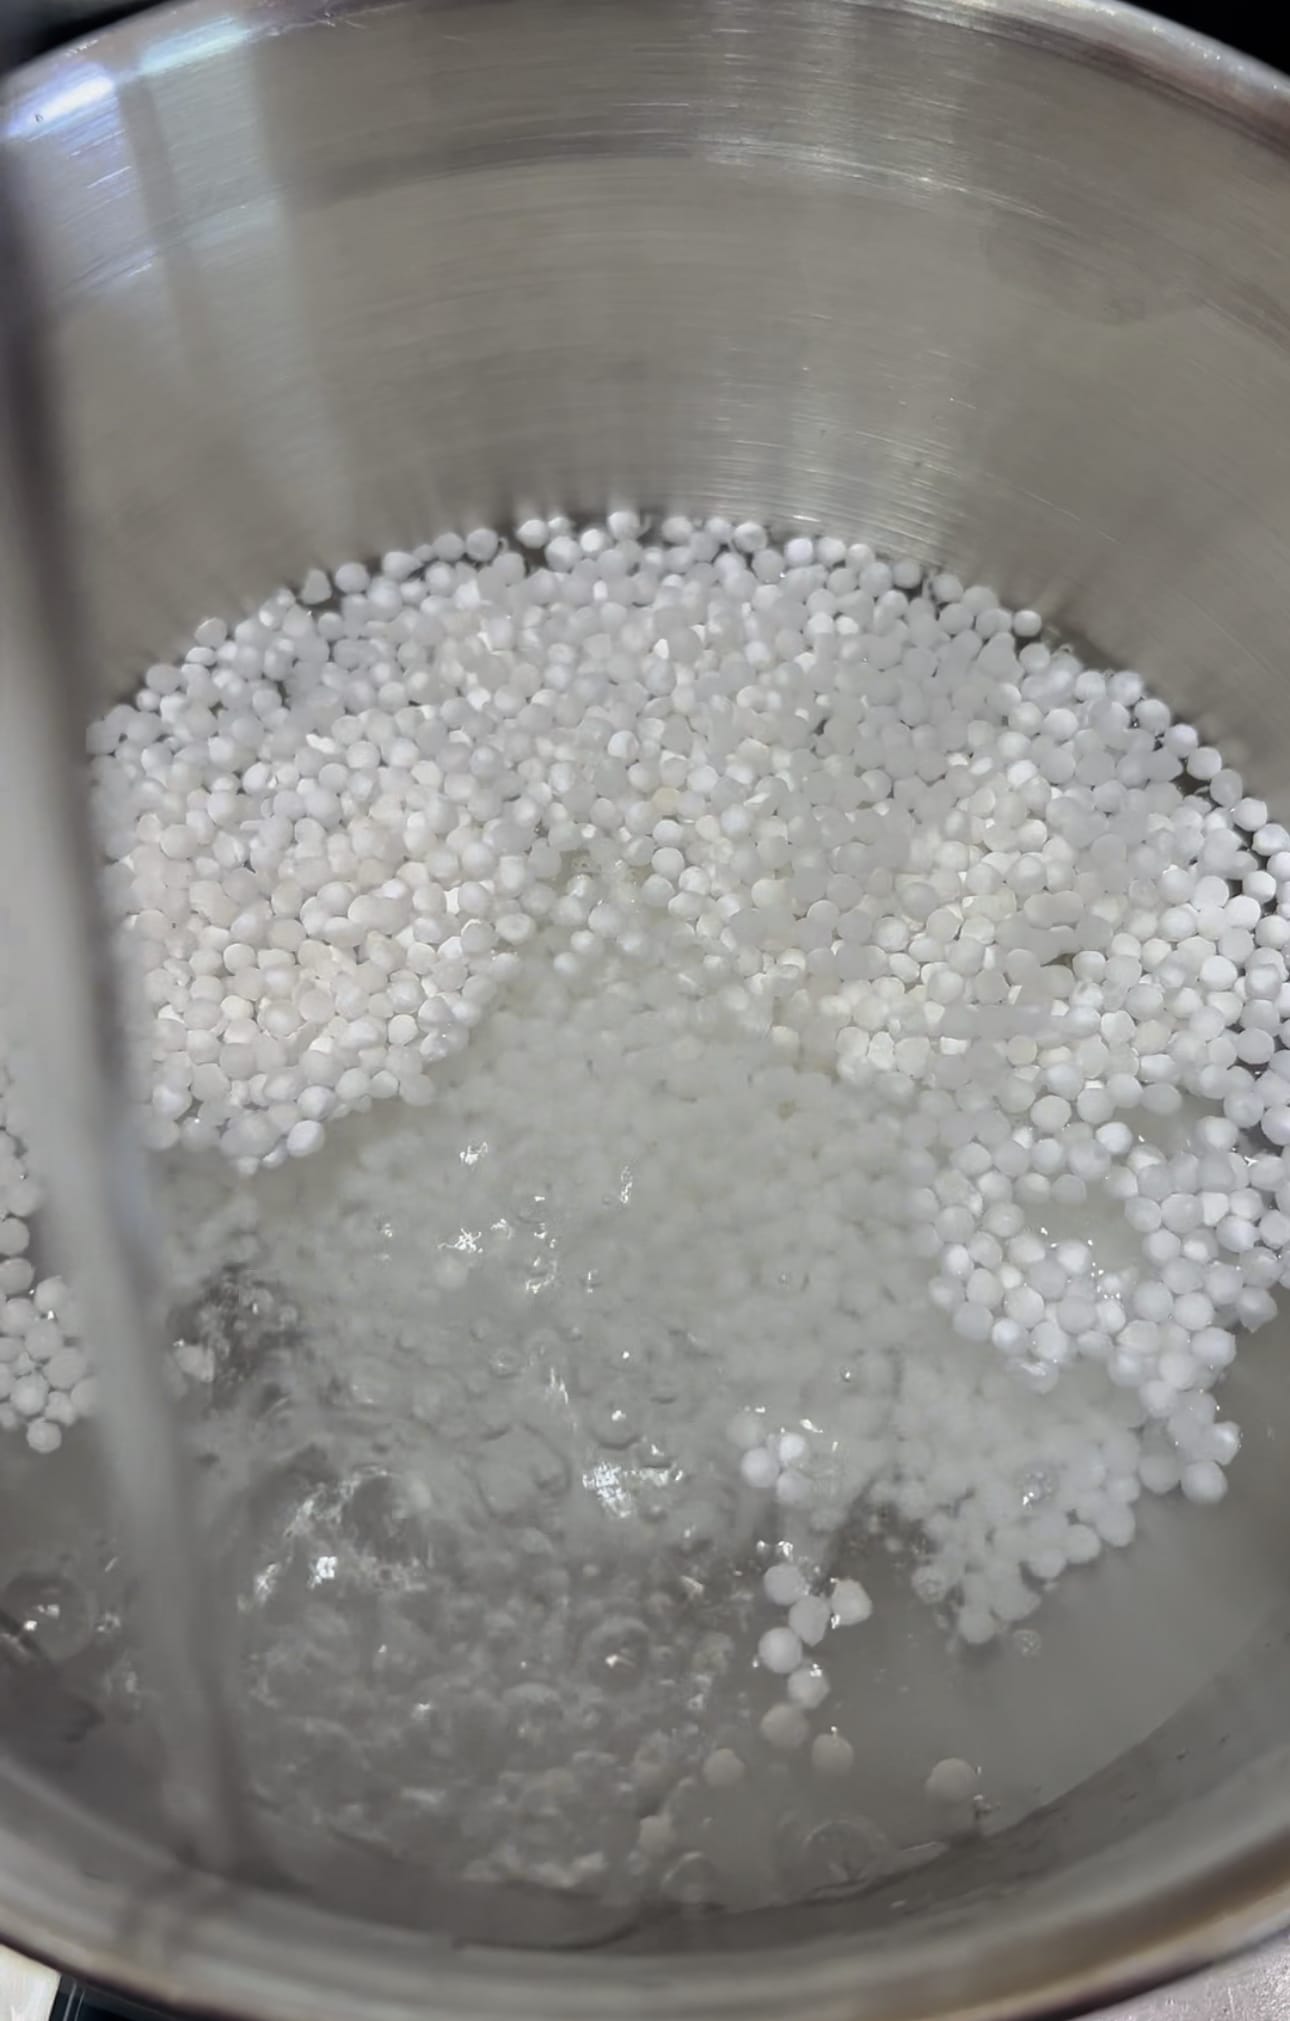
  3. Place the sabudana in a big pot and add excess water four to six times the sabudana quantity. Then swirl the sabudana around gently in the excess water. This starts making the water starchy as any excess starch powder hydrates into the water. Drain off this starchy excess water from the top.
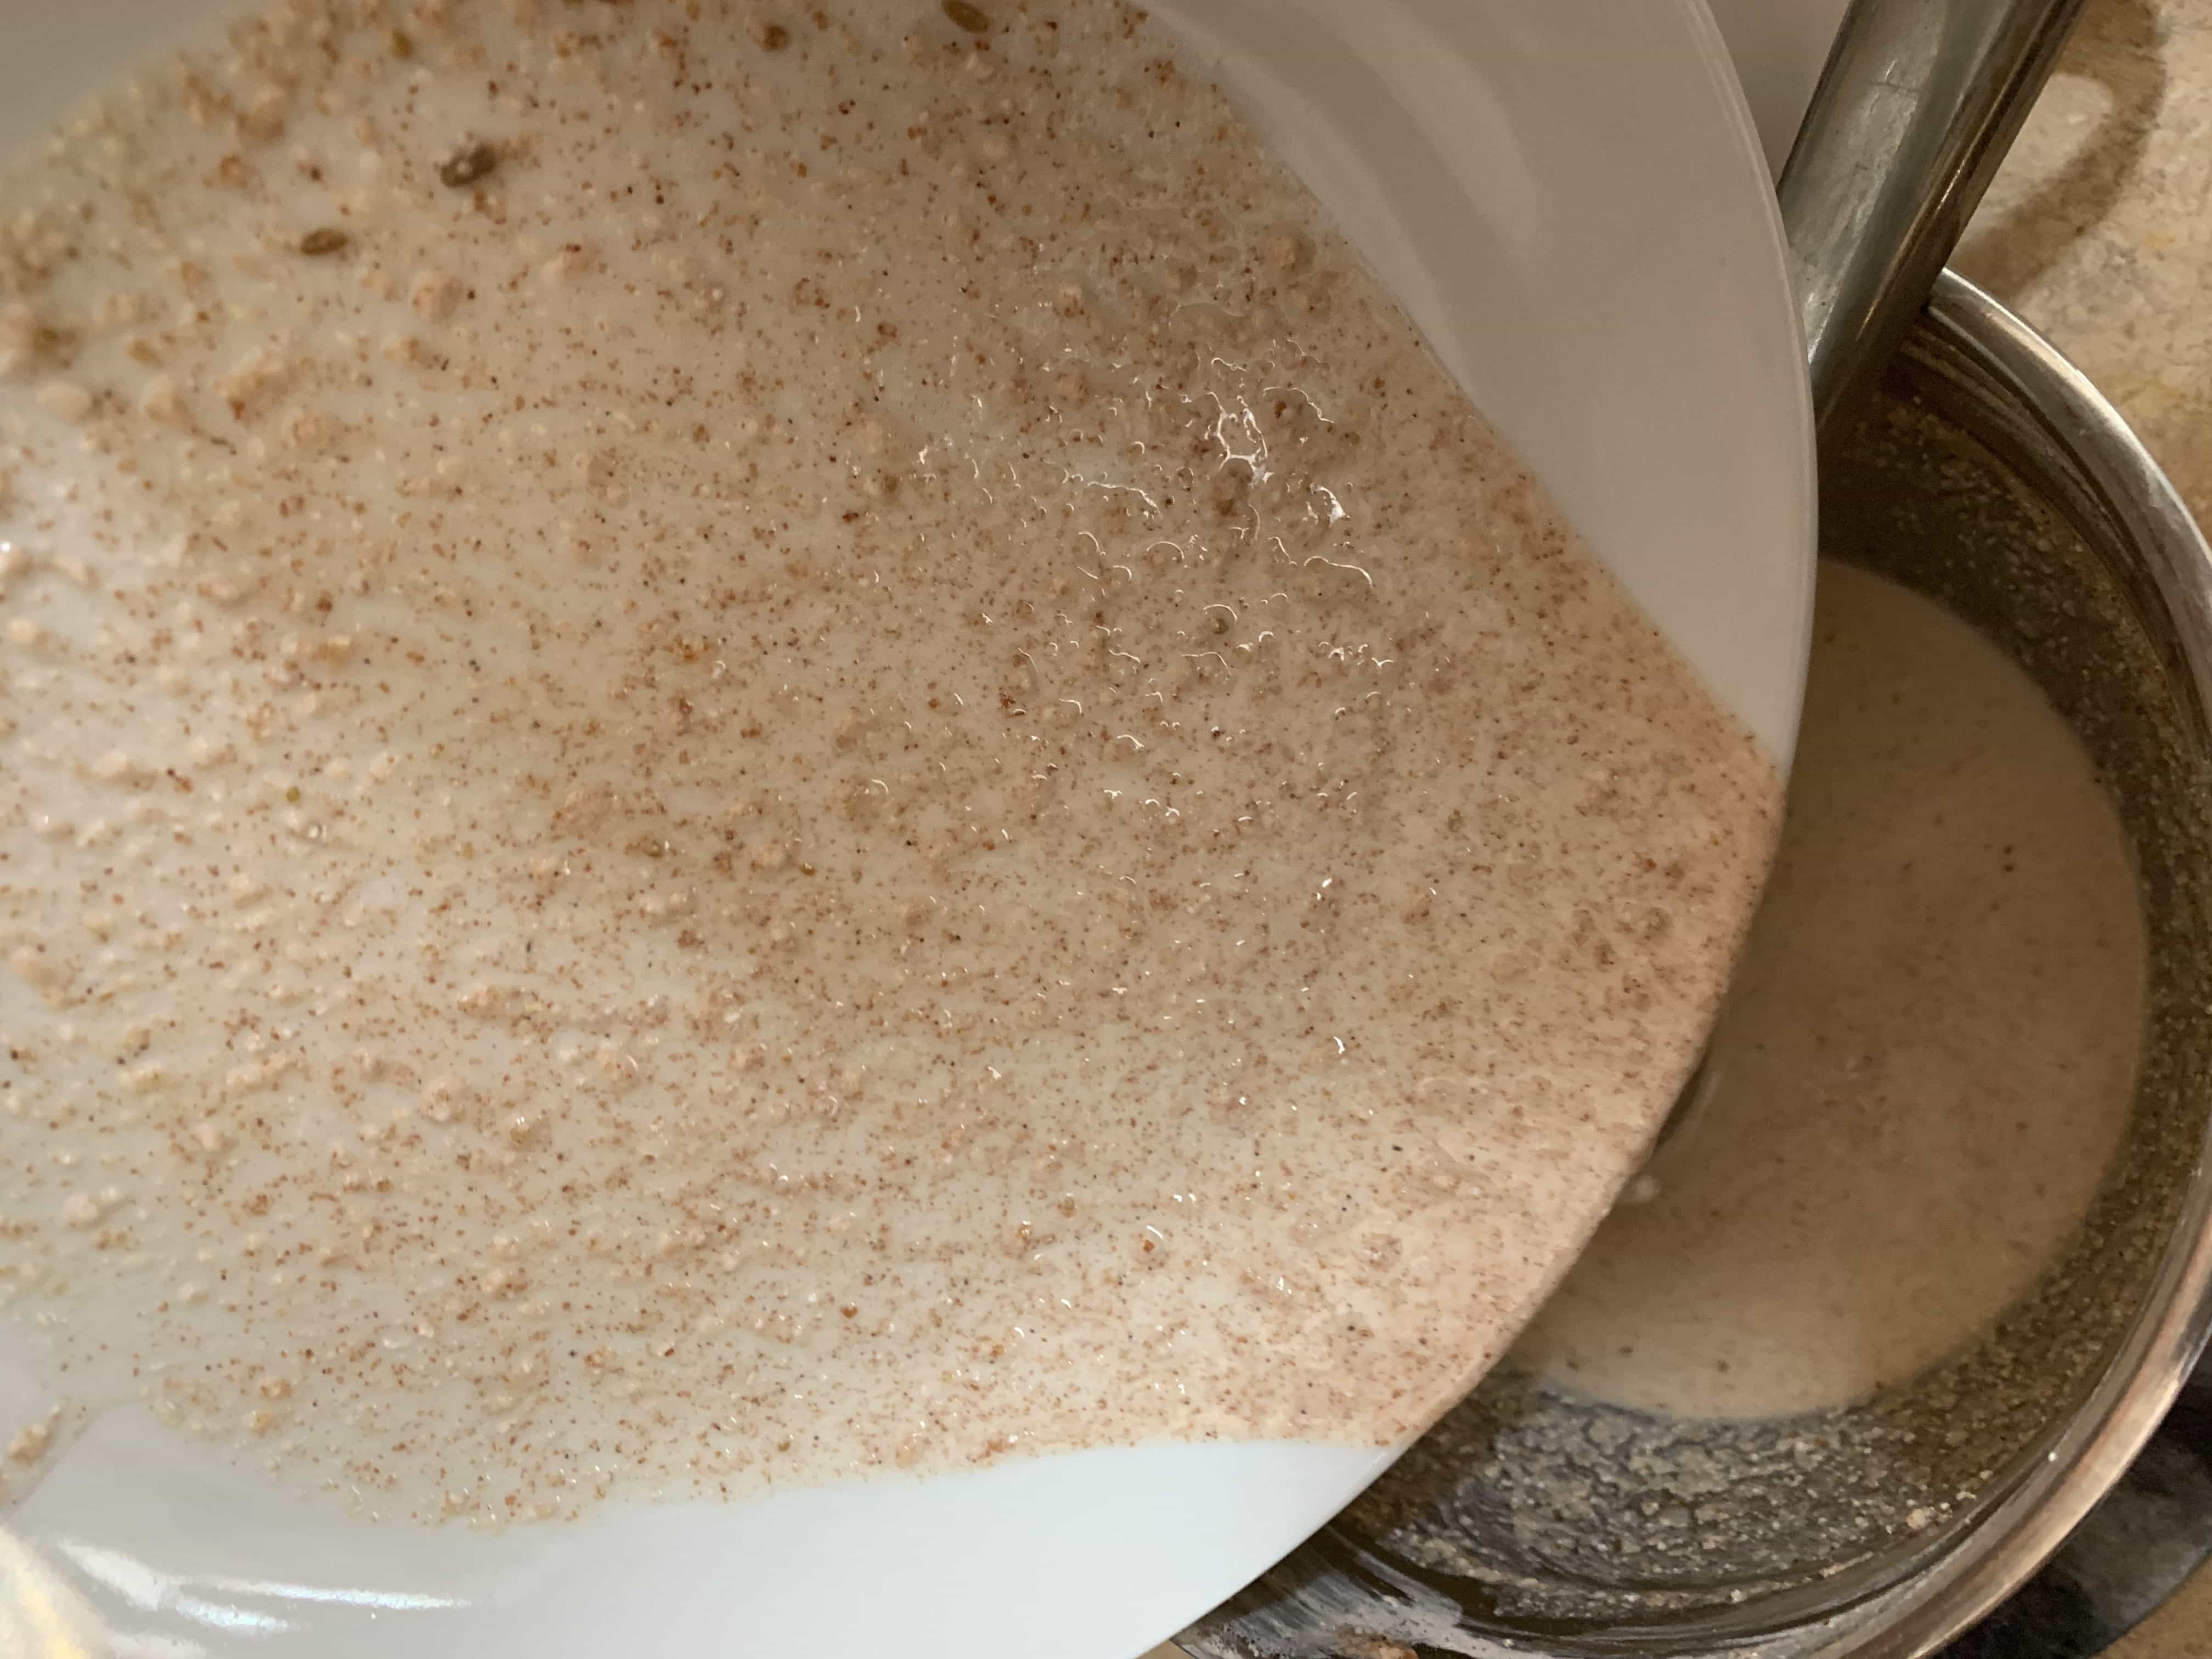
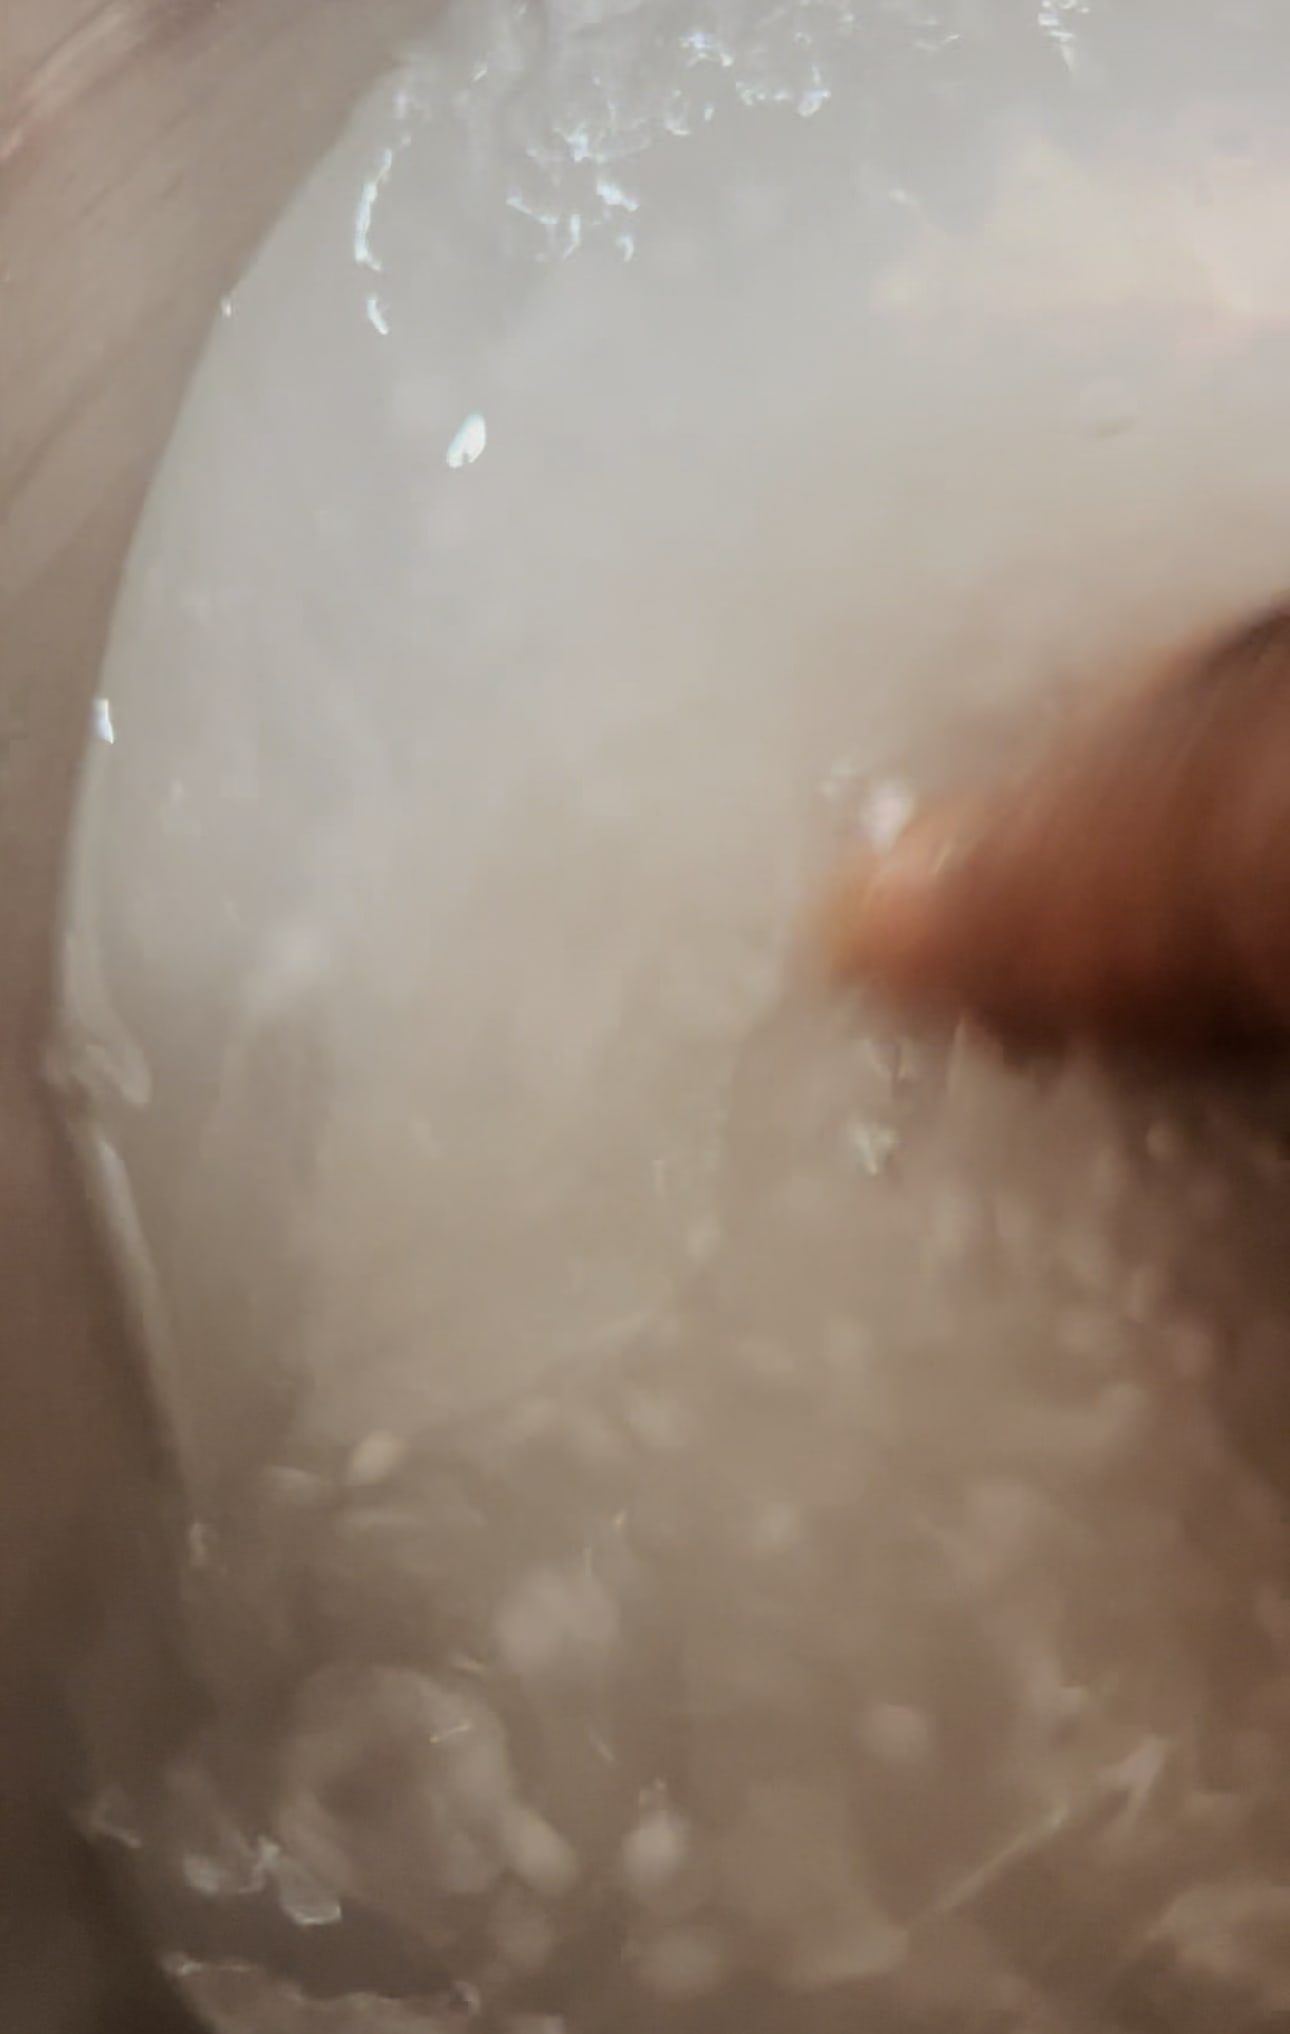
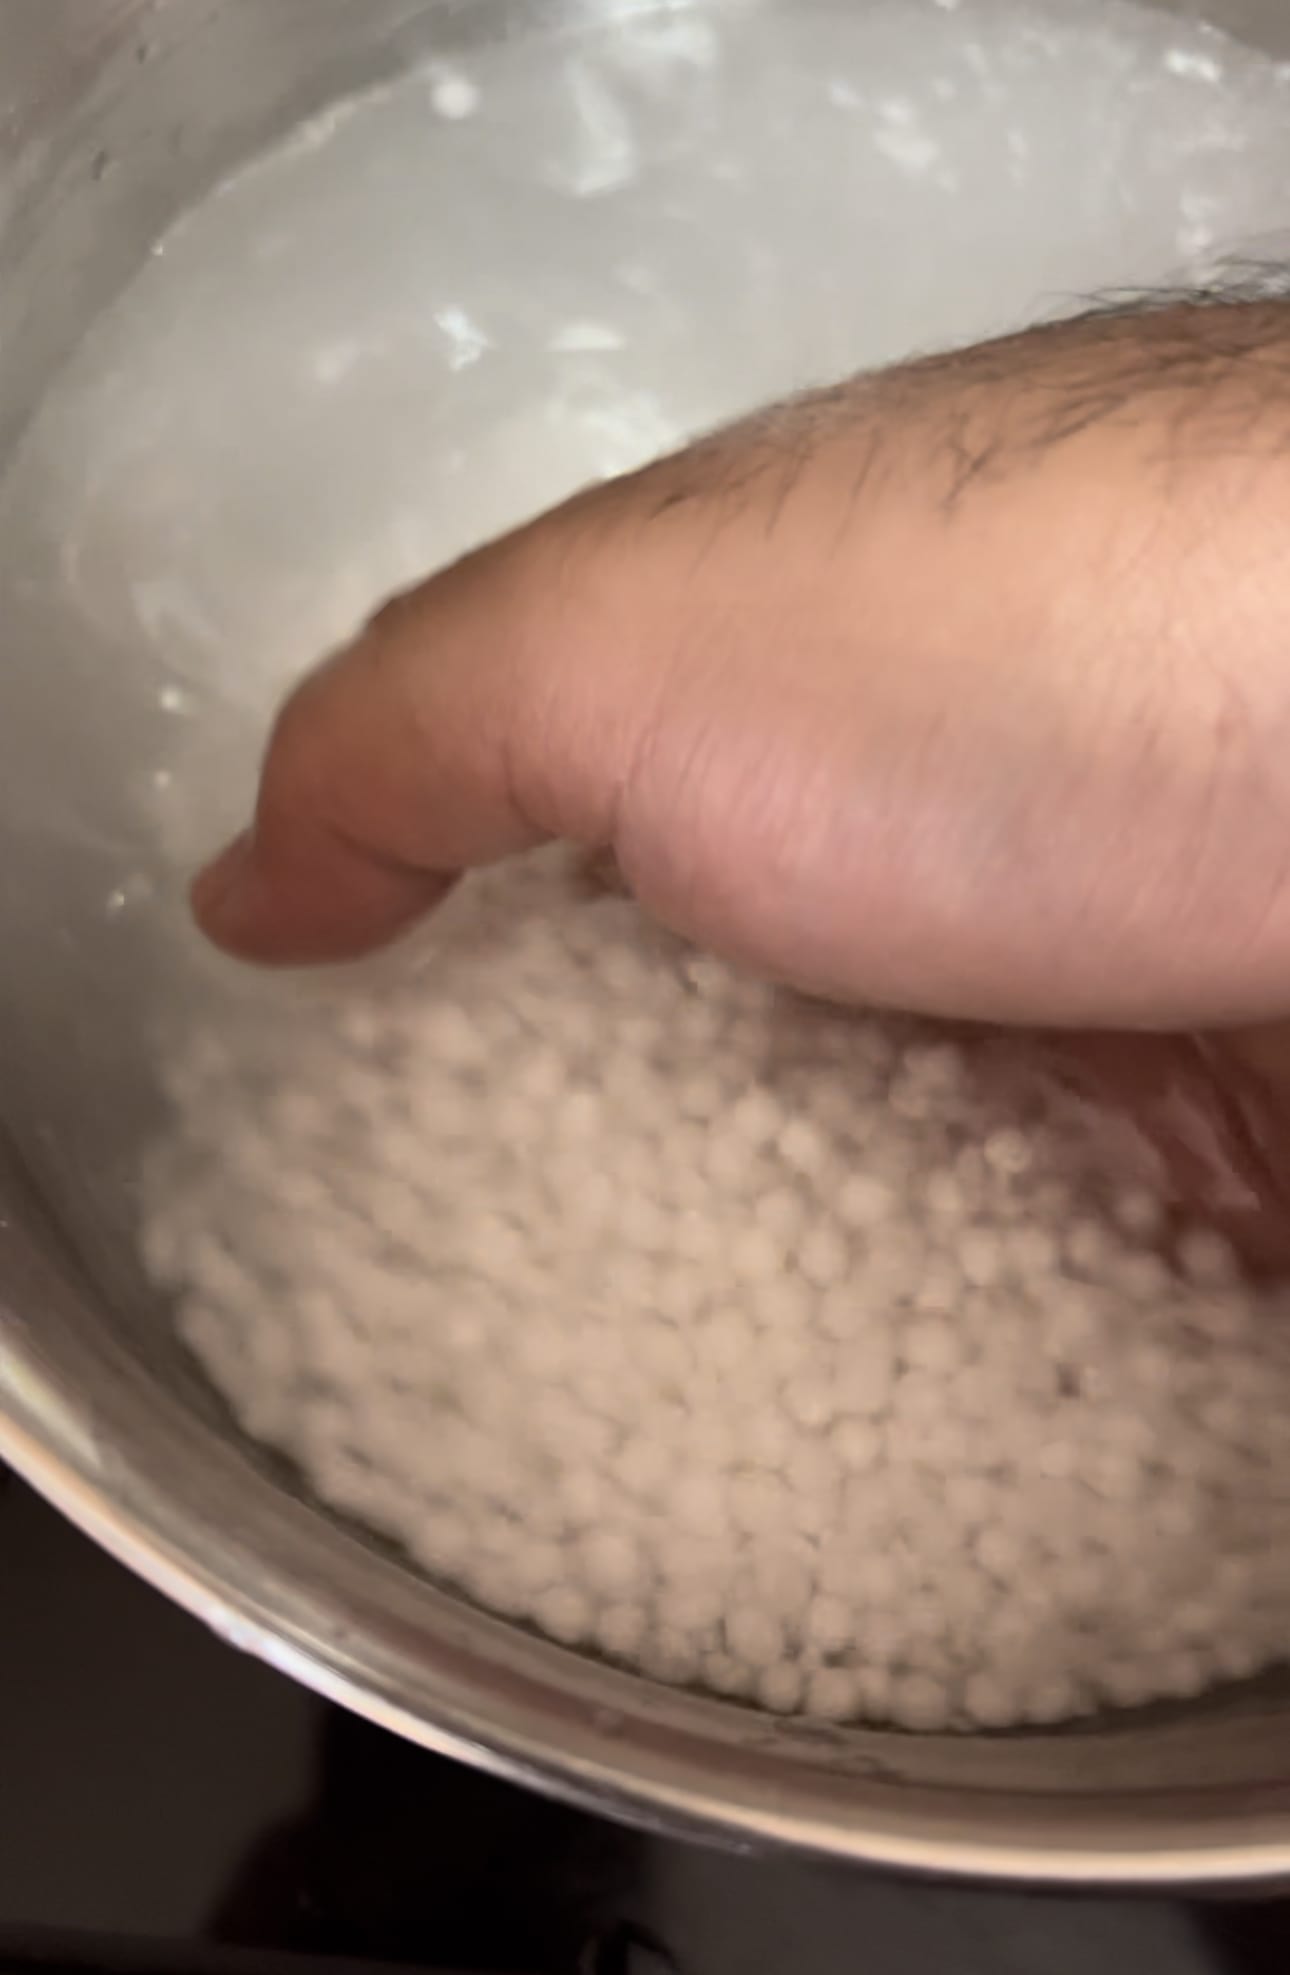
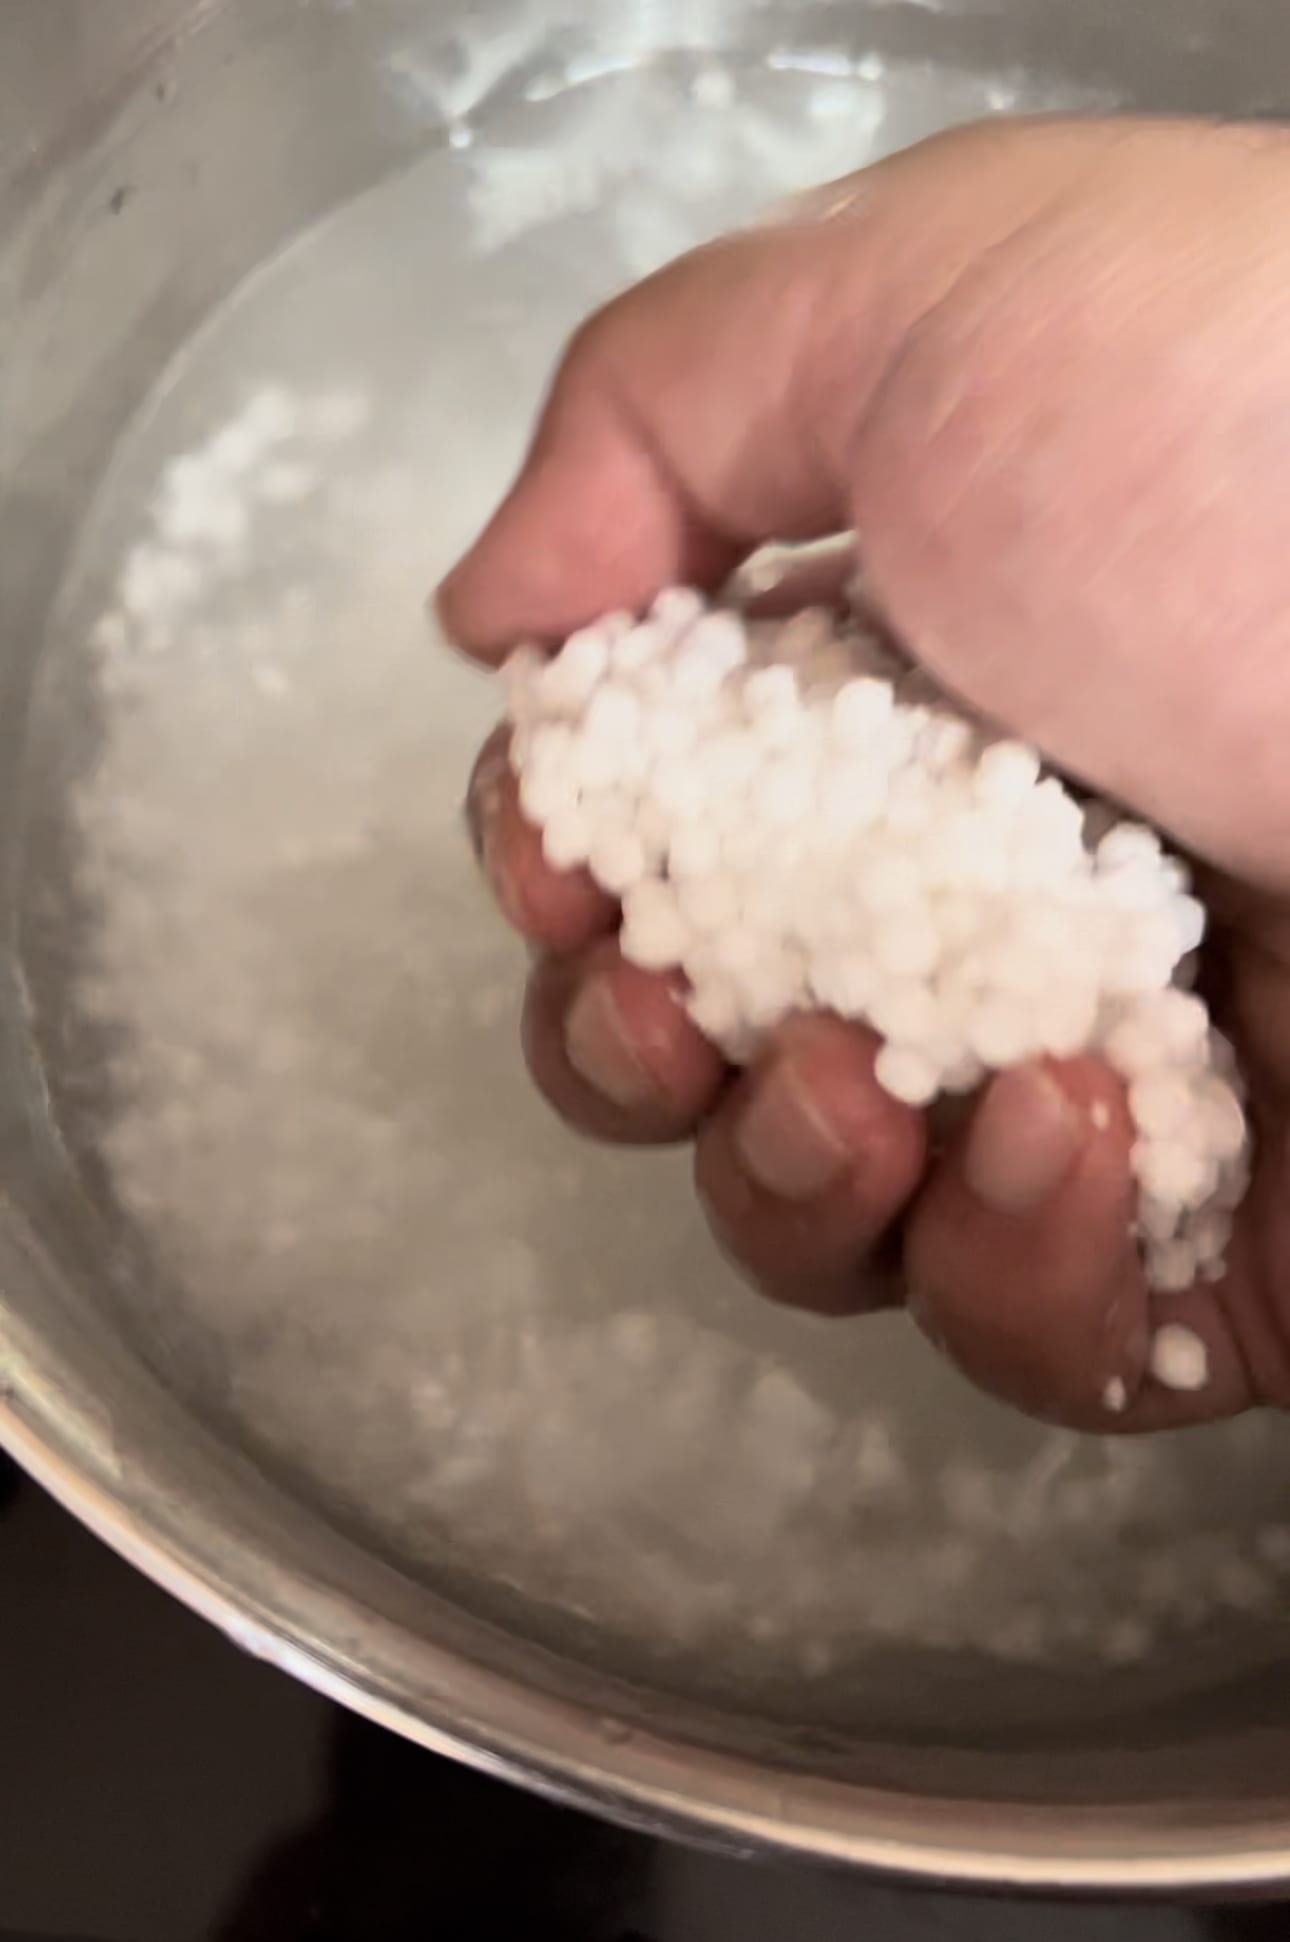
  4. Now if you strain out the rinsed sabudana into a strainer lot of lose particles will also end up in the drained sabudana. Instead, use your hands to scoop out fistfuls of rinsed sabudana to place in a big flat dish and spread it out. At the end, there will be a bunch of excess starch and broken sabudana particles left behind in the vessel.
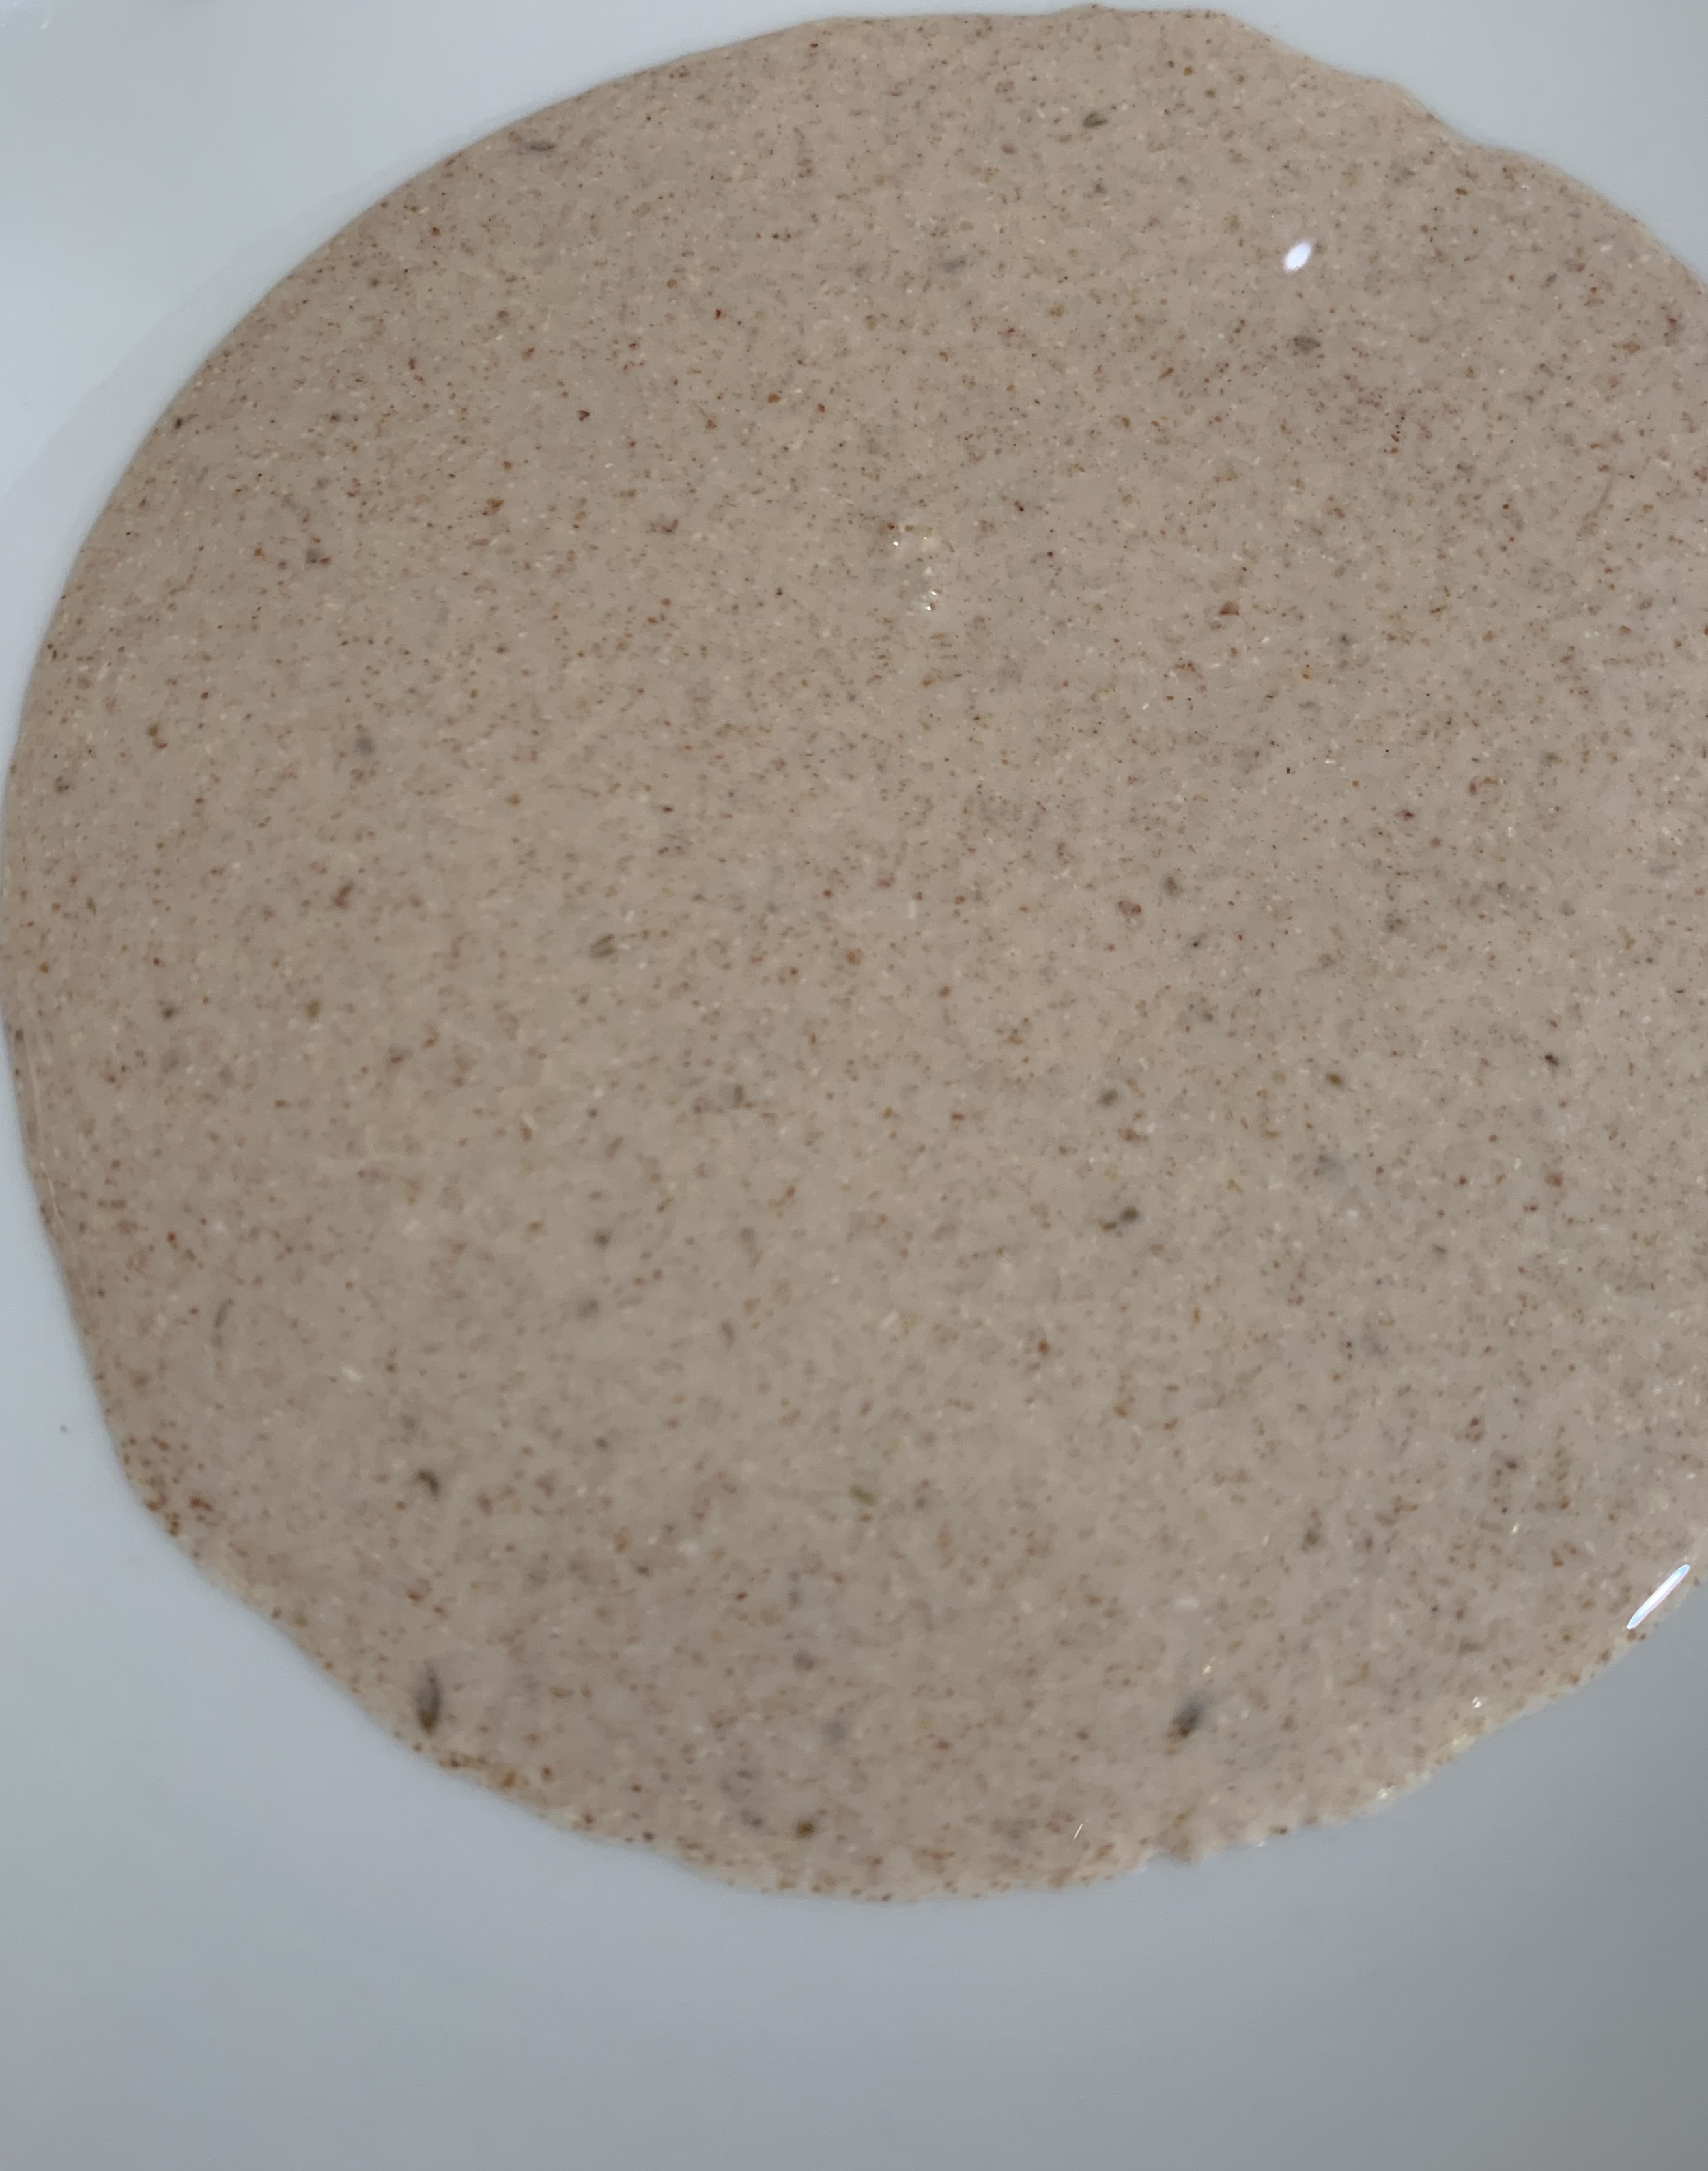
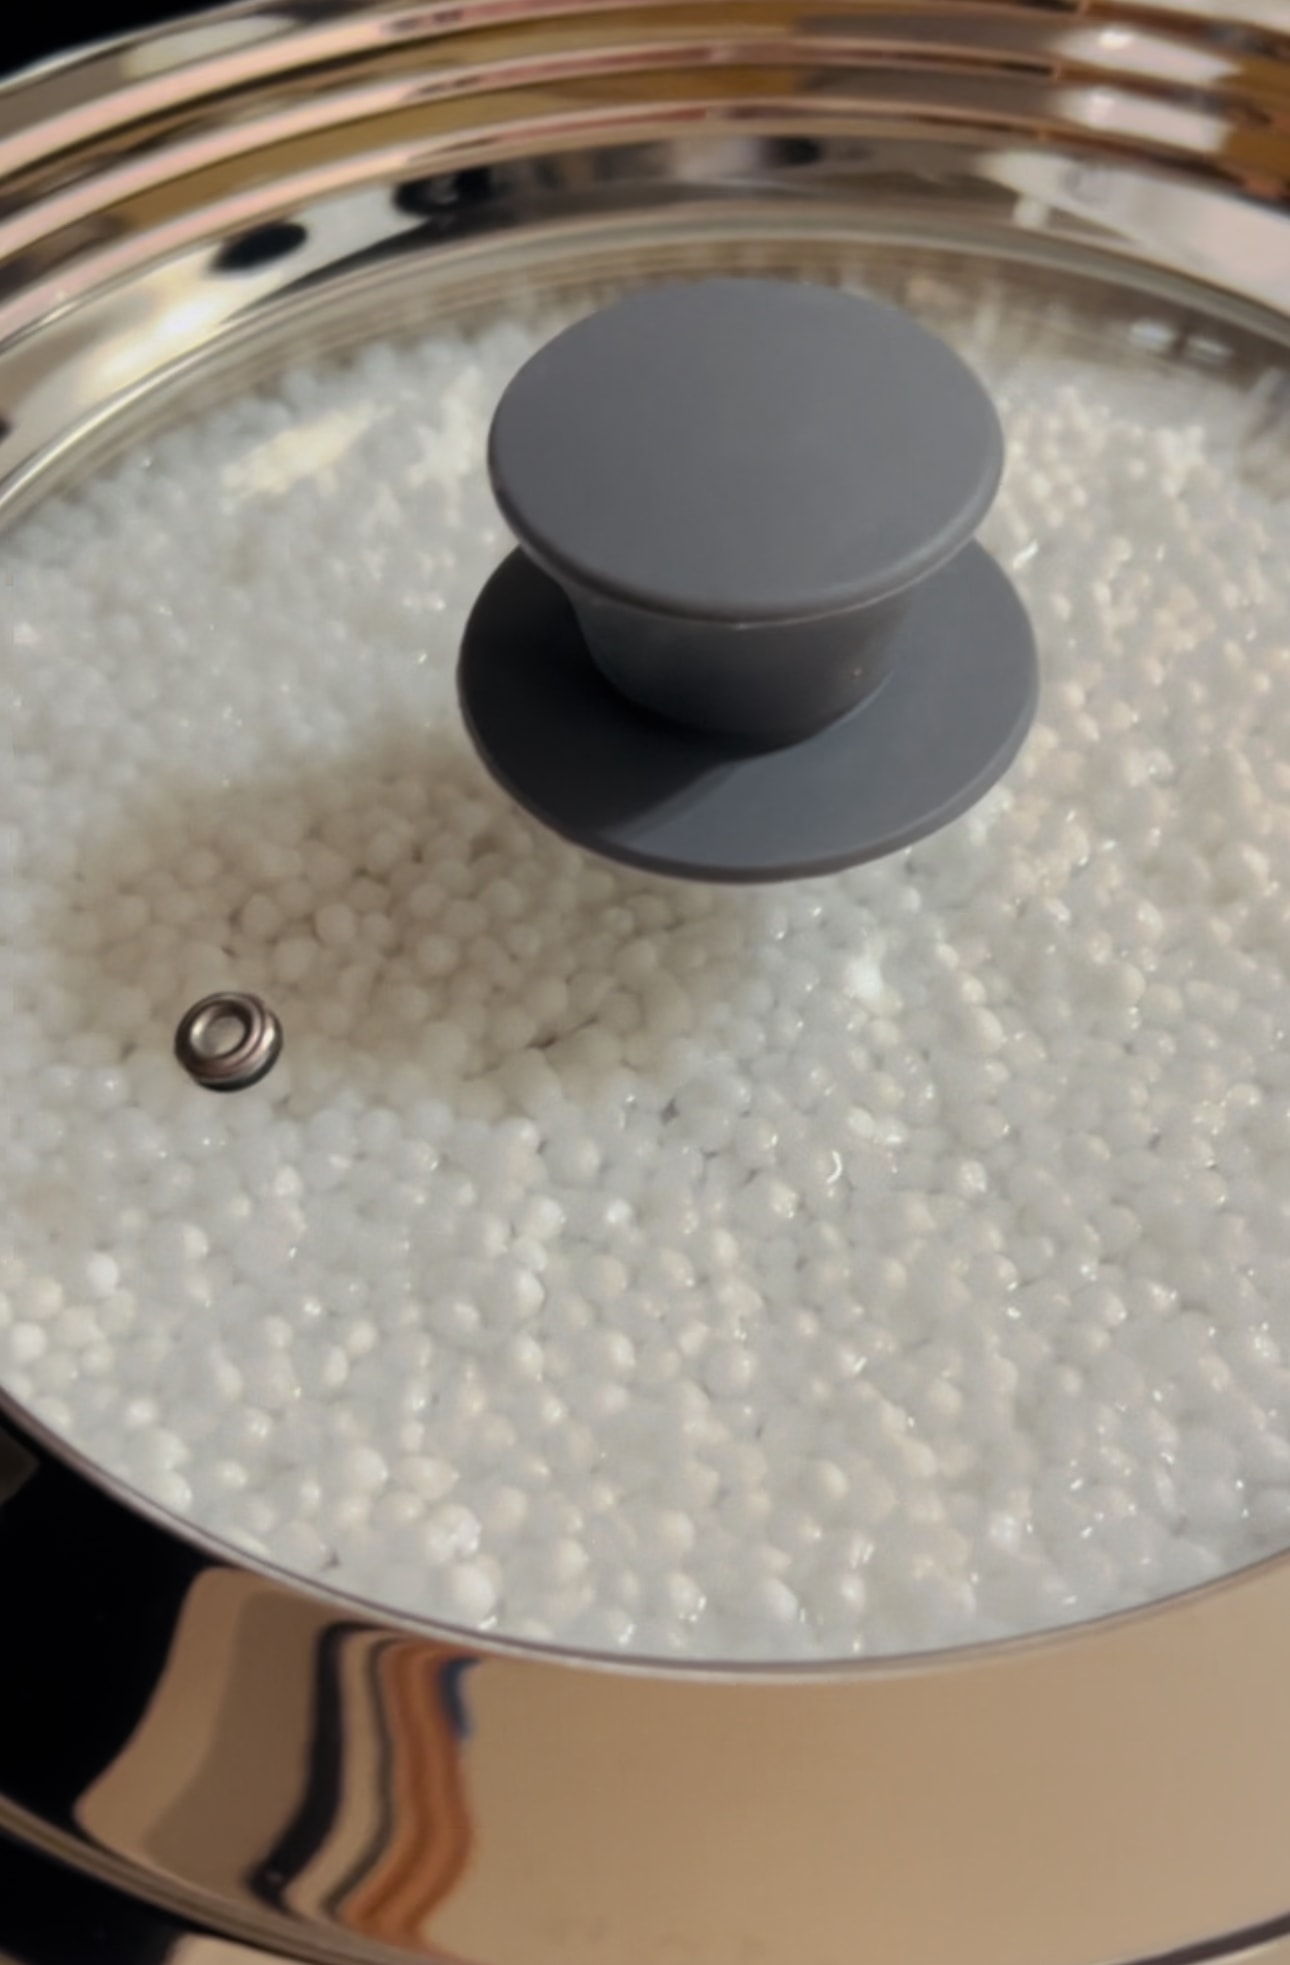
  5. Gently spread the sabudana onto the plate and add water no more than one-third of the way up the drained sabudana. This means not much water at all and definitely not submerged.
  6. The soaking time depends on the size of the sabudana, manufacturing date, and moisture content. Usually, it takes 1 to 4 hours. Sabudana can grow up to two to two and a half times the original volume.
  7. If you want a shorter soaking time then you can use slightly warm water (not boiling hot water) for soaking.
  8. If you plan to cook sabudana khichdi for breakfast you can soak the sabudana overnight. Soak the sabudana as above for 30 minutes, then use your fists to pull the saubudana out into another plate and cover sabudana overnight. You can refrigerate it, but make sure to bring it to room temperature in the morning.

Sieve SabudanaLarge Salad Bowl for Washing Sabudana Tapioca PearlsWashing Tapioca PearlsRinsing SabudanaStarchy water from rinsed sabudanaScoop Rinsed Sabudana Out using handsScooped out Tapioca Pearls to leave the broken pieces behindBroken Tapioca PiecesSoaked SabudanaSoak Sabudana Covered

How to test if the sabudana has soaked properly

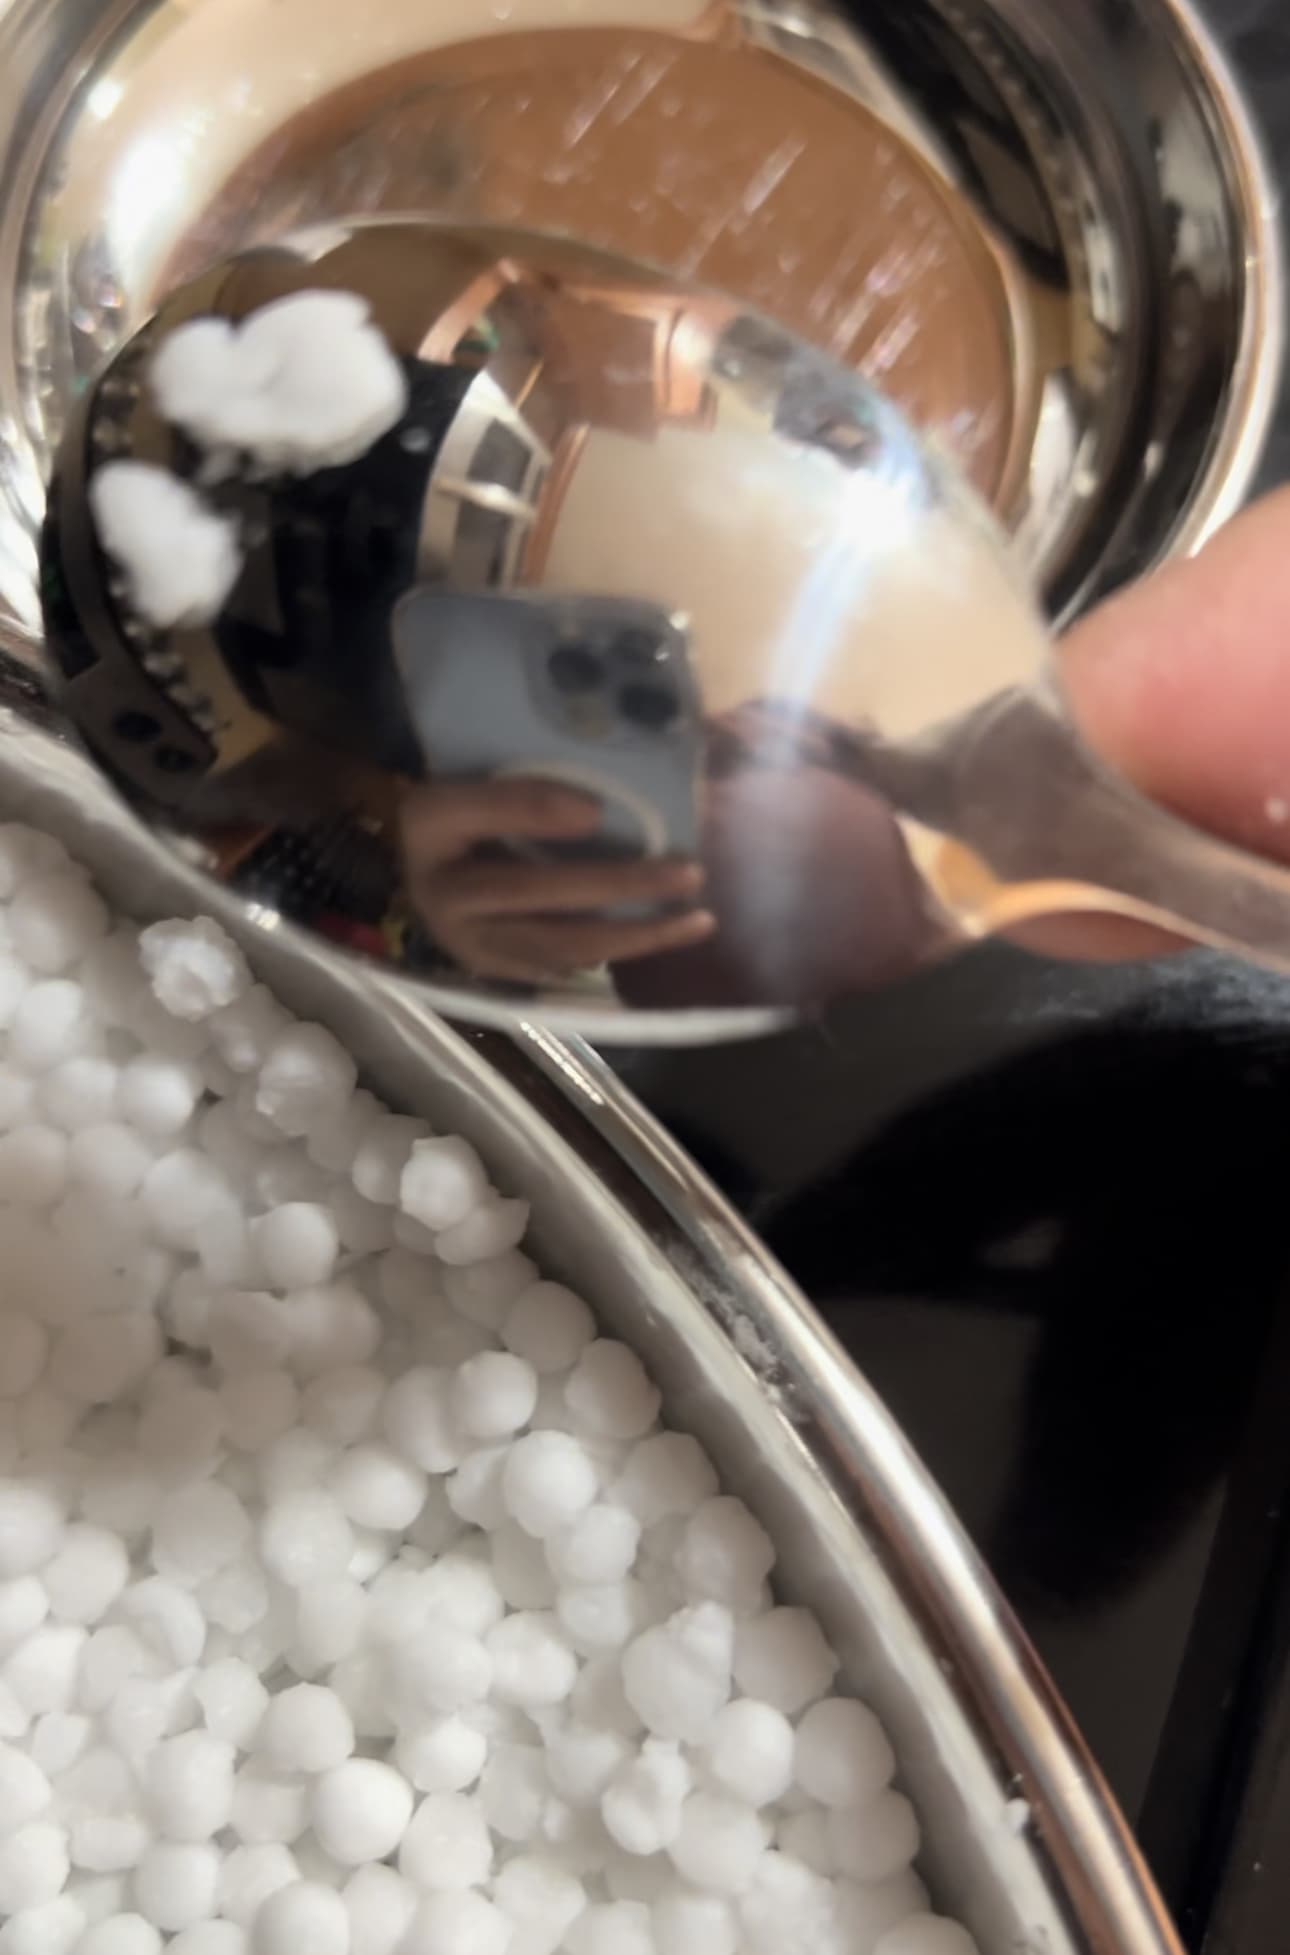
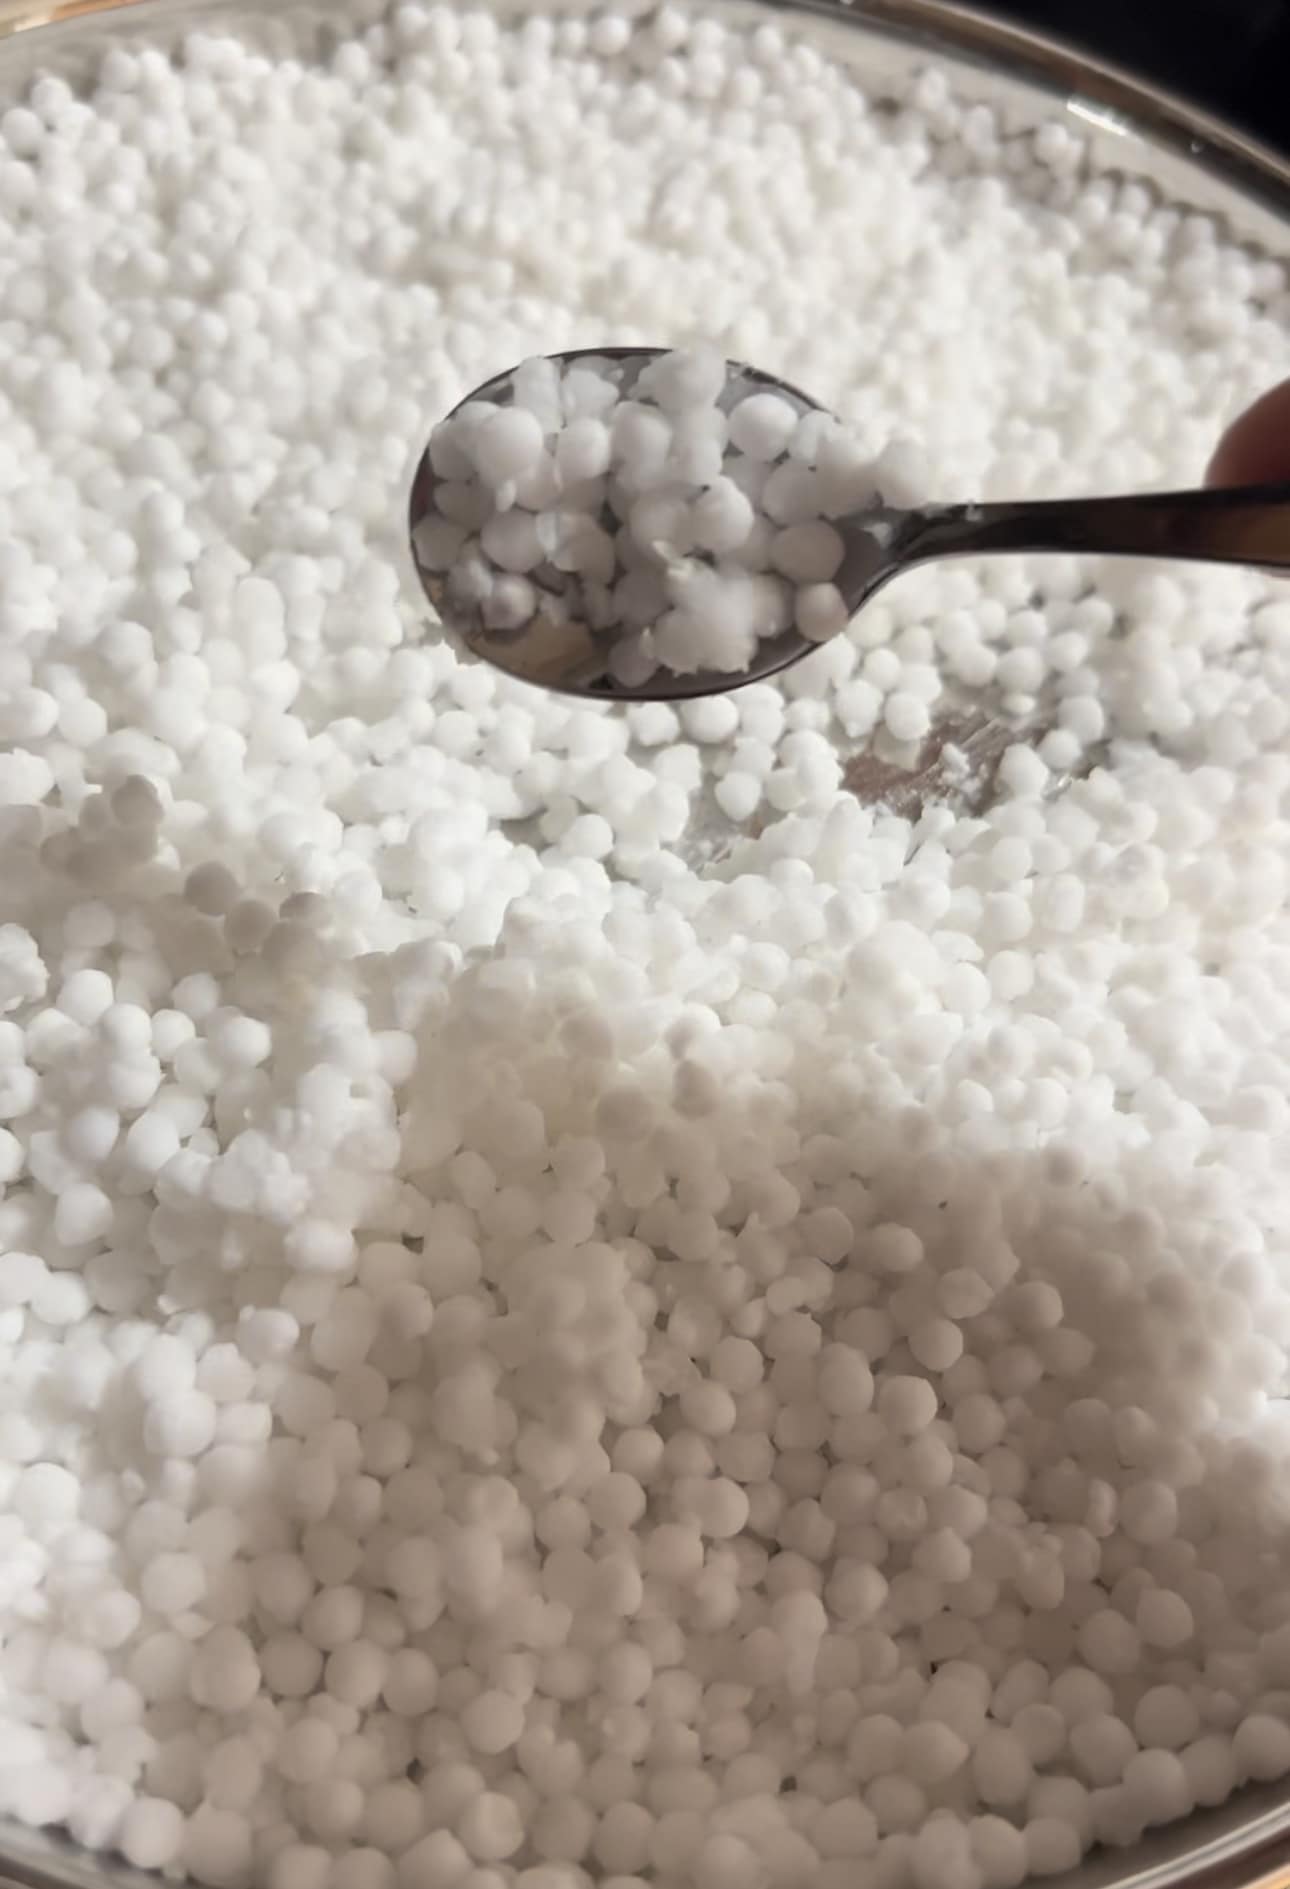
To test if the sabudana is soaked perfectly press a few pearls within your thumb and index fingers.

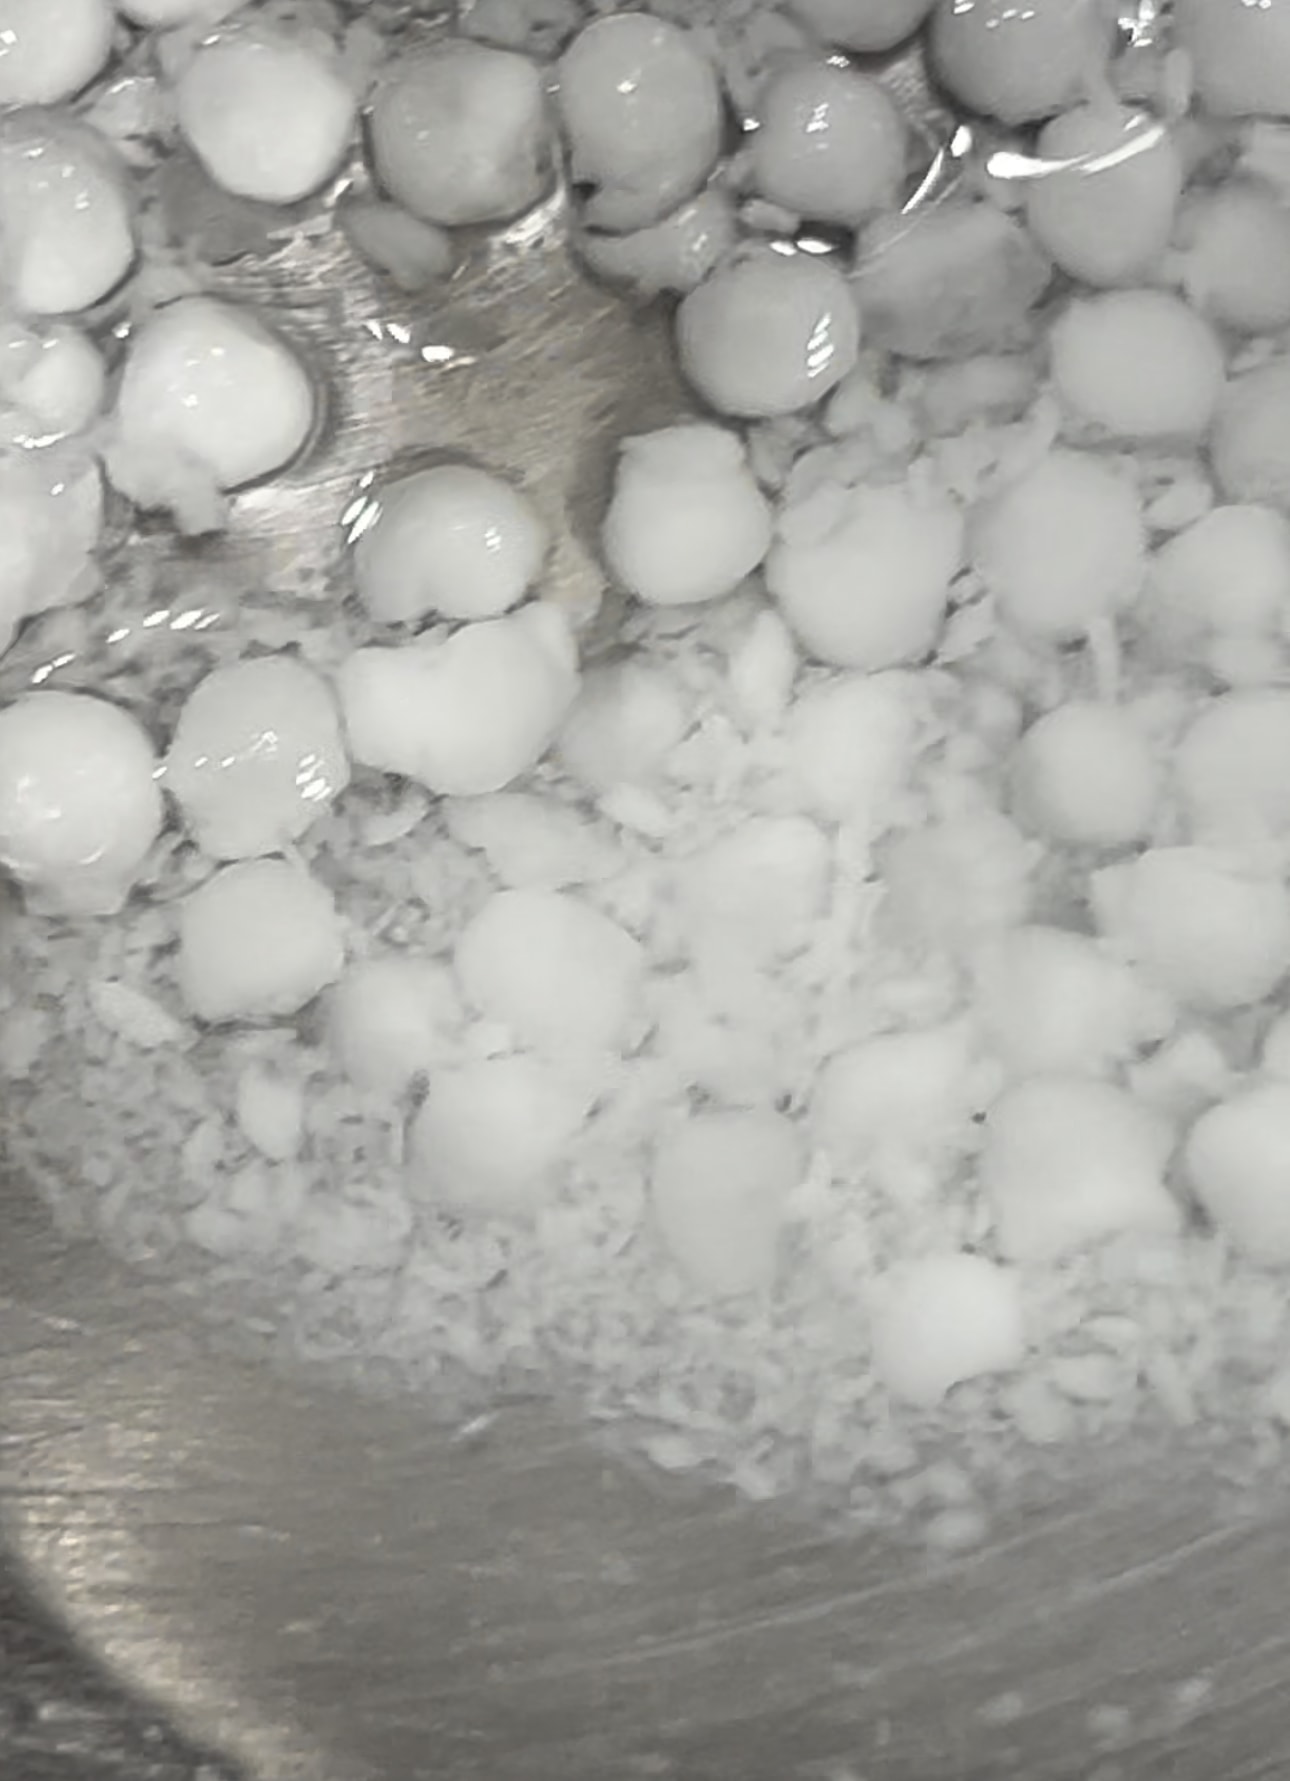
Perfectly soaked Sabudana

Sabudana crumbles into wet but coarse powder and pieces

Soaked Sabudana TestSabudana fluffed after soaking

Over soaked Sabudana

Sabudana deforms like elastic gel and starch has been over hydrated possibly leading to chew or goopy mess upon cooking

Under soaked sabudana

Pearl doesnt disintegrate or presses hard into the pad of the thumb

How to make sabudana khichdi

Β 
Β 
Β 
Β 
Β 
View this post on Instagram
Β 
Β 
Β 
Β 
Β 
Β 
Β 
Β 
Β 
Β 
Β 

A post shared by BreakingNaan (@breakingnaanblog)

Β 

Start with good quality sabudana and soak it perfectly to make the best sabudana khichdi and impress your friends. There are some more tips to make the rest of the recipe for sabudana ki khichdi.

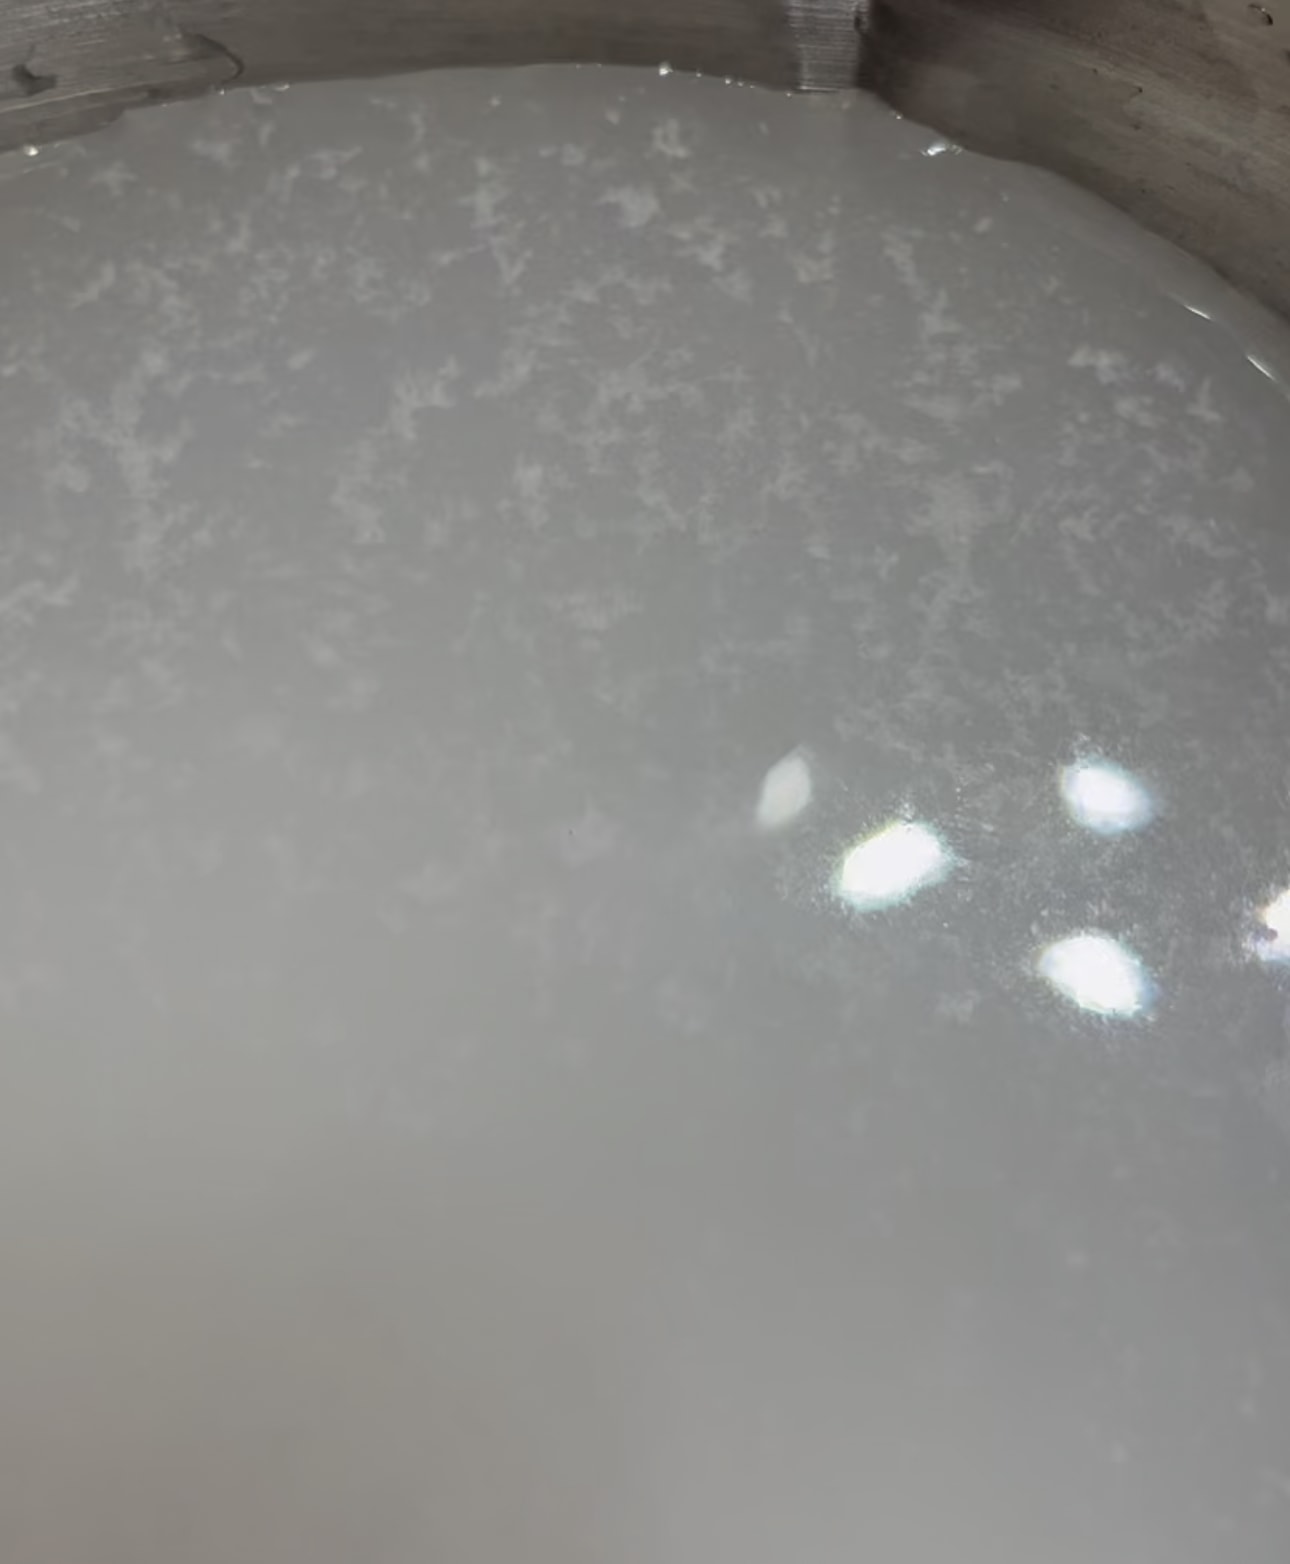
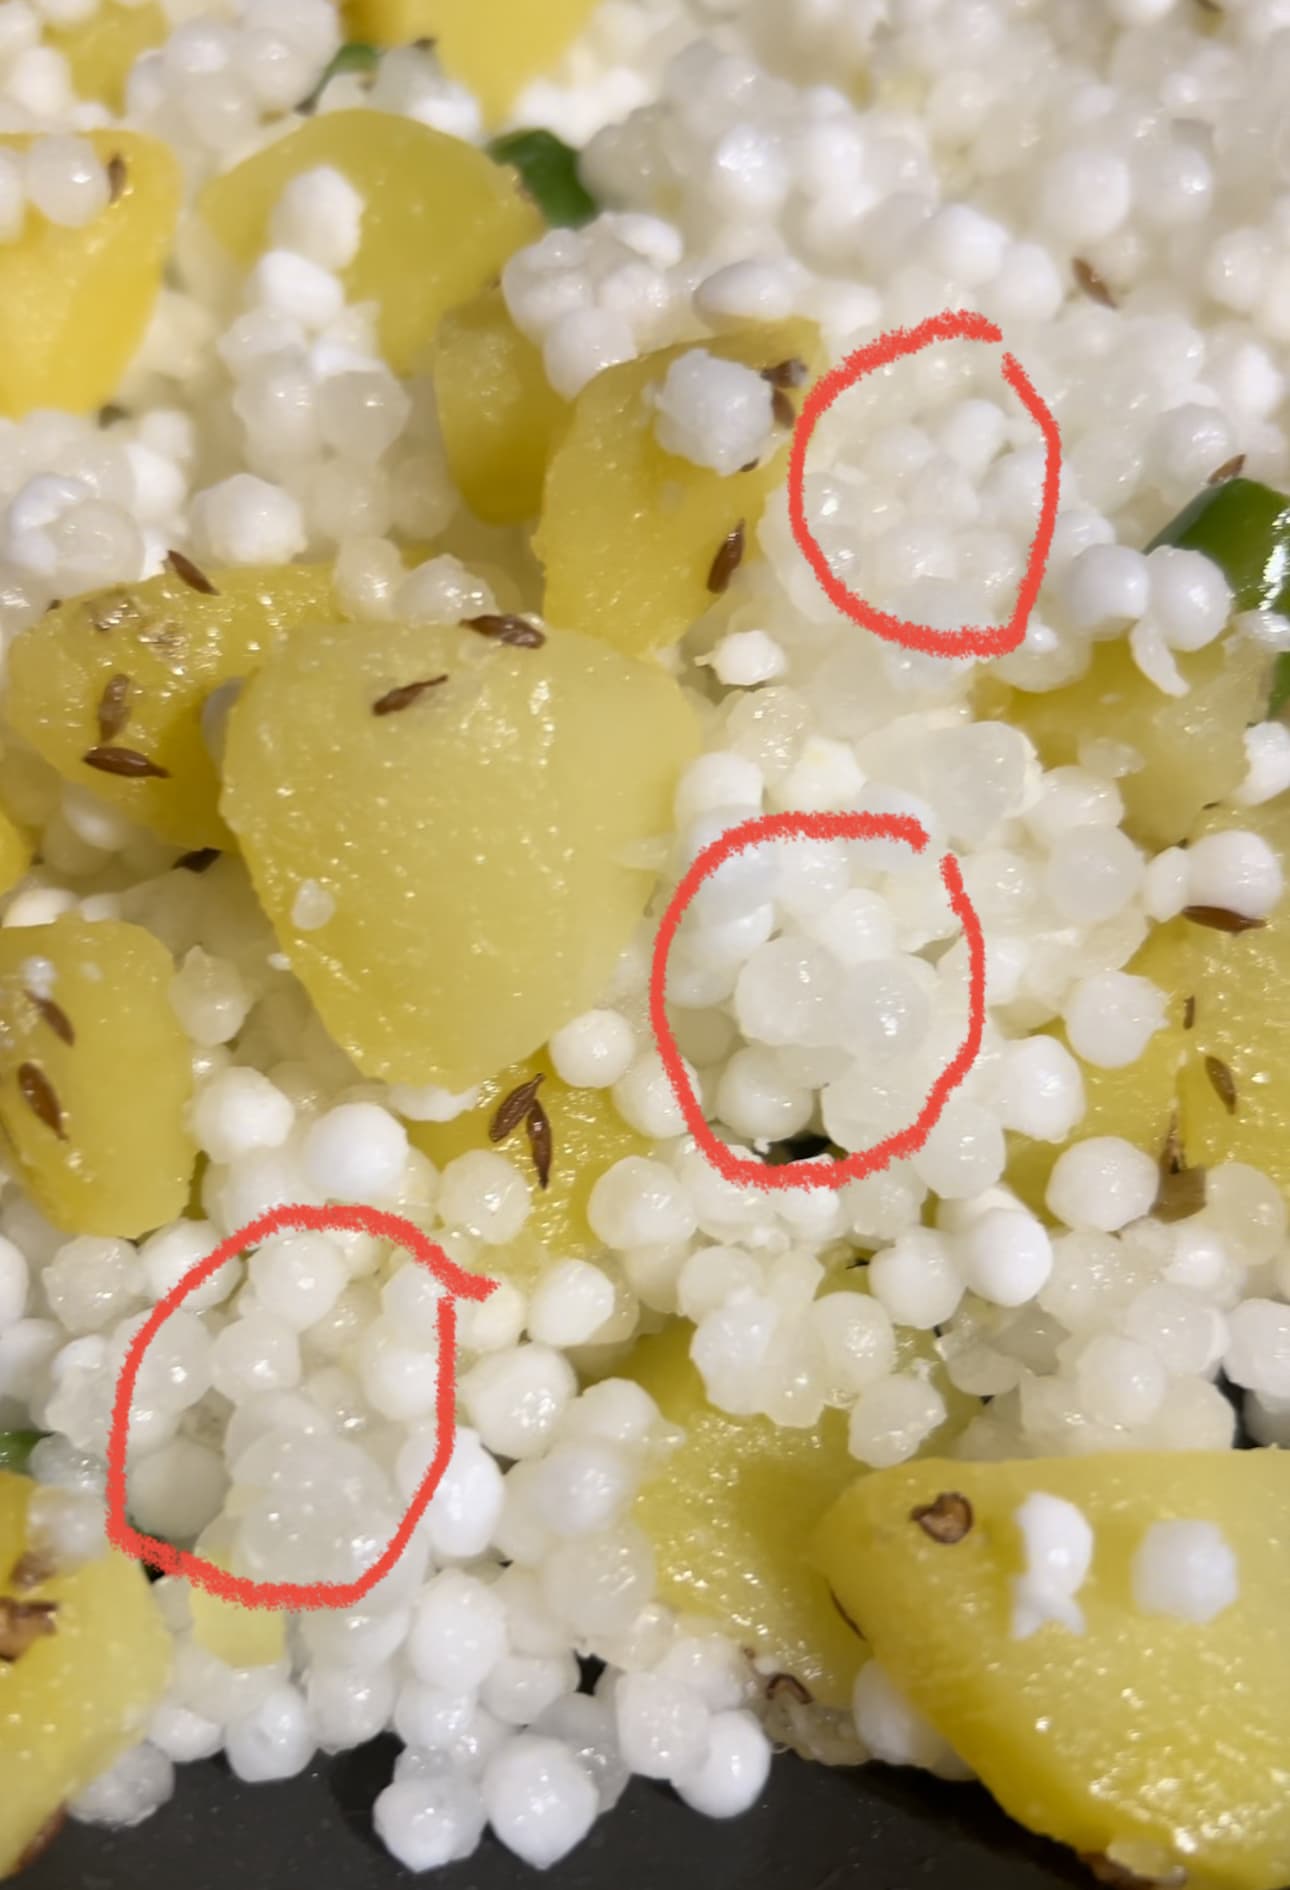
Sabudana is a starch, so soaking it and cooking it creates a steaming effect from the moisture soaked in the pearls. It re-gelatinizes the starch. Soaked sabudana is bright white in color and well hydrated and cooked pearls turn slightly translucent beige in color. If your sabudana khichdi has many bright white pearls, it could be that they have not cooked thoroughly and evenly.

Sabudan turning translucent as it cooksSabudana Khichdi SteamingCooked sabudana pearls turning translucentcoarse crushed peanut powder added to sabudanared chili powder added to sabudana khichdiRaising sized clusters of moist cooked sabudana

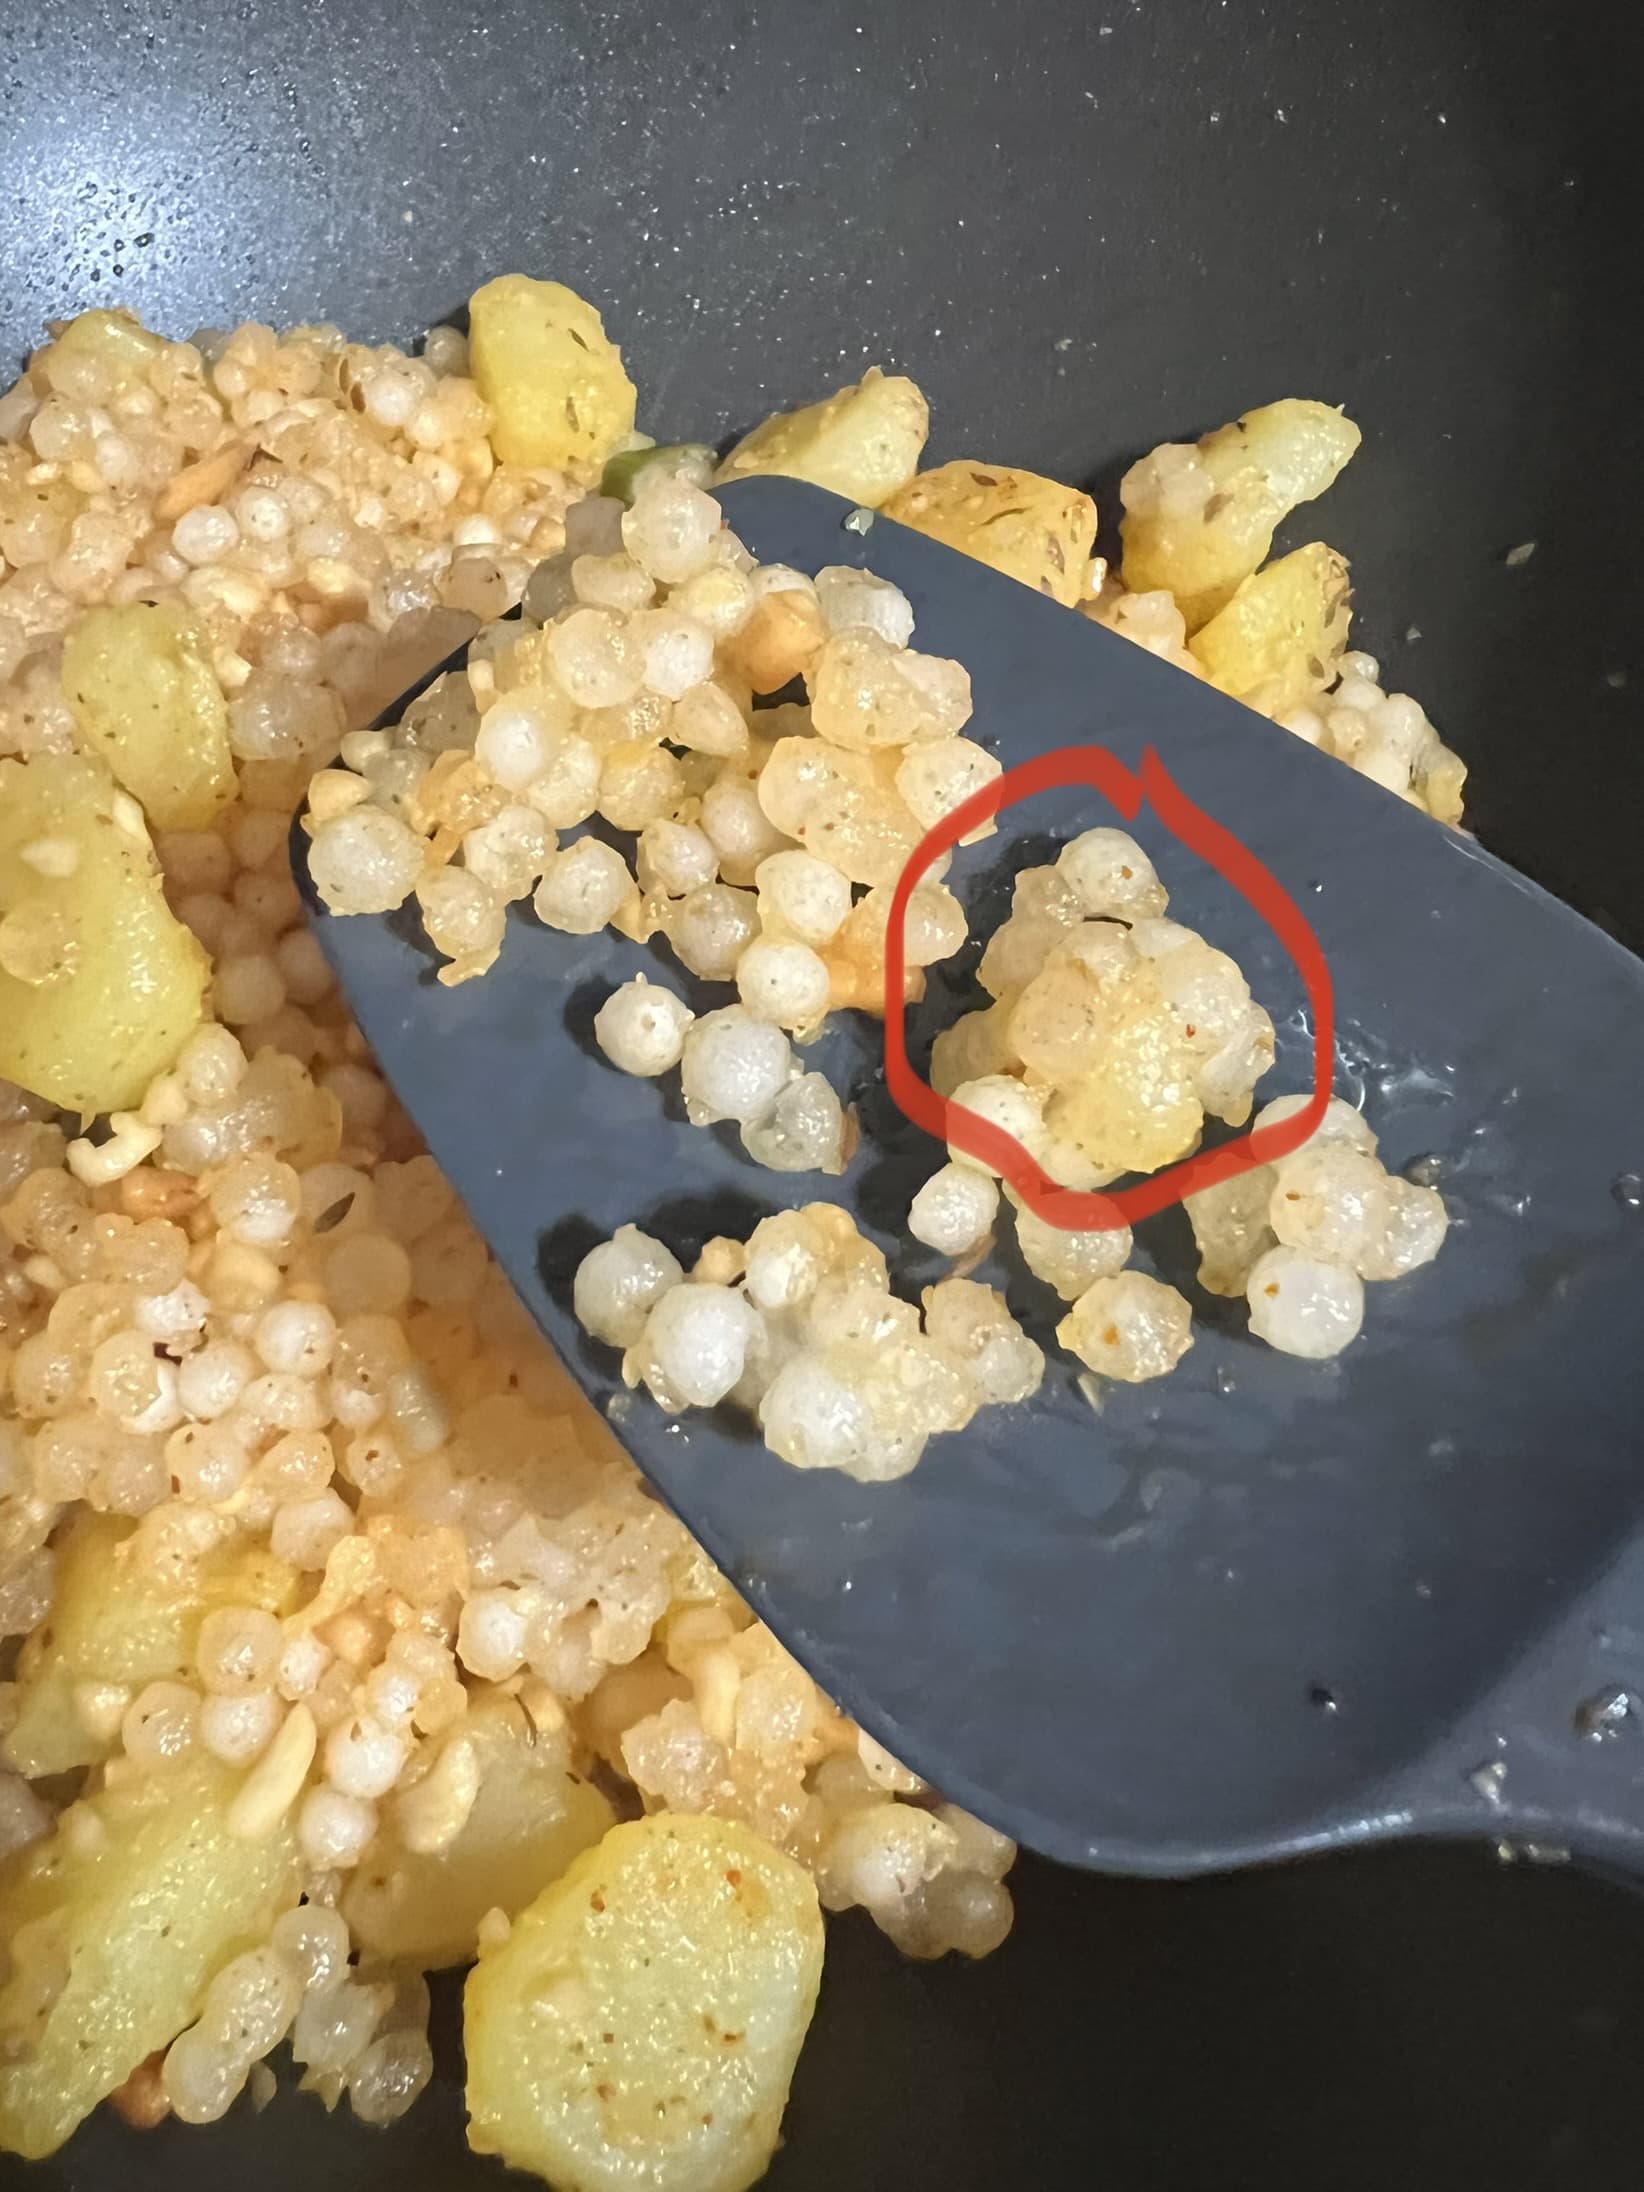
It is everybody’s desire to cook sabudana khichdi without sticky pearls or rather sabudana khichdi without a gelatinous mass. of all the starch. However, some cooks overcompensate and under soak the pearls, add a lot of oil and eventually undercook the pearls in pursuit khichdi which has all the starch pearls separate from each other. Such khichdi ends up being chewy with a dry mouthfeel.

The ideal situation is when the sabudana is perfectly soaked and cooked evenly, which results in non sticky khichdi that is fluffy.

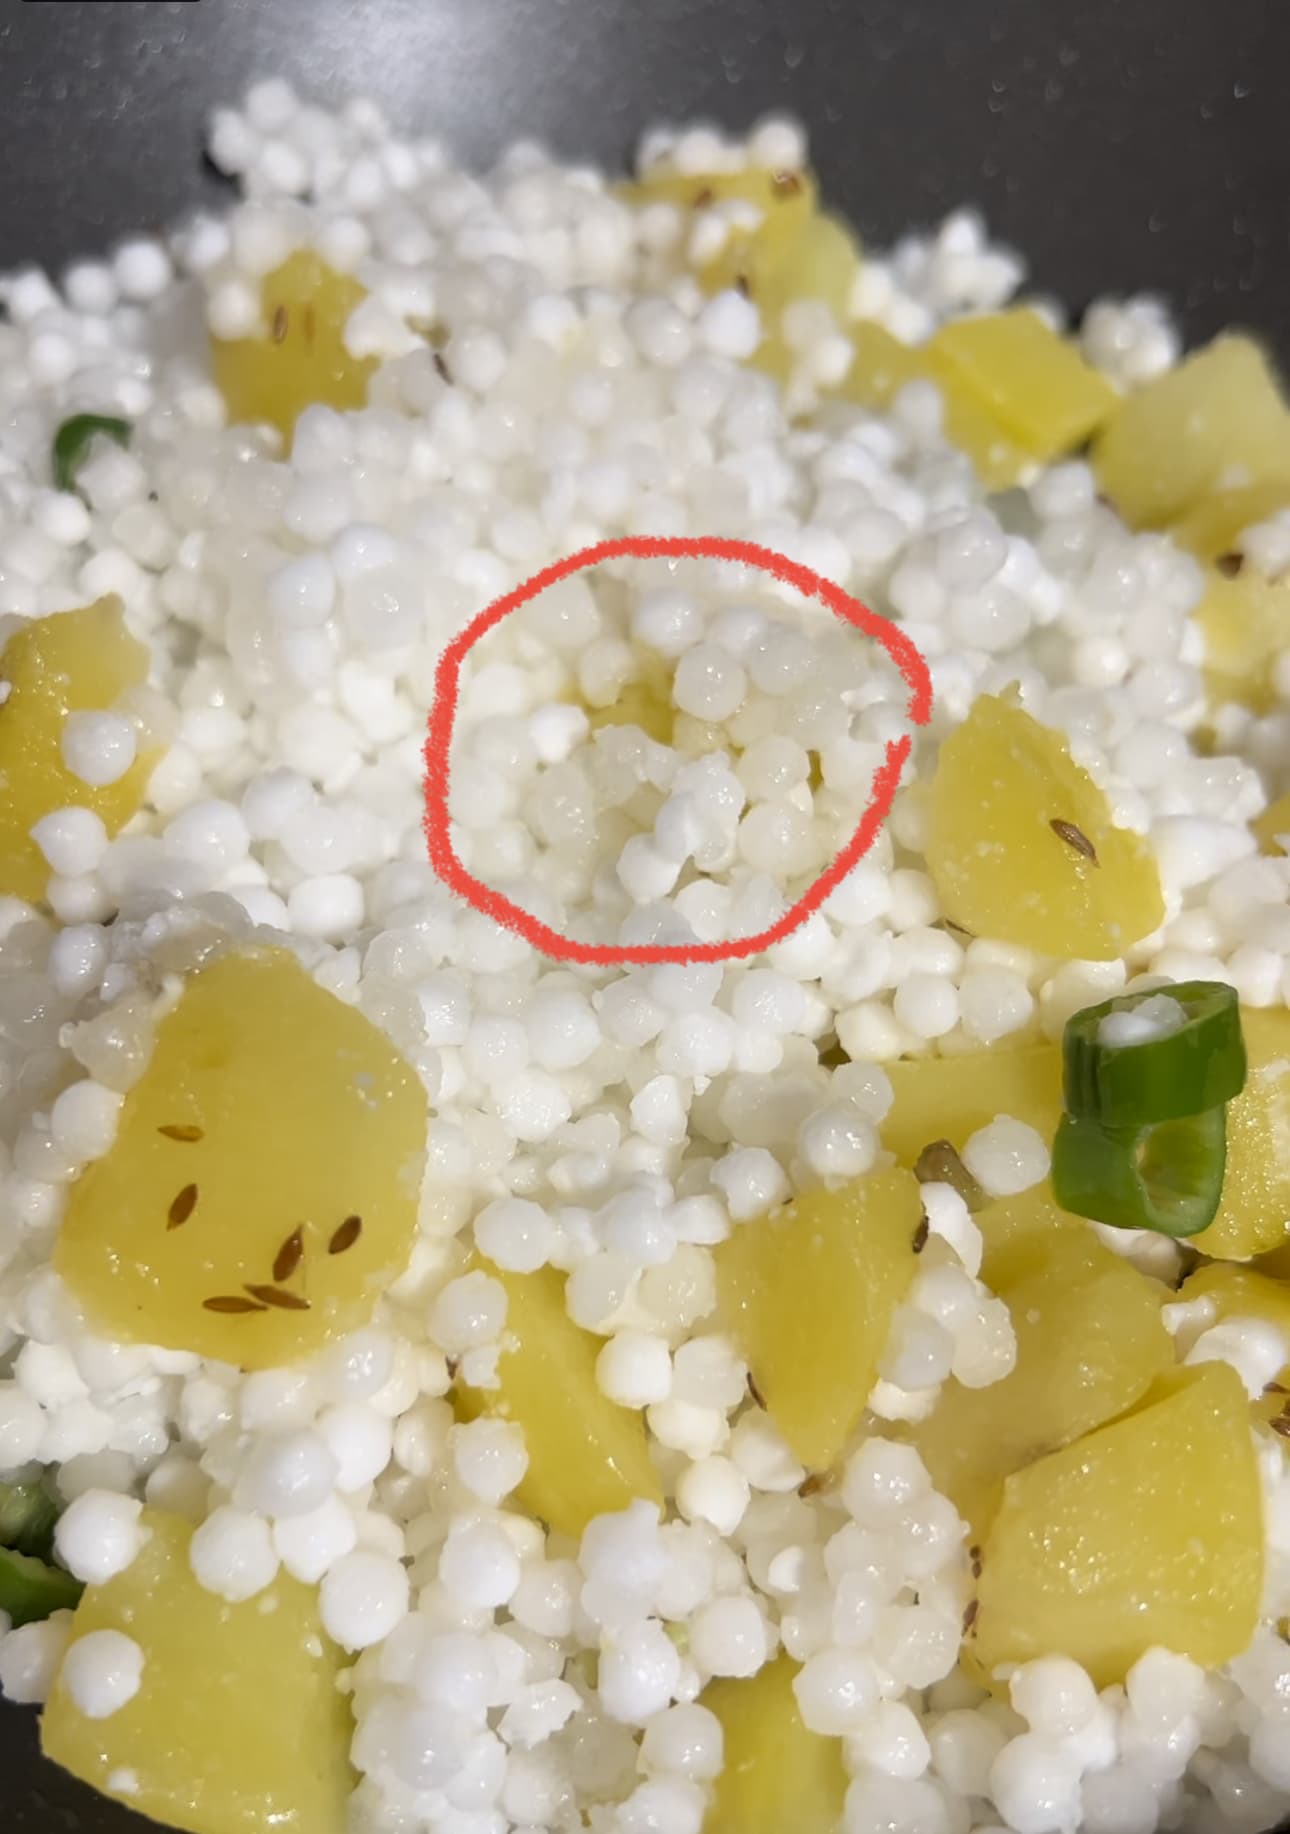
A great sabudana khichdi has raisin-sized clusters here and there but is mostly separated.

Perfect sabudana khichdi which is mostly seperated but with few raising sized clusters

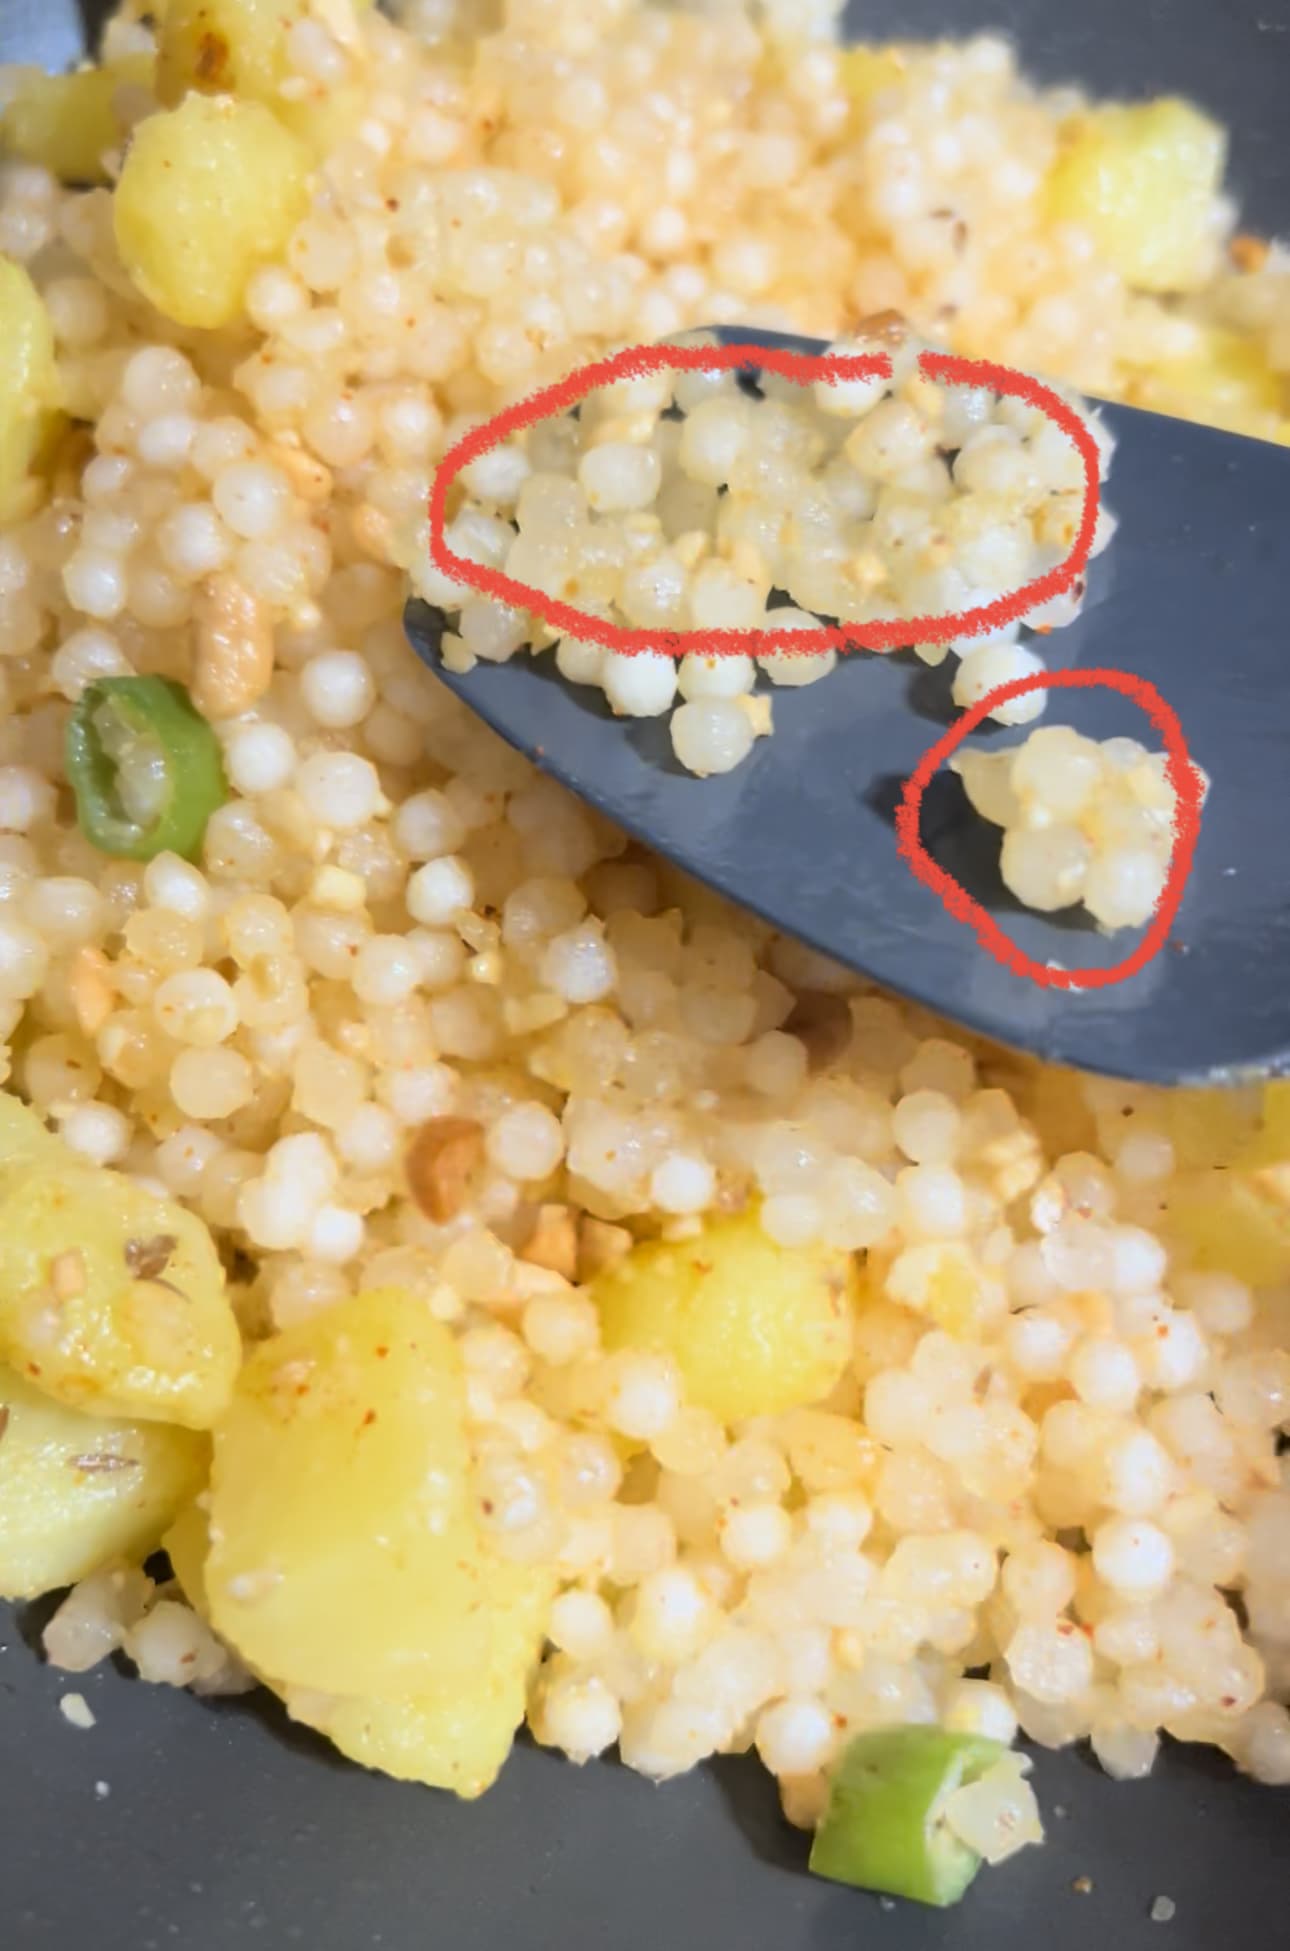
It is soft to touch and eat, with moisture and some inherent sweetness that comes from the properly cooked starch of the pearls. It looks translucent and not white and it does not look excessively oily.

Non Sticky Sabudana Khichdi Recipe

Print
Non Sticky Sabudana Khichdi Recipe

Sabudana Khichdi


  • Author: BreakingNaan
  • Total Time: 4 hours 30 minutes
  • Yield: Serves 4

Description

Learn how to perfectly and quickly soak sabudana, understand how to fix sticky sabudana khichdi, get a fool-proof sabudana khichdi recipe, learn how to make maharashtrian style sabudana khichdi


Ingredients

1 cup sabudana (grows 2.5 times after soaking)

1.25 cup coarsely ground peanuts (made from pounding roast peanuts in a mortar and pestle or alternatively pulsing in an electric chopper)

0.5 cup boiled and roughly diced potatoes (optional)

1 tsp sugar

0.5 to 1 tsp cumin seeds

salt to taste

1 tsp red chili powder

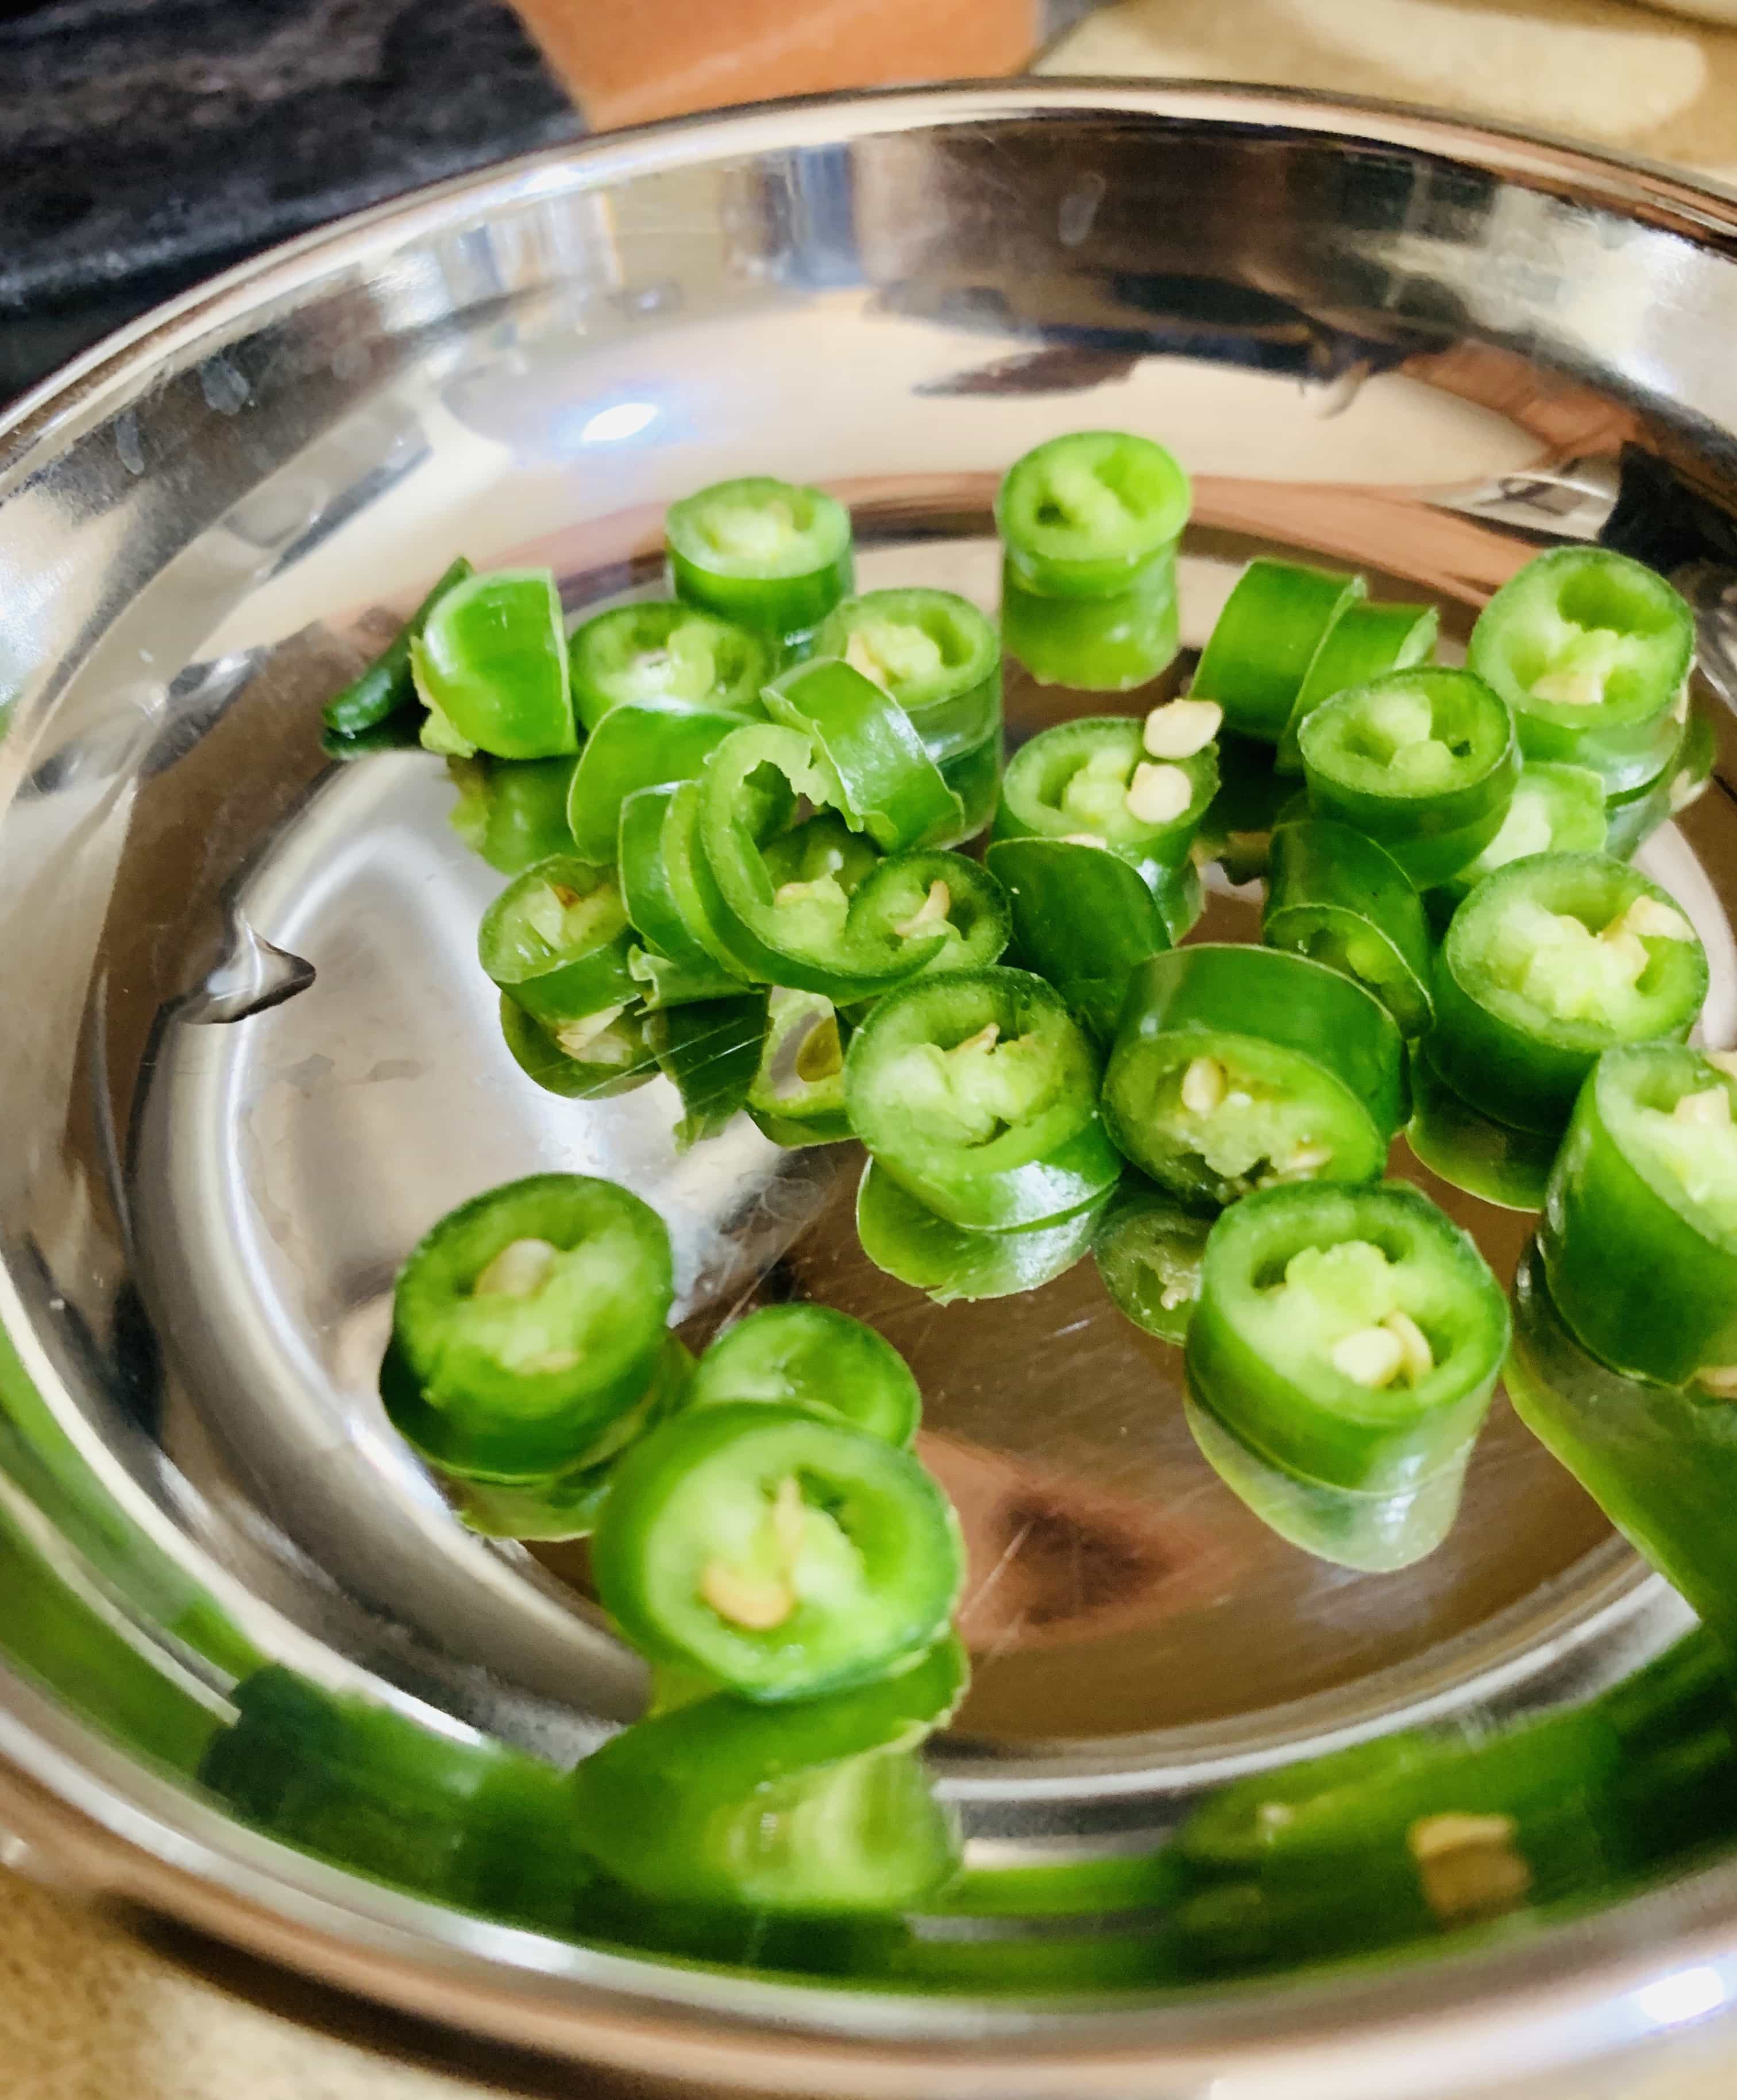
4 to 5 chopped pieces of Green chili

1 tbsp buttermilk / lime juice / lemon juice

2 tsp chopped Cilantro / Coriander leaves (optional)

2 tsp grated fresh coconut or defrosted frozen coconut (optional)

1 tsp ghee


Instructions

  1. Sieve the dry Sabudana to remove loose powder
  2. Wash sabudana in 6 cups water by swirling around many times and draining top water and repeating thrice. Strain off top water leaving enough water to have sabudana submerged. Scoop out Sabudana in fists and spread out in a large dish
  3. Add water to the dish enough to soak one third of the way up the sabudana in the plate
  4. Soaking time varies between 1-4 hours with size and quality of sabudana. Test by pressing the sabudana in your pinch. It should break off into small powdery brittle pieces. Warm water reduces soaking time. Alternatively, soak 30 minutes and strain out sabudana in another plate to soak overnight.
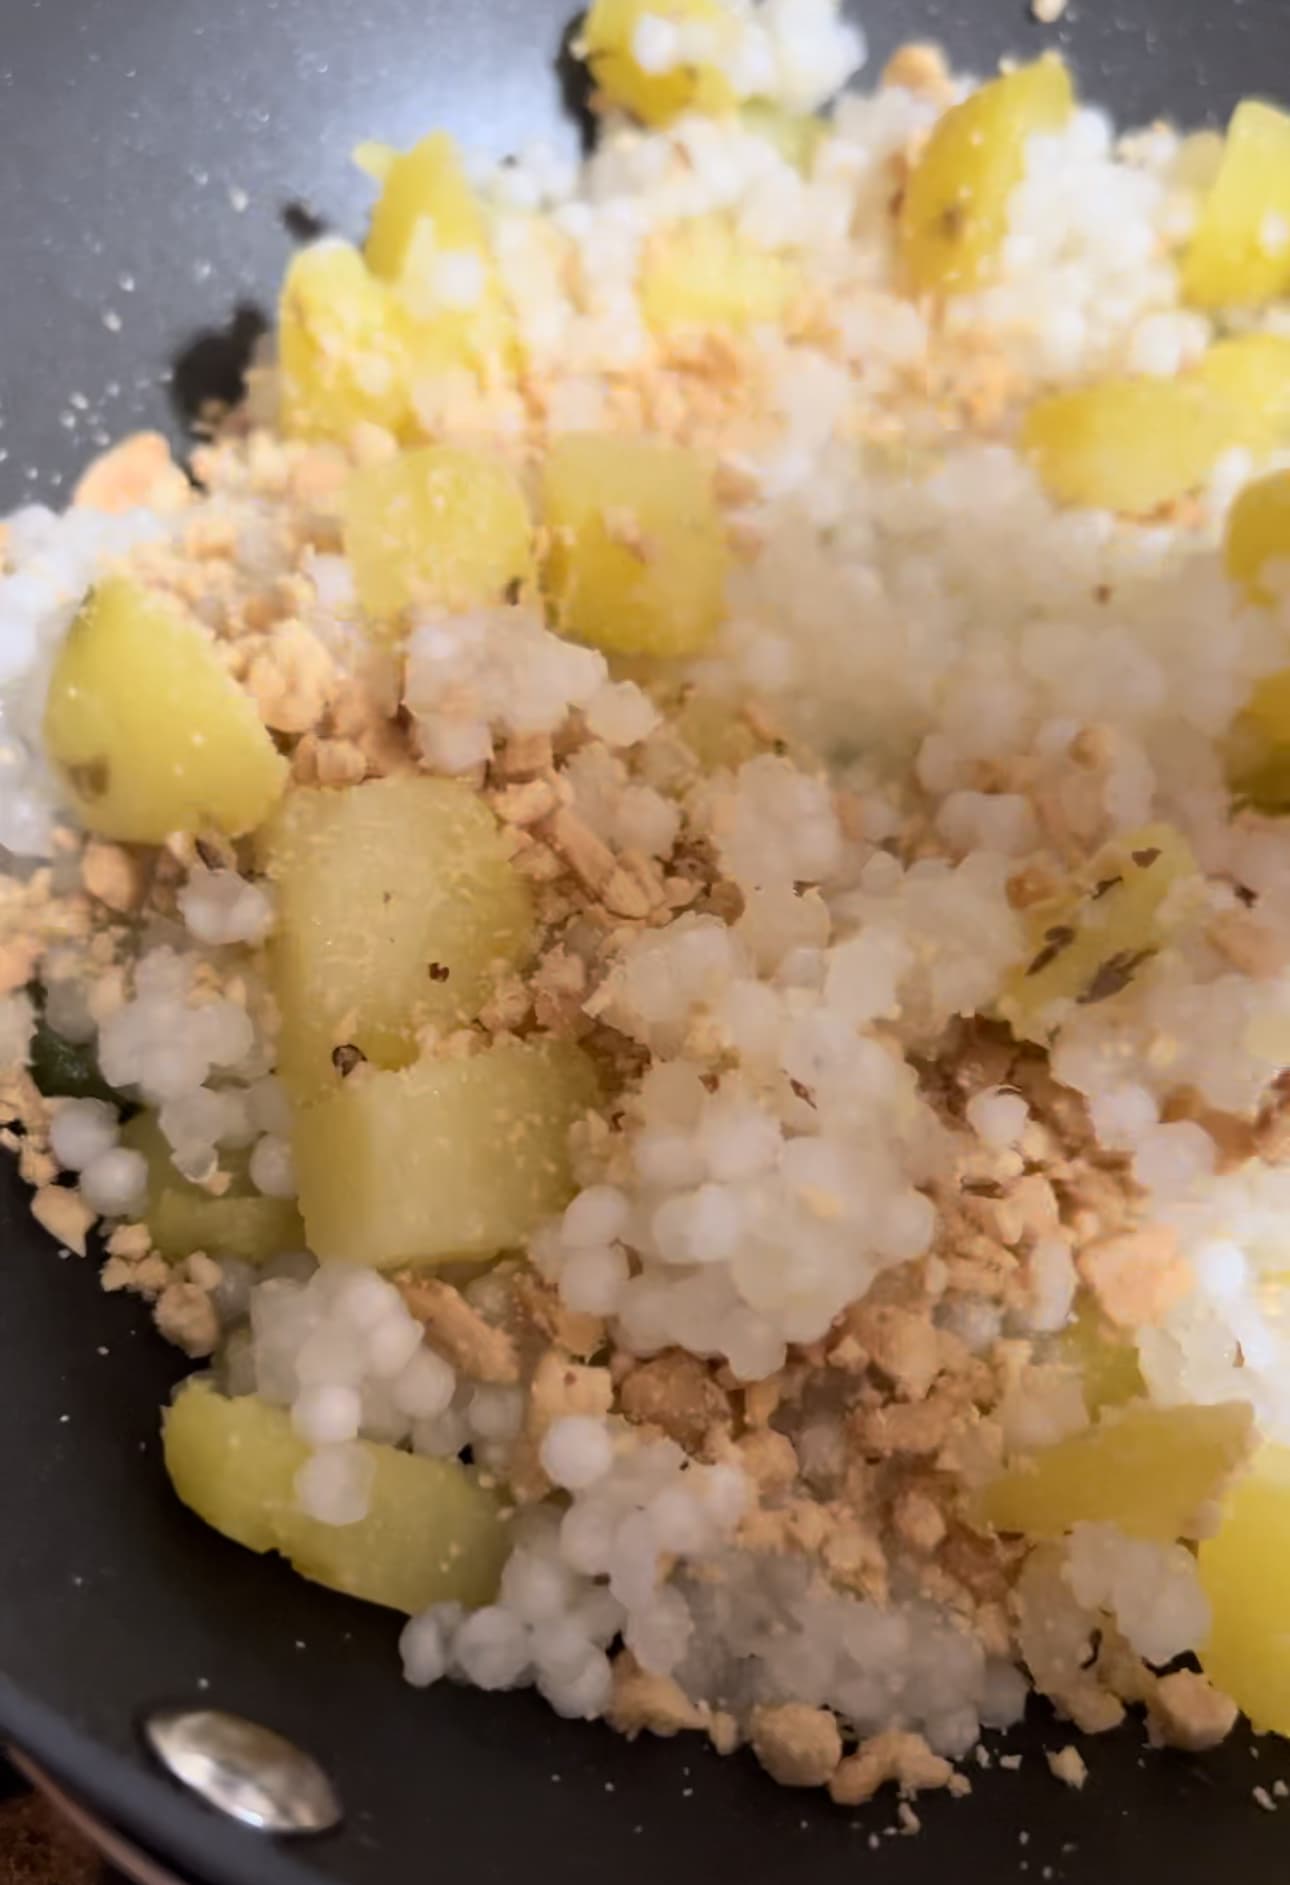
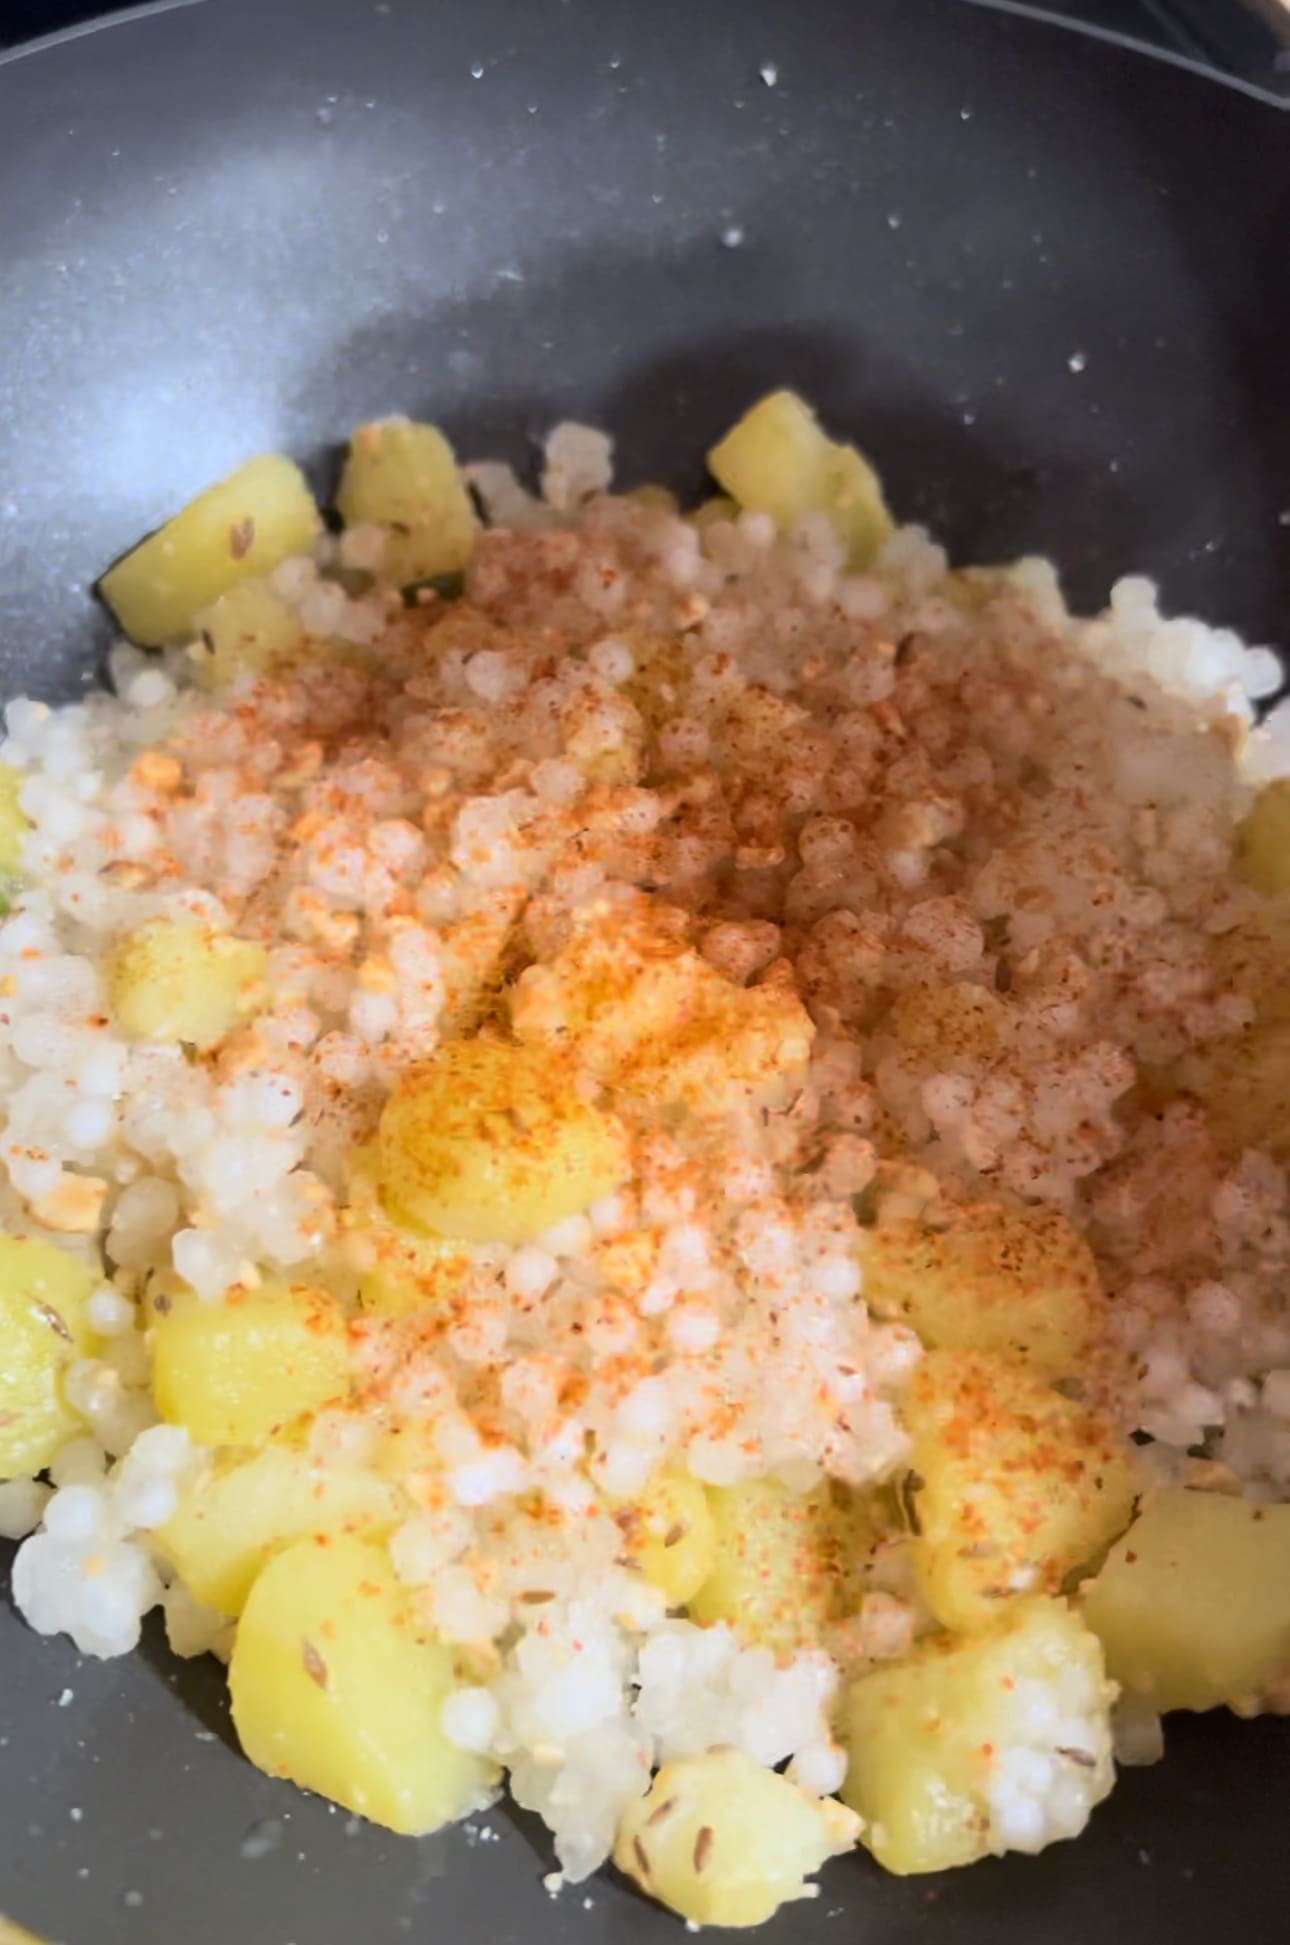
  5. Remove soaked sabudana using fists into another plate, leaving behind the broken-off dust and particles. Add the coarse ground peanuts made from roast peanuts, sugar, chili powder, and salt
  6. Heat ghee in a wok like pan on medium heat till hot. Alternatively cook on the low saute mode of an instant pot.
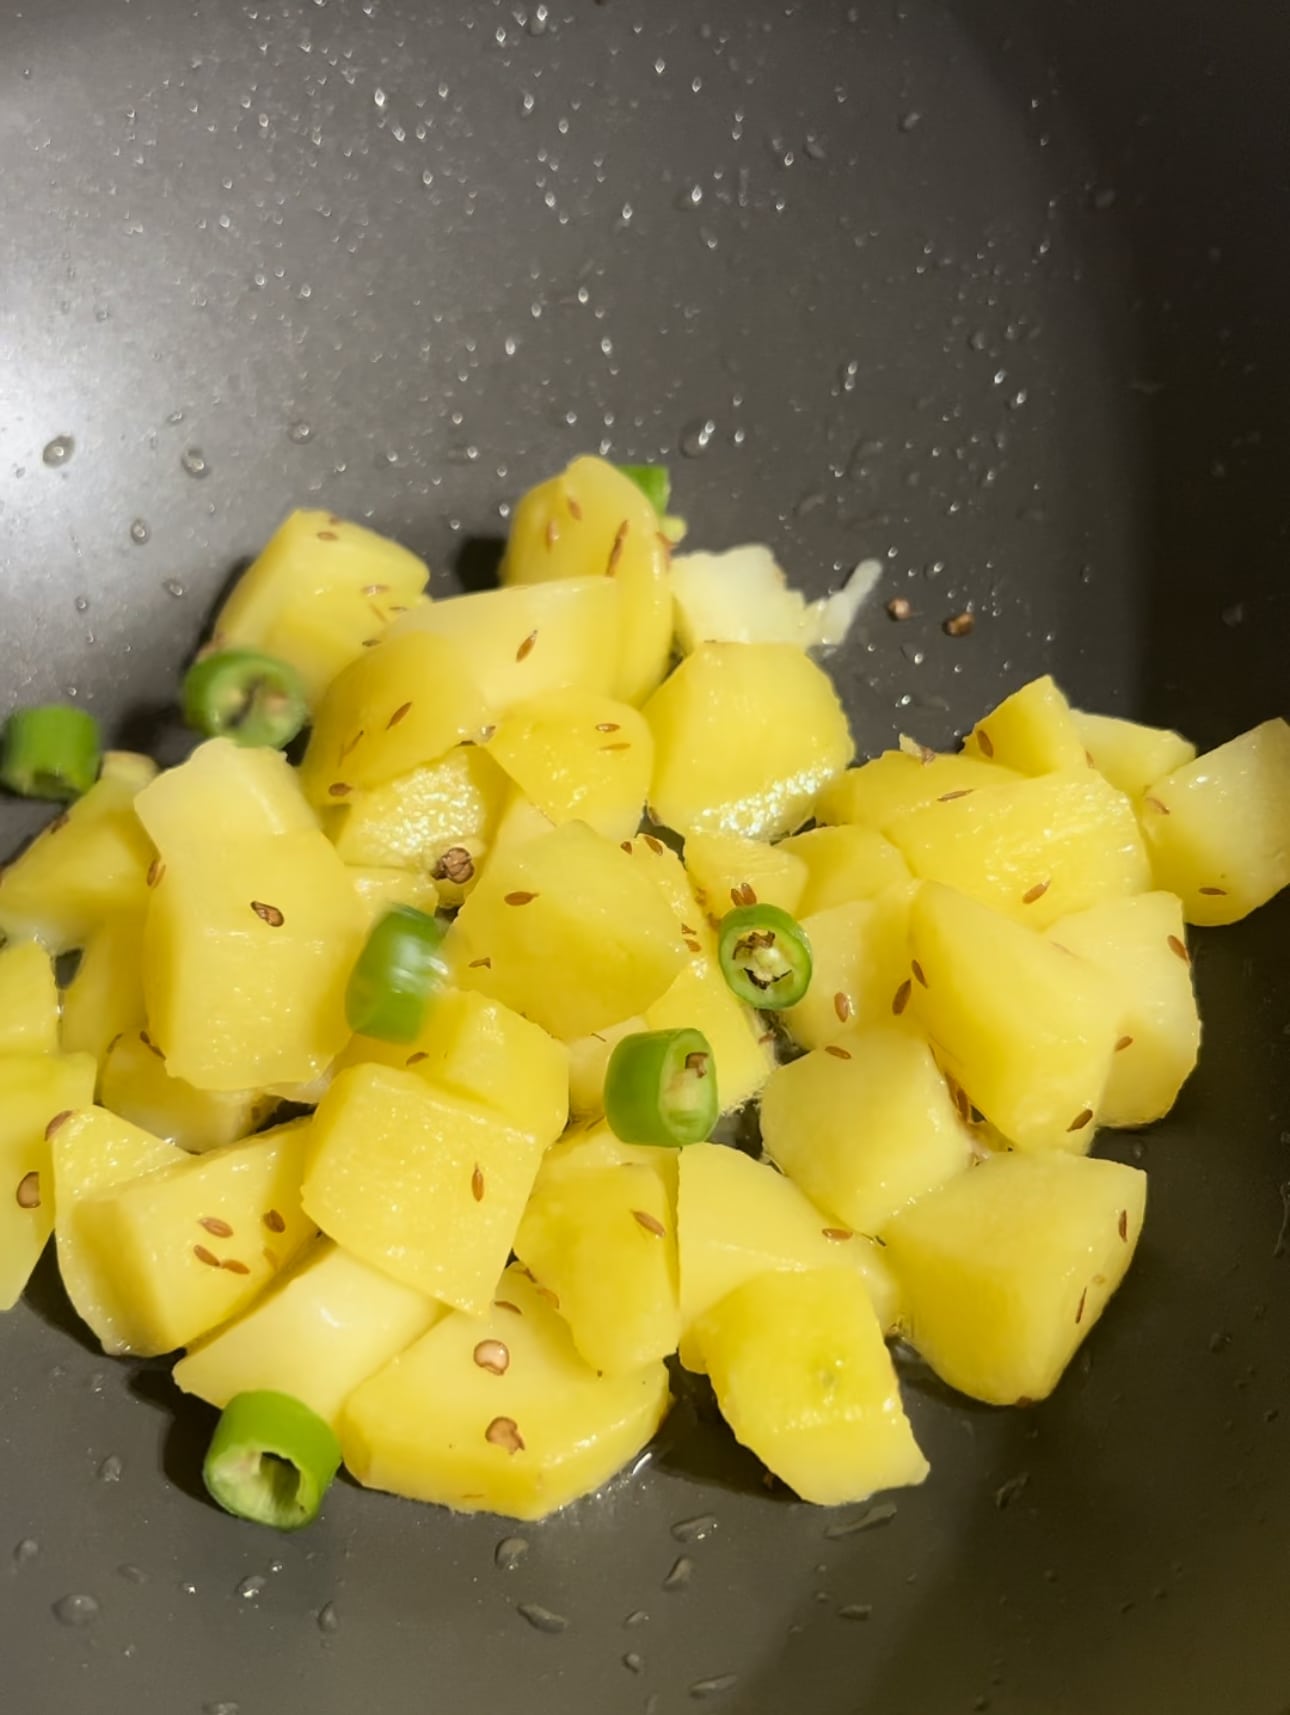
  7. Add cumin seeds and green chili pieces and let them crackle a bit without burning
  8. Add diced potatoes and toss them to coat them with the fat
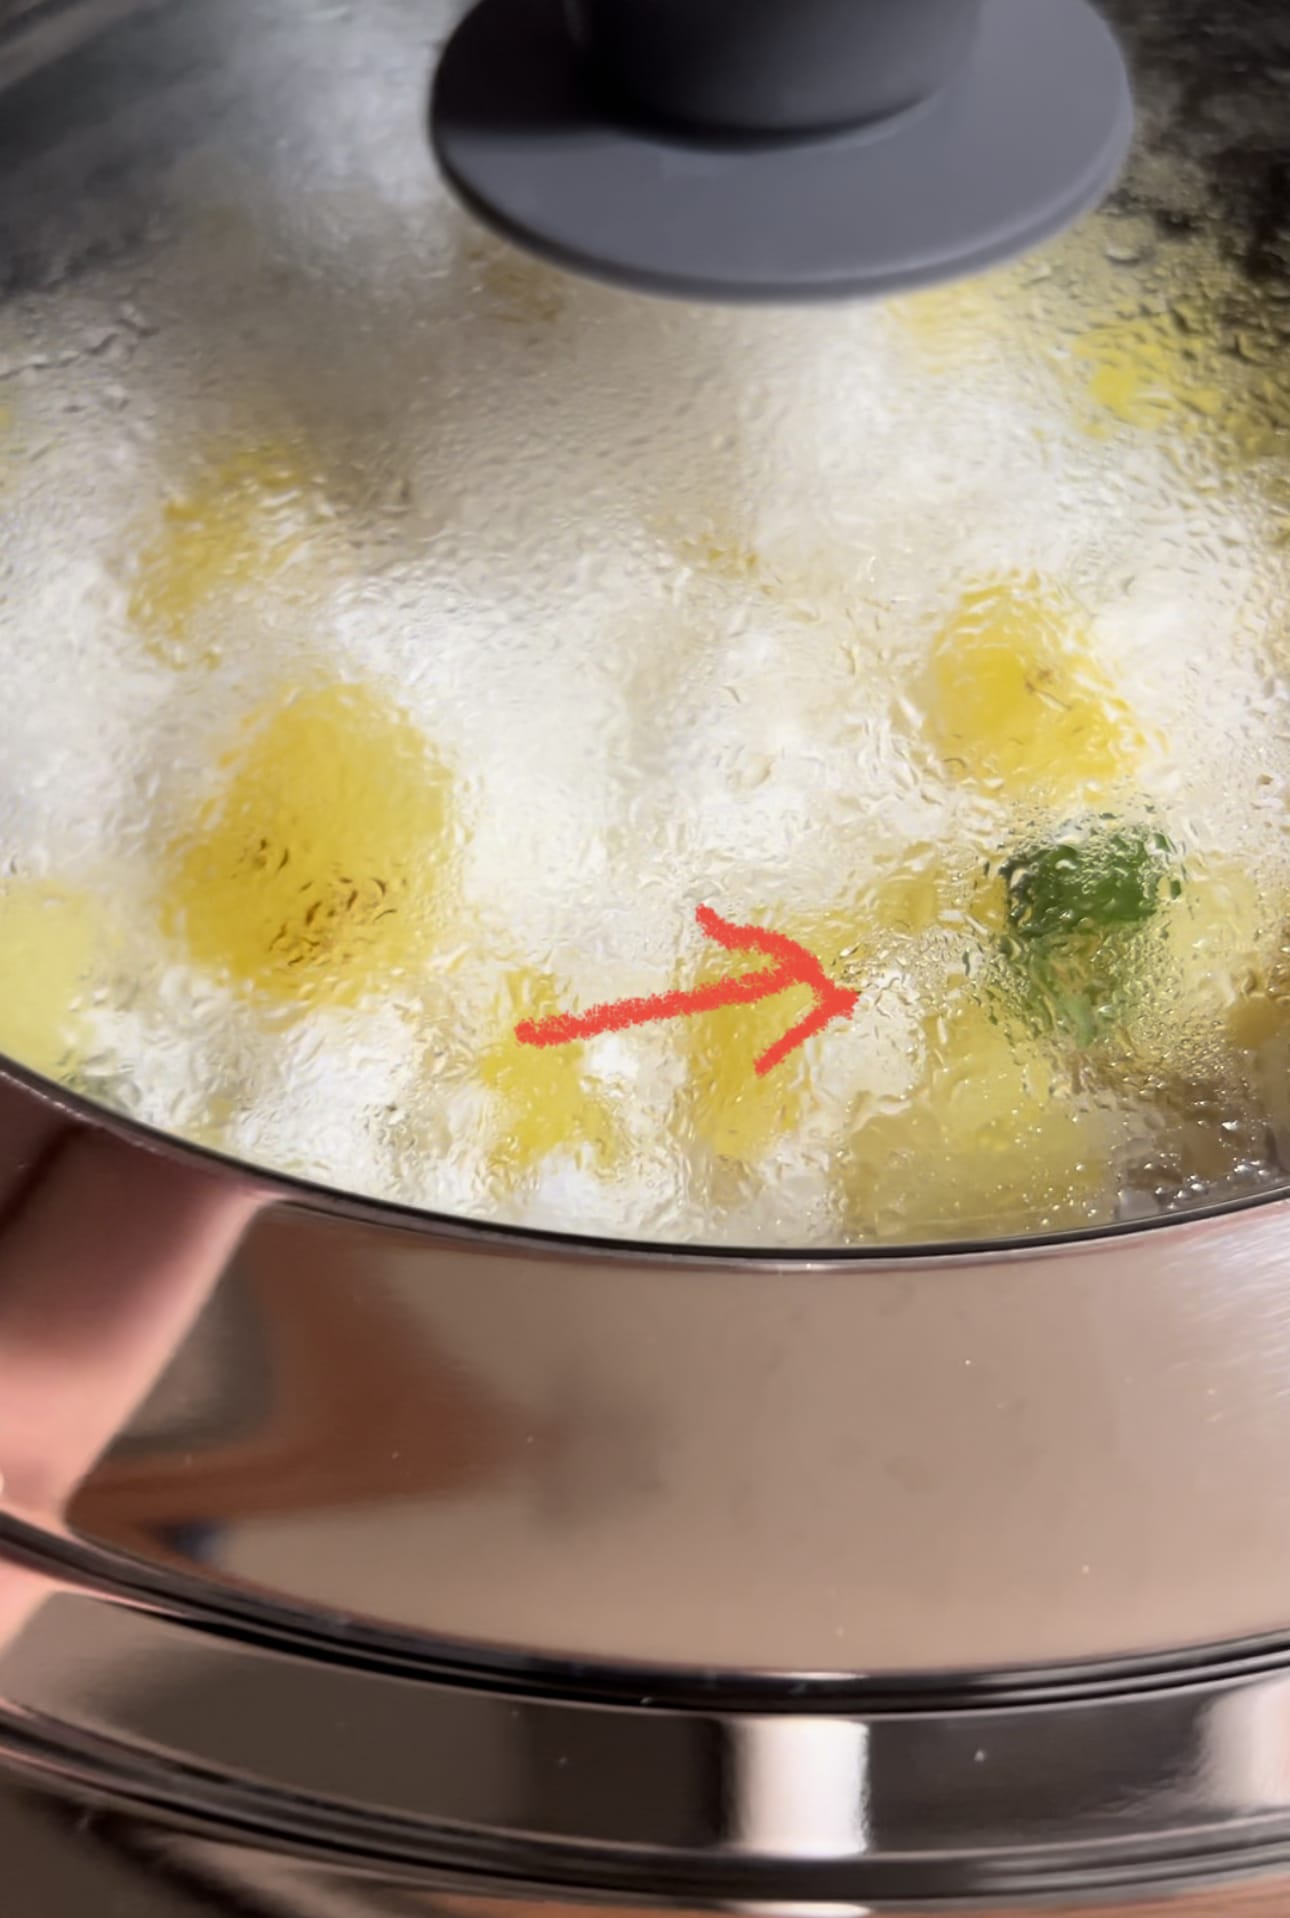
  9. Add sabudana and gently mix and cover reducing the heat to low medium heat and bring to steam
  10. It is cooked once it becomes translucent with a beige color hue
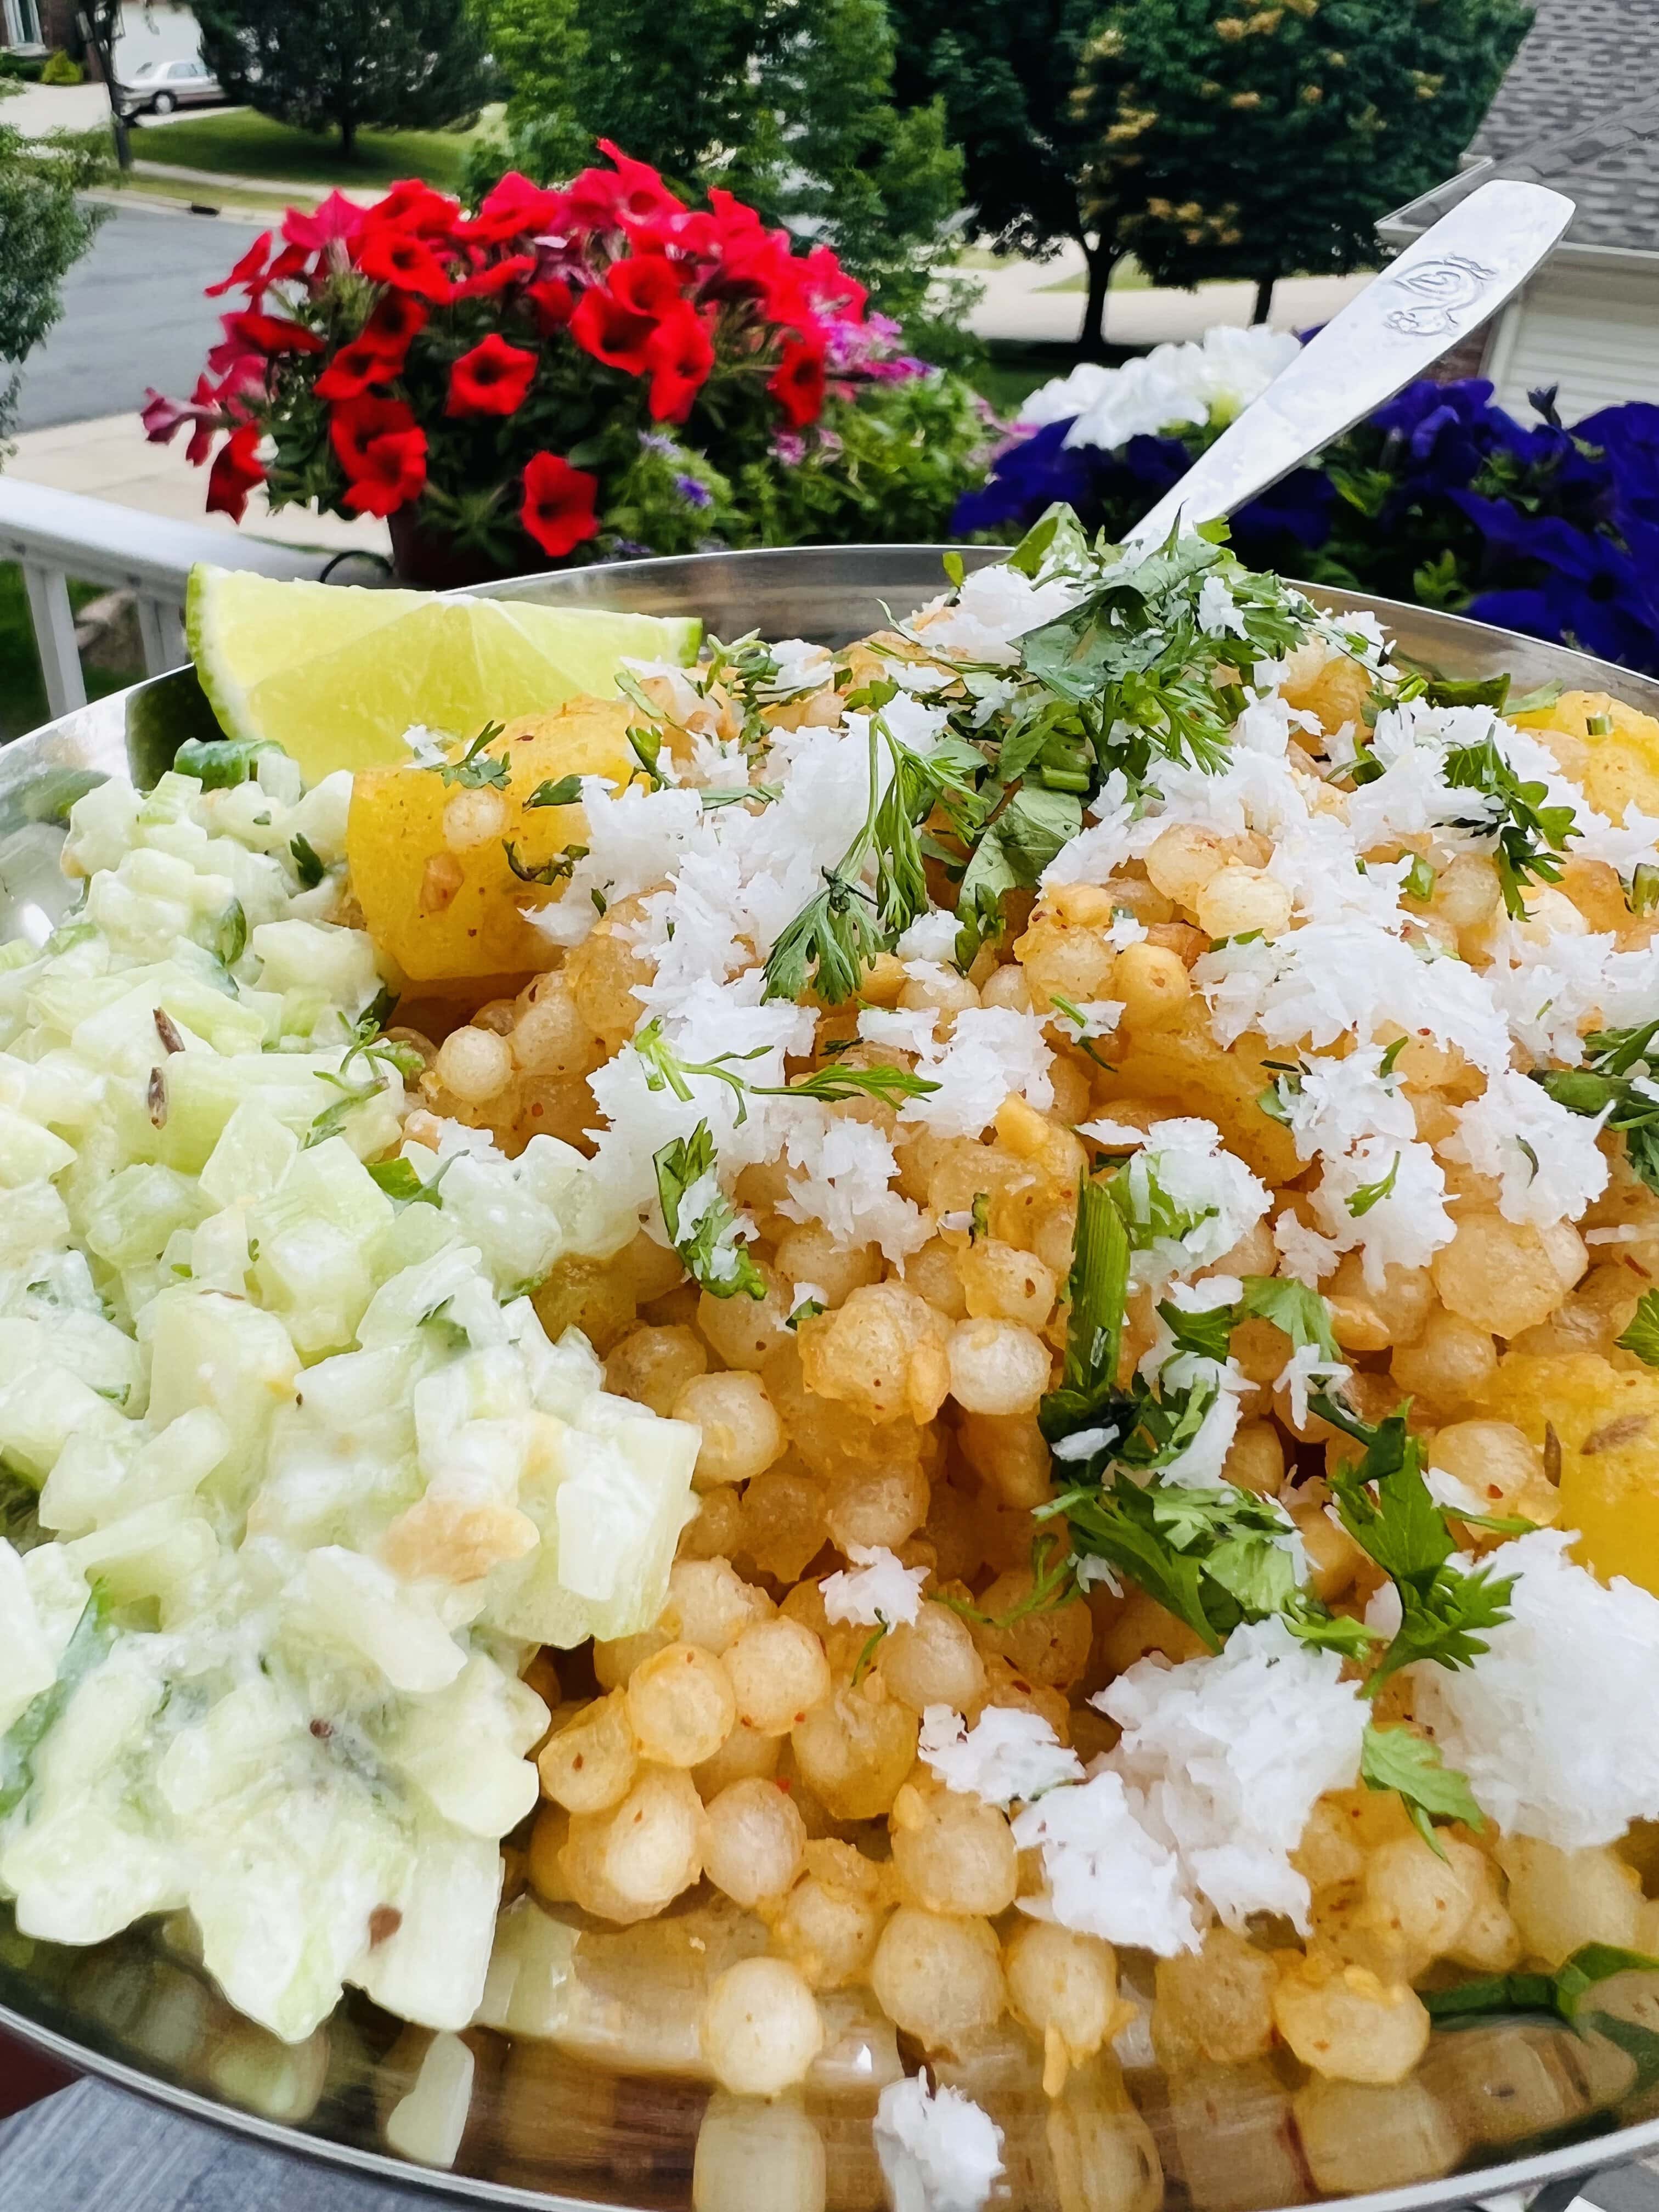
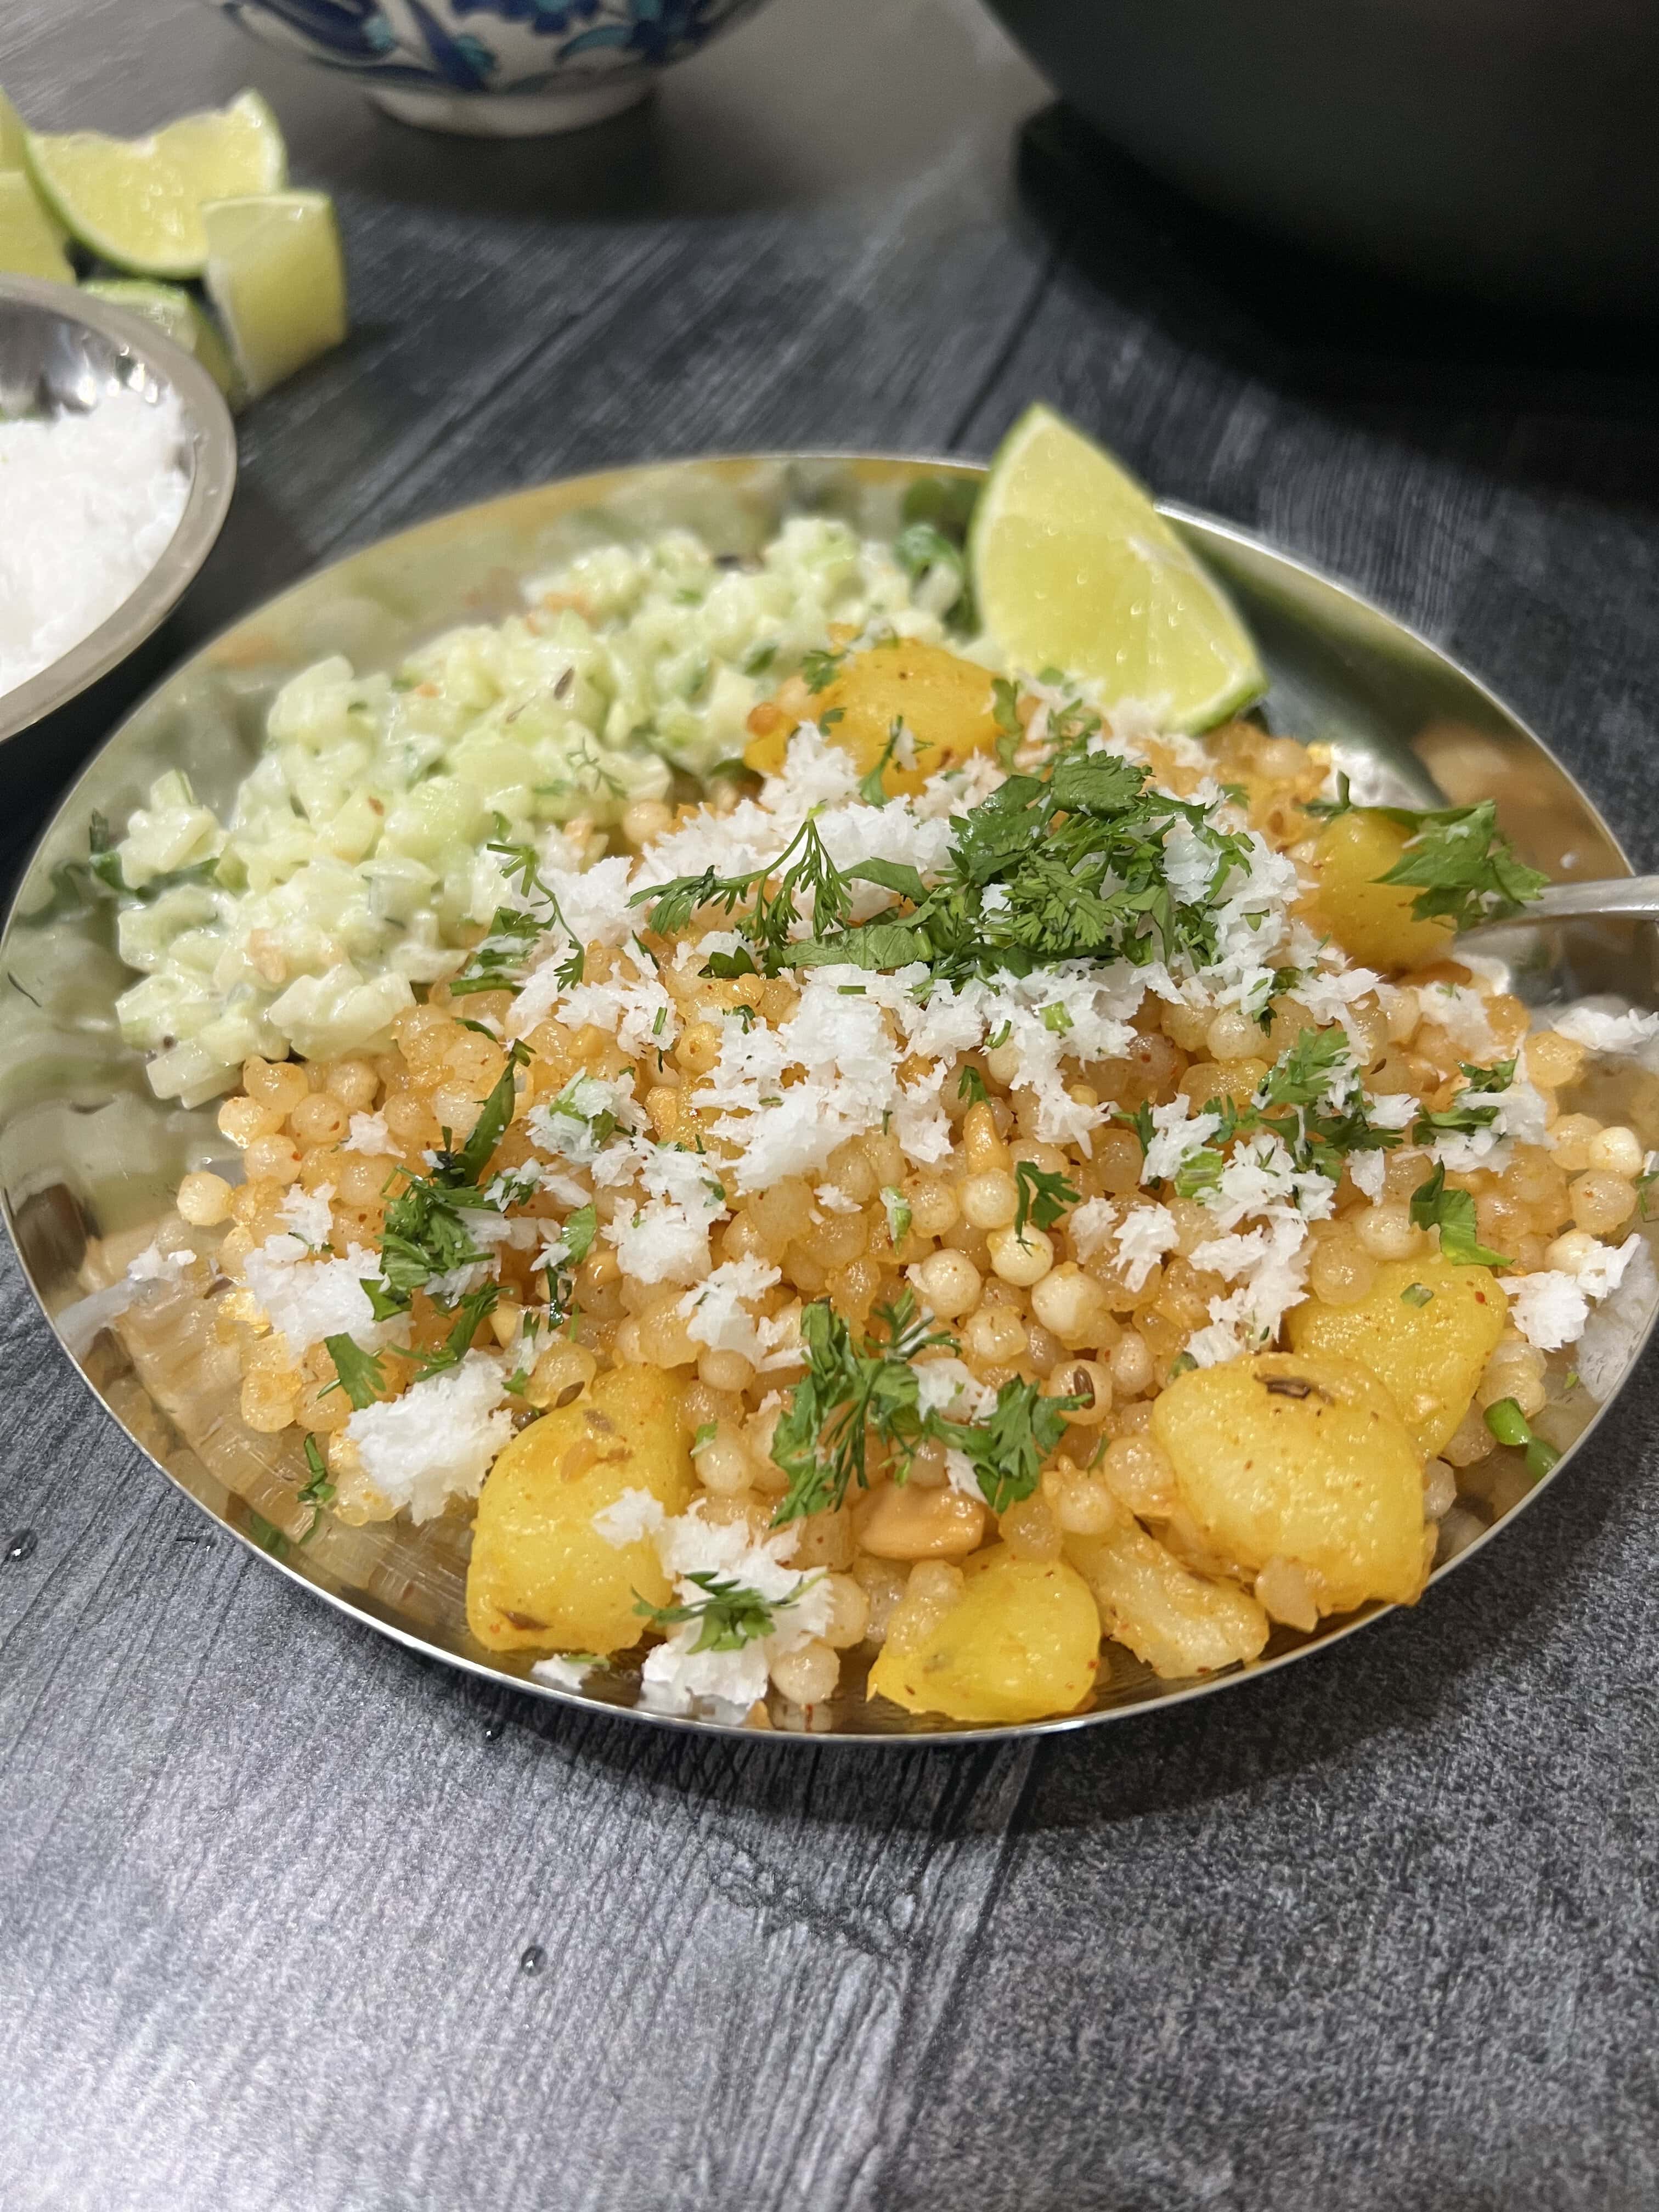
  11. Sabudana khichdi has raisin sized clusters here and there but is mostly separated. It is soft to touch and eat, with moisture and some inherent sweetness that comes from properly cooked starch of the pearls. It looks translucent and not white and it does not look excessively oily.
  12. If needed sprinkle water taking care not to add excess moisture and cover and bring to a steam again.
  13. When cooked let it cool down off the heat for a couple of minutes and add buttermilk or add lemon juice, and mix gently.
  14. It is best to enjoy sabudana khichdi when hot. Garnish with chopped cilantro / coriander leaves and grated coconut.
  • Prep Time: 4 Hours
  • Cook Time: 30 Minutes
  • Category: Breakfast
  • Method: Stovetop
  • Cuisine: Indian, Maharashtrian

Keywords: Maharashtrian Style Non Sticky Sabudana Khichdi

Β 

Β 

The post Make Non-Sticky Sabudana Khichdi: Fool-Proof Step-by-Step Guide appeared first on Breaking Naan.

Asparagus with Saffron Butter

Asparagus of Spring

The pandemic has stuck robbing me of a trip to Germany. I had so much looked forward to another trip where i could eat Spargel. Served seasonally in germany the white asparagus is a delicacy.

But since we are socially isolating and white asparagus is not really easy to find in Wisconsin (although not impossible) we settled for the green one.

Thick Asparagus

Before trying the white asparagus in germany i used to think the tender thin spindly asparagus is bees knees. But it generally easily overcooks and if you char it leaves no asparagus behind. The thick asparagus when cooked properly can be tender and supremely juicy, oozing of asparagus flavors. We much prefer the thick asparagus in season now. The cooking is also a bit forgiving, but i dare say you should peer over the stove and just cook it always to the perfect doneness as if cooking a piece of expensive meat.

Cooking Asparagus

Start with vibrant and firm fresh Asparagus and you have already won. Meg scored some beautiful one at Willi Street Coop from a local farm. It is quick and simple to cook really. We like to peel of any tough shoots but hate peeling off too much. then break it using hands near the stalk and it breaks usually automatically at the right place where it transitions from tough to tender.

We like to do the cooking without any fat with some direct heat, some boiling and some steaming. We get a thin layer of water to boil in a pan with maybe two to three tablespoons of water. We add the asparagus stalks and cover. We cook this barely for two minutes and the asparagus goes vibrant green.

We season now with salt a bit and sprinkle some more water and then really watch the pan as asparagus cooks more with the water now coming to boil and steaming in the pan. We turn the Asparagus gently and lovingly with tongs and make sure none of them are getting over cooked or getting chars. (When grilling though chars can be flavorful but we had something else in mind today) And as soon as they are the brightest green and done we transfer to iced water bowl to stop the cooking.

Drain them then pat dry with kitchen cloth gently and they are ready to be seasoned.

Asparagus with Saffron Butter

Normally we will serve Asparagus seasoned with salt and olive oil or butter or sauce hollandaise.

We had made some Saffron Butter just a day earlier so this compound sweet smelling butter is what we went with. It adds a touch of luxury. So we spread some room temperature saffron butter on the plate and added the asparagus and smeared some on top and seasoned with sea salt.

It was luxurious dish but simple. The thick asparagus were juicy and subtly flavored with the butter to let it keep its Asparagus flavors. Delicious and ready in a heartbeat.

The post Asparagus with Saffron Butter appeared first on Breaking Naan.

Saffron Butter

Saffron Butter is the simplest of recipes. Its a compound butter that can be used to add a sweet smelling aromatic component to the dish.

What do you do? Take a few strands of saffron and crush them with a grain or two of salt till powdered in a mortar and pestle.

Then add some cold butter slices. If this is unsalted, add some salt to preference. Then crush this in the mortar and pestle with the powdered saffron. Let this stay for 30 minutes to infuse or use up if you have to right away.

Saffron Butter Toast

As easy as it sounds. Toast a slice of bread to perfection. We trust our griddle pan more than our toaster. We do it on low with some drops of oil smeared on the pan leaving it to toast mostly dry. We keep rotating the slice every now and then and check the browning and press down gently with a kitchen towel on non-brown parts to get even toasting on both sides. Instead of a slice of bread you can also use Naan and if you are going to be reheating frozen naan then check out our tips on doing so.Β 

Then smear some saffron butter – you can wipe your pestle on here. A few grains of sea salt and you have a wonderful aromatic toast.

Make it a treat by drizzling some honey if you ar hankering sweetness and the saffron works perfecty.

The post Saffron Butter appeared first on Breaking Naan.

Moong, zucchini and potato Hirwa Rassa

Let the leftovers guide you

We hoarded cilantro. Well not exactly hoarded but bought two bunches instead of one in our weekly shopping.

So we had a whole bunch left over and we got another bunch in the next weeks grocery so needed to use up one. We made a green chutney by grinding:

1 cup chopped cilantro, 0.5 cup shredded fresh coconut (in our case defrosted from frozen), 2 cloves of garlic, a teaspoon of chopped ginger, half a chopped jalapeno deseeded (no serranos available else would have added a small serrano deseeded) sea salt to taste, 0.25 tsp sugar and fresh squeezed lime juice to taste. It made about a cup of fresh flavorful green chutney.

And we used it happily as a side to a comforting waran bhat meal. (Theres waran bhat, cucumber, batata papad, tomato saar, potato simla mirch, and in the top right position a small ball of the cilantro coconut and garlic green chutney.

Completely satisfying meal but we created a few left overs. We had the half cup of chutney and 1 potato. Our 1 year old also creates leftovers. We steamed a zucchini for him and he ate only half leaving pieces of half a steamed zucchini.

We also had half a cup of sprouted whole moong. So next day was also a leftover challenge.

The whatever you have green rassa

Hirwa is green and rassa is just a soupy stew. So thats what we made.

We quick steamed the moong bean sprouts by washing them with water to let them get some water for steaming and microwaved them in a bowl covered with a dish for 3 minutes and let that rest another 3 minutes or more while we cooked other things.

Started with some oil and let some cumin toast and sputter in it. Followed that up with some chopped onion to sweat it till soft. Then added the moong, the steamed pieces of zucchini and pieces of the boiled potato and stir fried them on the oil a bit. We then added the chutney – all half cup of it.

We then added some water and cooked it covered on medium heat till we got some steam coming out.

We seasoned with some salt and some lime juice and the hirwa rassa was ready.

We chopped some onion and cilantro for garnish and some farsan and made a quick sea salt and lime juice saad with lettuce and tomatoes. We got a couple of dinner rolls warmed on a griddle over butter and ate them with the hirwa rassa topped with some crunchy sev farsan that we still had. Simple and effective – and this time no leftovers!

The post Moong, zucchini and potato Hirwa Rassa appeared first on Breaking Naan.

Ginger, Lemongrass & Basil Lemon Soda

The sun conjurer drink

With Covid19 people have been stockpiling things. While not an advisable practice, whats stockpiled in our fridge was lots of fresh ginger and lemon. To use them up a stunningly refreshing drink almost screaminng summer is what came to mind.

Watch Kaustubh Naik of Retox Pune and Andheri make cocktails

So around the same time our friend and talented mixologist Kaustubh Naik launched a channel to teach people to make various cocktails. We drew some inspiration from him as well but did what we could with ingredients on hand.

Follow his channel Cocktail King on Youtube to watch him spin some delicious beverages.

The ginger lemongrass honey simple syrup

So as we were deciding to use ginger we also had some lemongrass on hand so we decided to use it up as well. We cut 2 inch piece of ginger in small pieces and smashed a bit. Also add 1 Tbsp of chopped lemongrass to this with 0.5 cup water. We heated this in a small sauce pan till the water reduced by half and then strained it off. Then added 2 Tbsp honey to this to make a somewhat thin syrup.

The lemon basil soda

We added 1 tbsp of the syrup to a tall glass and squeezed a wedge of lemon and added the wedge as well.

We had basil on hand and it truly became the star aromatic. Gently rubbed the leaves and added to the glass and they smelled so sweet and fragrant that it transports you to sunny weather of italian coast.

We topped this with some ice and gave it all a stir. Then topped with some soda or sparkling water and stirred topping in the end with a lemon wedge and some rubbed basil leaves.

This is a super refreshing drink that smells of sweet summer and citrus – the ginger and lemongrass adding more energizing refreshing notes.

The post Ginger, Lemongrass & Basil Lemon Soda appeared first on Breaking Naan.

Beetroot and four cheeses toastie

Our Toastie Method

So recently we have been in love with open faced toasties whenever something like cheese which will bind things together is involved.

This way you can really pile in more goodies onto the bread if you like it that way. Also no need for sandwich presses or monitored grilling. And when it is time to eat there are usually no spillages like a stuffed toasted sandwich.

The method is super simple. You can pre toast the bread with some grease optionally like oil or butter or ghee under the broiler. We use the low setting for two to three minutes for each side. Optionally you can only do one side and it goes down when adding the topping.

Next pile on the topping and broil on low for 3 to 5 minutes until cheese has melted. This results in a nice crispy toastie with warm melted cheese and also lovely crispy edges.

Take care that the toastie broiling pan is not too far from broiler, no further than the third wire rack slot in your oven.

Beetroot way

We love use beetroots with sandwiches. They could be raw or pickled or steamed or boiled or roasted. In this case we prefer the oven roasted way. Wrap the beetroot with some oil and sea salt in a foil and place in 400F oven for 40 minutes. Then remove, open the foil and peel.

To be able to pile it onto the toastie, instead of large pieces we prefer to grate the beetroot and mix in with the cheeses.

The Toastie Topping

We love the topping to be substantial. To make it so we mix the shredded or chopped veggies in with shredded cheese.

In this case we had the grated roasted beetroot, some chopped onion and chilies for veggies.

For the cheeses we had some wisconsin made hooks cheddar – aged yellow and sharp white. We also added some shaved parmesan as well as some shaved wisconsin made paneer.

The blend works great, the cheddars melt and bring the sharp pungency, paneer does not melt but adds soft body and dairy flavors and parmesan is beautifully savory. If you don’t have a variety on hand use the single cheese you have it is still delicious.

Mix it all together with some salt, crushed black pepper and herbs of your choice – we chopped a lot of cilantro in. We literally knead it with hands to bring it all together a bit.

Ready to broil toastie

We had our homemade bread baked on hands so we could cut really long slices to make ot a bot interesting. We toasted them with some olive oil for couple of mins on each side on the broiler.

Then we made small balls of the topping in the hand and piled them onto the bread flattening them to really layer them thick onto the bread.

This then broiled for 3 to 5 mins on low till the kneaded cheese was melted and it was ready to eat. A side of chips and a sprinkling of scallions and we were ready to eat.

The sweetness of beets is tempered by the other savoriness and cheeses bring the richness. The filling tastes substantial and is complemented by the crips on the outside but soft inside bread holding it. It is stiff enough to hold in the hand and eat so quite convenient.

The post Beetroot and four cheeses toastie appeared first on Breaking Naan.

Batatyacha Kachrya and fried egg

Eggs and Potatoes

There is a strong eggs and breakfast culture in india. But since potatoes are also big part of the cuisine they are surprisingly not very common with eggs at breakfast. There will be omelettes, and bhurjis and all with bread and cheese but not necessarily potatoes. We got acquainted to the morning grease combo of potatoes and eggs through the diners in the US. Hash browns or skillet potatoes on the side. When done well, this can be a satisfying kickstart to the day. Crispy edges on the hashbrowns or the garlic and parsley kick of the chez nanou potatos when they were open in madison started becoming things to cherish. Our friend Gayatri also got hooked to potatoes from marigold kitchen which seem to be skillet potatoes with hint of paprika or pimenton.

Also cutting back to pune i realized that two years ago when i was sitting at one of the oldest breakfast institutions and feeing like a grease bowl meal, there were no potatoes to be found. Dont get me wrong i had the perfect crave quencher yet through other means of eggs and cheese and cream and toast. But it got me thinking what would the pune eggs and potatoes be?

The answer i thought would be batatyacha kachrya with a perfectly fried egg.

Batatyacha Kachrya

Kachrya are thinly cut potatoes that are a very common side to chapatis or bhakris in pune meals. They are better yet when the thinky sliced potatoes are cooked to perfection in an iron kadhai.

At the farmers market we chanced upon some of the seasons first German butterball potatoes. The potatoes looked so beautiful with a thin bruising skin that we knew this would be the day of batatycha kachrya meeting a perfectly fried egg.

We sliced them and added them to water to stop them from oxidizing as well as to remove some excess starch off them. After getting some oil hot and shiny in a cast iron pan we added some yellow mustard seeds. We used yellow mustard seeds than the typical black as they are a bit milder. Then add the sliced potatoes and shake the pan.

Cook on low medium heat, stirring around so that the slices dont stick to the pan or one another. We like to initially cover the pan so that the potatoes cook evenly. As they start cooking leave stirring to minimum.

Seasoning is very simple. Some sea salt and good amounts of chili powder of your choice of heat. We use kashmiri chili powder for color and just a pinch of hotter chili powder for heat.

Finish cooking when the potatoes are cooked through and start crisping at the edges. The chili powder also smokes in the oil just a bit but should not have burned.

Then remove the potatoes and use the same pan which will give chili oil fried eggs or a separate pan heat enough oil to float a fried egg. When oil is hot add the cracked room temperature egg from a bowl and reduce heat slightly once it starts sizzling and floating up. Baste the top parts where egg whites are thick with the hot oil on the side of the pan with a spoon. When done remove and drain off any excess oil and season with flaky sea salt.

Serve the egg and then the potatoes on the side garnished with cilantro.

The post Batatyacha Kachrya and fried egg appeared first on Breaking Naan.

Tomato Sandwich Toast

Summer Candy

As summer peaks the heirloom tomatoes ripen. They sit on the vine and get juicy and sweet. When we bought this, the tomato was so ripe that it was peeling itself in the grocery bag.

A tomato this perfect does not need anything. A bite of this is sweet acidity with gelatinous umami bursting in your mouth. It is a moment to celebrate every season when the tomatoes are this perfect.

We peeled it and stamped out a big hunk with a ring mould cutter / cookie cutter.

We evened the top and bottom sides with knife and the rest of the tomato was used for a watermelon and tomato gazpacho.

We used the same cookie cutter and stamped out a slice of bread and toasted it low and slow and evenly till crisp.

The tomato then went between the two toast with a drizzle of olive oil and just a sprinkle of flaky sea salt to bring out the flavors even more.

This was it, a two bite sized piece of chin dripping heaven!

Note that if your tomato is not exquisite and in the prime of its life, this wont work – get some mayo and lettuce for reinforcements in that case.

Print

Tomato Sandwich Toast


Ingredients

1 large heirloom tomato – very ripe and at room temperature

2 large sandwich bread slice

1 tsp olive oil

1 pinch flaky sea salt


Instructions

Ripe heirloom tomatos usually peel easily, if not shock in boiling water for two minutes by making a slit at bottom and then peel

Cut tomato in half and Stamp out a round tall chunk (about 1 to 1.5 inch tall) from each half with a cookie cutter. Even out the flat sides with knife to make a cylindrical tomato chunk.

Toast the bread slices and stamp out 4 rounds with same cookie cutter

Add the tomato cylinders to one round toasted slice each. Drizzle with olive oil and season with sea salt.

top with the other piece of toast to make the sandwich.

The post Tomato Sandwich Toast appeared first on Breaking Naan.

Sweet onions and wisconsin cheese soup

Sweet onions

The august farmers market in madison brought in some exquisitely sweet onions. They are maybe as sweet as other onions but very low in pungency. This makes them easy to eat raw, a way we love to eat them with indian thalis. The low pungency and sweetness of the onions gave us an idea to use them a onion soup. We did not need to do the french kind where onions are caramelized to reduce the pungency and transform the sugars. Due to inherent quality of these onions we could do a simple clear broth.

The sweet onion and leeks broth

We also had some leeks on hand which made the perfect pairing. We let the leeks that we chopped fine sweat on some oil and then peeled the onions, washed them and halved them and sliced them into thin rings. We added these to the leeks in the pan and also let them sweat for a few mins.

Then we added a bayleaf and chickpeas cooking stock and some water. You could replace with water or chicken or vegetable stock, but the aqua-faba also brings in a lovely clean gelatinous mouth feel while keeping the soup vegetarian. We brought this to simmer and cooked it on low without bringing it to boil till the onions were soft. We then added little bit of white wine and adjusted the salt and let it cook bit more till the alcohol taste was gone leaving behind some sweet acidity of the wine. The soup got a lovely translucent color and we ladled some in the bowl. We kept some sourdough toasted ready meanwhile which we broke into to large pieces.

Wisconsin cheddar

Usually gruyere will be used in the french kind of onion soup. Since we are in wisconsin we went with some mild cheddar from a local cheese maker.

Since the soup base was kept very simple with sweet, acidic and pungent notes, the cheese brought the fat. We brought some playful seasoning using some mild green chilies and frehs crushed black pepper.

So we put the toasts on the soup and layered with thin slices of the cheddar and topped with green chilies. This went under the broiler on low with door open till the cheese melted. As soon as it came out we garnished with some fresh crushed black pepper and chopped scallions.

The crushed black pepper really lofts up and brings out the flavors of the cheese onion soup and the freshness from adding at the last minute really helps.

This makes for a nice warm lunch and other than the sourdough croutons and the cheese is a vey light meal. Every time you bit a mild green chili it add subtle warming heat and keeps it interesting and pairs perfectly for us with the wisconsin cheese.

Β 

Print

Sweet onions and wisconsin cheese soup


  • Author: BreakingNaan
  • Total Time: 2 hours 30 minutes
  • Yield: 2 Bowls

Ingredients

4 medium sweet onions peeled and thinly sliced

Half cup thinly chopped white part of leeks

1 Tbsp vegetable oil

Salt for seasoning

Two thick slices of sourdough loaf toasted and tore into four pieces each

Mild cheddar shaved into thin slices for garnish

2 tsp chopped mild green chilies

2 tsp chopped scallions

1 tsp crushed black pepper

2 cup aquafaba (replace with chicken or vegetable stock)

1 cup water

1 bay leaf

0.5 cup white wine


Instructions

  1. Heat the oil in a stock pot on medium heat
  2. Add leeks and sweat for a few minutes till leeks are soft and translucent
  3. Add onions and sweat for few mins till onions are soft
  4. Add the aquafaba and water and bayleaf and bring to simmer and continue cooking on low to med heat without letting it boil for 30 to 60 mins till onions are soft
  5. Season with salt and Add the wine and cooke for further 20-30 minutes
  6. Set oven on low broil
  7. Discard bay leaf and Ladle soup into bowls
  8. Top with 4 sourdough pices each and top with cheddar slices and green chilies
  9. Broil with door open till cheese melts
  10. Remove bowls carefully onto a plate each and top with crushed black pepper and scallions
  11. Serve hot immediately
  • Prep Time: 30 mins
  • Cook Time: 2 Hours
  • Category: Soup
  • Method: Simmer
  • Cuisine: American

Keywords: Onion Soup Wisconsin Cheddar

The post Sweet onions and wisconsin cheese soup appeared first on Breaking Naan.

Beetroot Koshimbir

Golden Beetroot Koshimbir

About Koshimbir

An indian thali consists of mains as well as sides that go with the mains. Of the sides there always use to be one type which my mom made almost for every meal. It primarily had vegetables, mainly raw but sometimes cooked. Cucumber or carrot or radish were the common ones depending on whats fresh at the market. In summers yogurt will also be used to bring the koshimbir together. Koshimbir would have elements of acid from lemon or yogurt, texture from peanuts or coconut, heat from chilies or chili powder. The koshimbir could be seasoned raw or also sometimes with flavor infused hot oil. Made with yogurt they are perfect cooling dish for summers and definitely also act as a counter balance to the hot and spicy mains.

Beetroot koshimbir

This ones made from golden/yellow beets. Beetroot Koshimbir can be made with raw beets as well, in which case you need to grate the beets thin or let them marinate in a bit of acid. The raw koshimbir works great with fatty and meaty mains like grilled chicken or fish. The cooked beetroot koshimbir works great with bread and rice. This time we made it with roasted beets. Typically red beets are used which are more earthy than golden beets which are a bit more subtle and smoother. We like to use golden or yellow beets for this koshimbir as the smoother less earthy flavors allows other subtle seasonings to pair well and shine with it.

To roast the beets wrap in foil with sea salt and drizzle of olive oil and roast in oven for 40 mins at 400 F. Unwrap and the peel. The skin should come off by rubbing it. Whip very good quality yogurt with a spoon and a splash of water or milk to get it going. Season with sea salt and smear on a plate. Use a coarse grater to grate or alternatively chop the beet root on top. Season with sea salt.

Roasting Sesame seeds

Sesame seeds come alive when you lightly toast them in a pan. So do it and let them cool down and then sprinkle on top. Follow that by heating some oil – add one of cumin or mustard seeds and let them flavor the oil – add mild chopped green chilies and curry leaf if you have some and then spoon this infused oil on top. Garnish with cilantro if you have some on hand.

Eat it just like that or i recommend to get a warm bread like a soft pita or a chapati and wipe it off the plate with the bread!

Print

Golden Beetroot Koshimbir

Beetroot Koshimbir


Description

A quintessential indian side dish calle dkoshimbir which in this case is made with yogurt and golden/yellow beets seasoned with toated and nutty sesame seeds


Ingredients

1 Medium/Large Golden/yello beetroot

0.5 cup yogurt

upto 2 Tbsp Milk/Water

0.5 tsp sea salt

1 tsp white sesame seeds, toasted dry in a hot pan till they getΒ  alight brown color and cooled

1 to 2 tsp vegetable oil

0.5 tsp cumin

0.5 tsp chopped mild chilies

0.5 tsp chopped cilantro


Instructions

  1. Wash the beet and dry it. Put in a Foil and drizzle with oil and sea salt and close the foil and bake in oven at 400 F for 40 mins
  2. Stir yogurt to cream consistency with a spoon and season with the sea salt to taste. If needed add a little bit of the milk/water
  3. Smear the yogurt in a plate
  4. Use a very coarse grater to grate the peeled and roasted beet, then arrange the grated beets over the yogurt and season lightly with sea salt
  5. Heat the oil and when heated add the cumin seeds and the chopped mild green chilies and on medium heat let the cumin be toasted and the oil infused with its flavors and that of the chilies
  6. Drizzle this oil and the cumin and chilies over the beets with a spoon
  7. Top with the toasted sesame seeds
  8. Then finsih by garnishing with some cilantro
  9. Serve mixed together or just spoon it into plate and pair with warm pita bread or as a side for chapatis or rice

Β 

The post Beetroot Koshimbir appeared first on Breaking Naan.

Ujwala’s Oats Quinoa & Millet Dhirde

Like the surface of the moon

Dhirdi are kind of like pancakes. The batter is poured on a hot oiled griddle. It runs and wants to spread. But the heat gets to the water in it make it dance and steam away creating small holes. Then it settles and starts cooking, as the water leaves, leaving the holes, thinngs dry out near these holes and start caramelizing. It cooks, it gets crisp. You flip it! Then you see the beauty of a well done dhirde, marked with glorious and numerous spots all along, just like the surface of the moon.

Two things are key, the batter needs to have moisture, water that can steam away. It needs to be enough, but not so much that all water steams away and not much is left to form that web and construct a dhirde from what remains.

And the pan needs to be hot! When the batter hits the pan, it should spread, yes. But then the evaporation should start immediately. It should not be so hot that the water evaporates and the remaining things start burning right away!

Beauty of Oats for dhirde

Dhirde are made from all kinds of flour. Chickpeas flour, rice flour dhirde are quite popular. Our Mom Ujwala has been making these every now and then as she visits us for breakfast. Last weekend i got some beautiful oats from the dane county farmers market.

Next day when i woke up, she was in the kitchen and something smelled really nice. She told me she just toasted some of the oats slowly in a pan and was wondering if she could steal them and grind them and use in the dhirde! The idea sounded fantastic! We upped the game and she roasted also some quinoa. And we ground that to a flour. The toasted flour has delicious nutty flavor and aroma.

That night she mixed some yogurt with the two flours and millet (nachani) flour. Overnight this ferments a bit getting richer in flavor.

In the morning she added some sea salt, toasted cumin powder and adjusted the consistency.

As mentioned before the water evaporating away is what makes the dirdhi light and airy. The batter needs to be flowing consistency.

If you pour it in a plate it should spread.

If you pour it back from the plate it should trickle down slowly leaving some batter on the plate in the end.

Mom would add some low heat chilies once the batter was on the floor. Chopped garlic also tastes good. You can mix these in the batter or sprinkle from top. I eat some flax seeds with my oats so i even tried these with a sprinkling of crushed flax seeds and loved them.

With the non stick pan with little bit of oil hot enough so that water that hits it will dance on it and evaporate, pour some batter. We have a glass cook top and we let the pan heat at around 6/10 mark. It will spread and water will start evaporating as the moisture dances and you can hear it sizzle and then steams away leaving small holes behind where the batter touches the pan.

Add some mildly hot chopped chilies. Let this cook till the top surface starts to be cooked and then gently loosen it and flip. The beauty of this dhirde are how nice and crisp they get on the edges of the holes where the water left.

Serve them one at a time for a crispy hot luxurious treat or make a few and eat them together. Surprisingly they taste good even after they cool down a bit.

Β 

Print

Ujwala’s Oats Quinoa & Millet Dhirde


Description

A dhirde recipe with yogurt and flours of millet, oats and quinoa.


Ingredients

0.5 cup rolled oats toasted gently in a pan and ground to flour

0.25 cup quinoa toasted gently in a pan and ground to flour

1 cup nachani (millets) flour or substitute with a flour of your choice like a mix of wheat, rice, other grains

0.25 cup greek yogurt

1 Tbsp Semolina (optional)

salt for seasoning

1 tsp toasted and ground cumin powder

4 tsp chopped mild chilies

Some oil for the pan


Instructions

Mix all flours and yogurt with some water togetherΒ  to make a thick batter the night before

Cover and let rest overnight

Next day fold some water and mix batter to a pourable consistency

Add toasted cumin powder, salt for seasoning

Heat a pan on medium till sprinkle of water drops make them dance and steam away

lightly brush with some oil

Ladle some batter, and spread. Pan should be hot enough and batter should have enough water that the water drops in batter dance and steam away laving holes in the pancake and starts to cook

Add a few chopped mild chilies as is preferred

Lower heat if needed and cover with a dish for a few minutes

Gently release it from the pan and flip and cook for a few more minutes

Serve one at a time while hot or collect a few and serve

  • Prep Time: 12 hrs
  • Cook Time: 30 mins

Keywords: dhirde recipe oats quinoa nachani millet flour

The post Ujwala’s Oats Quinoa & Millet Dhirde appeared first on Breaking Naan.

Avocado Toast with Pumpkin Seeds

Avocado Toasts

In last two years they have become available in most cafes. We love them most times. Other times they turn out to be avocado puree on toast and it disappoints us as all the textures are gone. When the avocado is left a bit chunky it can add a lovely height to the sandwich as well as bring some nice texture. You can also incorporate other ingredients very easily due to the peaks and valleys of the coarse avocado.

Always choose an avocado which is not hard to touch. Yet it should not be overripe where if you squeeze it gently it makes a dent.

Cut the avocado in half and take the seed off and then cut into small pieces and scoop out. Add chopped onions, tomatos, some garlic, cilantro, mild chilies of your choice chopped or jalpenos and some chopped garlic and sea salt.

Just bring it all together only mashing gently with the back of a spoon or a fork just to bring it all together.

Dress it with some lime juice thats freshly squeezed.

Toasting for avocado toast

the toast should be crisp. Especially the lower side to hold the payload. You can use a toaster but using a skillet on medium slow and controlled heat will make a lovely uniform toast. You can use some butter or olive oil or neither. For sourdough, just weigh down the toast with something flat, like a small flat dish or back of a spatula. This allows the centre to get toasted evenly as well. Toast both sides, the second side can stay on skillet on low as you prep for rest.

You can toast the pumpkin seeds as well on the side on this gentle heat.

Then spoon the avocado mixture gently and generously.

Top with the toasted pumpkin seeds, some pomegranate seeds, some micro greens and we had some violet blossoms which we used.

Drizzle with some flavorful oil like olive, pumpkin seed or walnut oil. Season with some flaky sea salt.

The post Avocado Toast with Pumpkin Seeds appeared first on Breaking Naan.

Dhingri Matar (Mushroom and Peas)

Dhingri Matar

Dhingri Matar is a dish made with mushrooms and peas. The dhingri matar recipe typicaly involves a korma style curry with peas and in modern age button mushrooms. I believe traditionally these could have been variety of foraged mushrooms. When we could buy some morel mushrooms or gucchi and kings trumpet mushrooms at the dane county farmers market, those were the mushrooms we used for the dhingri matar.

Instead of counting on a traditional recipe for dhingri matar we decided to go with a sauce based on the pea puree itself. Its still a very aromatic and creamy sauce in texture, surprisingly very much like a korma.

The Dhingri

The mushrooms were brushed to take the dirt off and then the morel tips were sautΓ©ed in butter followed by chunky pieces of the kings trumpet mushrooms. The morels are intensely aromatic and nutty while the kings trumpet get meaty in texture from the pan sautΓ©ing with caramelized edges adding to the flavors.

The stems of both mushrooms were also chopped and sautΓ©ed with some walnuts and made into a nutty sauce by being ground with some milk. We used this sauce warmed up to dress the peas.

The Matar

To make the peas based korma like sauce, we melted some chopped onions and cashews along with a cardamom. We also added some white pepper and ginger juliennes and added some water.

We cooked the peas gently for four to five minutes till their color turned vibrant green. We then let them cool down a bit and with some sea salt added pureed them to very very creamy and fine puree. Taste this warm with your eyes closed and you might be not wrong in believing you are trying a very simple but aromatic malai korma.

We cooked rest of the peas simply in salted boiling water, drained and blanched them, then we added half of them to the walnut and mushroom sauce to dress them and warmed the sauce up gently. We kept the other peas warm as we believe perfecty cooked peas on their own lend wonderful sweet pop to any dish.

The ginger and cumin foam

Instead of mixing the sauce with any cream we steeped some fresh ginger and cumin in warm milk and then drained it and used the milk foam keeping the texture light and the cream flavors playful and light. To make the milk foam start with the chilled steeped milk. Foam with a milk frother. Then warm the milk. It will rise and you expand and you can then aerate it a bit again. Then let this settle a bit and cool down. As it cools down it will get firmer (if you try plating as a test while hot you will see this collapses)

Morels, kings trumpet and peas – Dhingri Matar

We plate by smearing the warm pea based korma like puree. Spoon some of the peas dressed with the walnut mushroom cream in clusters. We then top these to cover them with the pan sautΓ©ed king trumpet mushroom pieces and the morels. Follow this by adding some of the simply cooked vibrant green peas.

We had a few mustard blossoms so thats what we finished off with after adding the ginger and cumin foam.

The post Dhingri Matar (Mushroom and Peas) appeared first on Breaking Naan.

❌