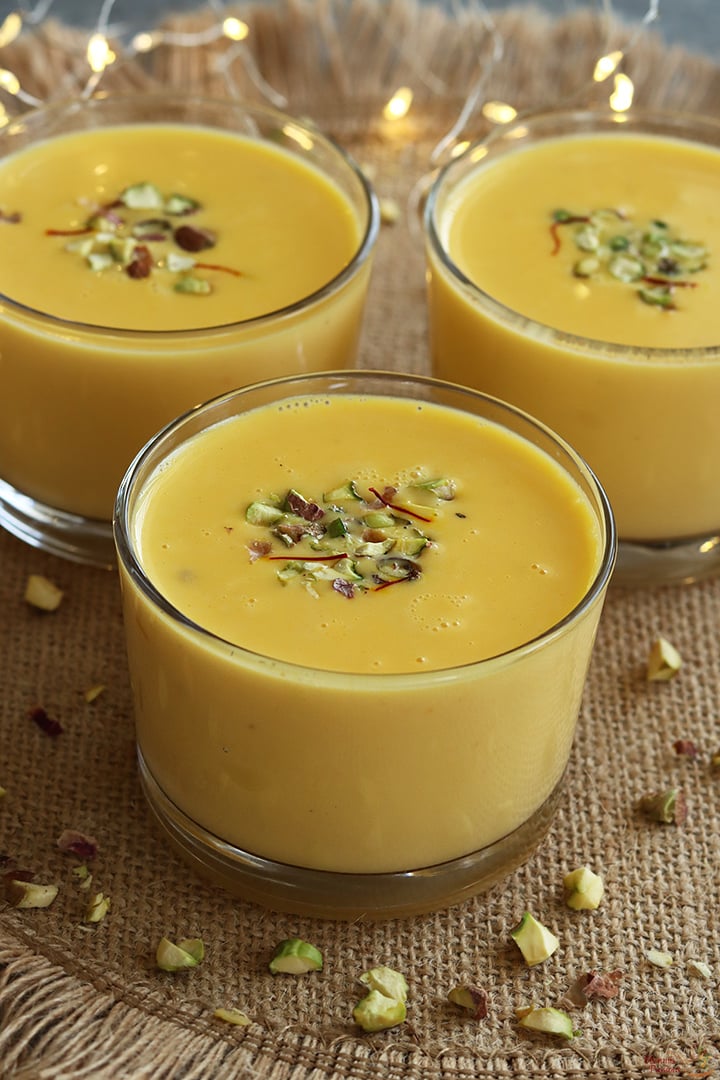
Carrot Kheer | Carrot Payasam
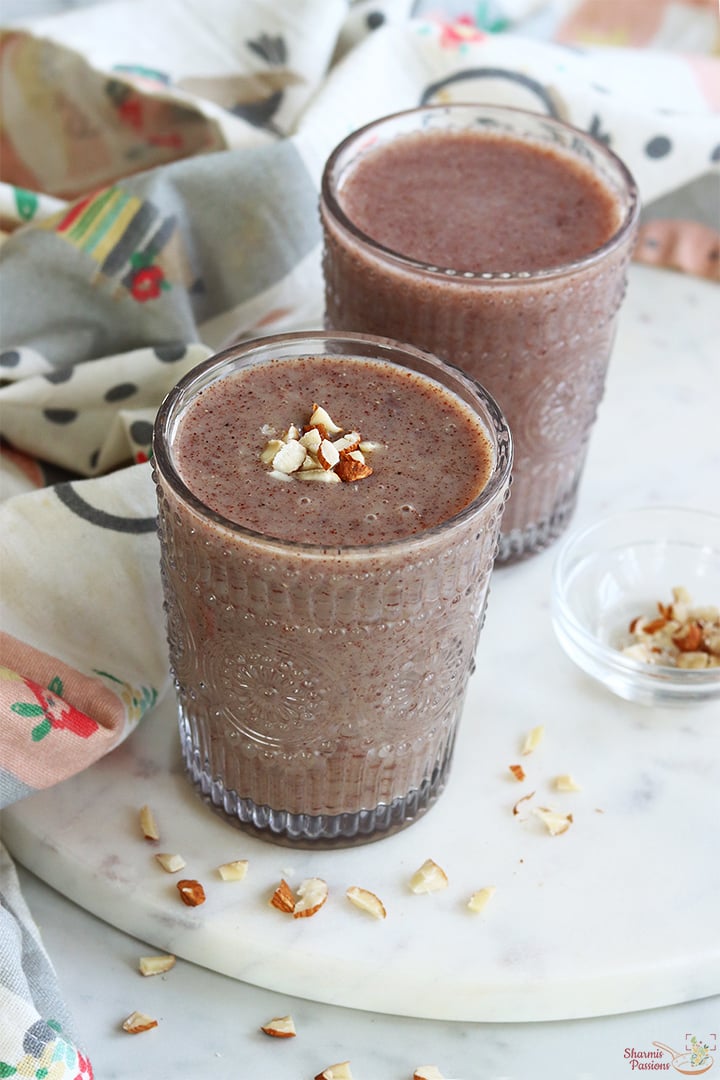
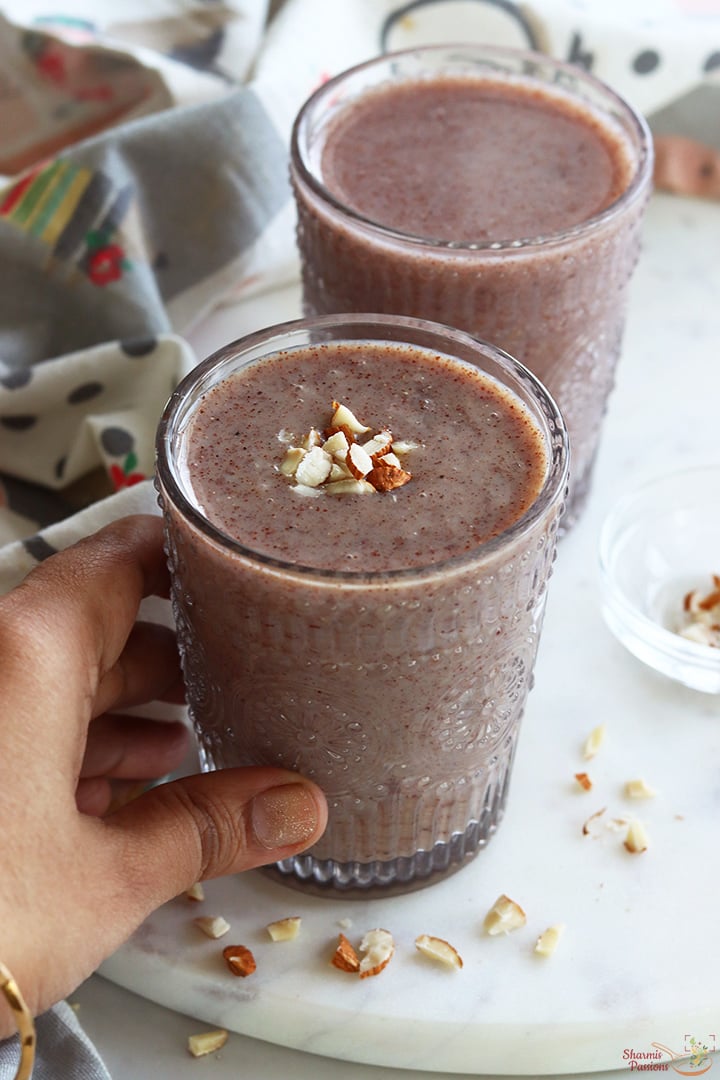
Carrot Kheer is a yummy, creamy dessert made by simmering cooked carrots with flavored milk & garnished with nuts. Carrot Kheer is made on special occasions and is quite easy to make. Let us learn to make carrot Kheer Recipe with step by step pictures and video.
Carrot Kheer is our family favourite including mittu. This version of carrot kheer is loved by all ages as it is creamy and tasty. Carrot kheer made with sauteing carrots was not mittus favorite so tried this version and it is a instant hit with both the kids.
[feast_advanced_jump_to]About Carrot Kheer
Carrot Kheer is a rich creamy dessert that you can make for festivals or any special occasions. Kheer is payasam so payasam made with carrot as main ingredient is Carrot Kheer. Carrot Payasam as it is popularly known in South India is one of the unique kheer recipes that you can make from our usual rice kheer.
There are many ways this Carrot Kheer can be made - Some versions involve just sauteing carrots in ghee and simmering in milk. But this recipe I have shared is more creamy and will sure be kids favorite too.
Cardamom powder goes well with carrots and milk so do not skip it. If you like saffron you can add a pinch of it too. If your kids are not fond of carrot in sabzi form then try this recipe for them and I am sure they will love it and ask for more. So these days Carrot Kheer is something they look forward to.
This is a creamy and rich dessert that you can make it as a part of meals or as an after meal dessert. If you get Delhi red carrots you can use that too. Carrots are a rich source of Vitamin A which is very good for our eyes so try to include carrots in your diet on a regular basis.
Why you will love this recipe?
- Easy and quick to make
- Creamy and rich dessert
- Includes cashews while grinding which makes the kheer more creamy
Video
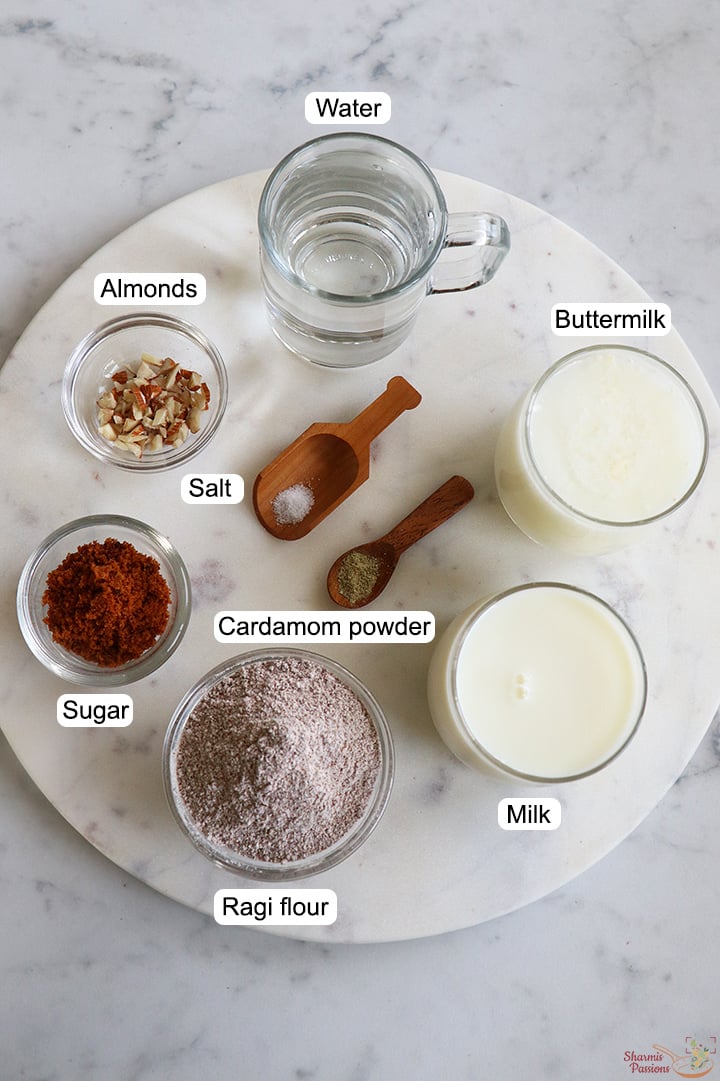
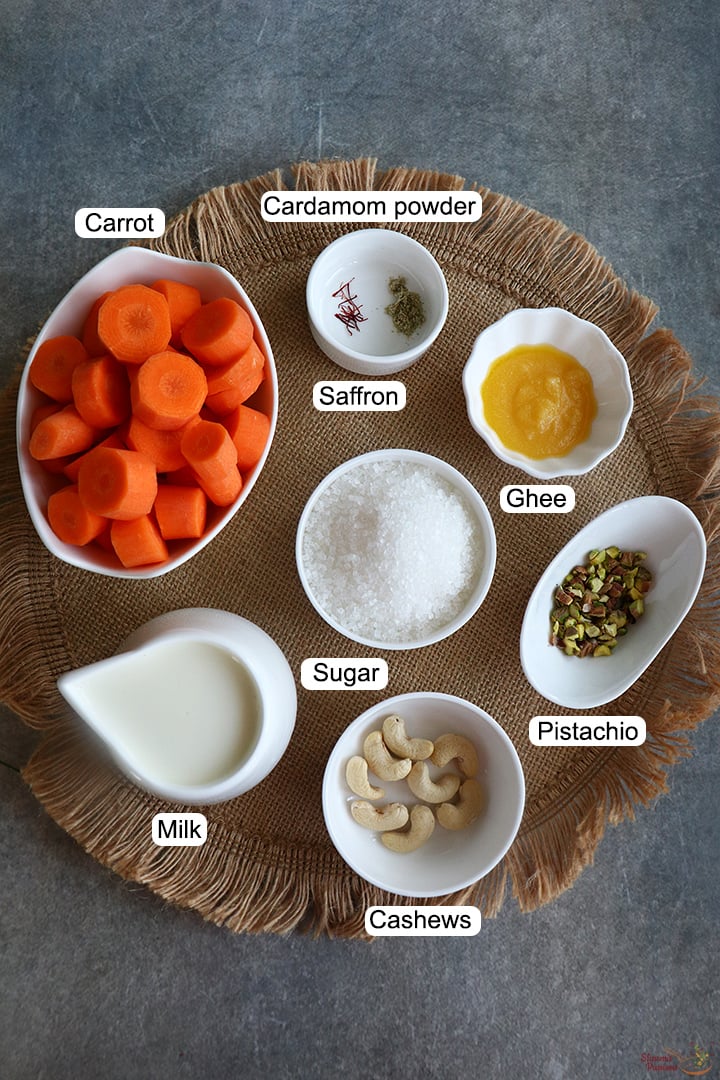
Carrot Kheer Ingredients
- Carrot - Choose fresh carrots. I used ooty carrots you can use Delhi red carrots too. Grate it using a medium holed grater.
- Milk - Use full fat milk. I used cows milk.
- Sugar - I have used regular white sugar but you can use jaggery too.
- Flavoring - Cardamom powder is the best flavoring for this kheer.
- Garnish - I have used pistachio, you can ghee fry nuts and add it too.
How to make Carrot Kheer Step by Step
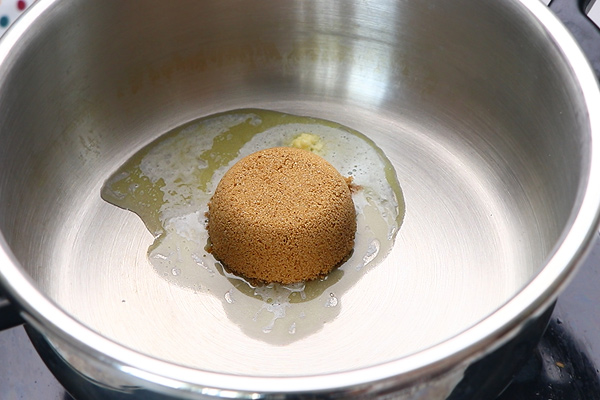
1.To a pan add 1 tablespoon ghee let it melt.

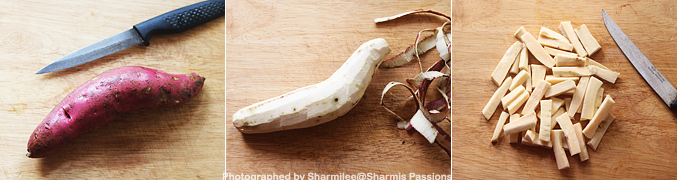
2.Wash carrots, trim the edges and peel of the skin.Grate it using a grater and then measure it. Add 2 cups grated carrot and saute for few mins until it shrinks and raw smell leaves. It may take at least 5-7 minutes so keep sauteing in low flame.

3.Add ½ cup water to it.

4.Cook covered until the carrots turn soft yet retains its shape not too mushy.

5.Once all the water is absorbed and the carrots are cooked remove from pan and cool down.

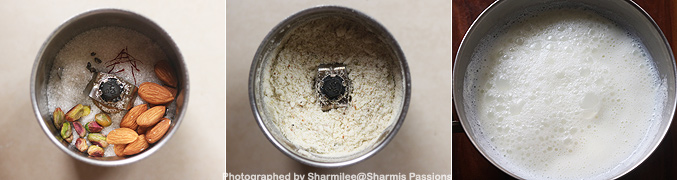
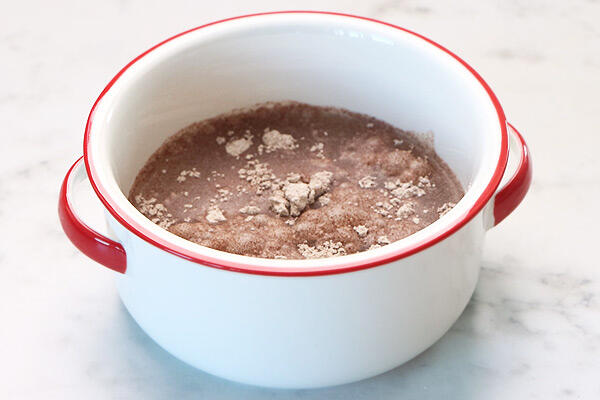
6.Transfer to a bowl and add 6 whole cashews soaked in water to it.

9.Now this is ready to make into a paste.

10.Grind it to a fine paste and set aside. Add little water to grind it.

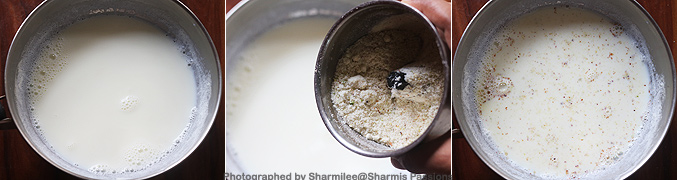
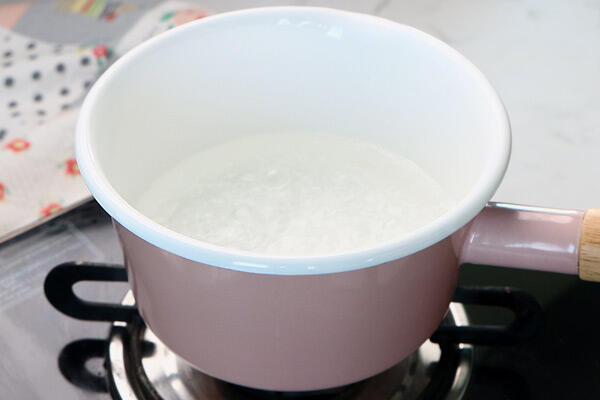
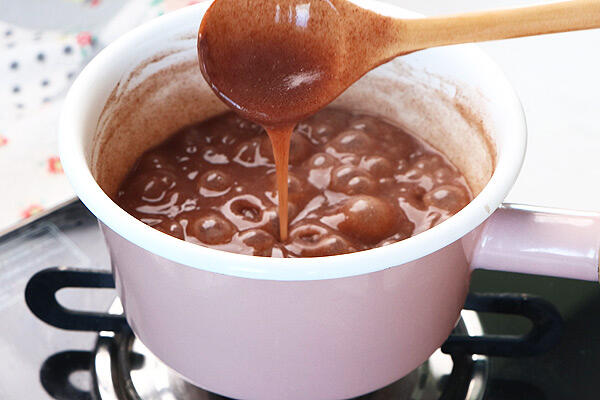
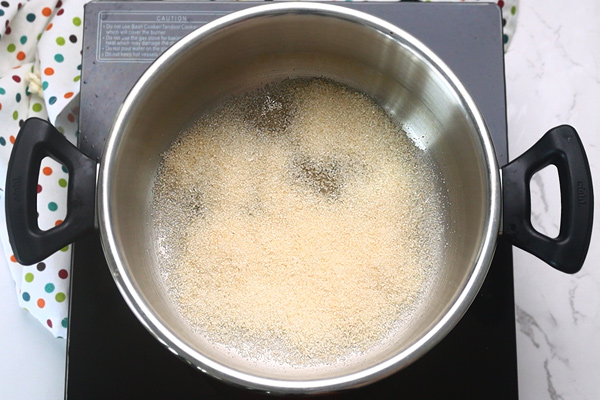
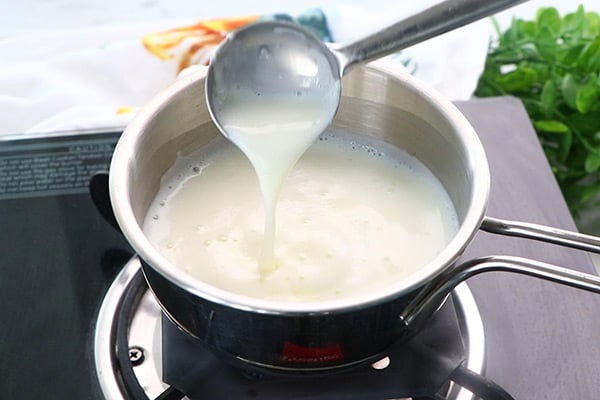
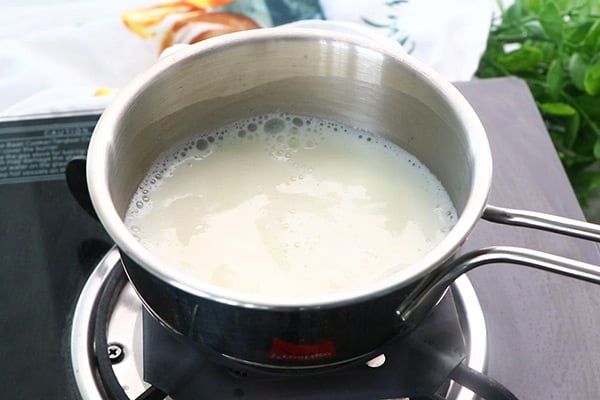
11.Boil 2 cups full fat milk. Let it come to a rolling boil.

12.Simmer for 2 minutes.

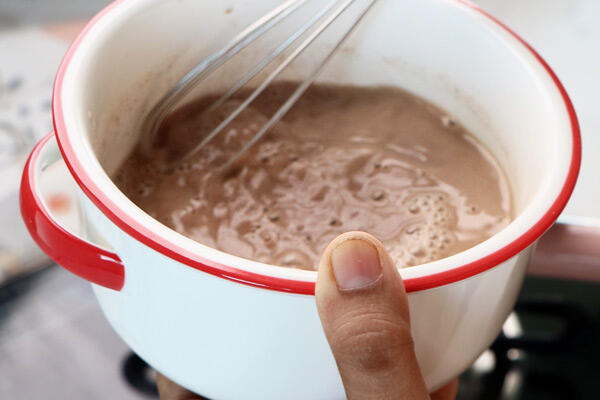
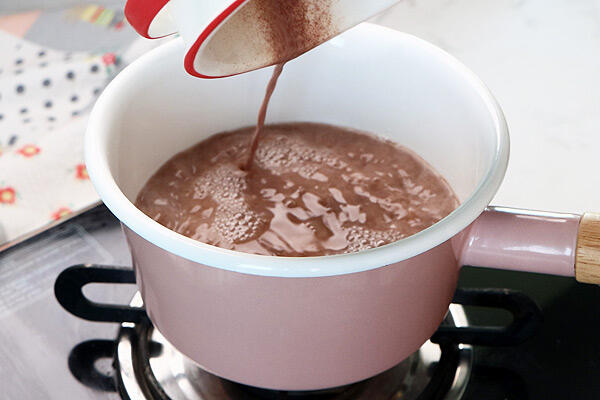
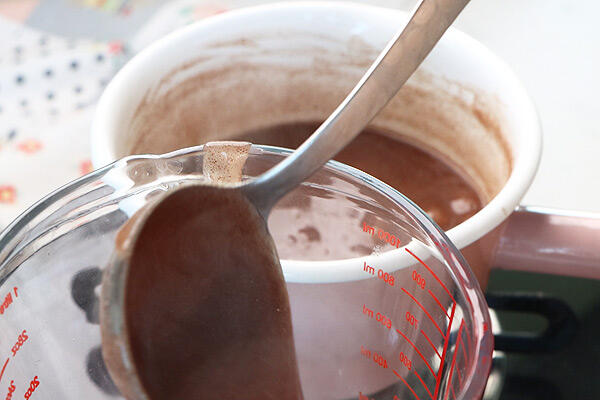
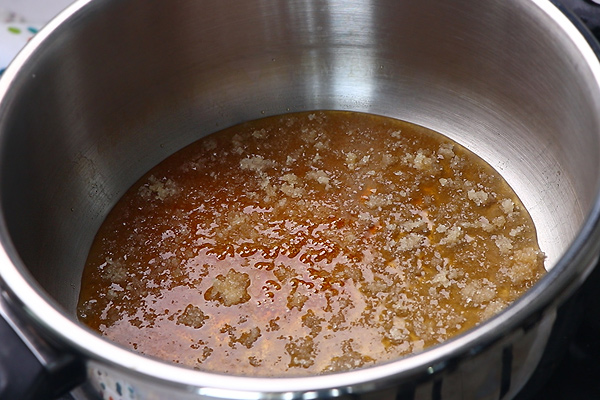
13.Add carrot cashew paste to it.

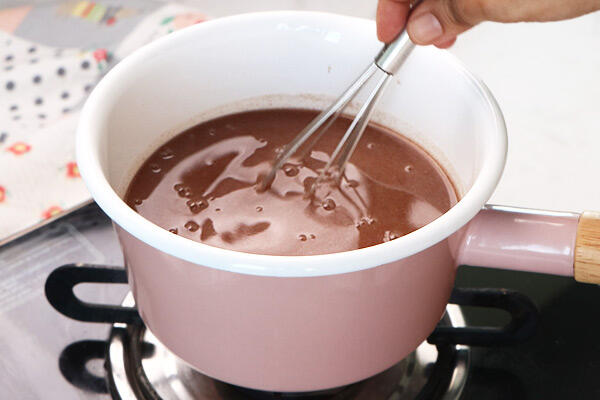
14.Mix it well first.

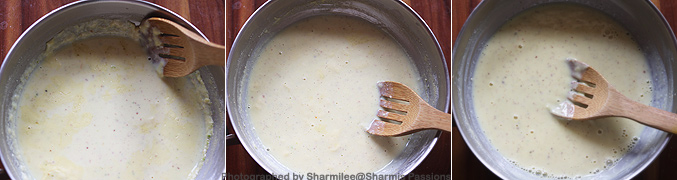
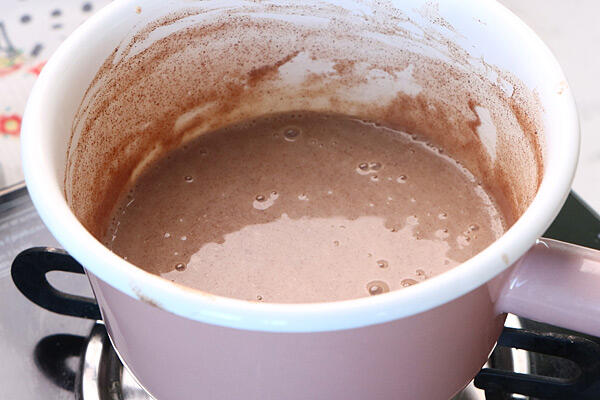
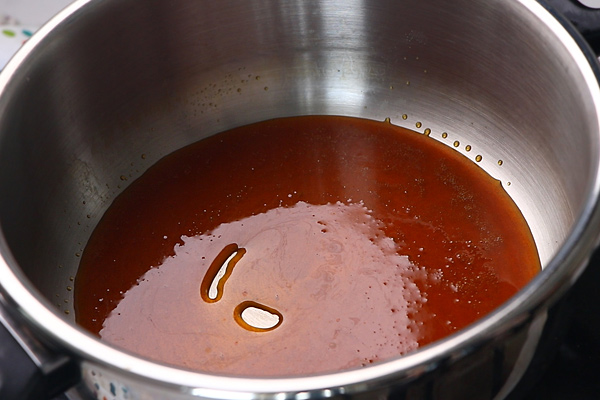
15.Add ¼ cup sugar to it.

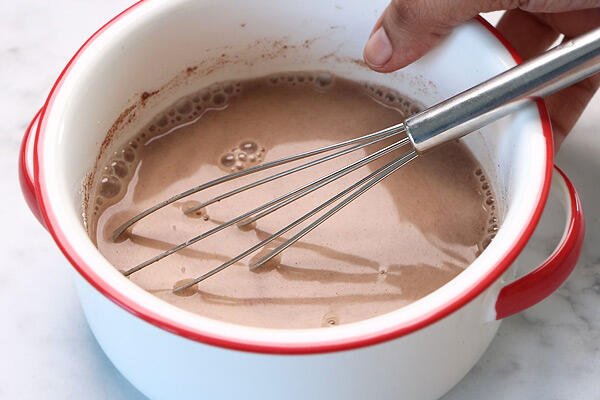
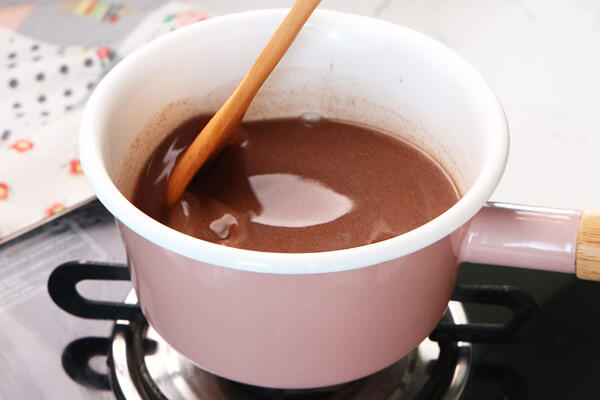
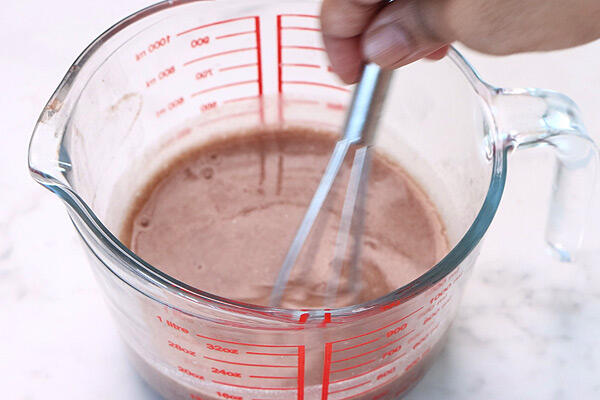
16.Simmer for 5 minutes.

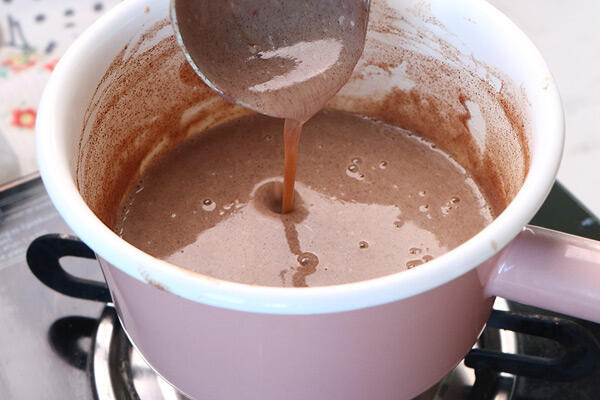
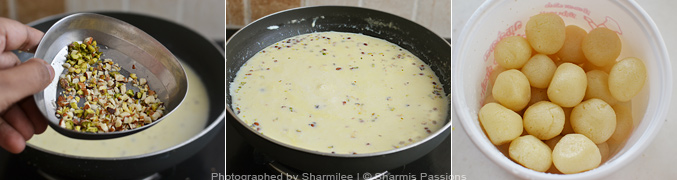
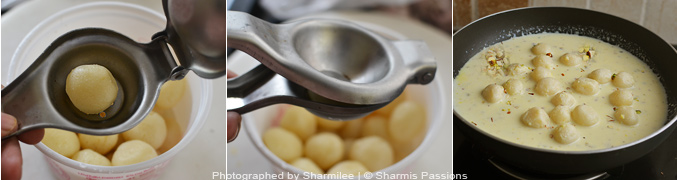
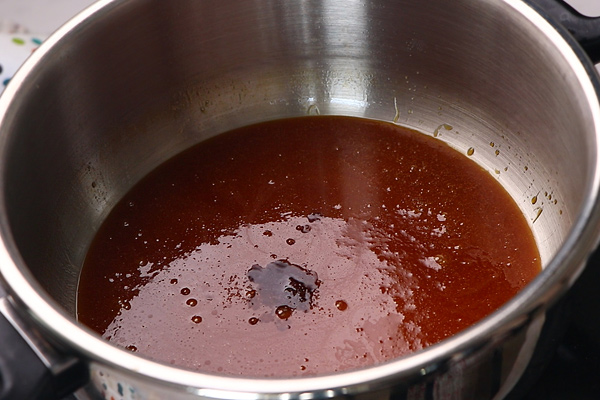
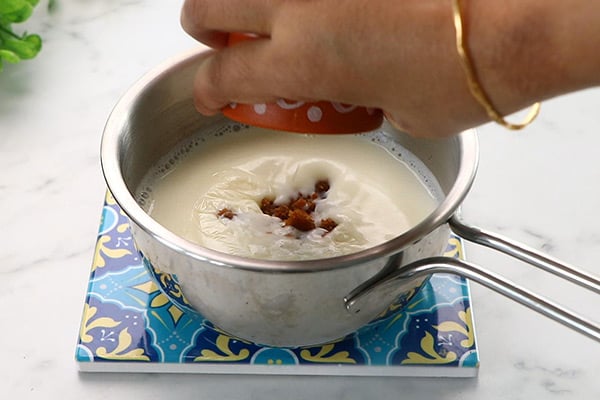
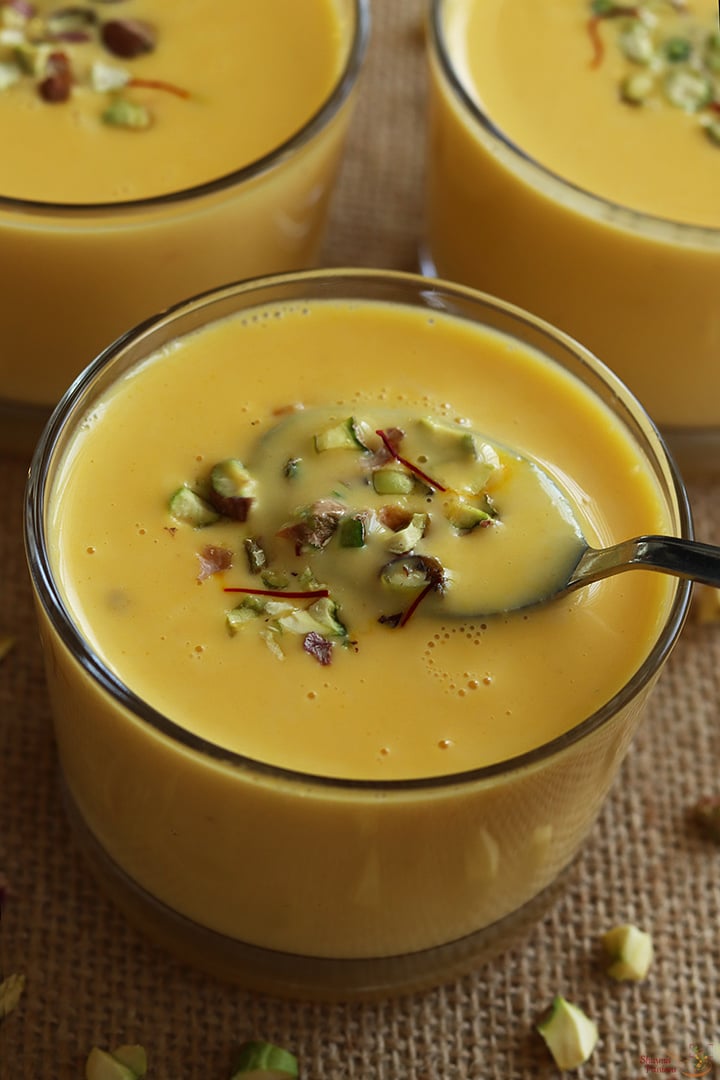
17.Now add ¼ teaspoon cardamom powder and chopped pistachio.

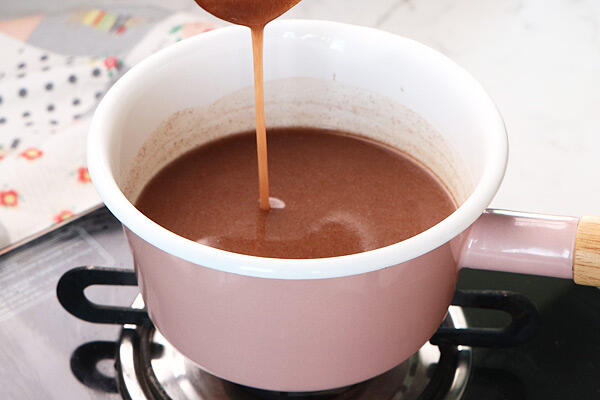
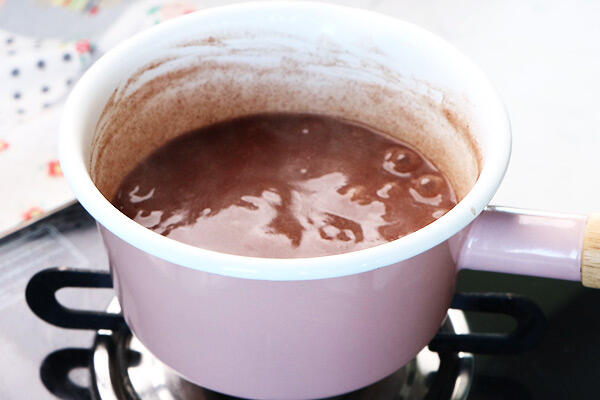
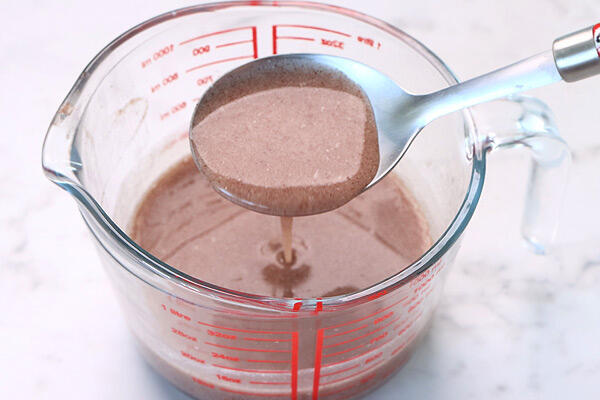
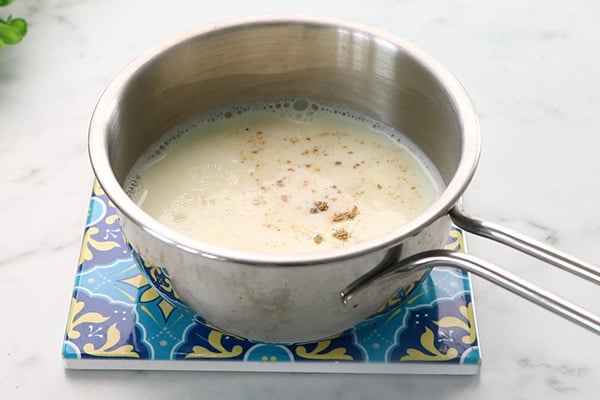
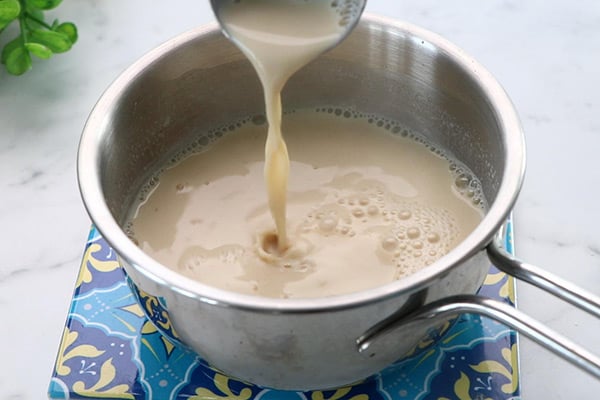
18.The consistency should be slightly runny as the kheer thickens with time.

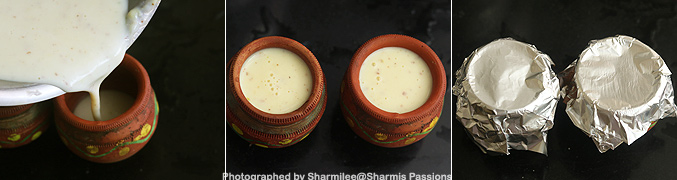
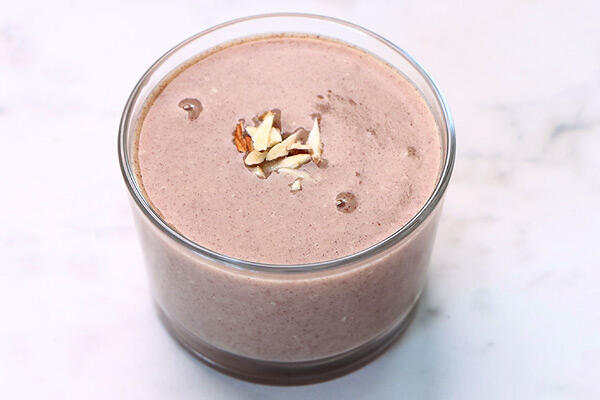
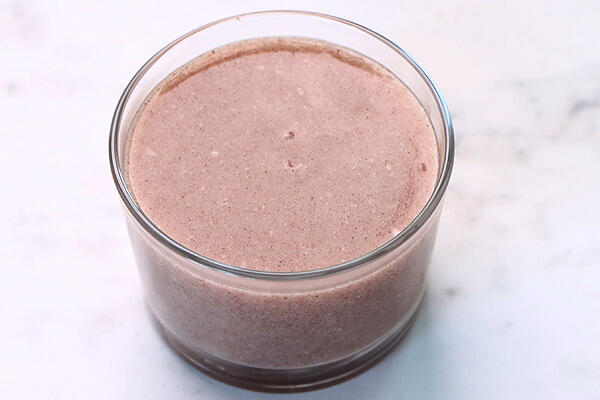
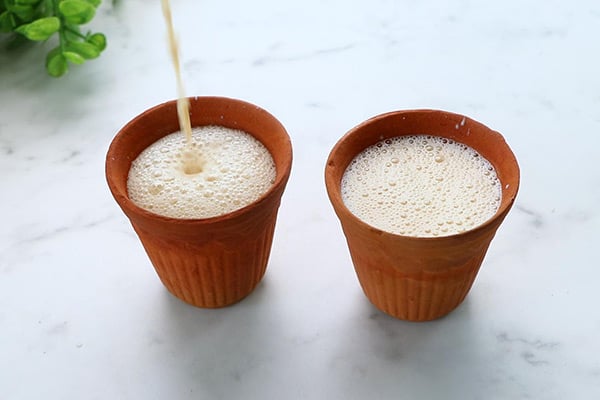
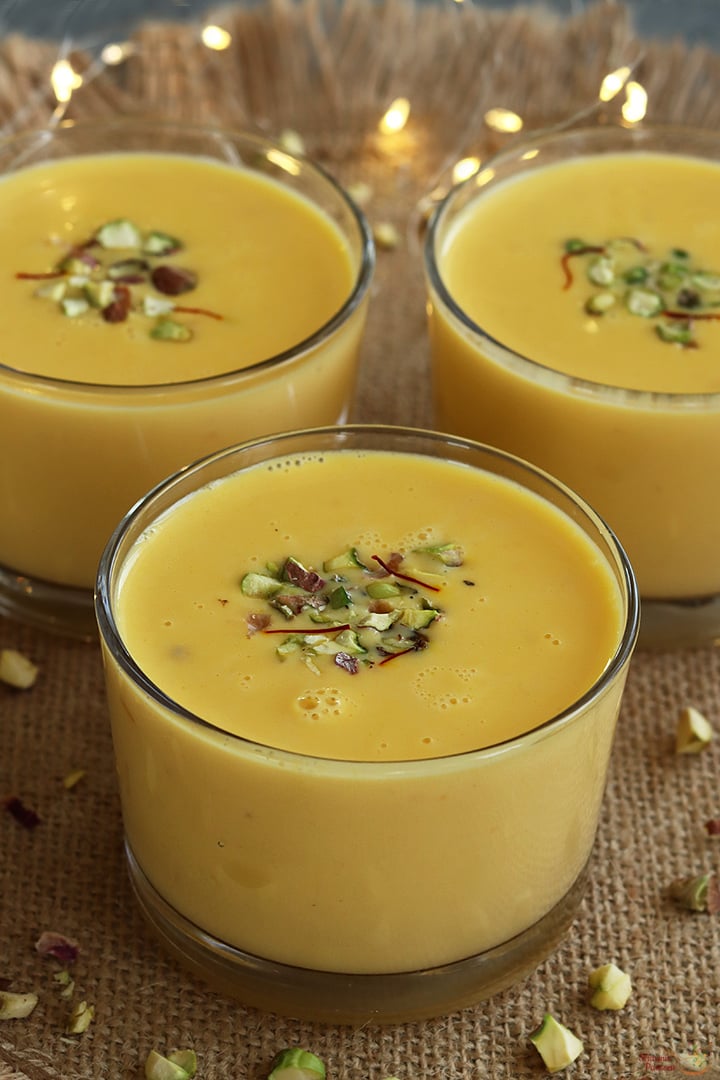
Carrot Kheer is ready!
Expert Tips
- While blending, you can add little milk or water to blend to a fine paste.
- You can grind it to a coarse mixture too if you like it that way.
- Boil milk well, simmer for few minutes only then add carrot paste.
- You can skip cashews while grinding and add it as garnish too. Instead of cashews you can add almonds while grinding too but blanch it remove the skin then grind it along with carrots.
- You can even add a pinch of nutmeg powder for extra flavor.
- You can add ¼ cup condensed milk for a rich kheer. In that case add just 2 tablespoon sugar.
- You can add ghee fried cashews or other nuts too.
- This kheer tastes good on its own but if you prefer you can add raw chopped nuts as garnish.
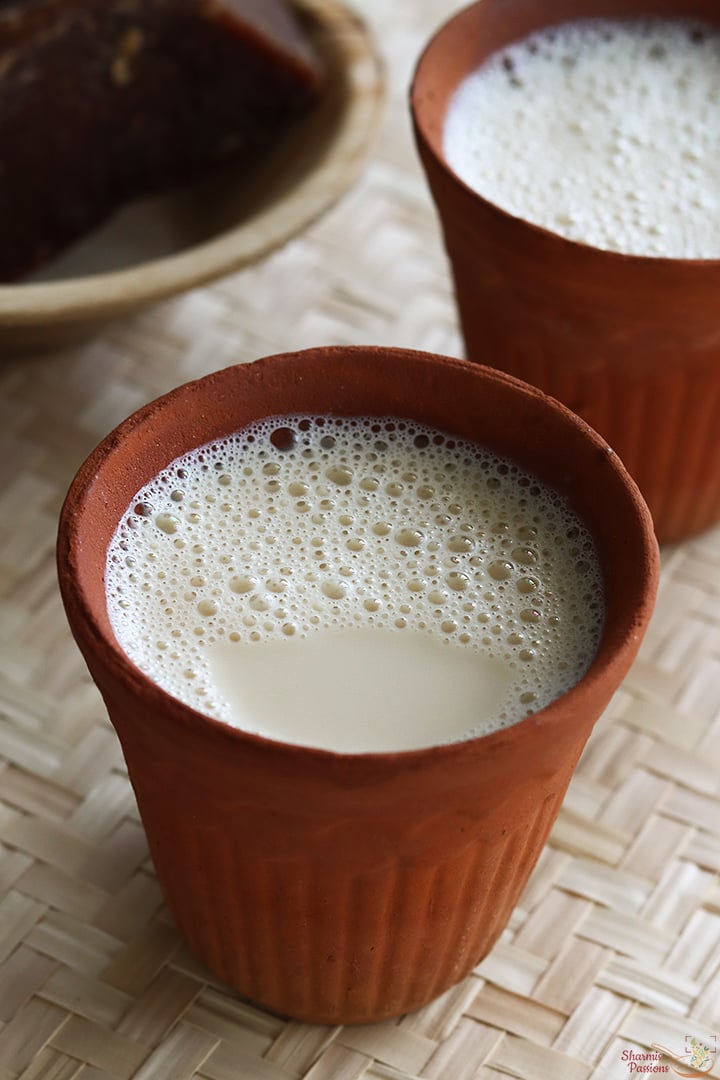
Serving & Storage Suggestion
Enjoy Carrot Kheer as a dessert after meal hot or cold as per your preference. Refrigerate for later use, keeps well for a day in room temperature and in fridge for 2-3 days.
If you have any more questions about this Carrot Kheer Recipe do mail me at sharmispassions@gmail.com. In addition, follow me on Instagram, Facebook, Pinterest, Youtube and Twitter .
Tried this Carrot Kheer Recipe ? Do let me know how you liked it. Also tag us on Instagram @sharmispassions and hash tag it on #sharmispassions.
📖 Recipe Card
Carrot Kheer | Carrot Payasam
Ingredients
- 2 cups grated carrot loosely packed
- 2 cups full fat milk
- ¼ cup sugar
- ½ cup water + as needed
- 6 whole cashews
- ¼ teaspoon cardamom powder
- 1 tablespoon ghee
- chopped nuts
Instructions
- To a pan add 1 tablespoon ghee let it melt.
- Wash carrots, trim the edges and peel of the skin.Grate it using a grater and then measure it. Add 2 cups grated carrot and saute for few mins until it shrinks and raw smell leaves. It may take at least 5-7 minutes so keep sauteing in low flame.
- Add ½ cup water to it.
- Cook covered until the carrots turn soft yet retains its shape not too mushy.
- Once all the water is absorbed and the carrots are cooked remove from pan and cool down.
- Transfer to a bowl and add 6 whole cashews soaked in water to it.
- Now this is ready to make into a paste.
- Grind it to a fine paste and set aside. Add little water to grind it.
- Boil 2 cups full fat milk. Let it come to a rolling boil.
- Simmer for 2 minutes.
- Add carrot cashew paste to it.
- Mix it well first.
- Add ¼ cup sugar to it.
- Simmer for 5 minutes.
- Now add ¼ teaspoon cardamom powder and chopped pistachio.
- The consistency should be slightly runny as the kheer thickens with time.
- Carrot Kheer is ready!
Notes
- While blending, you can add little milk or water to blend to a fine paste.
- You can grind it to a coarse mixture too if you like it that way.
- Boil milk well, simmer for few minutes only then add carrot paste.
- You can skip cashews while grinding and add it as garnish too. Instead of cashews you can add almonds while grinding too but blanch it remove the skin then grind it along with carrots.
- You can even add a pinch of nutmeg powder for extra flavor.
- You can add ¼ cup condensed milk for a rich kheer. In that case add only just 2 tablespoon sugar.
- You can add ghee fried cashews or other nuts too.
- This kheer tastes good on its own but if you prefer you can add raw chopped nuts as garnish.
Nutrition
The post Carrot Kheer | Carrot Payasam appeared first on Sharmis Passions.