Ragi Malt Recipe | Ragi Porridge Recipe
Ragi Malt is a healthy and nutritious drink made using fingermillet flour as main ingredient. It is very popular in India for babies, kids, and adults because it's rich in calcium, iron, fiber, and protein. Post includes ragi malt (ragi sweet porridge) and ragi porridge (salt version) with step by step pictures and video.
Ragi Malt or Ragi Java or Ragi Porridge is a healthy breakfast as it is very nutritious and filling. Ragi porridge can be made 2 ways either sweet or salt as per your liking and preference. I like sweet the most but have the salt version once in a while too. Ragi malt has been part of Indian households for generations and is quite popular for its health benefits, easy digestibility, and cooling properties.
[feast_advanced_jump_to]About Ragi Malt
Ragi Malt is nothing sweet ragi porridge made with ragi flour, water, milk, sugar and cardamom powder. It is topped with nuts of your choice making it an ideal healthy breakfast. Ragi is the one of the first grains introduced to babies as it is easy to digest. It can be prepared in both sweet and savory forms, making it suitable for all age groups starting from infants to the elders.
Malt is the cereal grain that has been soaked and dried. Here finger millet is the grain that is soaked, sprouted then dried to make ragi flour or powder and the porridge made with this flour is referred to as 'Ragi Malt'.
Ragi Porridge is a nutritious healthy drink which can be substituted for our regular breakfast and it keeps you full till lunch time. Ragi or finger millet is a super grain which is packed with nutrition. I used homemade ragi flour, you can use store bought flour too.
Ragi Malt can be prepared in a tasty way by following this method without any lumps easy and quick to make. It takes just 10-15 minutes to make this porridge. You can use ragi flour or sprouted ragi flour for this porridge.I always have a batch of homemade ragi flour at home.
Ragi Porridge has become a tradition in our family. I am trying to include porridge for mittu and gugu regularly so that they are always in touch with the porridge taste. Mittu prefers to have multigrain porridge.
I hated porridges during my childhood days and now I just love them. I have tasted this ragi porridge in my friends house as its their custom to have ragi porridge every sunday. Ever since I tasted with my friend I started liking it, even now I just love all types of porridges.

Ragi Malt Video
Similar Recipes
Ragi Malt Health Benefits
- Ragi is rich in iron
- It is rich in fiber and a nutritious whole grain
- Helps in healthy weight loss
- Ragi is good for a gluten free diet
- Good for diabetics
Ragi Malt 2 Ways
I have shared 2 ways to make this porridge as some prefer sweet and few prefer salt version.
- Ragi Malt (Sweet Porridge)
- Ragi Porridge (Salt)
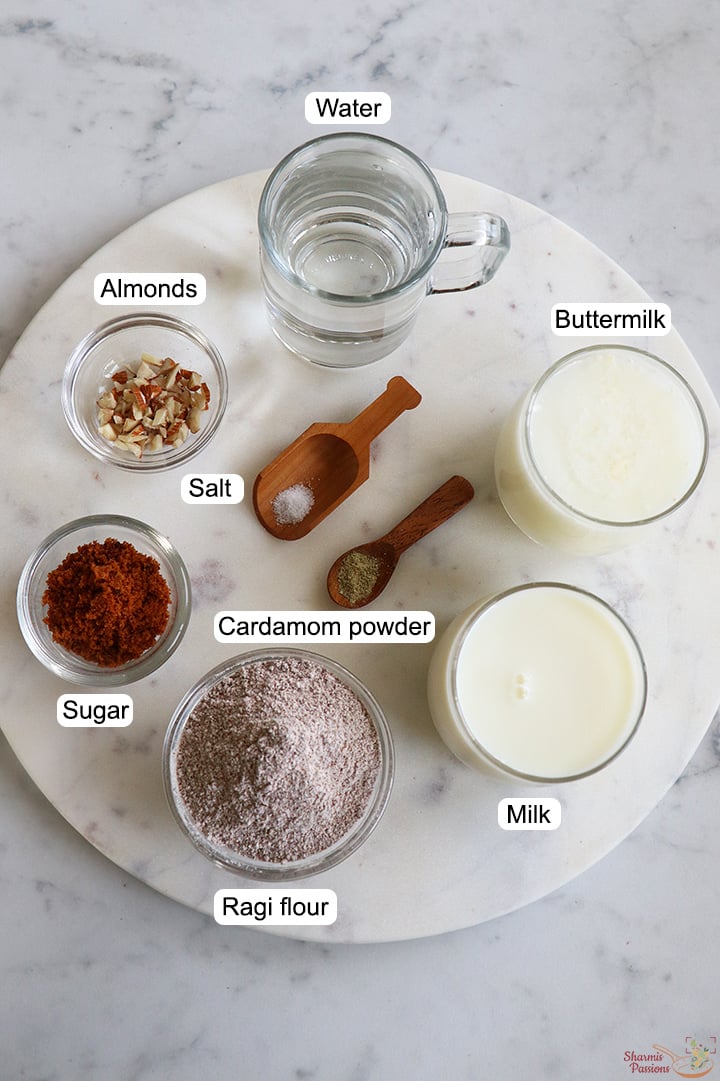
Ragi Malt Ingredients
- Ragi flour - I used homemade finger millet flour. You can use store bought flour too either regular ragi flour or sprouted flour.
- Water - I always cook the porridge in water then mix it with milk.
- Milk - Use boiled milk as we add it at the final stage.
- Sweetener - I have used cane sugar. You can add jaggery powder or jaggery syrup or brown sugar or even white sugar.
- Flavoring - Cardamom powder is the best flavoring for this porridge.
- Water - I always cook the porridge in water then mix it with milk.
- Buttermilk - Use thick homemade buttermilk.
- Salt - Add salt to taste for the salt version.
How to make Ragi Malt Step by Step
Ragi Porridge Sweet
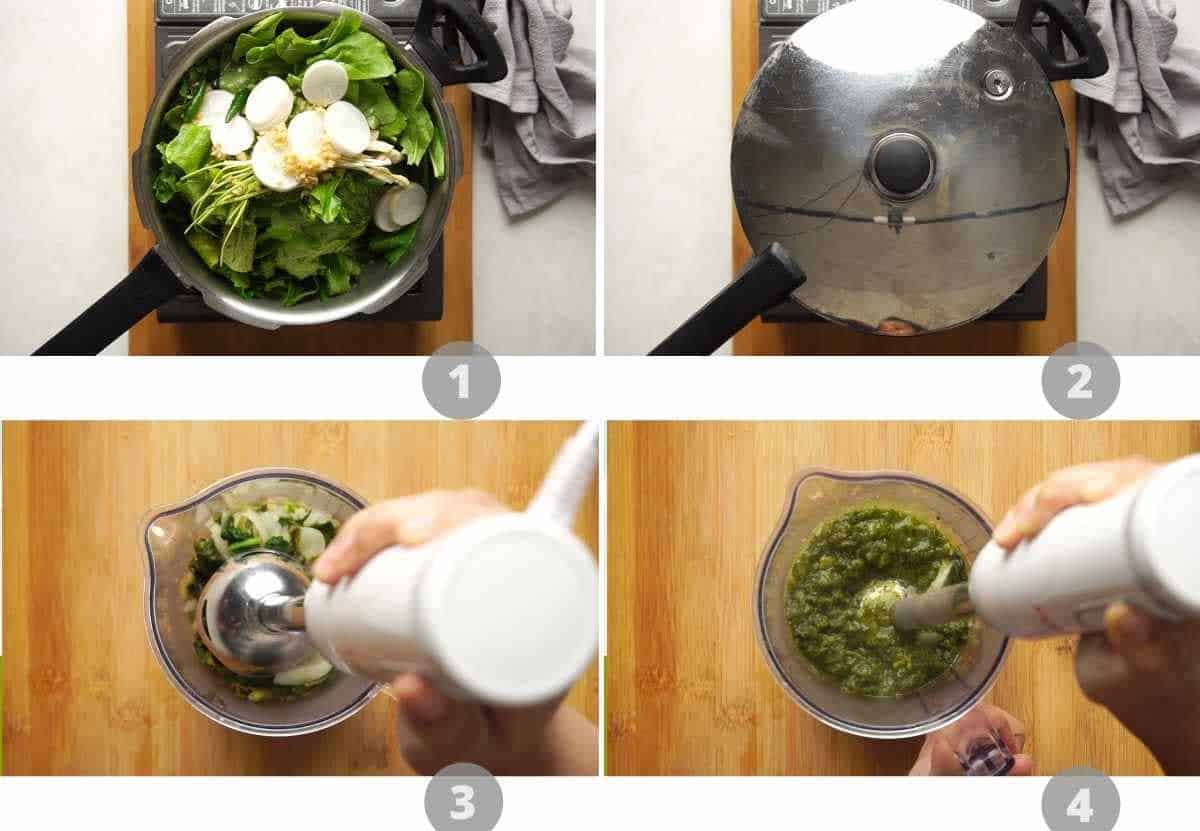
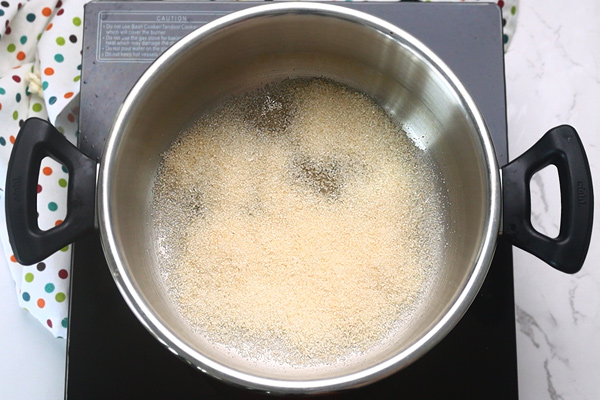
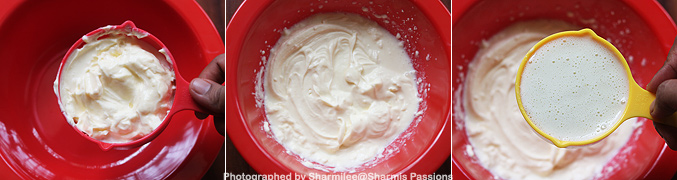
- To a bowl add ½ cup ragi flour. Now add 1 cup water to it.
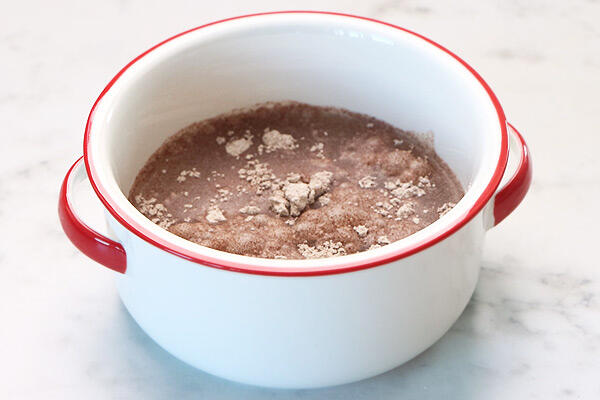
2.Whisk it well without any lumps then set it aside.
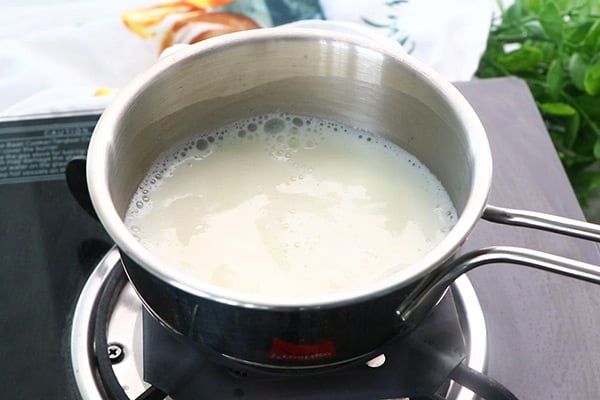
3.Add 2 cups water to a pan. Let it boil.
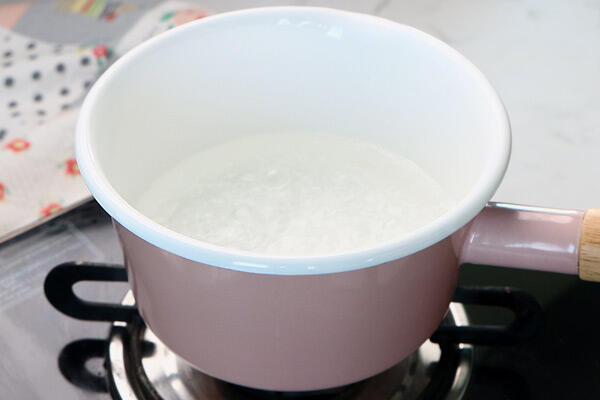
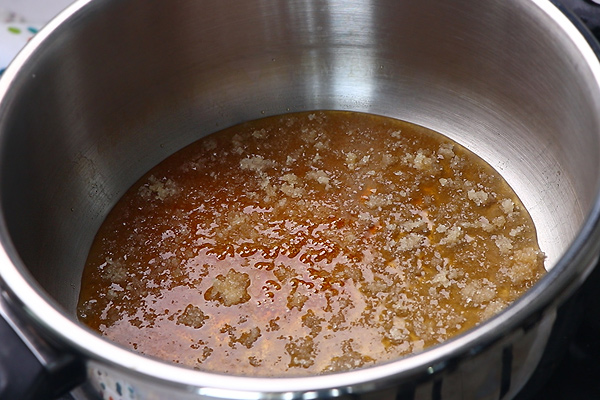
4.Once water starts to boil - whisk the ragi flour slurry.
5.Add the ragi flour slurry. Just rinse with little water and add it, if there are sediments.

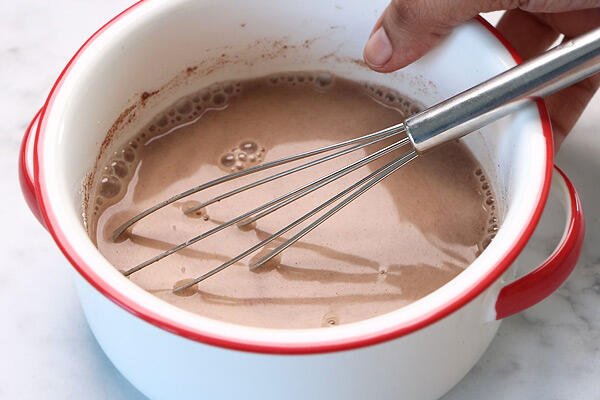
6.Whisk it well first to avoid lumps.
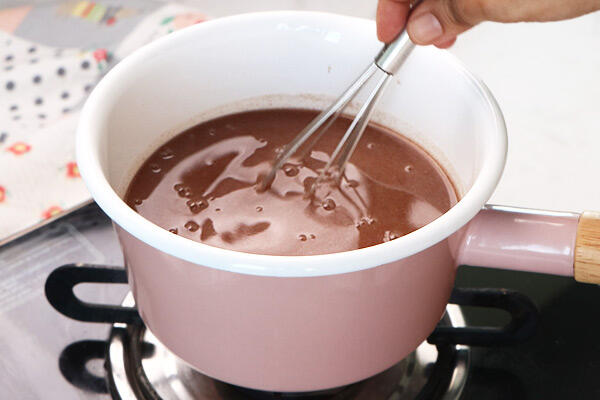
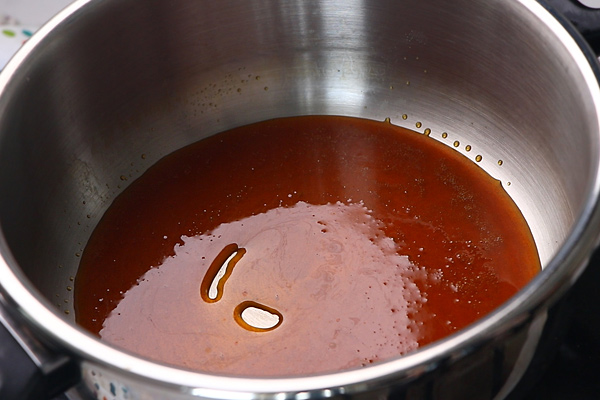
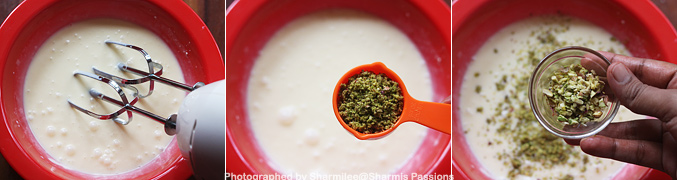
7.Now switch to a spatula and keep stirring and cooking in low medium flame.

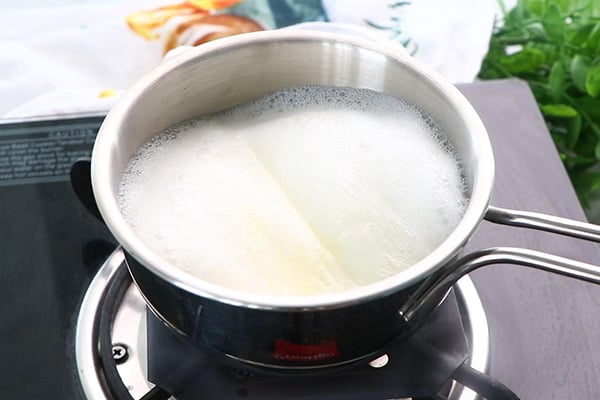
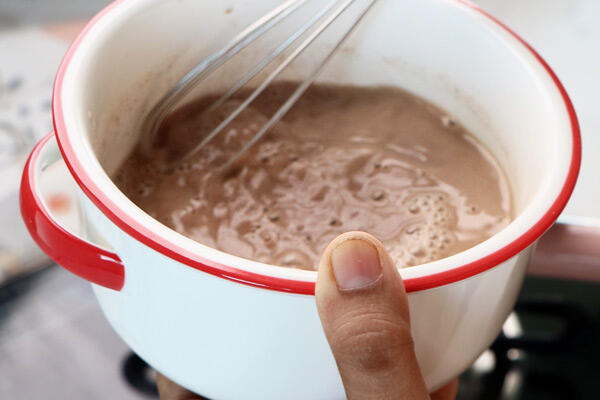
8.The mixture will start to thicken but keep stirring continuously.

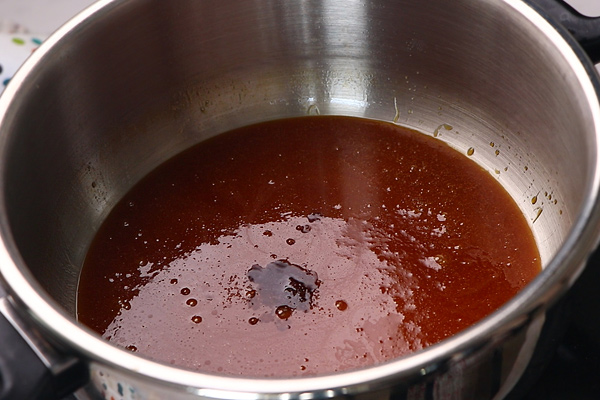
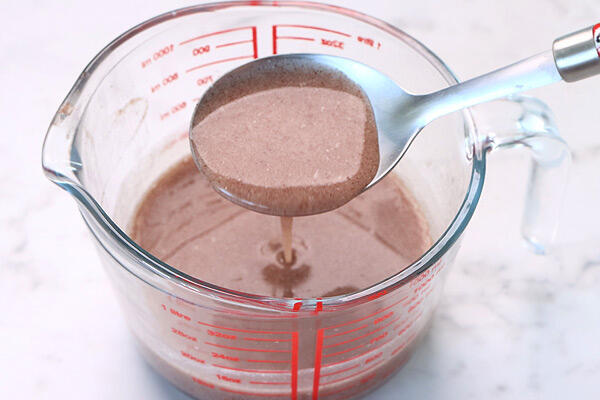
9.Keep cooking until it turns thick and shiny.

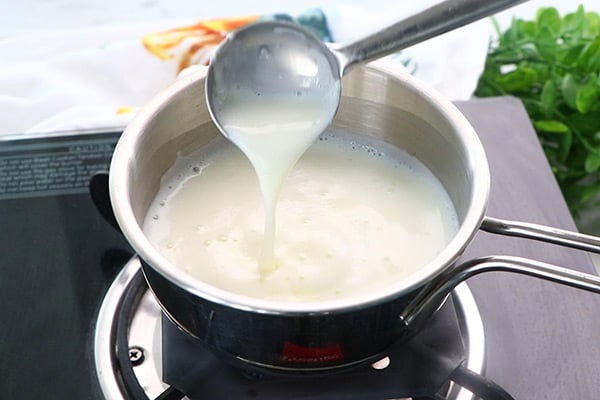
10.You can see how thick it is. It thickens more after cooling down so switch it off accordingly.
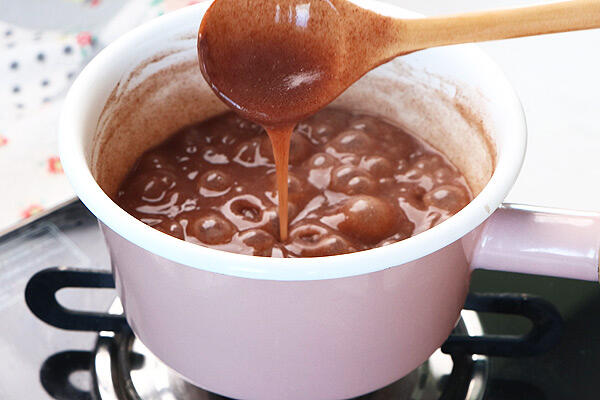
11.Transfer half of the porridge to a bowl for salt version.
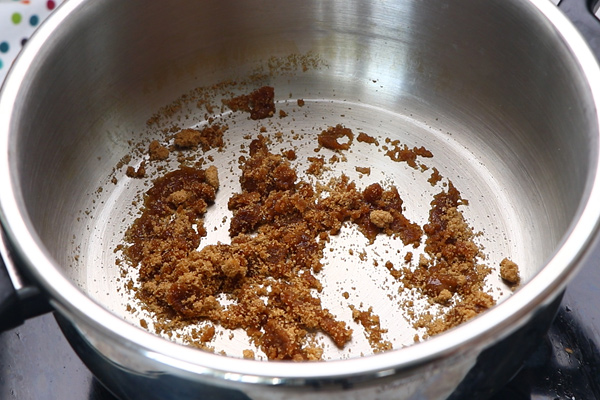
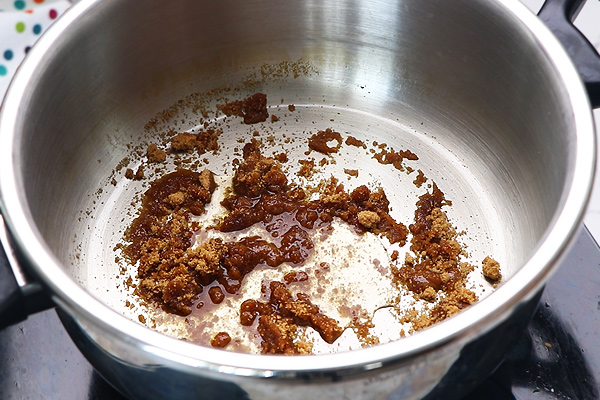
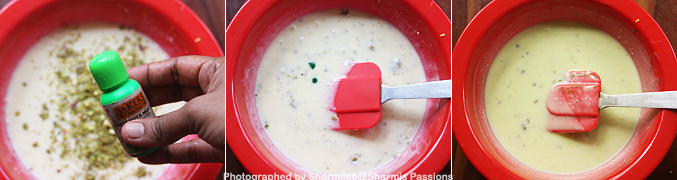
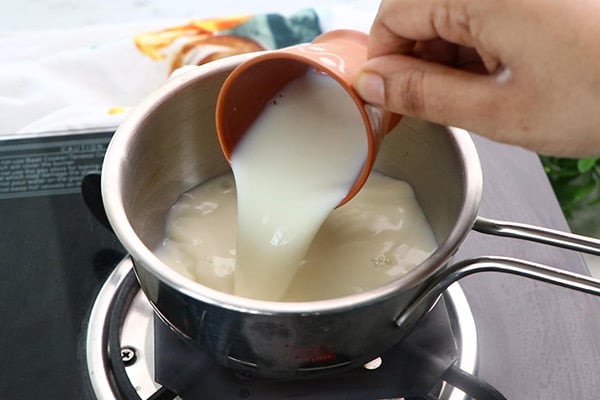
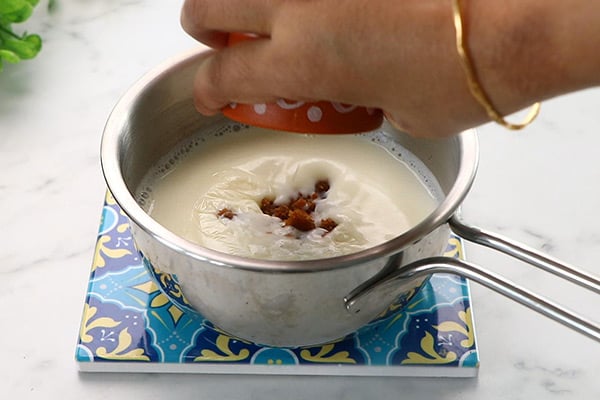
12.To the remaining porridge in the pan - add 2 tablespoon sugar, 1 cup milk and ¼ teaspoon cardamom powder.

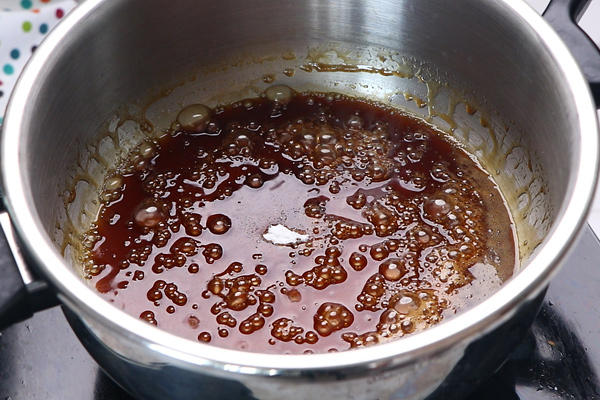
13.Whisk it well and switch off.

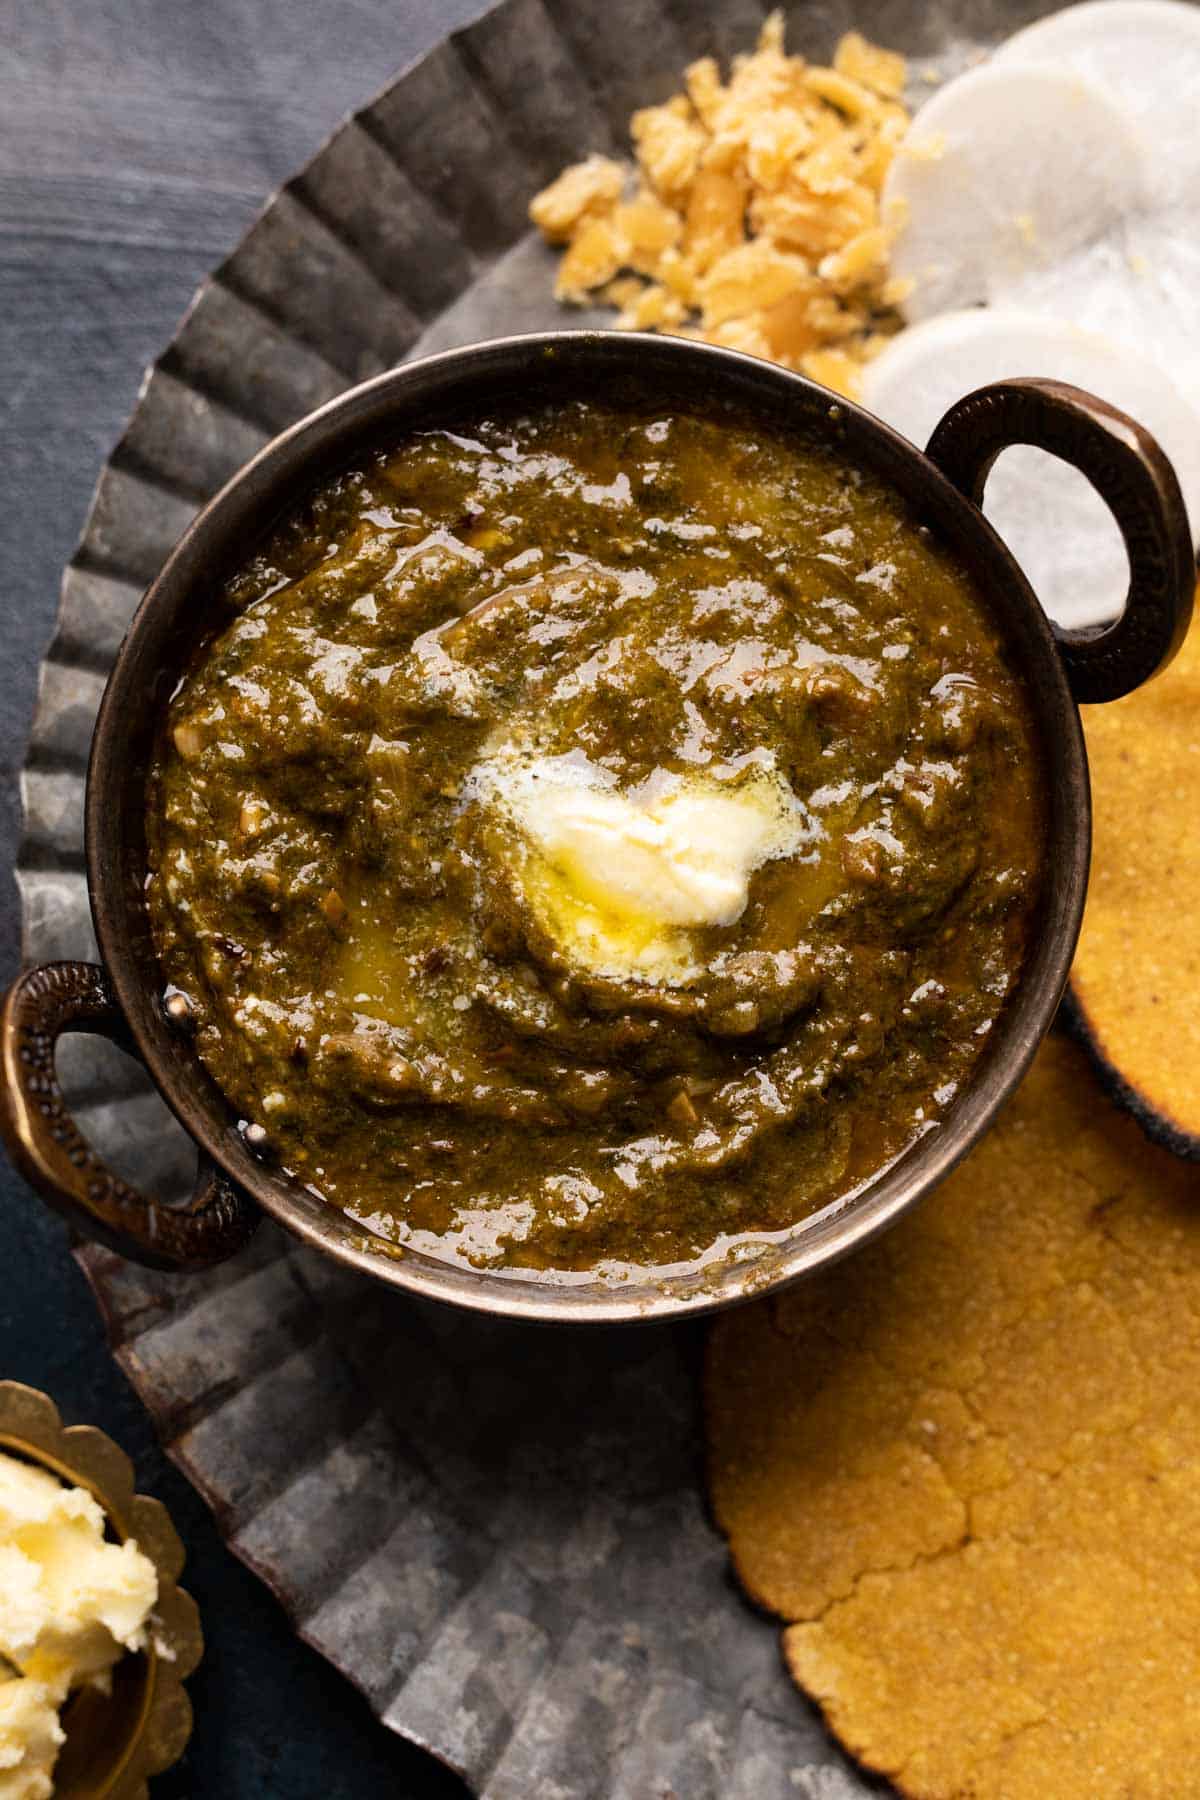
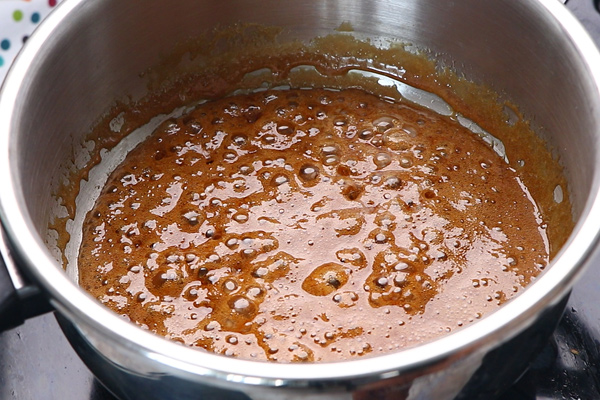
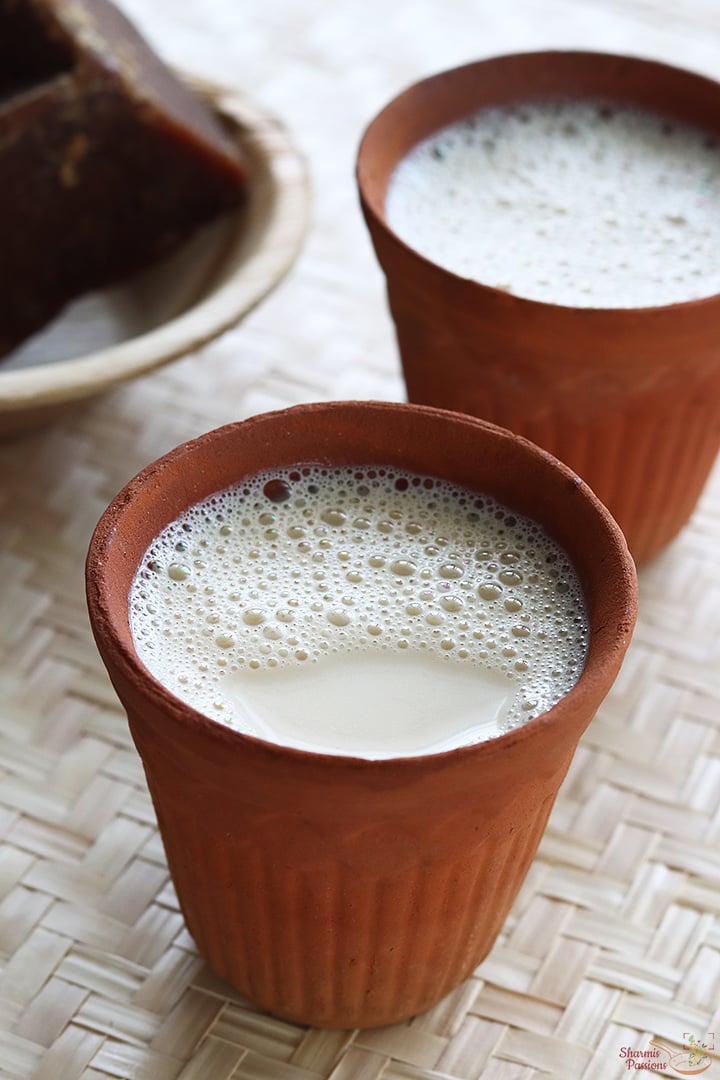
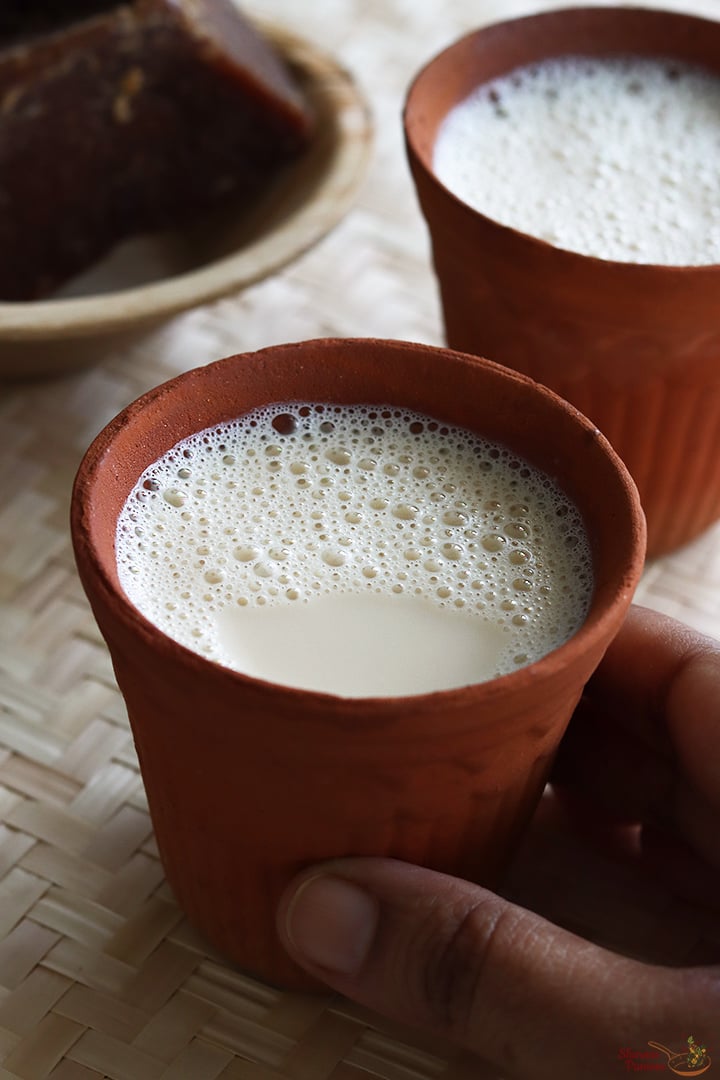
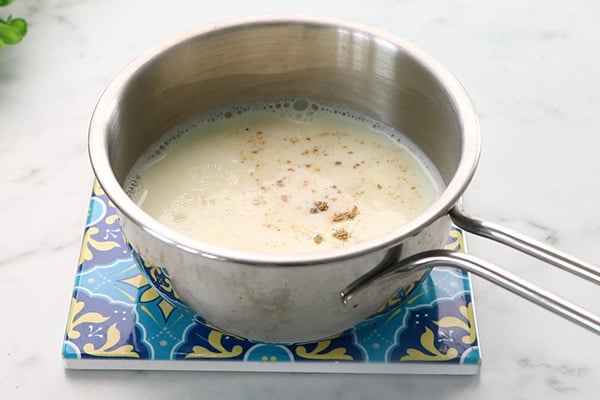
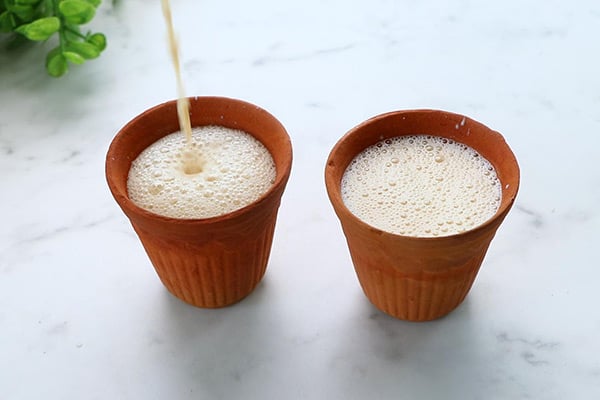
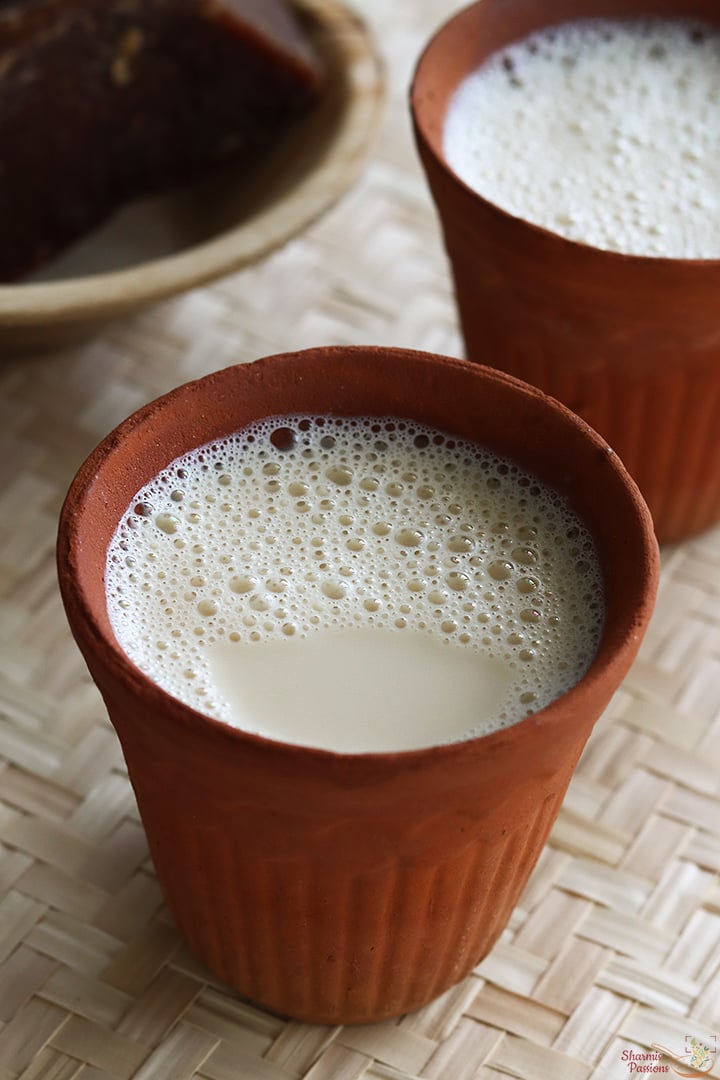
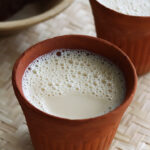
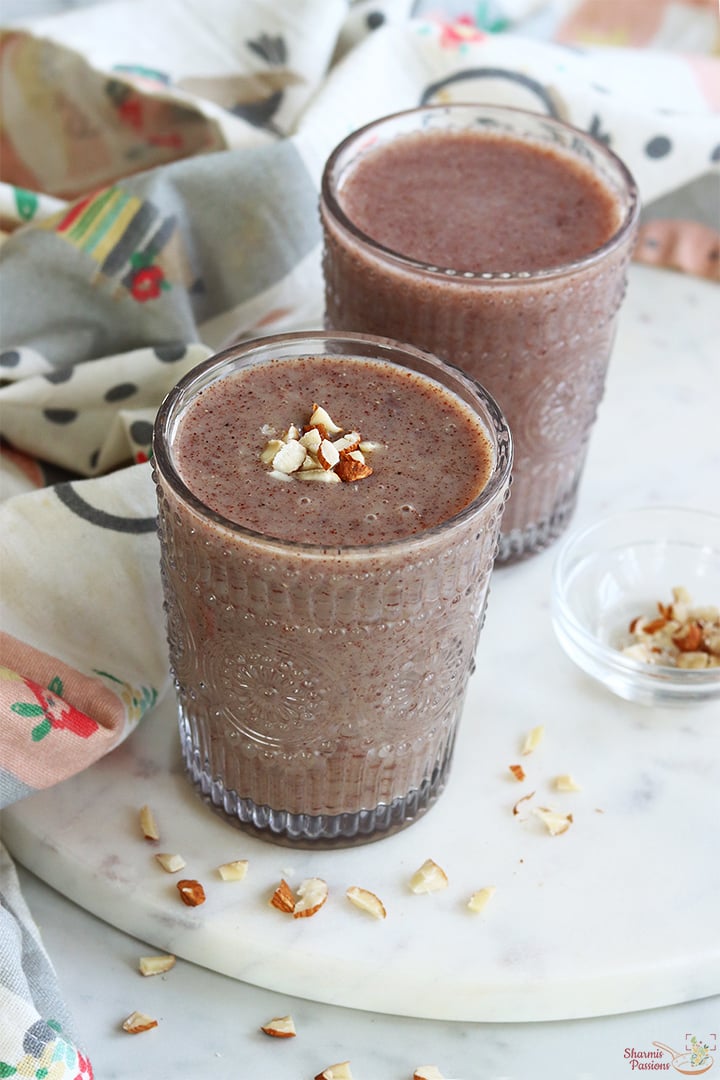
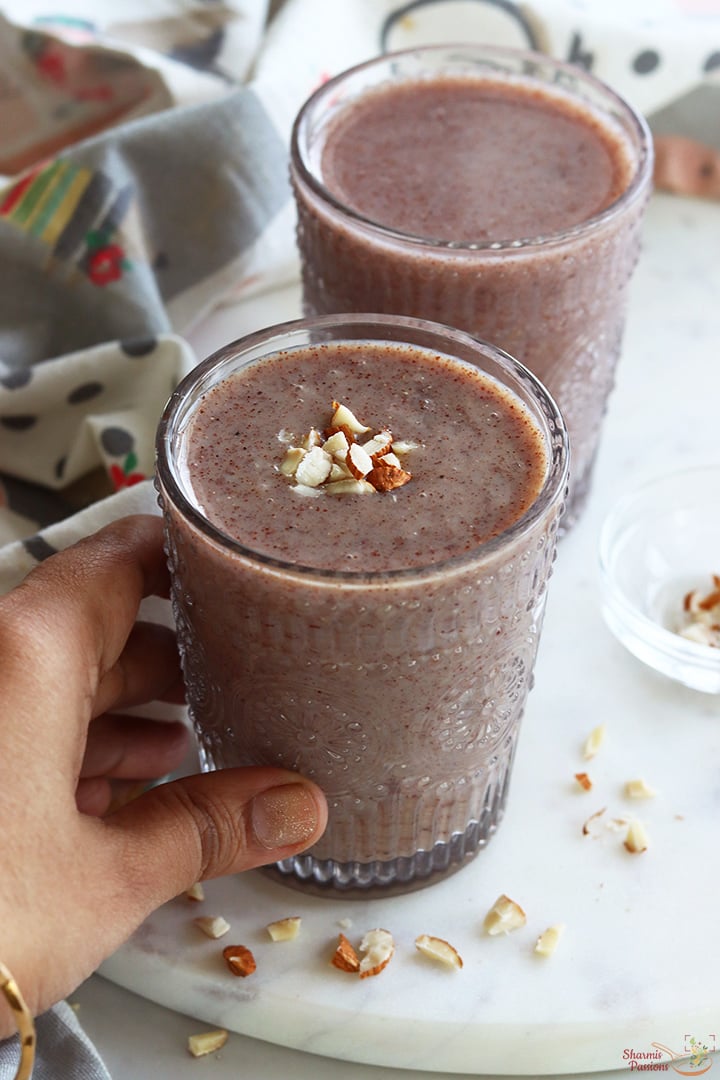
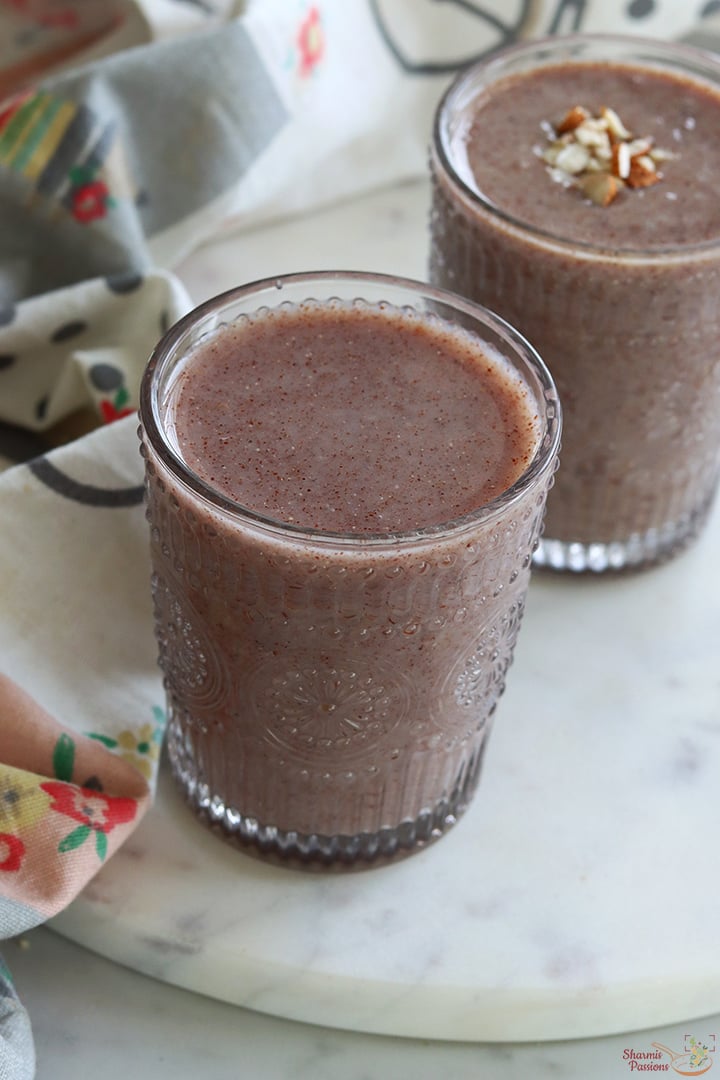
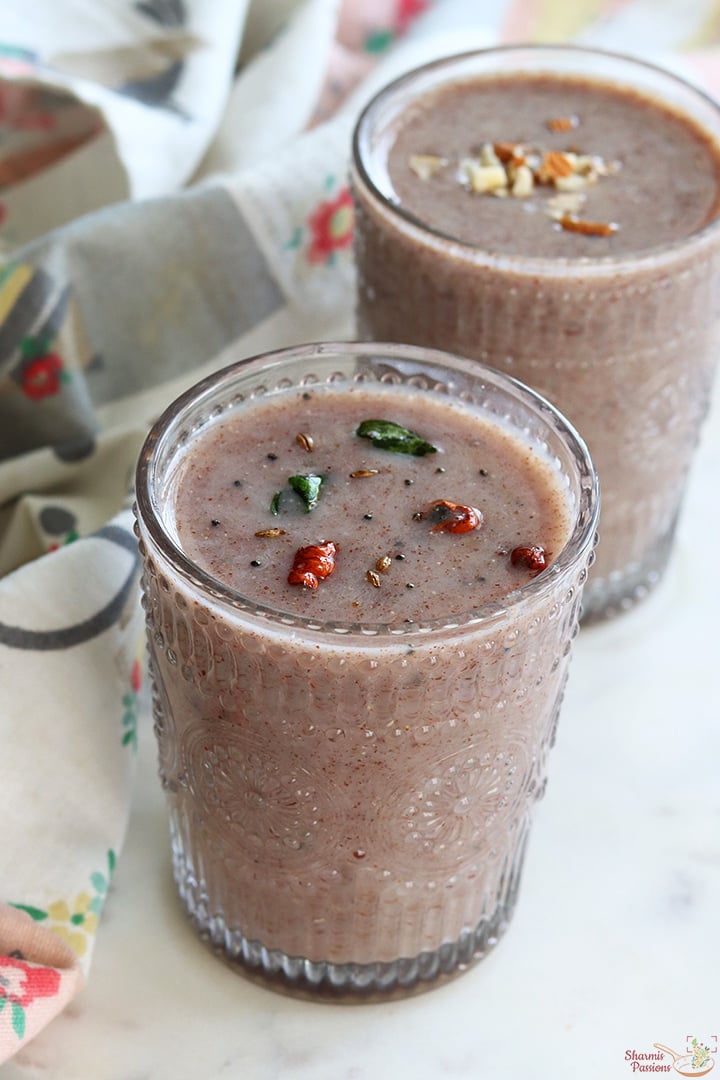
14.Ragi malt or ragi sweet porridge is ready to serve.

15.Serve ragi malt hot or warm!
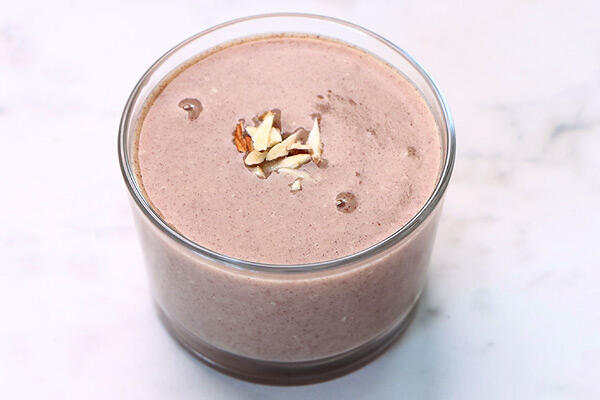
Ragi Porridge or Ragi Malt is ready to drink!
Ragi Porridge Salt
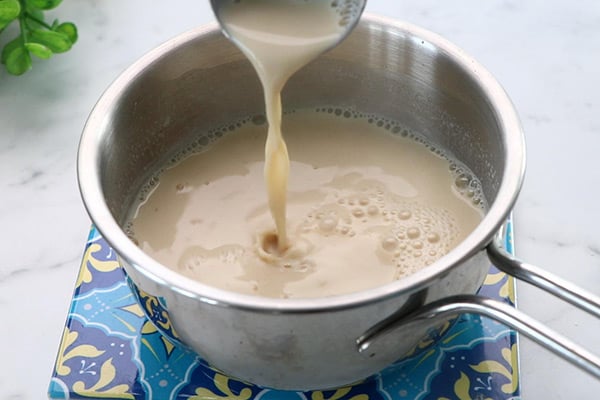
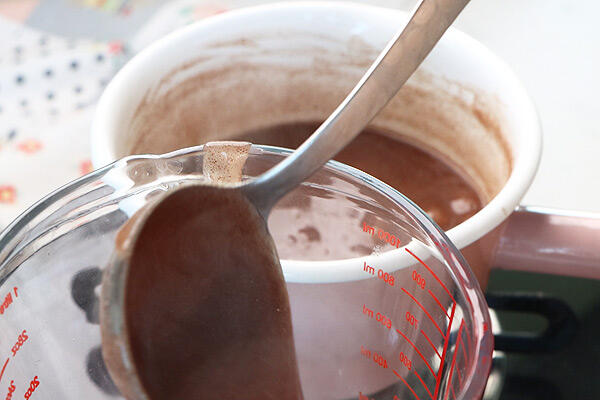
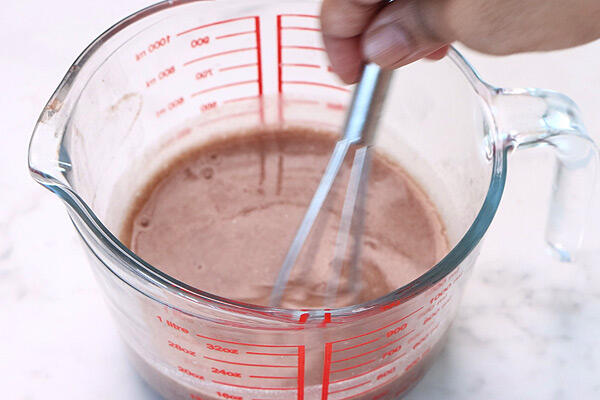
1.With the reserved ragi porridge we can prepare ragi salt porridge. Let the mixture cool down for 15 minutes at least.

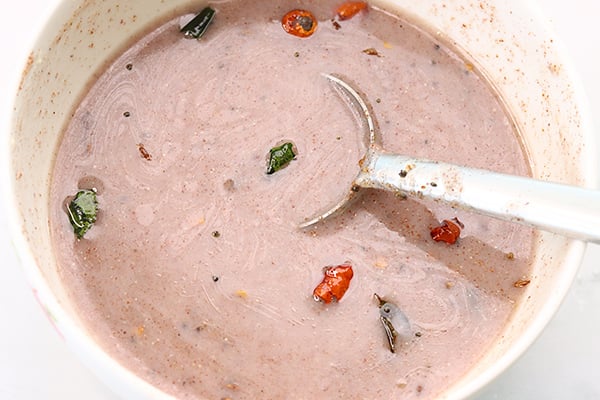
2.Add salt to taste and ½ cup thick buttermilk to it.

3.Whisk it well until smooth.
4.Ragi porridge salt version is ready
5. Serve it warm or chilled.
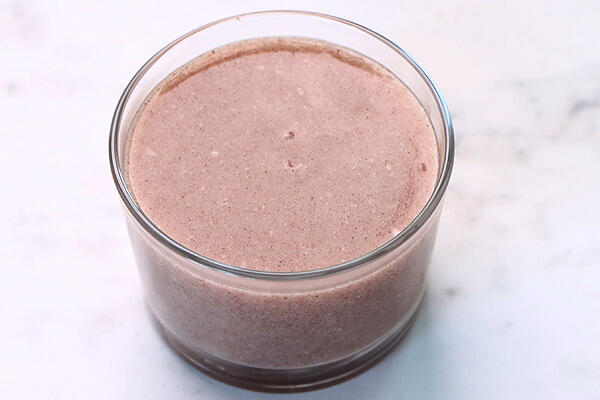
Serve immediately.
Tempering Suggestion
You can serve it as such or make the tempering and serve it.
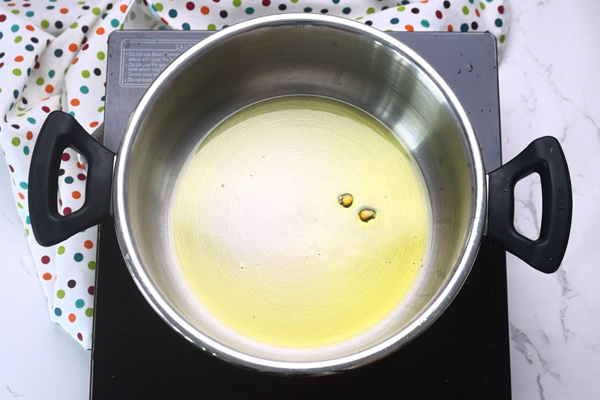
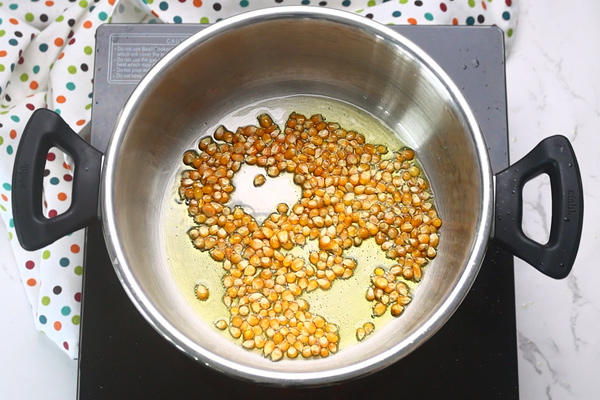
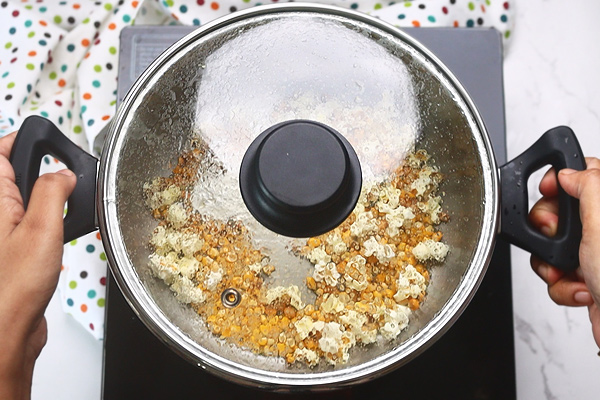
1.Heat 1 teaspoon oil in a tadka pan and add ¼ teaspoon mustard seeds, 1 small red chilli broken and ¼ teaspoon cumin seeds, a pinch hing along with few curry leaves - let it crackle. Now transfer it to the porridge.
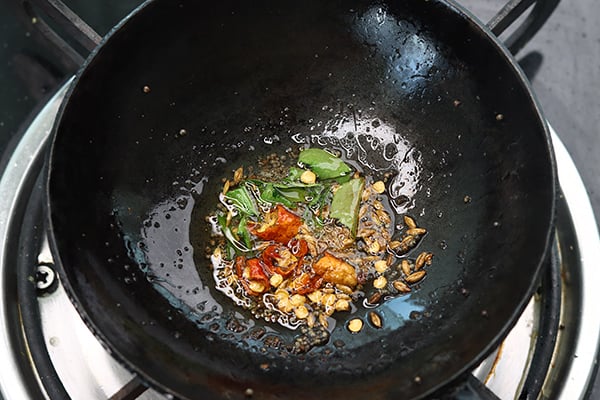
2.Add tempering and salt.
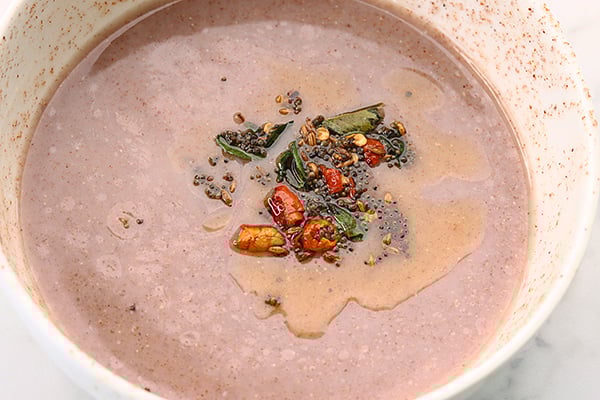
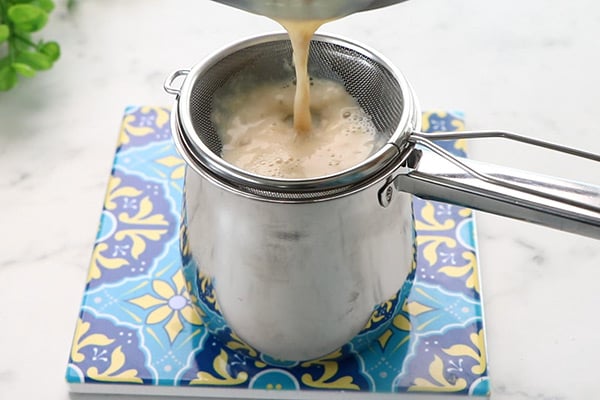
3.Mix it well. Serve as such or you can strain and serve it too.
Ragi porridge is ready!
Expert Tips
- Ragi flour - You can use homemade flour or store bought flour. Either regular ragi flour or sprouted can be used.
- Cooking - Cook in low flame and keep stirring to avoid lumps.
- Sweetener - Adjust sweetness according to your taste. You can add any sweetener : jaggery powder or jaggery syrup or cane sugar etc.
- Consistency - The consistency is purely your preference. If you want it a bit thin then add little more milk or buttermilk. If you want it thick then this will be perfect.
- Tempering - After the tempering ingredients are added you can either have the porridge as such or strain it and then serve.
Serving & Storing
You can serve the porridge sweet or salt. We prefer the ragi porridge warm but you can serve it hot too. You can even temper the porridge and serve.
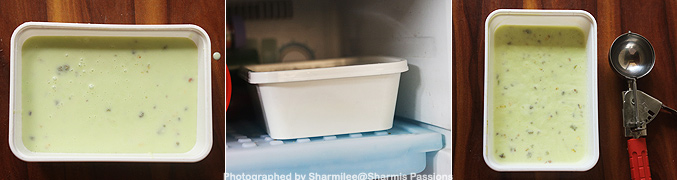
You can make the ragi porridge cooked in water and store in fridge for 2 days and make the porridge as and when needed. It will become thick you will need to whisk or blend it while making the porridge.
FAQS
1.Why is my porridge watery and not becoming thick?
If more water is added it may take little longer to get thick while cooking. So keep stirring to make the porridge thick.
2.What type of ragi / fingermillet flour to use?
You can use regular ragi flour or sprouted ragi flour to make this porridge.
3.How long should I cook the porridge?
Do not go with the exact timing as it may differ depending upon the flour variety and amount of water used. Cook the porridge until thick and shiny,
4.My porridge turns lumpy, How should I fix it?
If you leave the porridge unattended without stirring then it may become lumpy. If the cooked porridge turns lumps, mash it well with a laddle then mix with milk, sugar and finally strain using a big holed strainer to strain the lumps.
5.Is this porridge suitable for babies and kids?
Yes it is suitable for babies from 1 year and older kids too.
If you have any more questions about this Ragi Malt Recipe do mail me at sharmispassions@gmail.com. In addition, follow me on Instagram, Facebook, Pinterest ,Youtube and Twitter .
Tried this Ragi Malt Recipe? Do let me know how you liked it. Also tag us on Instagram @sharmispassions and hash tag it on #sharmispassions.
📖 Recipe Card

Ragi Malt Recipe | Ragi Porridge Recipe
Ingredients
- ½ cup ragi flour (finger millet flour)
- 3 cups water
Ragi Malt Sweet
- 1 cup milk
- 2 tablespoon cane sugar
- ½ teaspoon cardamom powder
Ragi Porridge Salt
- salt to taste
- ½ cup buttermilk
Instructions
Ragi Malt Sweet
- To a bowl add ½ cup ragi flour. Now add 1 cup water to it.
- Whisk it well without any lumps then set it aside.
- Add 2 cups water to a pan. Let it boil.
- Once water starts to boil - whisk the ragi flour slurry.
- Add the ragi flour slurry. Just rinse with little water if there are sediments.
- Whisk it well first to avoid lumps.
- Now switch to a spatula and keep stirring and cooking in low medium flame.
- The mixture will start to thicken but keep stirring continuously.
- Keep cooking until it turns thick and shiny.
- You can see how thick it is. It thickens more after cooling down so switch it off accordingly.
- Transfer half of the porridge to a bowl for salt version.
- To the remaining porridge in the pan - add 2 tablespoon sugar, 1 cup milk and ¼ teaspoon cardamom powder.
- Whisk it well and switch off.
- Ragi malt or ragi sweet porridge is ready to serve.
- Serve ragi malt hot or warm!
Ragi Porridge Salt
- With the reserved ragi porridge we can prepare ragi salt porridge. Let the mixture cool down.
- Add salt to taste and ½ cup thick buttermilk to it.
- Whisk it well until smooth.
- Ragi porridge salt version is ready
- Serve it warm or chilled.
- Heat 1 teaspoon oil in a tadka pan and add ¼ teaspoon mustard seeds, 1 small red chilli broken and ¼ teaspoon cumin seeds, a pinch hing along with few curry leaves - let it crackle. Now transfer it to the porridge.
- Add tempering and salt.
- Mix it well. Serve as such or you can strain and serve it too.
- Ragi porridge is ready!
Video
Notes
- Ragi flour - You can use homemade flour or store bought flour. Either regular ragi flour or sprouted can be used.
- Cooking - Cook in low flame and keep stirring to avoid lumps.
- Sweetener - Adjust sweetness according to your taste. You can add any sweetener : jaggery powder or jaggery syrup or cane sugar etc.
- Consistency - The consistency is purely your preference. If you want it a bit thin then add little more milk or buttermilk. If you want it thick then this will be perfect.
- Tempering - After the tempering ingredients are added you can either have the porridge as such or strain it and then serve.
Nutrition
The post Ragi Malt Recipe | Ragi Porridge Recipe appeared first on Sharmis Passions.