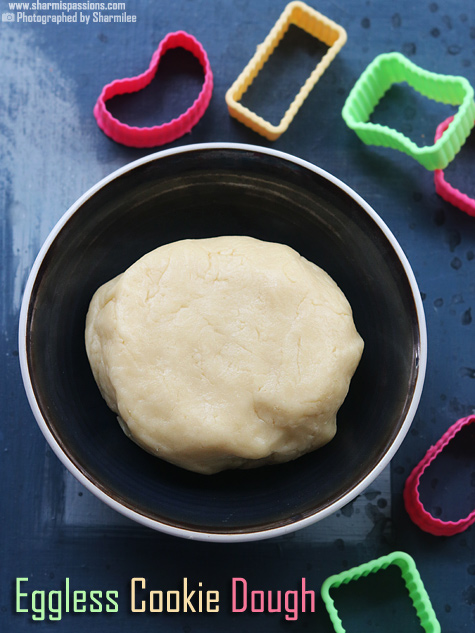
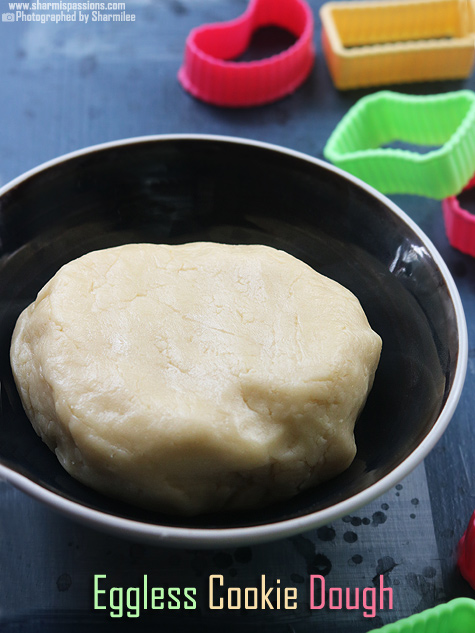
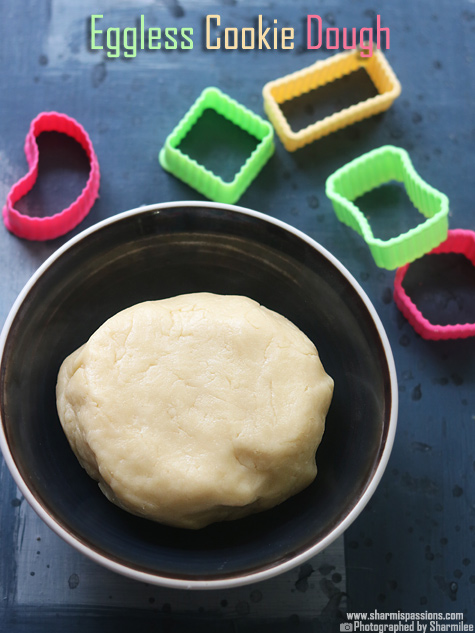
Eggless Cookie Dough Recipe
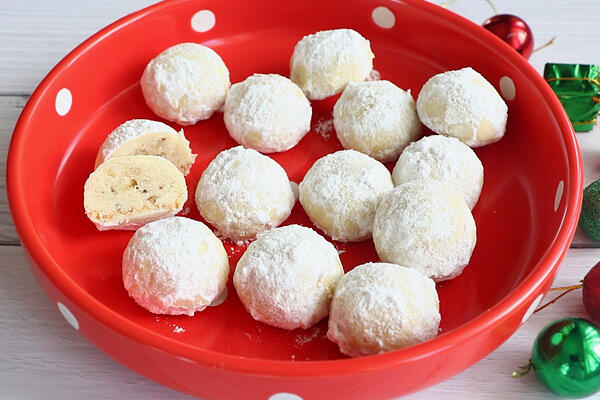
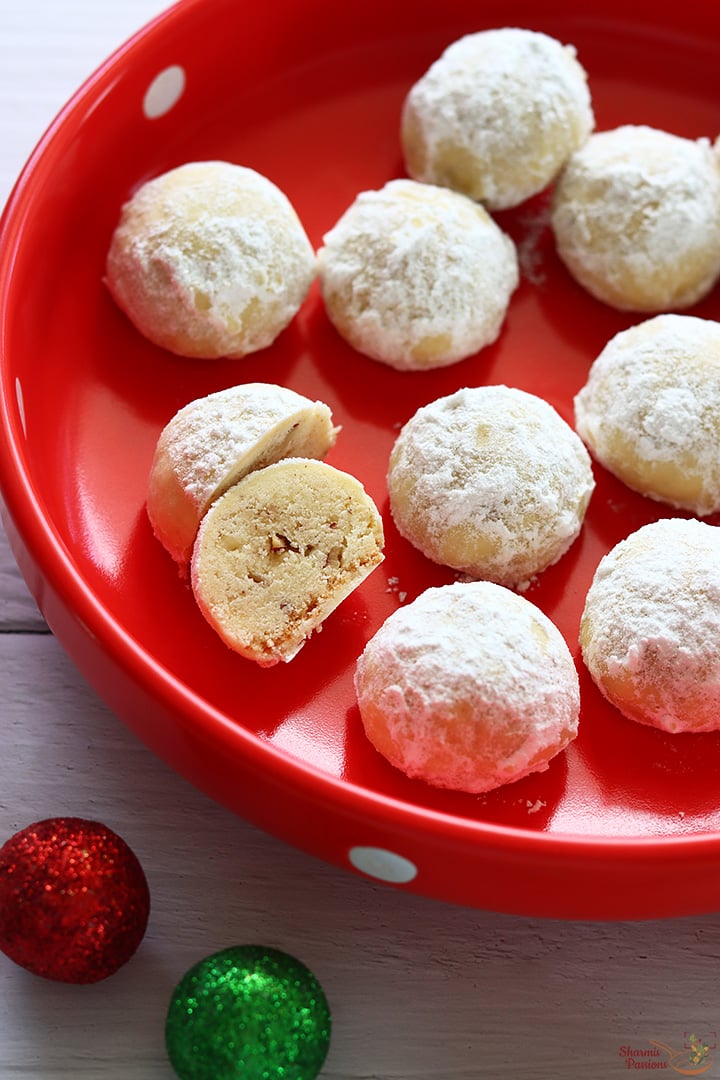
Eggless Cookie Dough is one of those easy dough recipes as it comes together so quick and the cookies turns out perfect with this dough. This dough has a soft buttery taste, and the texture feels smooth and little chewy, almost like the normal cookie dough but without any eggs added. You can use it for making all kinds of cookies.
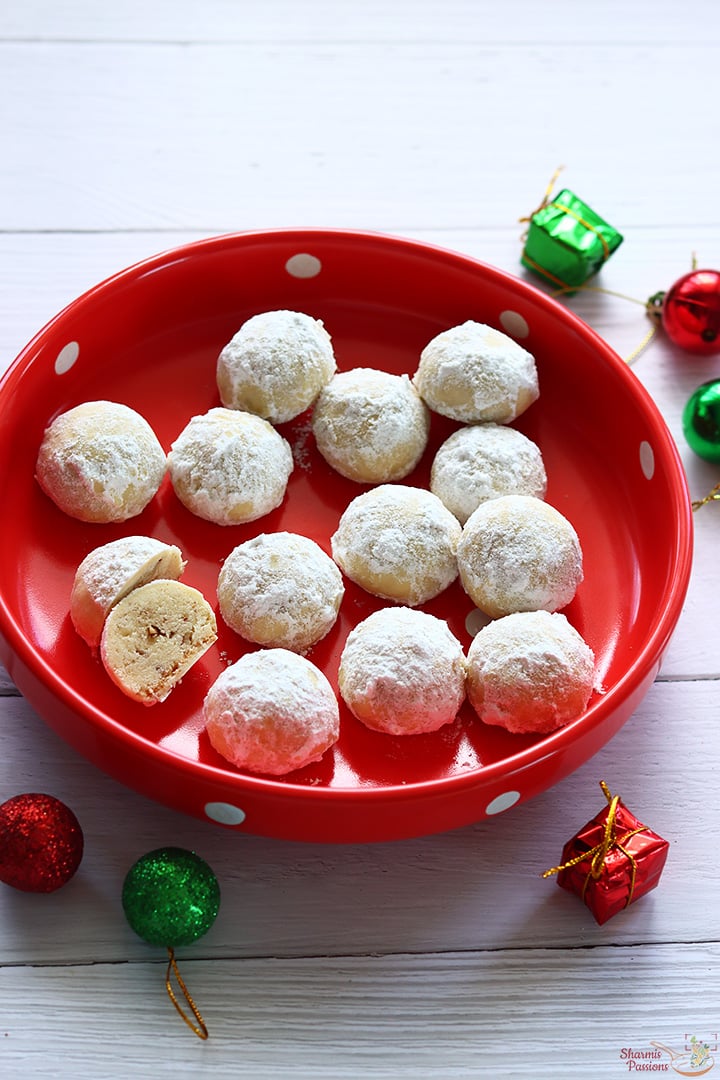
This is such a easy recipe when you don't want too much work. The flavor is mild and comforting, and the dough gets firmer once you chill it. I make this one day ahead when I am planning cookies for weekend, as the dough stays good in fridge for long time. It gives a neat base, so you can mix in chocolate chips, nuts or anything you like later.
[feast_advanced_jump_to]About Eggless Cookie Dough
Eggless Cookie Dough is a mix of flour, butter and sugar mixed together to form a smooth, soft dough. This stays a bit soft when it's fresh but becomes firm after chilling for some time. The recipe has a buttery flavor with a tiny hint of vanilla, and the sweetness is not too heavy, so you can pair it with any add-ons easily.
This kind of dough is very common in basic home baking, specially for people who don't prefer using eggs. The butter and sugar gets creamy when whisked, and the flour gives the structure to bring everything together. You can adjust the sugar, add cocoa, add sprinkles or even change to almond essence if you want a different flavor.
It is also very forgiving dough, even if you don't whisk perfectly it still comes fine. Because there is no egg, the dough stays stable in fridge without becoming sticky too fast. Some people toast the flour before using but most time we keep it simple only. It works well for cut-out cookies, drop cookies or even to use as a layer in some desserts.
I usually make a small batch and keep in fridge, so when I get little free time in evening I just take some dough, shape quickly and bake it. Saves lot of effort and kids also like choosing what mix-ins to add.
This basic cookie dough recipe is my keeper recipe since I started baking cookies regularly for mittu. This cookie dough recipe has no rising agents so its best suitable for kids too.
When mittu was around 4 yrs , whenever we plan to go for a movie or for a long hour outing, I bake these cookies and pack it for her to avoid buying snacks for her from outside vendors. I usually bake it as cutout shortbread cookies just the way she likes it.
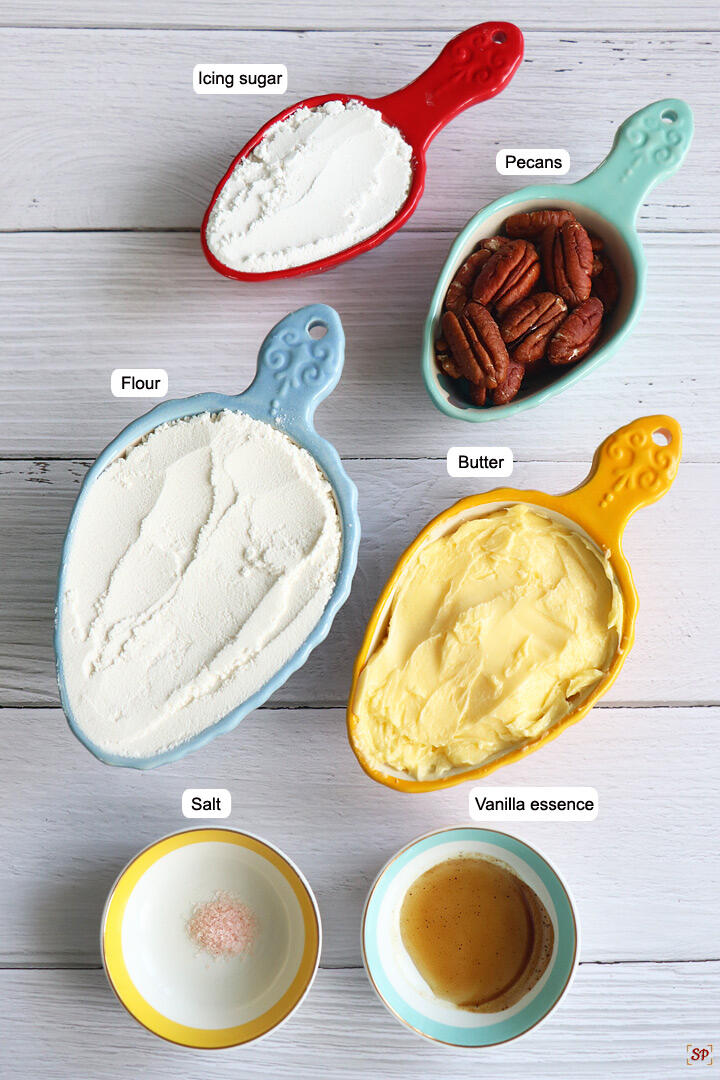
Eggless Cookie Dough Ingredients
- Maida / All purpose flour - I have used this as the main base and it helps the dough stay firm and hold shape after chilling. It gives that soft crumb later when you bake. You can use wheat flour also but the cookies might turn little dense.
- Butter - I have used room temperature butter so it gets creamy easily. It gives a rich buttery flavor. You can use homemade butter too, it gives a small rustic taste.
- Powdered sugar - I used powdered granulated sugar since it blends quick with butter and doesn't give grainy feel. It adds sweetness and you can adjust according to your taste also.
- Vanilla essence - I have used this for flavor and it gives mild nice smell. You can replace with almond essence or even cinnamon powder for different flavor.
Why This Recipe Works
- It is a simple dough and uses basic ingredients which we mostly have at home.
- It gives a soft buttery flavor that suits many cookie varieties.
- This recipe stays good in fridge for long days, so you can prepare ahead.
- You can mix in like choco chips, nuts or cocoa, making the dough very flexible.
- It is eggless, the dough stays stable and easier to handle even for beginners.
Similar Recipes
How to make Eggless Cookie Dough Step by Step
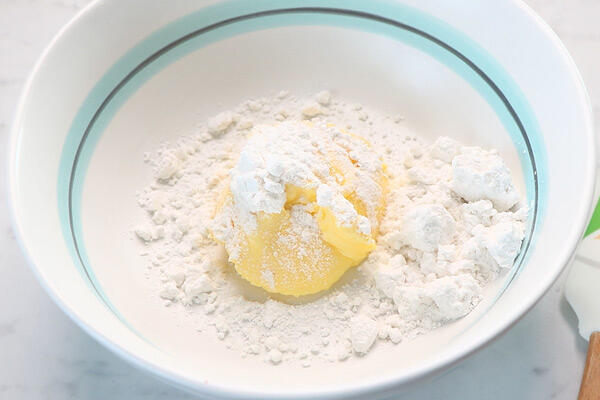
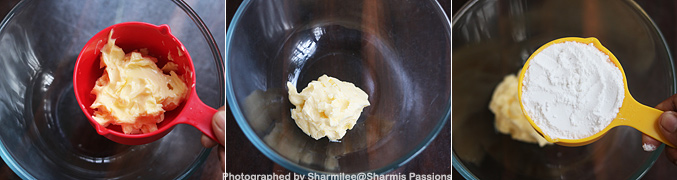
1.Measure and take butter in a mixing bowl, add powdered sugar to it
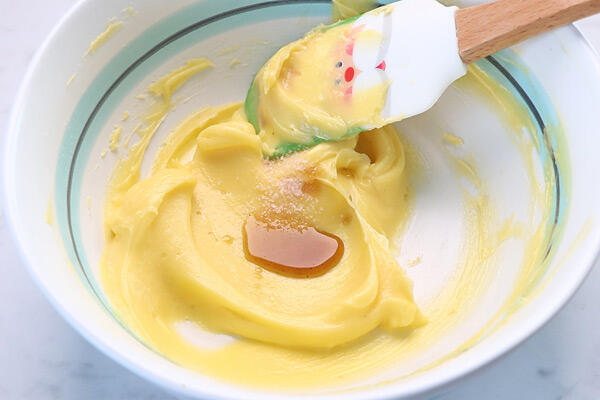
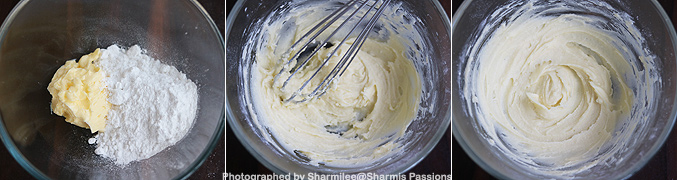
2.Whisk it well, I used my hand whisk, you can use electric mixer too. Whisk it until creamy and fluffy.
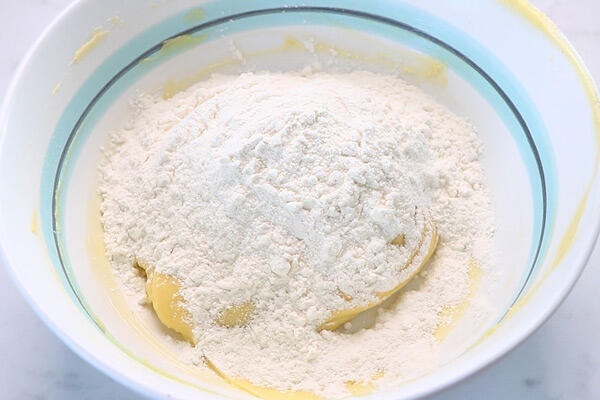
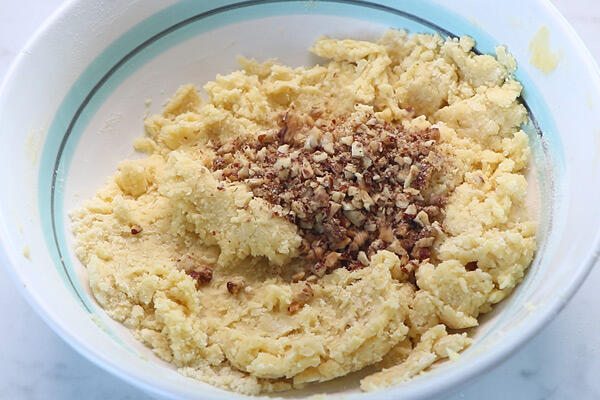
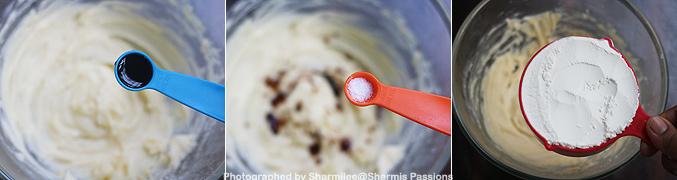
3.Now add vanilla essence and salt. Finally add in the flour
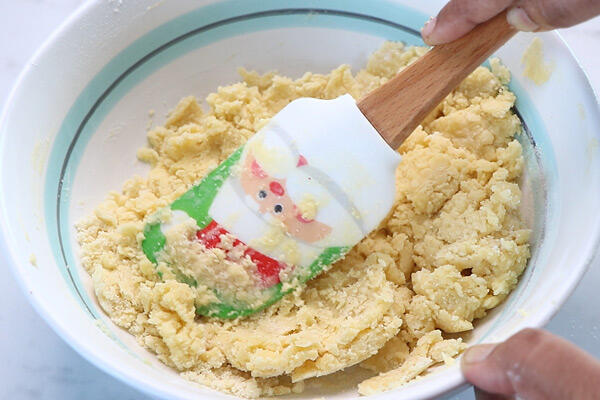
4.Mix with a spatula to form a dough.
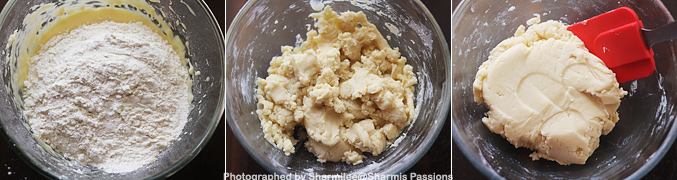
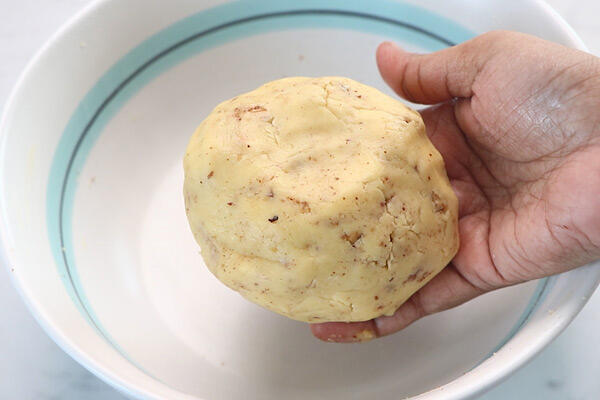
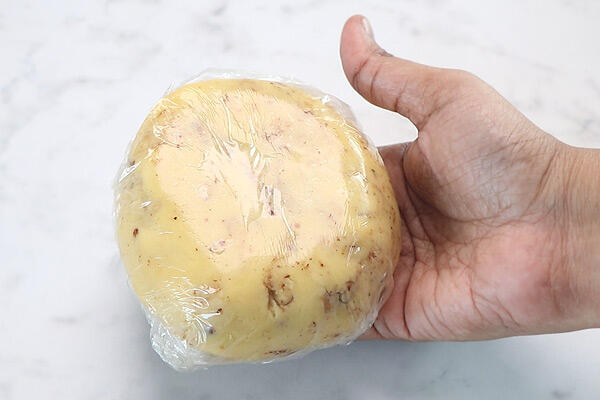
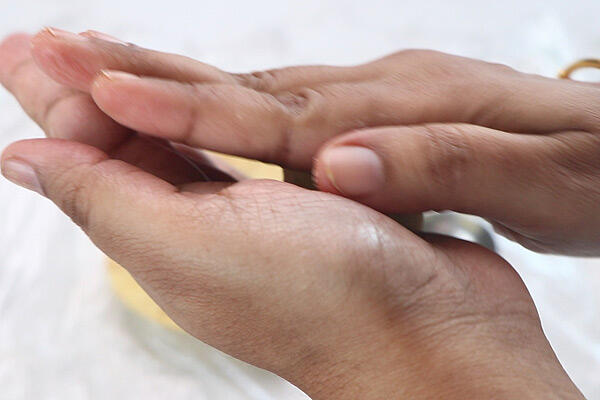
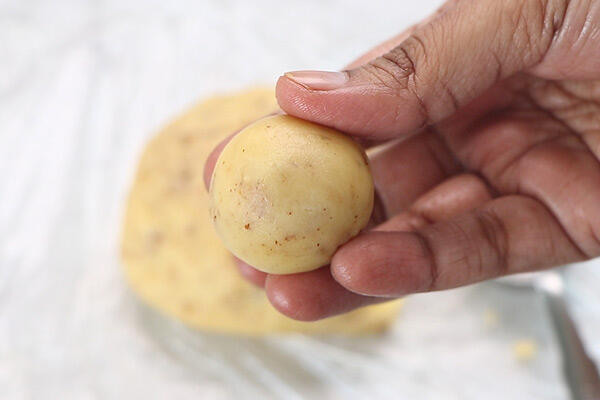
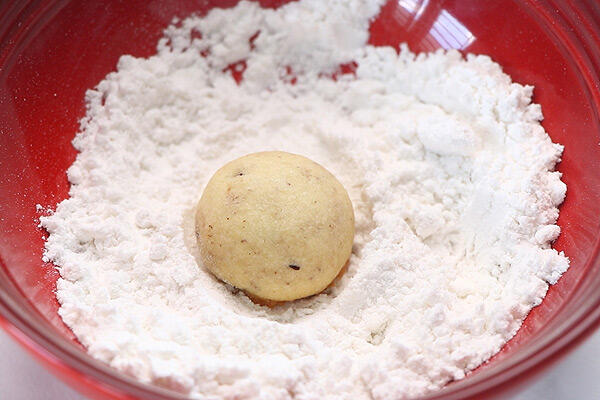
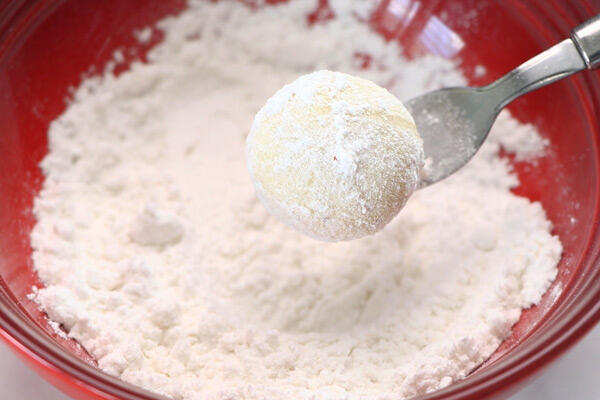
5.Now use your hands to roll into a ball, cling wrap it and refrigerate it
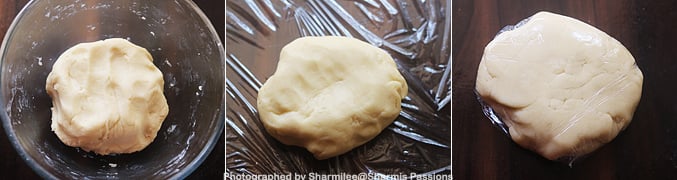
Refrigerate until use.
Expert Tips
- Mix butter well - Make sure to whisk butter and sugar well till soft and creamy. I usually whisk little extra because it gives nicer texture after baking the cookies.
- Chill the dough - This can be chilled for at least one hour so that it firms up nicely. Try not to skip this step because it helps the cookies hold shape.
- Use powdered sugar - I have used powdered sugar as it blends fast regular sugar take time to dissolve.
- Adjust flavors - You can just add chocolate chips, nuts, cocoa, cinnamon or anything you like. I usually add whatever is at home.
- Don't over mix - Once the dough comes together, stop mixing. If mixed too long, the cookies may turn bit tougher.
Serving and Storage
Serve them hot with tea or milk after you bake the cookies using this dough. This goes well as small treat also because of the mild buttery flavor. You can store leftover dough in airtight box and keep in fridge for 2-3 weeks easily. If it becomes too firm, just leave it outside for few minutes before shaping. No need to freeze unless you want to keep for long time.
FAQS
1.Can I skip vanilla?
Yes you can skip it. You can add any other essence you like too.
2.Can I freeze this dough?
Yes you can freeze, but honestly fridge storing itself works fine for few weeks.
3.Can I use wheat flour?
You can use it, but the cookies come little dense since wheat flour is heavy.
4.Can I reduce the sugar?
Yes you can reduce it and the dough will still hold well. Just mix properly.
5.Is it okay to eat the dough raw?
It is eggless so mostly fine, but I usually give only small portions avoid raw food intake.
If you have any more questions about this Eggless Cookie Dough Recipe do mail me at sharmispassions@gmail.com. In addition, follow me on Instagram, Facebook, Pinterest, Youtube and Twitter .
Tried this Eggless Cookie Dough Recipe? Do let me know how you liked it. Also tag us on Instagram @sharmispassions and hash tag it on #sharmispassions.
📖 Recipe Card
Eggless Cookie Dough Recipe
Ingredients
- 1 cup all purpose flour
- ½ cup butter at room temperature
- ½ cup powdered sugar
- ½ teaspoon vanilla essence
- ⅛ teaspoon salt
Instructions
- Measure and take butter in a mixing bowl, add powdered sugar to it.
- Whisk it well, I used my hand whisk, you can use electric mixer too. Whisk it until creamy and fluffy.
- Now add vanilla essence and salt. Finally add in the flour.
- Mix with a spatula to form a dough.
- Now use your hands to roll into a ball, cling wrap it and refrigerate it.
- Refrigerate Cookie Dough until use.
Notes
- Maida / All purpose flour - I have used this as the main base and it helps the dough stay firm and hold shape after chilling. It gives that soft crumb later when you bake. You can use wheat flour also but the cookies might turn little dense.
- Butter - I have used room temperature butter so it gets creamy easily. It gives a rich buttery flavor. You can use homemade butter too, it gives a small rustic taste.
- Powdered sugar - I used powdered granulated sugar since it blends quick with butter and doesn't give grainy feel. It adds sweetness and you can adjust according to your taste also.
- Vanilla essence - I have used this for flavor and it gives mild nice smell. You can replace with almond essence or even cinnamon powder for different flavor.
Nutrition
The post Eggless Cookie Dough Recipe appeared first on Sharmis Passions.